Inspiration for this flowery card with bling came from the LDRS website for the single layer use of coverplate II and a recent workshop with Donna Butler for the sentiment banners layout. My go-to-bling comes from my Buttons Galore & More stash of shaker element mixes. (Many of their mixes are limited – editions, so order early when you browse their website and see a mix you love.)

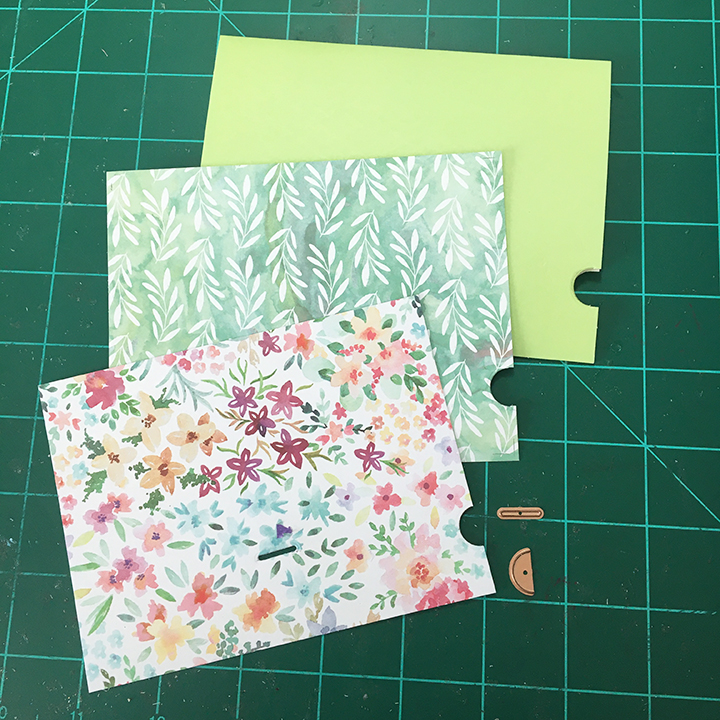
I choose to cut a yellow and a green flowered coverplate so that I could cut out the yellow flowers and glue them onto the green. Next, I used an orange marker to color the centers of the flowers. (The orange flatback shiny gems do not show up well in the photos, but they do add some sparkle to the card.)

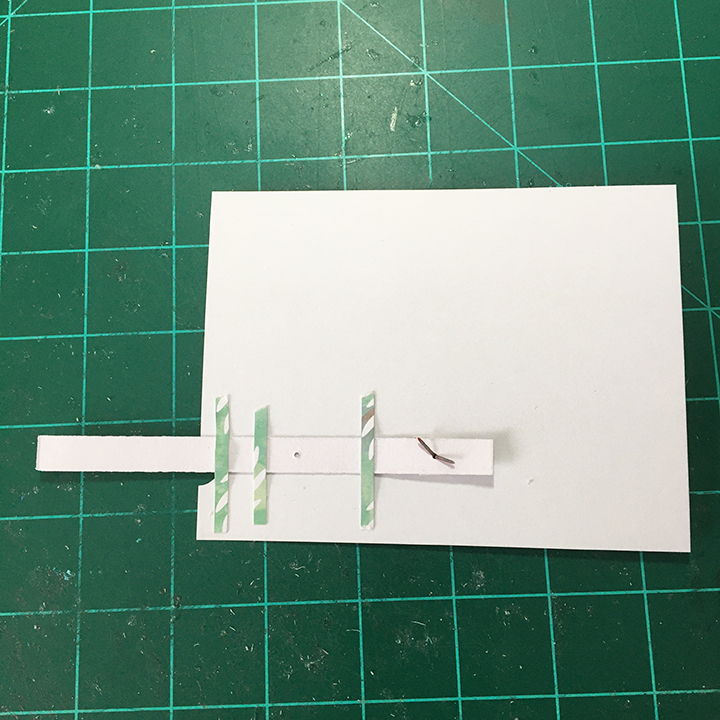
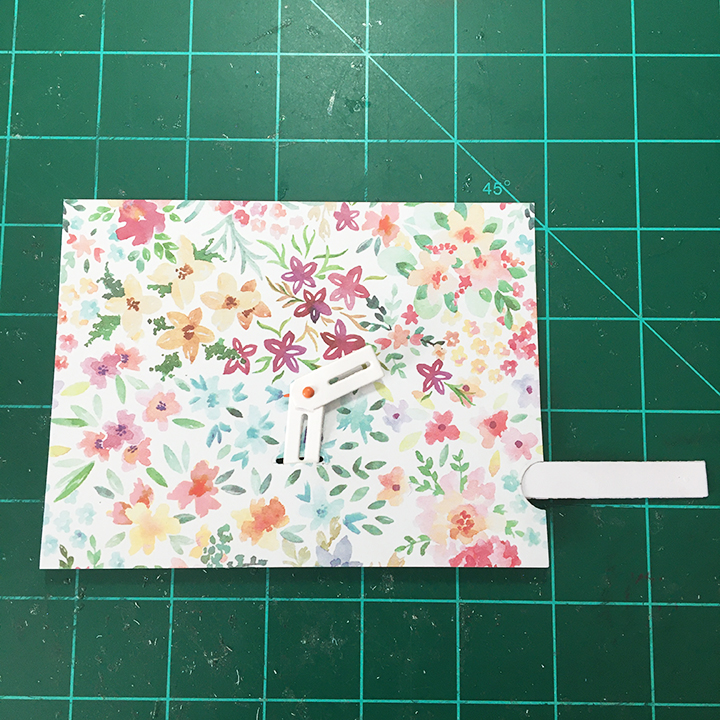
In my stash was a teal-colored card base which I glued the coverplate to using a fine-tipped glue bottle. The back of the card was decorated with left-over strips from die-cutting.

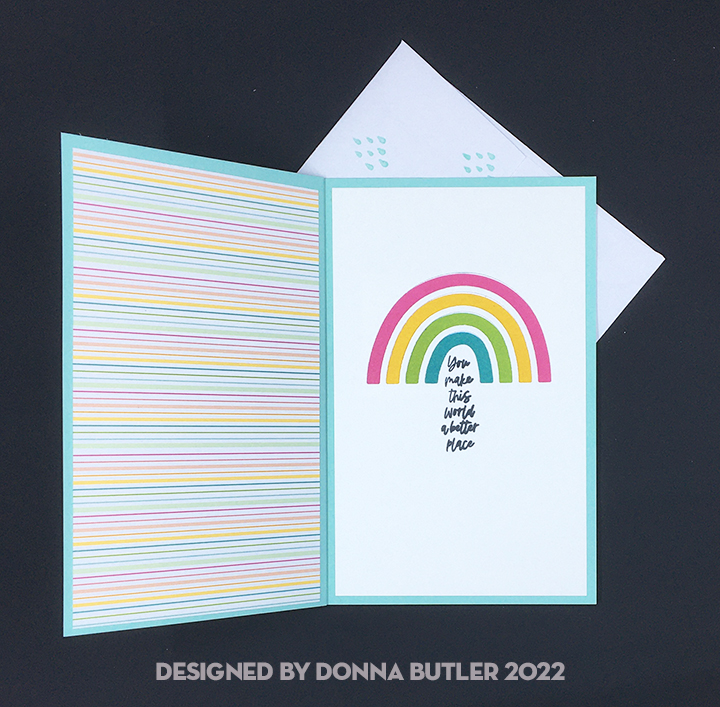
The banner sentiments were ones I had hot foiled during a batch foiling session. The inside sentiment comes from a PoppyStamps clear stamp set and was stamped onto adhesive-backed yellow vellum using Staz-on black ink. (I used a heat tool to speed-up the drying time of the Staz-on ink before I adhered the vellum to the inside of the card.)

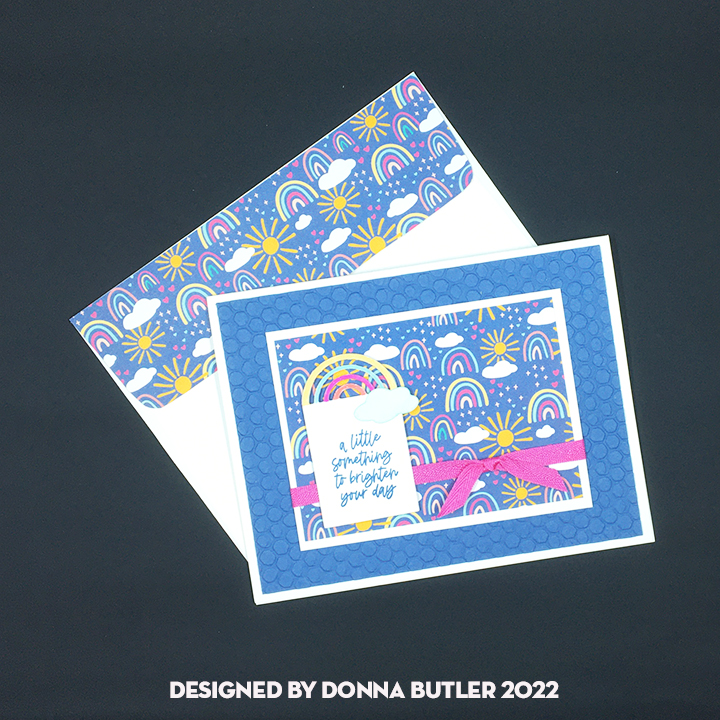
The back flap of the envelope is stamped in green ink with a cluster of flowers hinting at what is to come inside the envelope.
Thank you for reading this blog post. Please like and leave comments 😊
Materials Used:
Dies
Stamps
- PoppyStamps – Clear Stamp Set – Colorful Life – CL509
- All Seasons Wreath Clear Stamp Set designed by Clare Buswell- free gift in Cardmaking & Papercraft, issue 190
Inks
- StazOn – Solvent Ink – Jet Black
- Stampin’ Up – Classic Stampin’ Pad – Pear Pizzazz
- Crayola blending markers
Foiling
Papers
- Orange, green and yellow scrap cardstock
- Lightweight pale yellow and neon green cardstock
- Xcut – Xtras Adhesive Vellum Sheets – Yellow
- A2 teal card base and white envelope
Miscellaneous