There are some situations where words just don’t seem enough. This is a tunnel card for someone experiencing loss.

It uses the i-crafter Tunnel Card Base, Swan die set designed by Lynda Kinase. It assembles quickly although the detailed cattails and swan head do require some detailed coloring or in my use, paper piecing. Watch the assembly video before die-cutting.

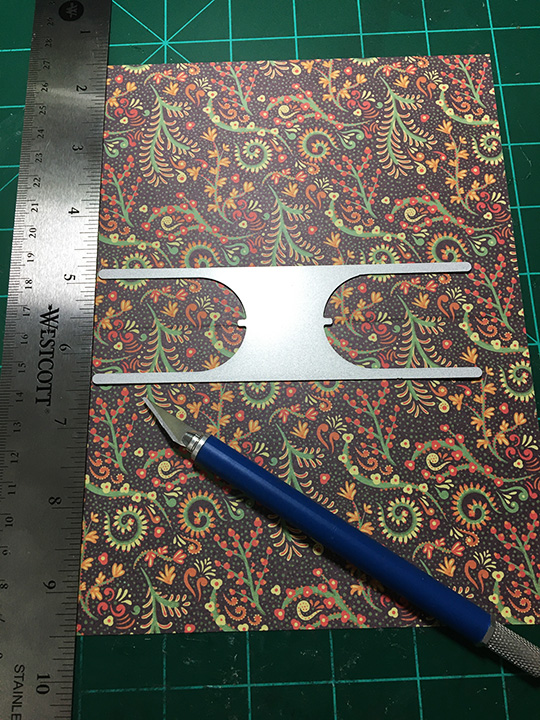
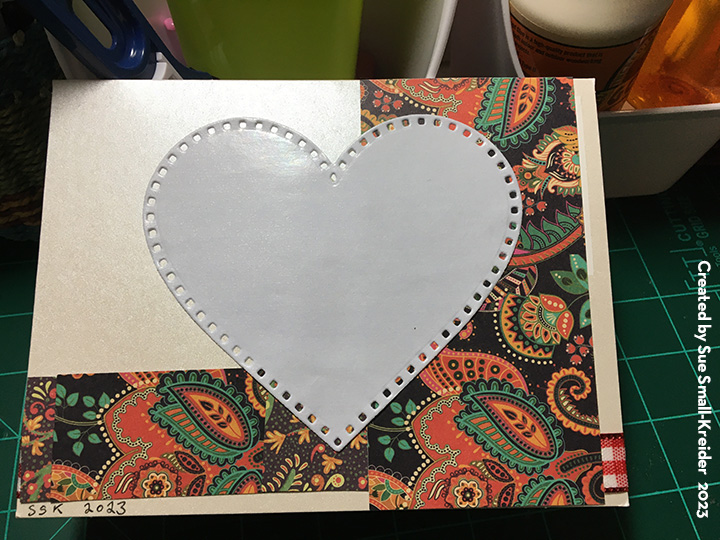
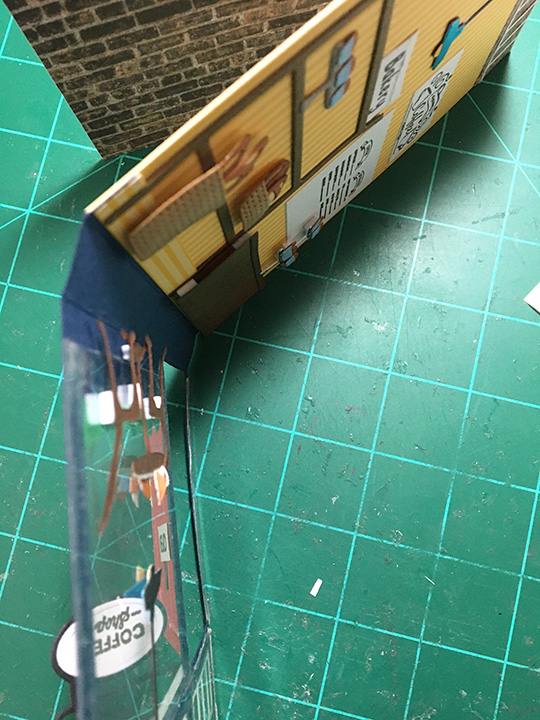
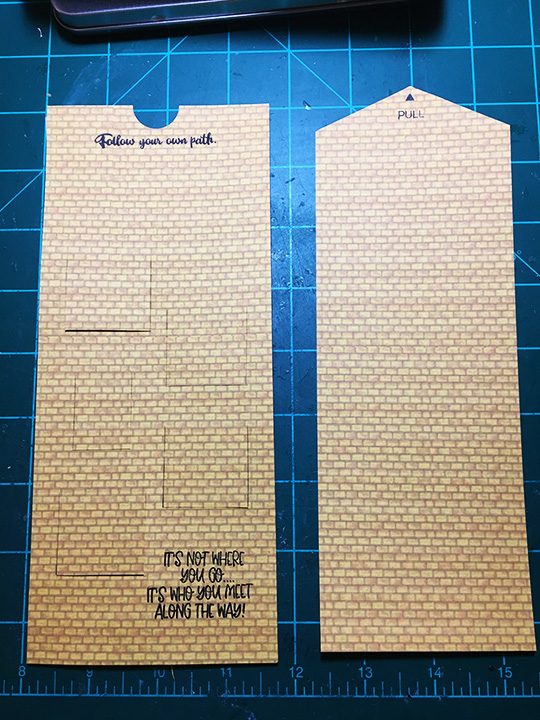
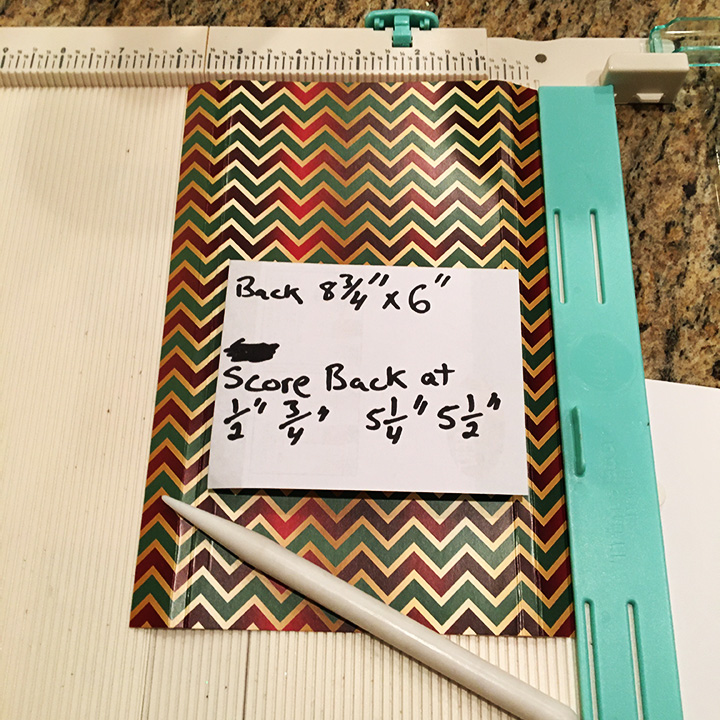
The card base is cut three times using a different circle insert for each layer. I cut my bases from some white and gray craft cardstock. I cut two banners from pure white cardstock.

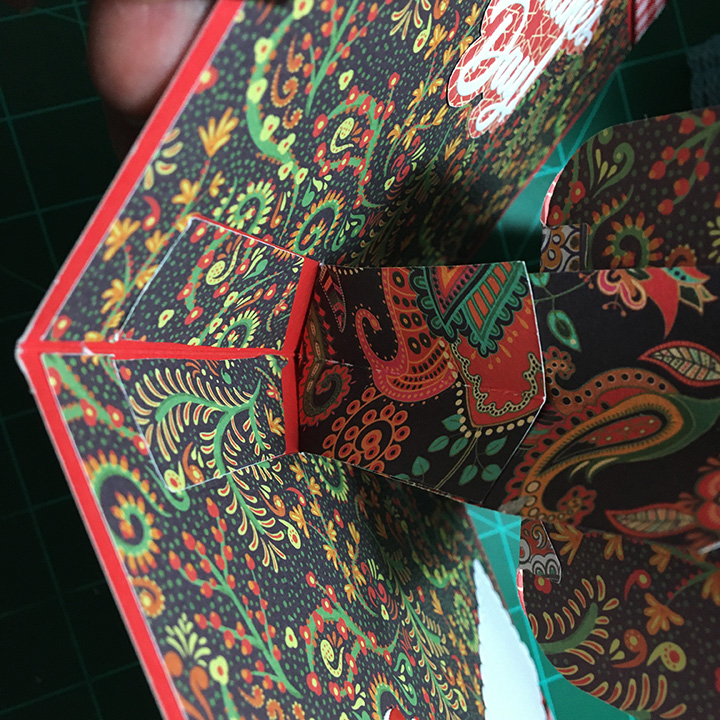
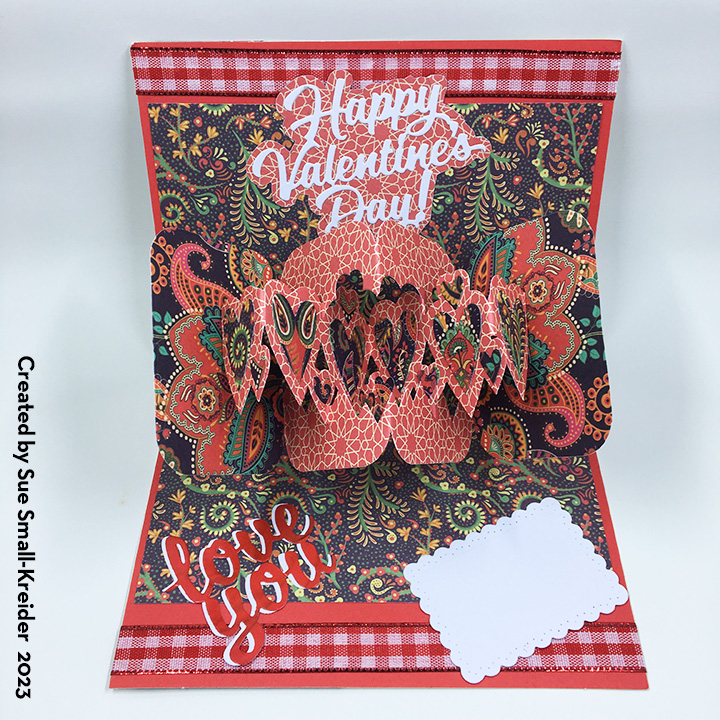
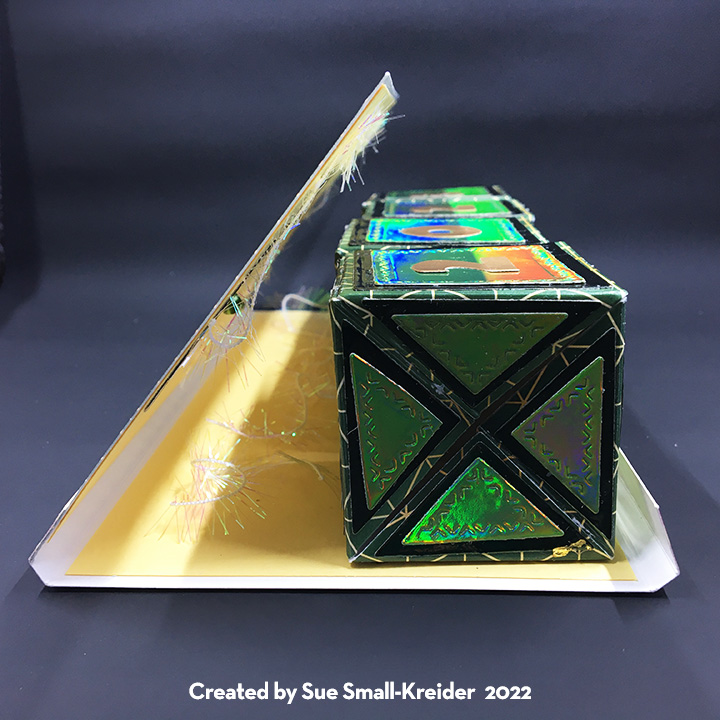
By using some printed watercolored papers, I was able to get the look of watercolors without having to get out my paints. The cattails and hanging green leaves were cut from various parts of one sheet of the Funky Fossil Design’s Watercolour Rainbow paper utilizing the various shades and hues on the green/blue/purple sheet. The swan’s beak and part of its head were cut from orange and the black band colored with black fine tip pens and a white gel pen for its eye, then trimmed down to the black band and beak. This was glued to the swan cut in pure white. The completed swan was attached to the middle box layer with the swan circle cut in the middle. The seven cattail pieces that I cut were added first to the front layer and then the leftover three pieces were added to the middle swan layer.
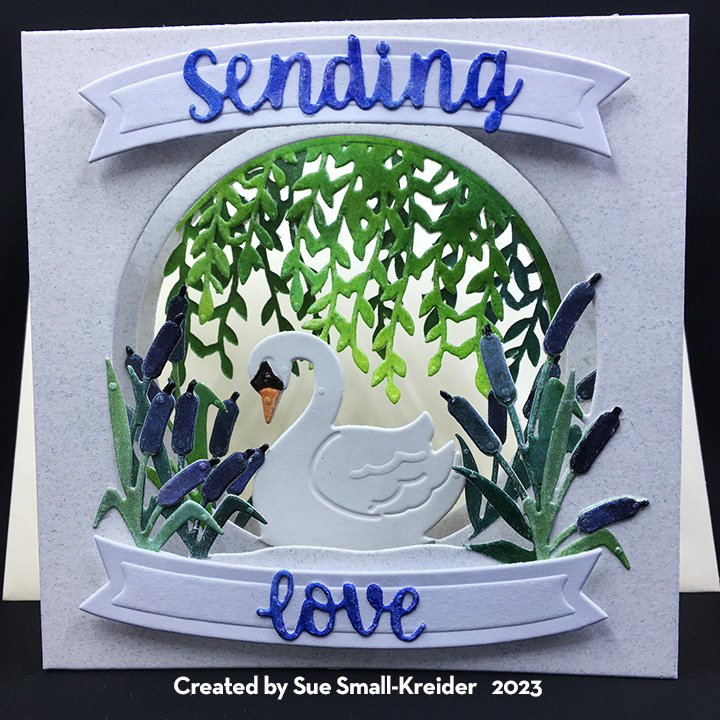
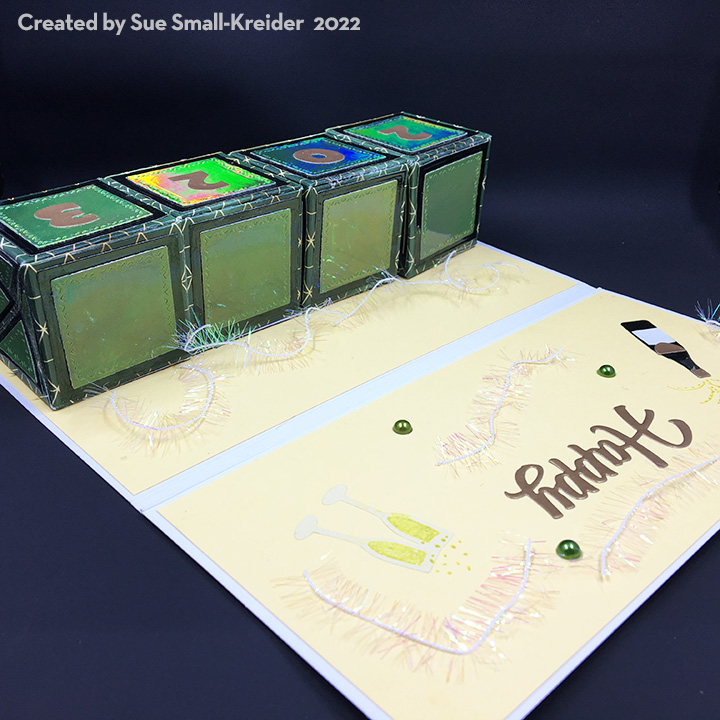
I didn’t have any stamps that fit the banners with a sentiment that I liked, so I used words from two of Karen Burniston’s word sets to say “sending love” cut from some of the purple/blue watercolor paper. The words were glued to the banners and the banners were attached to the front layer with foam squares.

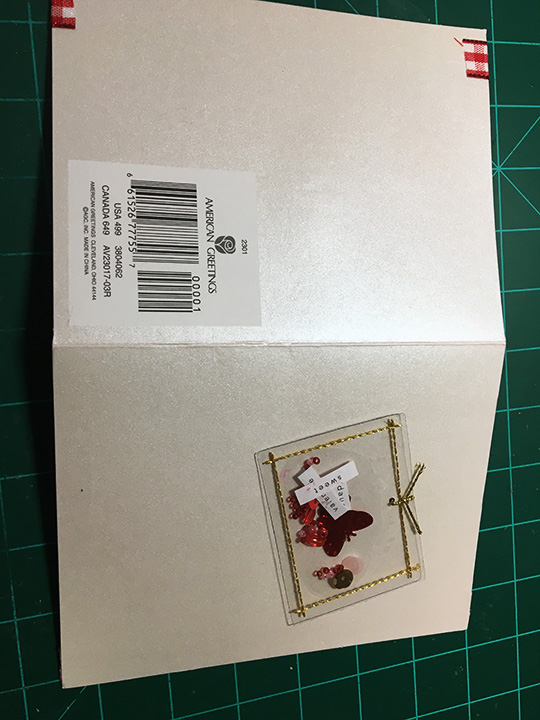
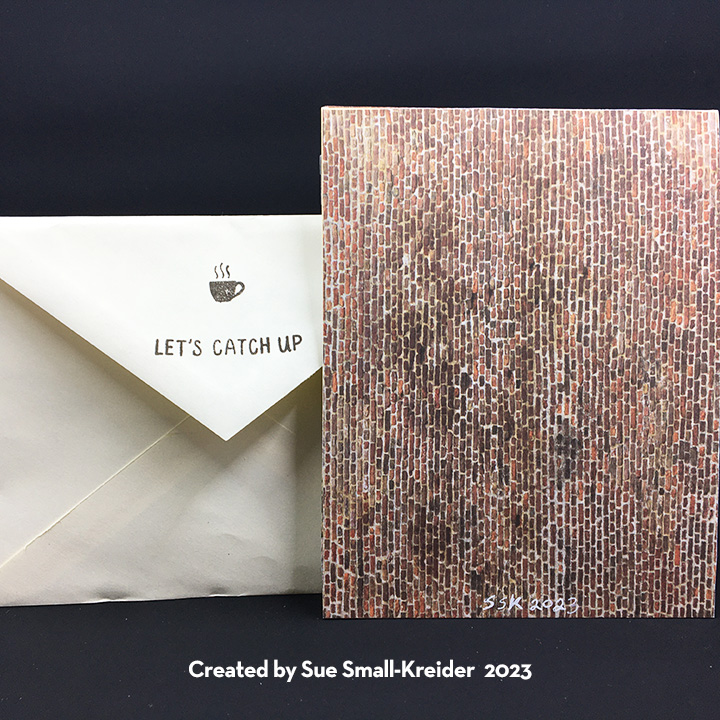
As is my way, I decorated the back flap of an A2 cream envelope with some of the leftover light green vining leaves to hint as to what is inside the envelope.
See other other i-crafter projects below:
- Heart Hands
- Popping, Hoppin’ Bunnies
- Box Pops, Oval Base Makes
- Impossible Boxes for Photographers
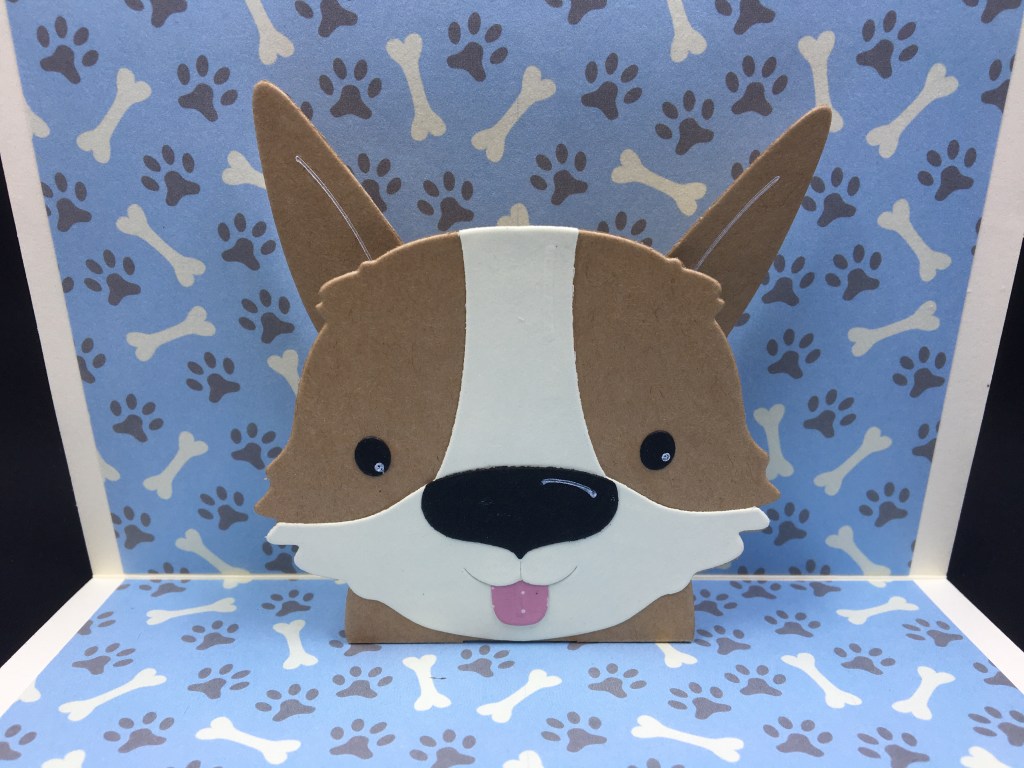
- Puppy Love
Thank you for reading this blog post. I hope it brought you comfort and inspiration. Please like and leave comments 😊
Materials Used:
Dies
- I-crafter – Tunnel Card Base, Swan Die Set by Lynda Kanase – 222176
- Karen Burniston in cahoots with Riley and Company – Word Set 14 – Hugs – 1182
- Karen Burniston in cahoots with Riley and Company – Word Set 13 – Snow – 1167
Papers
- Funky Fossil Design – Watercolour Rainbow Printed Papers 180 gsm
- Pure White Cardstock
- A2 Envelope – Cream
Inks & Pigments
- Pigma Micron 01 – Black
- Pigma Micron 05 – Black
- Sakura – Gelly Roll 08 – Gel Pen – White
Miscellaneous
- Neutral PH Adhesive by LINECO
- Fine-Tip Glue Bottle
- Die Cutting Machine
- Piercing Tool
- Scissors
- Foam squares