Vintage greeting cards are charming. Using royalty-free images from Dover Publication’s Electronic Clip Art is a great way to use vintage images and resize them to fit your needs on a computer. I printed both flowery birthday images from a book with a CD-ROM called Treasury of Greeting Card Designs. The front fan image I printed on printable glitter cardstock. I put two of the same size of the smaller calling card image on regular white cardstock.
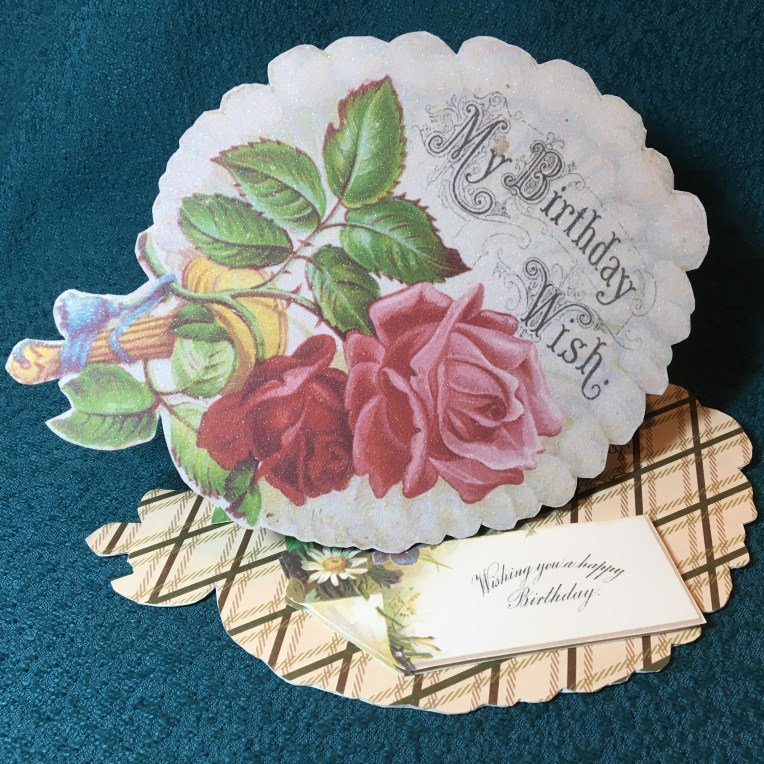
Fussy cutting all the images was necessary. Of the two smaller images, I cut one fully out and the second one I only cut-out the calling card portion. The calling card is placed on foam squares to form the rest for the “easel” fan front.
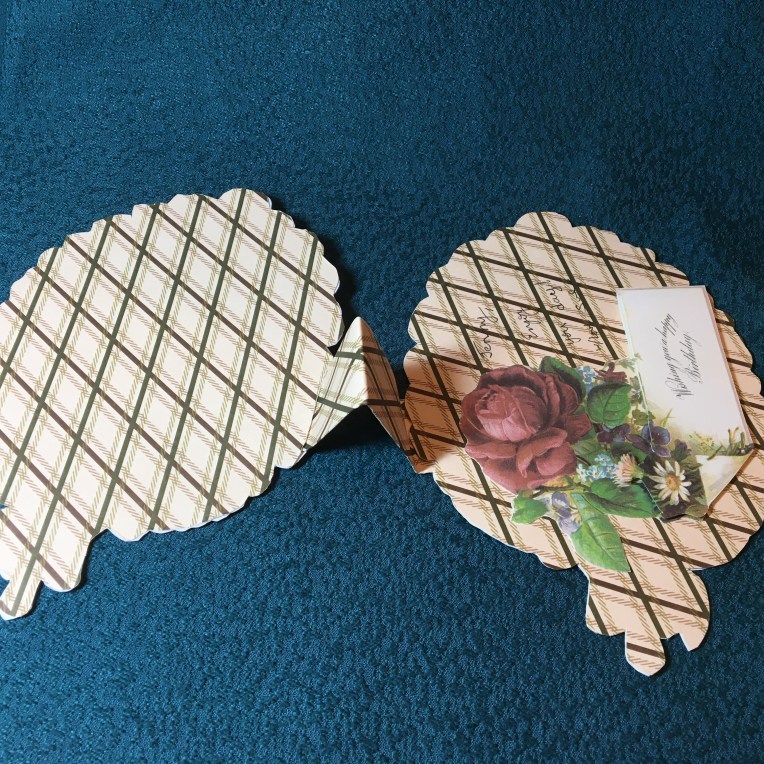
I traced the fussy cut fan onto a piece of white cardstock and cut it out for the card base. I covered the side of the base that would show when open with double-sided tape and then laid the plaid paper from the Victoria & Albert collection of fabric and wallpapers on top and fussy cut it. Next, I adhered the smaller image to the plaid side of card base positioning it so it would act as the easel rest. From the same plaid paper, I cut a 3.5-inch-wide strip folded in long-wise in half and using double-sided tape inside made a 1.25-inch-wide strip that was plaid on both sides.

This strip I adhered using strong red double-sided tape to the backside of the fan image and then aliening it up with the bottom image, I attached the strip to the backside of the card base. Using the same technique of taping the backside of the fan image and the card base, I covered up the adhered plaid strip. Inside using plaid paper and the card base back with flowered paper again from the V&A collection.

SUPPLIES USED:
Images:
- Treasury of Greeting Card Designs edited by Carol Belanger Grafton, Dover Publications, Mineola, New York, 2006.
- (Note about Dover clip art publications: Their policy states that you may use up to 10 images from a single book without having to ask their permission.)
Paper:
- V&A Collection of paper crafts
- White card stock
- Staples Printable Glitter Paper
Miscellaneous:
- 1/8-inch double-sided tape from Scrapbook.com
- ½-inch strong red doubled-sided tape
- Foam squares


 Assembling the globe: I added a few white and silver sequins and a hint of fine snow glitter. (I find the that glitter clings to most of the surfaces inside the globe and a hint gives a sparkle without fogging up the globe.) Using clear removable tape, I sealed the back of the globe with the house and hills which were attached to the stamped globe cut-out. Once the globe was sealed, it was placed into the stamped card with the globe cut out.