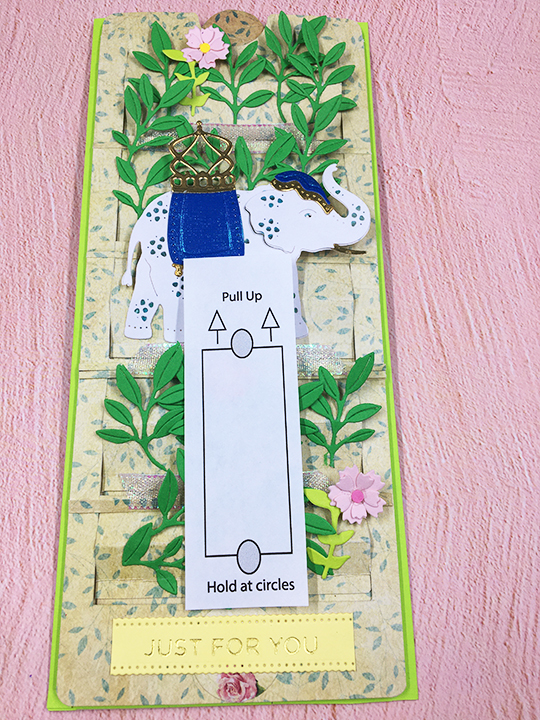
In honor of all newly minted sixty-year-olds, this card is in tribute to you (whether you want to believe it or not.)

Flying Pig: Bonnie Krebs has designed this delightful flying pig as one of Art Impressions Flutters cards. The set comes with dies to cut out the pig and the two wings as well as punching holes in the pull strip and cutting the slot for the pull arm. This pig and wings were stamped in permanent black ink and colored with watercolor pencils. The instructions on the packaging are good, but watching a video or two helps with the exact assembly using the tiny brads that are included in the stamp and die set and either twine or thread. The pull arm is a piece of heavy cardstock that is ¾ inch wide and at least 6 inches long. (You can trim the arm shorter once the card is assembled.)


Card base: The foiled pink plaid card base is one from a boxed set of 50 cards and envelopes size A2. Once the pig was assembled onto its pull arm, a slot was cut using the slot die and the half circle finger hole was cut through the front and back of the card base. (I recommend laying-out and pencil marking where the inside insert papers will be and cutting the half circles on them, before you do the final assembly of the flying pig pull arm onto the card base.) The pig is adhered to the card front using tiny foam squares, once the pull arm is through the slot in the card base.
Front decorations – 60 and Pull Here: The 60 was cut from a foiled chocolate box using dies designed to be birthday cake candles. The flame and stand were trimmed off the 6 and 0. Once the pull arm has been installed to the card base, trim it off to fit inside the card base and round the corners with a corner punch. Stamp or write “Pull” with a directional arrow. (The stamp used here was from Concord & 9th)
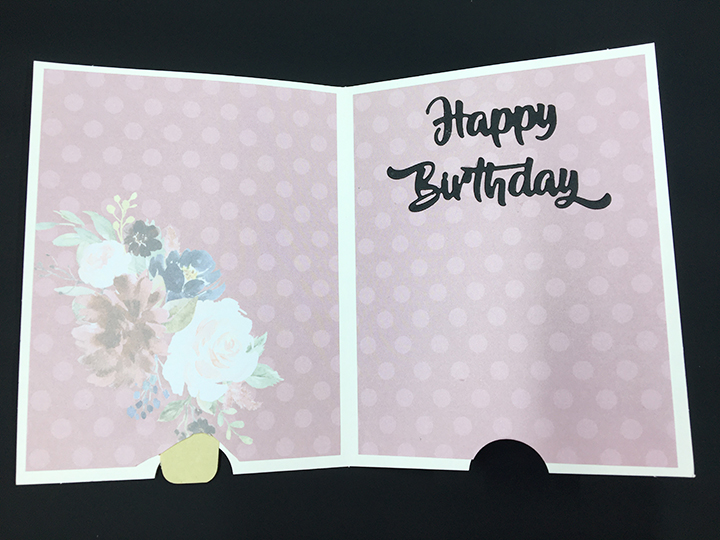
Inside: With the flying pig mechanism installed, adhere the inside papers using double-side tape making sure to leave a gap for the pull arm to move through freely. Add the die-cut birthday sentiment using glue.

Envelope: I stamped the back of the envelope with birthday cake stamp to set the stage for this milestone birthday card.
Thank you for reading this blog post. Please like and leave a comment. 😊
Supplies
Dies/Stamps
- Art Impressions – Clear Stamps with dies by Bonnie Krebs -Pig Flutter Set-4975
- The Greetery – Steel Dies – Cake Pops Number Candles
- Momenta Firefly – Celebrate Happy Birthday die set – 35516 R7
- Concord & 9th Mail Drop Stamp Set
- Stampin’Up Blow Out The Candles stamp set – “Happy Birthday”
- Small corner punch
- 1” circle hole punch
Ink
- Memento – Tuxedo Black ink pad
- Stampin’ Up Early Espresso Ink Pad
- Nuvo – Watercolour Pencils – Elementary Midtones and Dark Shadows
Paper
- Colored and white scrap cardstock from my stash
- Craft Smith – Hot Buy – foiled plaid 4.25 IN x 5.5 IN Cards and Envelopes
- Hunkdory – Rosey Reflections Luxury Card Inserts – Rosy102
Miscellaneous
- PVA Glue – Cosmic Shimmer Acrylic Glue
- Scrapebook.com Clear Double Sided Adhesive Roll ¼ inch
- Tiny brads from the stamp set
- Foam squares
- Baker’s twine – 6 inches long
- Tonic Studios – Tim Holtz Stamp Platform
- Ranger – Tim Holtz® Waterbrush Detailer Tip – TIP33080
- Scissors