Colorful holiday lights fill up the long winter nights. This little holiday house luminaria would be perfect as a holiday table decoration or a child’s nightlight. (Note: Use battery powered candles only.)
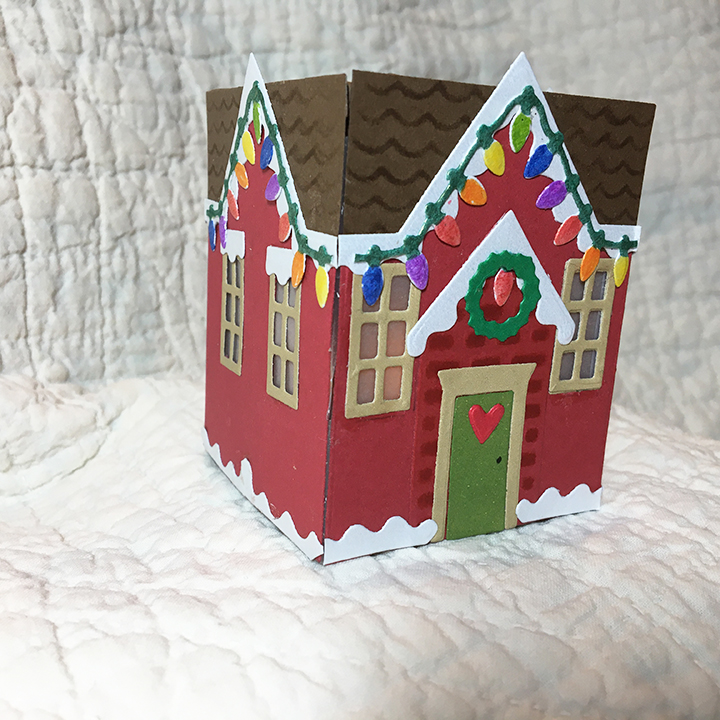
Made with Karen Burniston’s recent release of her holiday house die set, this 3-inch tall by 2 ½ inch cube has slight modifications made to original two-dimensional design. I cut four of each of the die pieces, (except for the smaller house shape and door pieces, of which I cut two each.) I stenciled the roof pieces and brick pieces first and then assembled two houses exactly as shown on the package with one modification, I used a craft knife to cut out the windows on the red house piece.

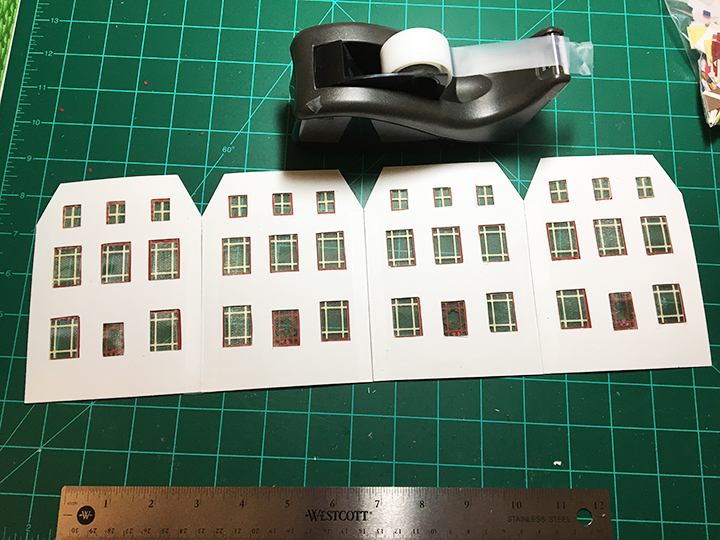
To cut the windows I used two of the window frame pieces to decide on placement and then I traced with a pencil around them. Using a metal ruler and craft knife I cut an 1/16 inch inside the pencil marks, so that the window frames would still have an edge to glue onto the red house. For the sides of the house without a door, I made sure the tops of the windows lined up with the tops on the front and back of the house. (HINT: If you are going to make a lot of these houses, make templates from heavy cardstock to trace where the window cut-outs would be.) Glue strips of vellum to the back side of the house pieces to act as window glass.

I cut the snowy roof edging and string of lights from white shimmer paper. The lights were colored using markers before assembling the house. The snow on the ground around the house were scraps from the die cutting of the roof edging pieces.
To assemble, trim the roof sides to be the same as the house sides. Next, lay all the pieces side by side and tape them together on the back side.
The roof top is a 3-inch by 3-inch square that was stenciled moving the roof die across the square. Using a score board score ¼ inch from all four sides of the square. Snip on of one the scored sides of the tiny squares to form tabs. Fold on all four score lines to form a square tray shape. You can push this tray up inside the house cube. No glue needed.
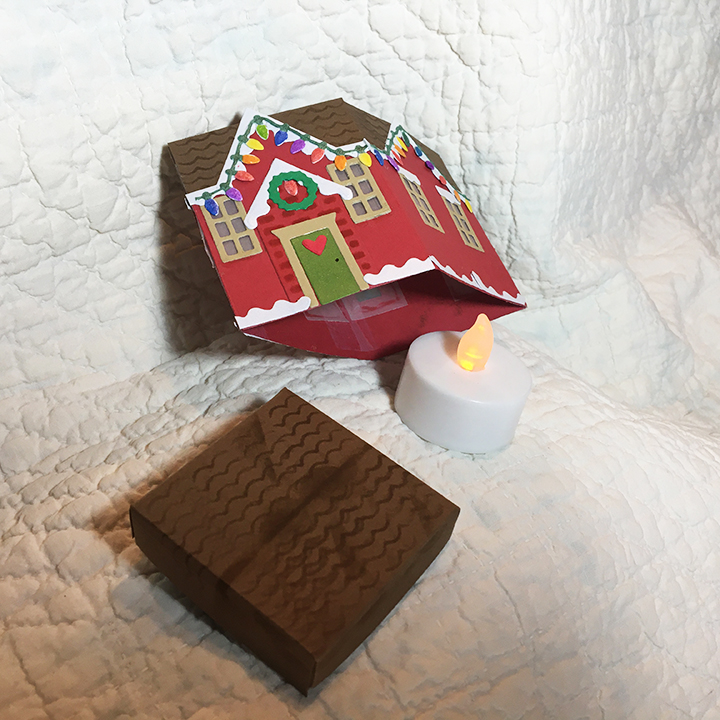
The house and roof will fold to mail in an A2 envelope.
Thank you for reading about this little house. Please like and leave a comment. 😊
Links to other luminaria and houses:
Victorian Trim House Luminaria
Also see the series of “A Week of Christmas Houses”
Day 1 – From Our House to Your House
Day 4 –Keeping the Home Fires Burning
Day 6 – Santa Delivers to the Tropics
SUPPLIES
Dies/Punches
Ink
- Ranger Distress Ink – Mowed Lawn
- Ranger Distress Ink – Walnut Stain
- Ranger Distress Ink – Fired Brick
- Crayola Signature Brush & Detail Dual-ended Markers
- Stanford Uni-ball Grip -fine point – Black
Paper
- Colored scrap cardstock and up-cycled envelope from my stash
- Hobby Lobby – Vellum Paper – 8 1/2″ x 11″
- Recollections – 65 lb. 8.5 in x 11 in Shimmer Cardstock – White Gold
Miscellaneous
- Cosmic Shimmer Acrylic Glue
- Clear removable tape
- Battery operated tea light

So cute! Thank you for the instructions.
LikeLiked by 1 person
You are very welcome. Let me know if you have any questions.
LikeLike
That is so cute….perfect tabletop decoration!
LikeLiked by 1 person
Thank you Donna 🙂
LikeLike
This is adorable
LikeLiked by 1 person
This is so cute!!
LikeLiked by 1 person