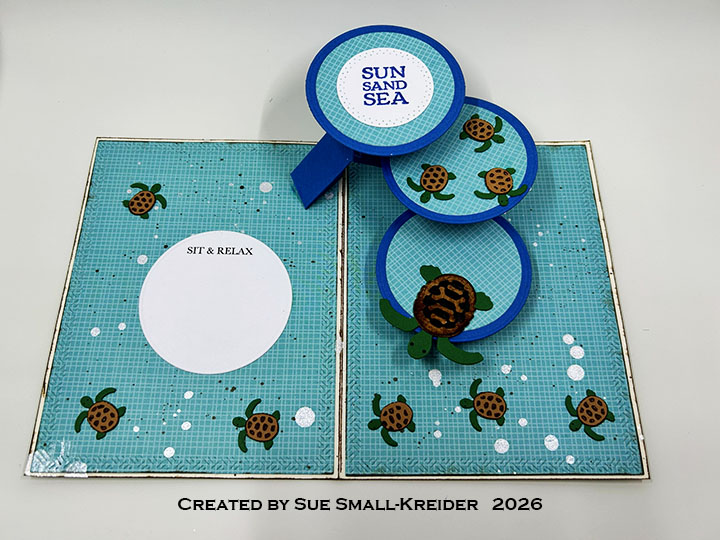
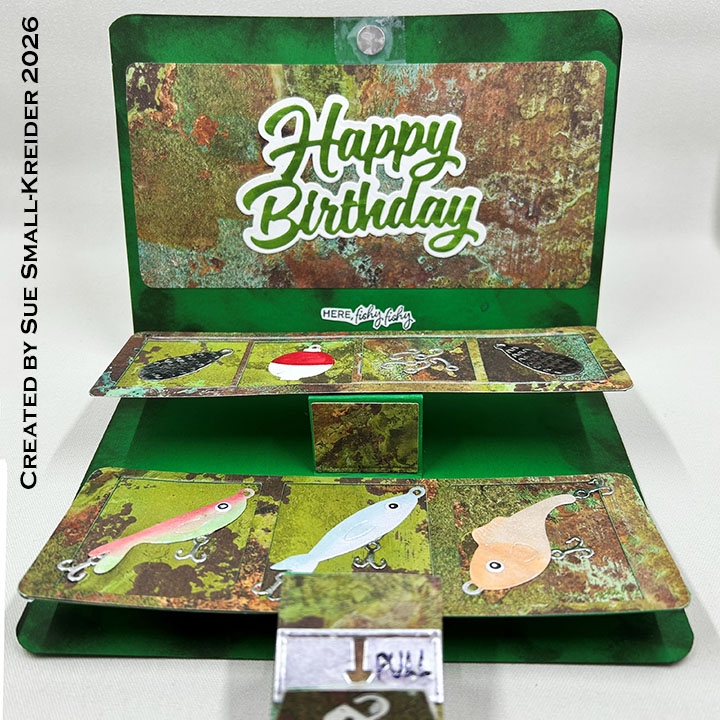
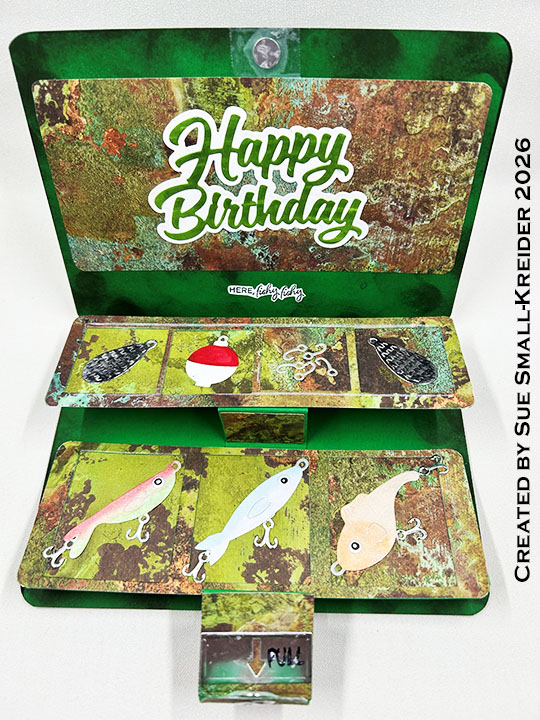
It’s time for Sneak Peek Week for Karen Burniston‘s July 2026 release of ten new die sets and five new stamp sets. This card features the new Cascade Pop-Up, Square Cascade Add-Ons, Dessert Elements and Little Bench Pop-Up die sets as well as Sweet Life Sayings stamp set. New dies and stamps will be available on July 23, 2026 on Karen Burniston’s website.
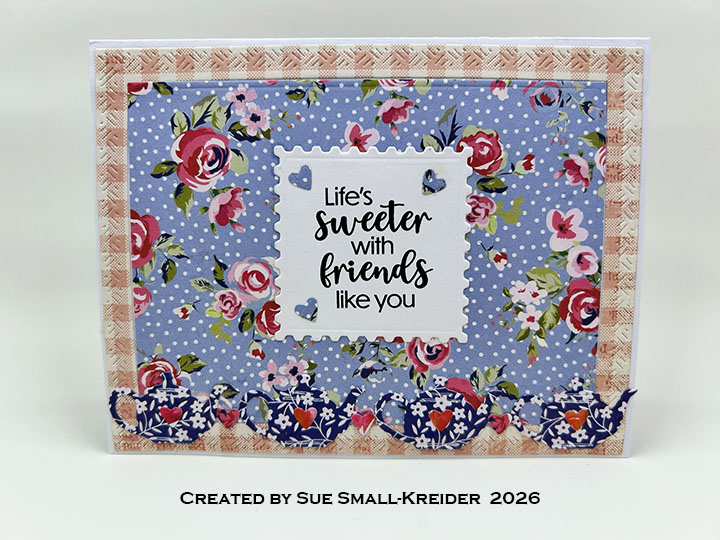
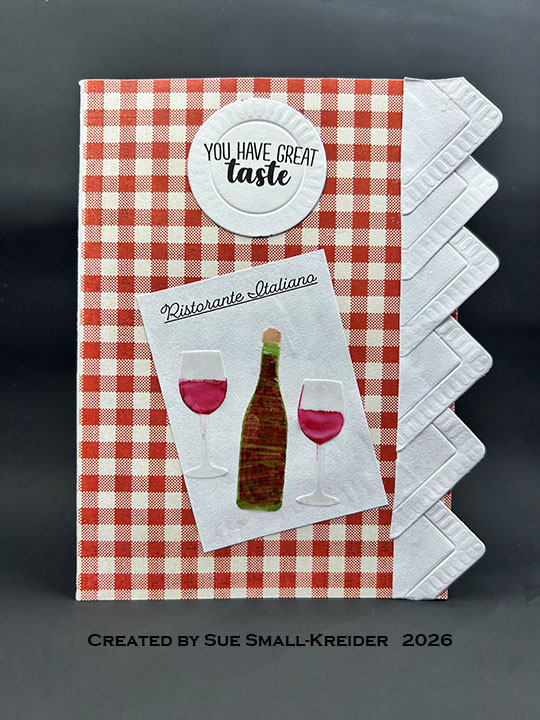
Cardbase: I used a purchased (4.25×5.5-inch) cardbase and covered the four panels, inside and out, with frames and rectangles of patterned paper cut using the the two largest dies in the Rectangles – Crosshatch set.
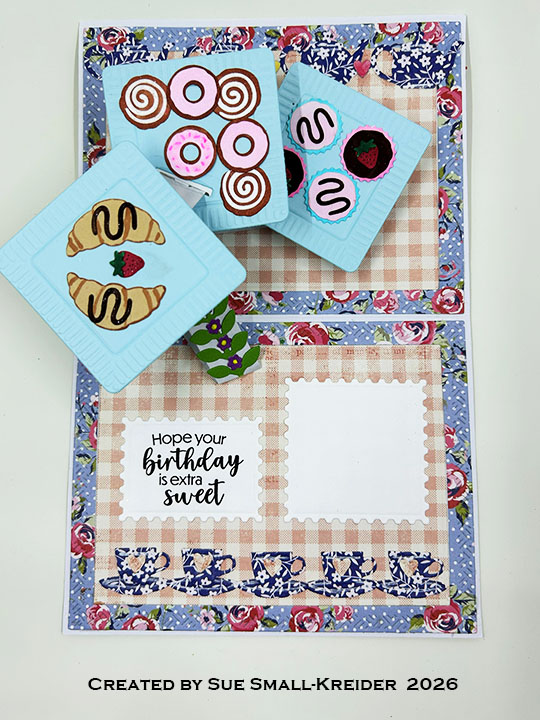
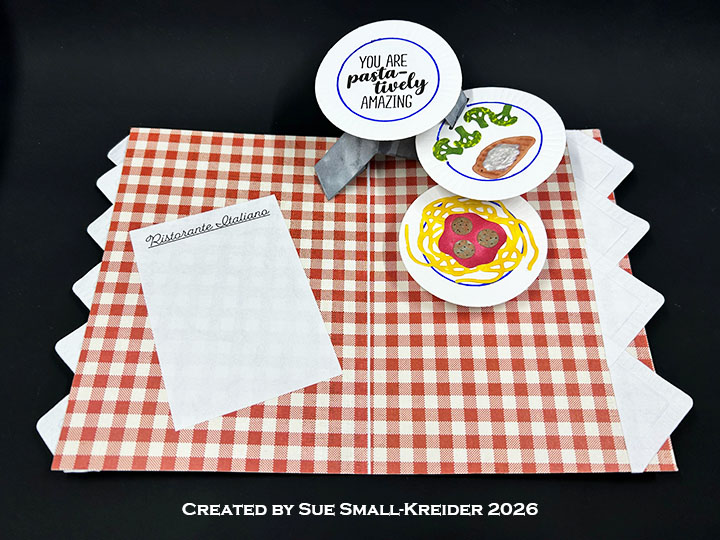
Tea Party: The teapot and tea cup borders used inside and out on the card are from the previously released Tea and Coffee Borders die set. The square plates of cupcakes, doughnuts and sticky buns along with the croissants are cut using the Dessert Elements dies. (I used white cardstock and alcohol markers to colour the food.) The square plate dies have an emboss feature which works well with heavy cardstock.
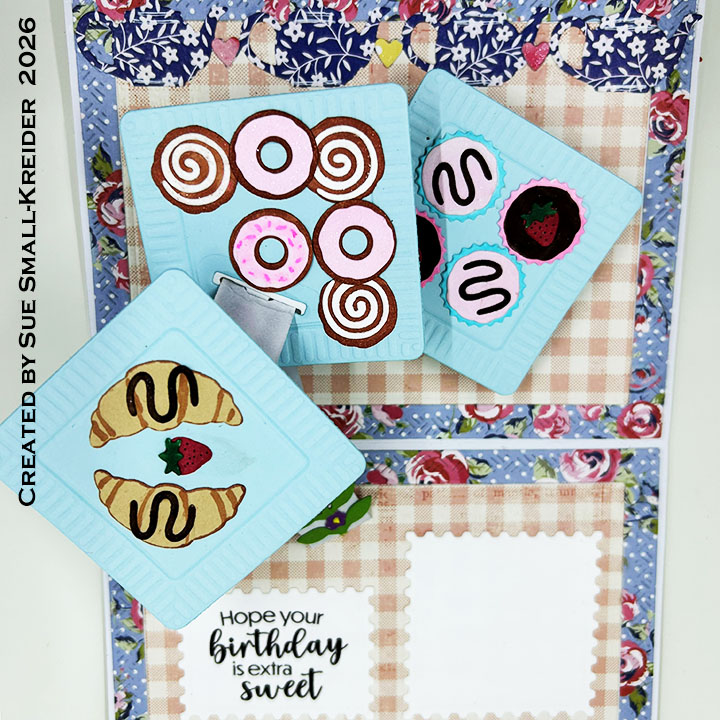
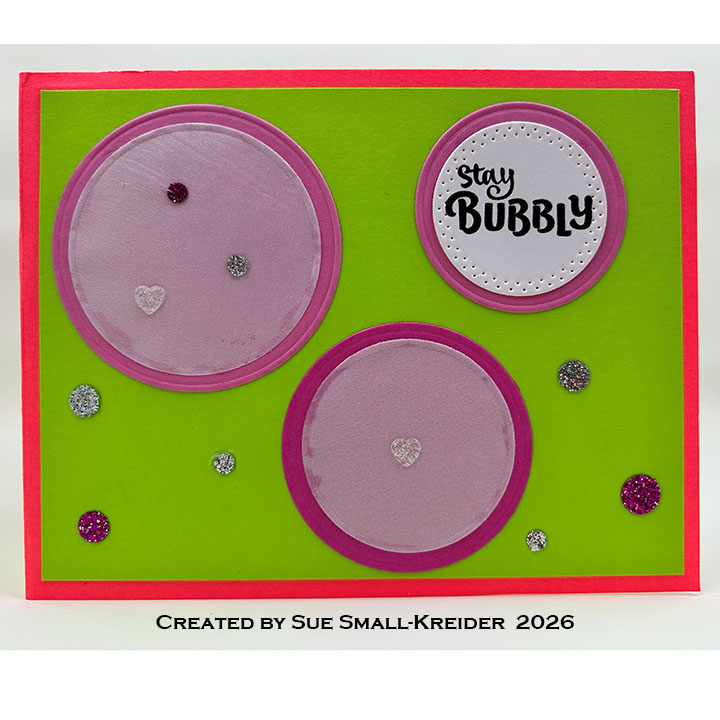
Cascading Circles Pop-Up: From medium to heavy cardstock, cut one of the large mechanism piece, and one of the small strip using the Cascade Pop-Up die set. (I cut these pieces from white and colored them with a gray marker.) Following the directions on the packaging, install the mechanism. (I cut the slotted square from the Square Cascade Add-Ons and then used one of the smaller squares in the set to make the platform smaller, but still retaining the slot. I positioned one large square plate die with the movable slot die to fit on the middle platform and still stay inside the card when closed.) Next, add the three square plates with the slotted square on the middle platform with the strip going through the slot. Decorate with food and flowers. ( I used the green leafy stem from the Cascade Pop-Up die set, with leftover tiny purple and yellow flowers that I had from the Little Bench Pop-Up set.)
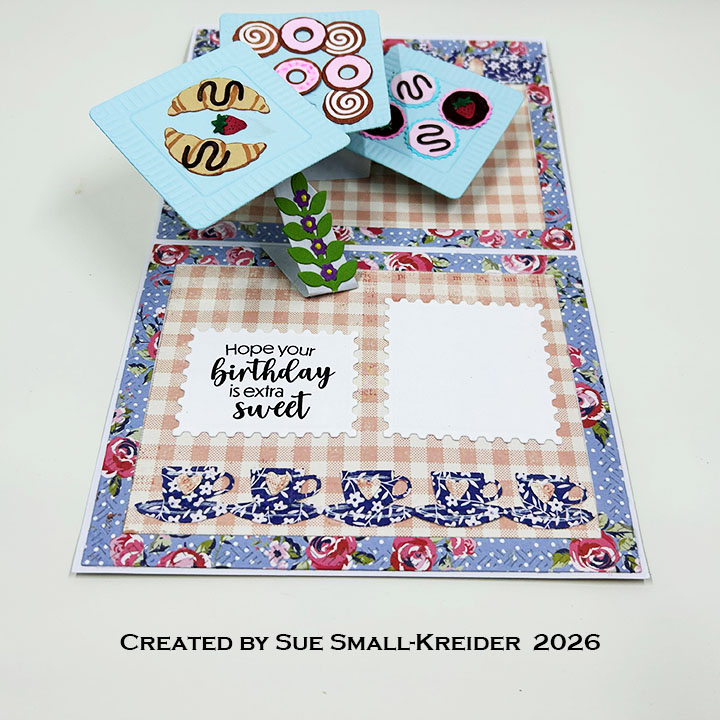

Sentiments: All the stamped sentiments come from the Sweet Life Sayings stamp set. They are cut out with the postage edged dies from the Square Cascade Add-Ons set.
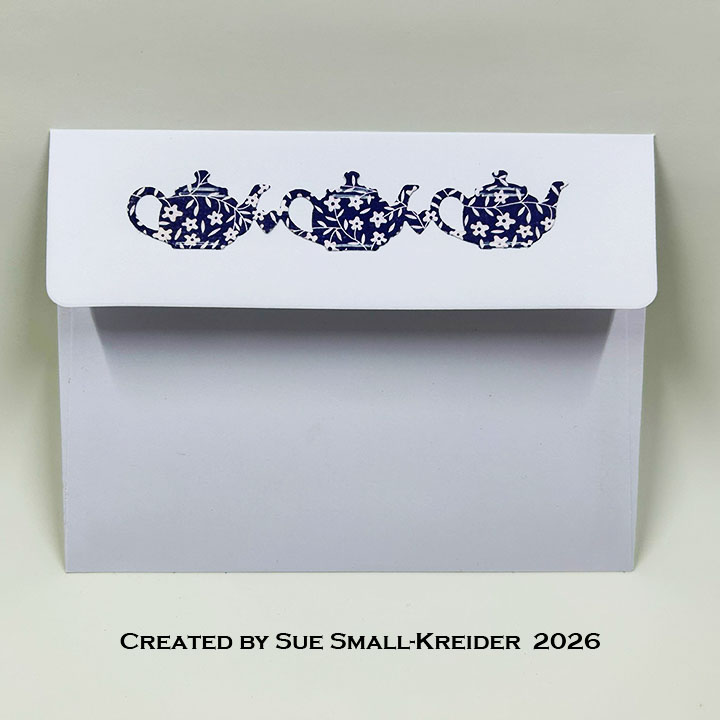
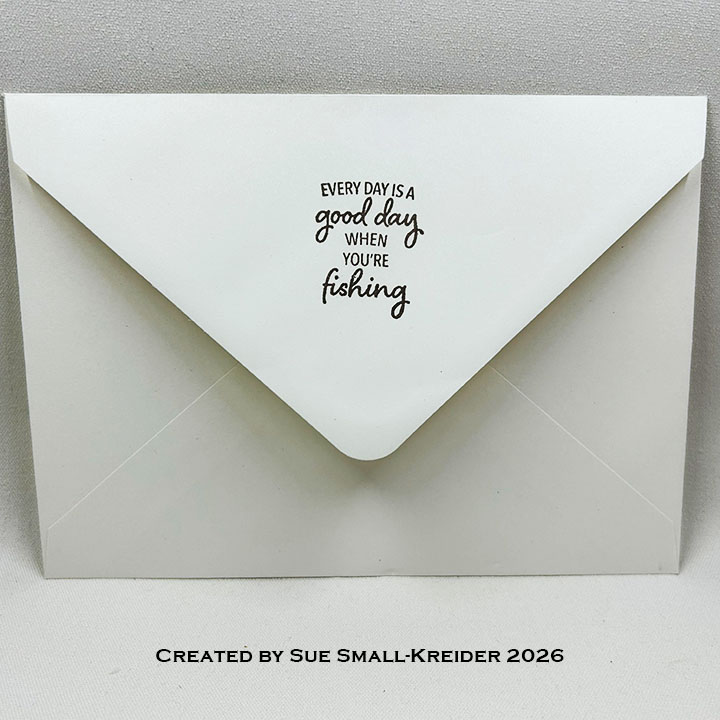
Envelope: This card fits into an A2 size envelope decorated with teapots cut from the Tea and Coffee Borders die set..
___________________________________
Thank you for experiencing this blog post.
I hope this inspires you and makes you smile.
Please subscribe, like and leave comments 😊
Follow my YouTube channel, Instagram and Pinterest as well.
___________________________________
Disclaimer: Karen Burniston products are provided free of charge by the manufacturer for review and use. All other items were personally purchased. Compensated affiliate links used where or when possible, meaning I will receive a small percentage commission from these manufacturers at no cost to you. This will allow me to add more content to my YouTube channel and help out a lot. Thank you.
Materials Used:
Dies
- Karen Burniston in cahoots with Riley and Company – Little Bench Pop-Up – 1341
- Karen Burniston in cahoots with Riley and Company – Dessert Elements – 1339
- Karen Burniston in cahoots with Riley and Company – Square Cascade Add-Ons – 1337
- Karen Burniston in cahoots with Riley and Company – Cascade Pop-Up – 1336
- Karen Burniston in cahoots with Riley and Company – Tea and Coffee Borders – 1270
- Karen Burniston in cahoots with Riley and Company – Rectangles – Crosshatch – 1054
Stamps
- Karen Burniston in cahoots with Riley and Company – Clear Stamps – Sweet Life Sayings
Papers
- Simple Stories – 6×8 inch Double-Sided Cardstock – Simple Vintage Linen Market
- Blue, Green and Purple Cardstock
- David Tutera – A2 (4.25×5.5-inch) Cardbase and Envelope – White
Ink
- Memento – Fade-Resistant Dye Ink – Tuxedo Black
- OLO Marker – Neutral Gray 1, Bubble Gum, Cotton Candy, Dragon Fruit, Sky
- Pink Gel Pen
- Pigma – Mircon 01 Fine Tip Pen – Black
- Sakura – Gelly Roll Pen – Medium – White
- Sharpie – Permanent Marker – Ultra Fine Tip – Green
- Stampin’ Up – Stampin’ Blends – Marker – Light Copper Clay
- Stampin’ Up – Write – Marker – Cholocate Chip
Adhesives
Tools
- Die Cutting Machine
- Paper Trimmer
- Bone Folder
- Stamping Platform
- Stamping Blocks used as paperweights
- Scissors
- Tweezers
- Paper Masking Tape
- We R Memories – QuickStick
Miscellaneous
- Nuvo – Aqua Shimmer – Glitter Gloss
- Scrapbook.com – Pops of Color – Sunshine