A Stately Home for the Holidays

Victorian mansions of Italianate design fit so well into the Currier and Ives world of 19th Century images of Christmas, suggesting the warm and good cheer to be found inside such homes.

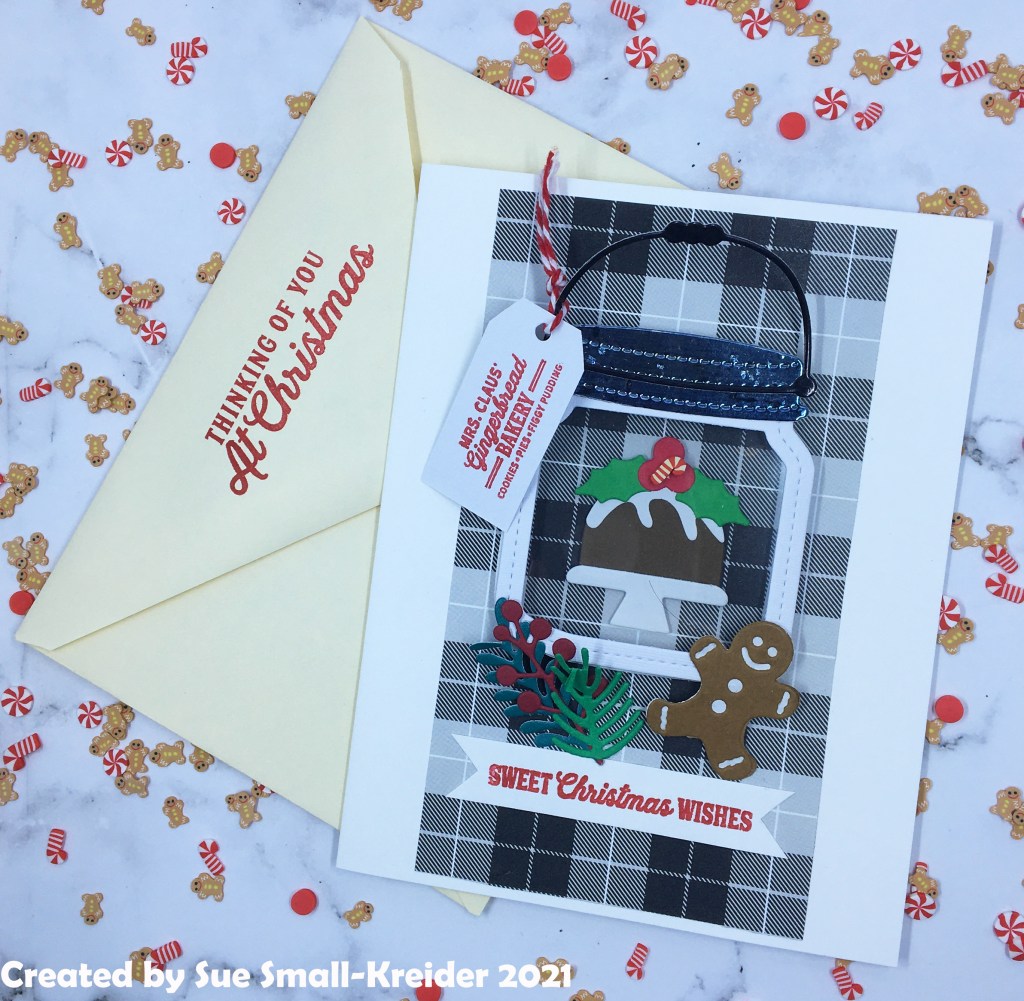
This card was made with Anna Griffin dies and stamps as well as printed card base and envelope.

While the mansion is intended to be used as a Halloween haunted house, the tower and arched windows reminded me of numerous red brick houses in the Midwestern United States. I cut the house twice from red cardstock, once from cream colored cardstock, and once from slate gray cardstock. Using the detailed window dies, I cut just enough of the different windows to match the various windows on the house from cream cardstock. From one of the red houses, I cut the porch walls with stairs attached, pillars, porch roof and tower above. I adhered the tower with thin foam squares and the porch brick walls with thick foam squares onto the other red house. From the cream-colored house, I cut the top porch wall decorations, front steps, porch pillars and porch roof. These were glued onto the red house.  From the slate gray house, I cut all the roof pieces including the porch roof. These were glued on to the base bouse. From the cream-colored house, I cut the eaves trim and tower fence railings. These railings and the top roof railings I colored with a gold metallic marker. The cream window frames were the last bits glued on to the house base.

Using the outline die of the Halloween house die, I cut a yellow patterned paper back for the house and glued the house onto it. 

For the Christmas wreaths and evergreen trees, I used dies from the Holiday Home Ease Card dies. Tiny scraps of patterned and textured papers add life to these wee decorations.

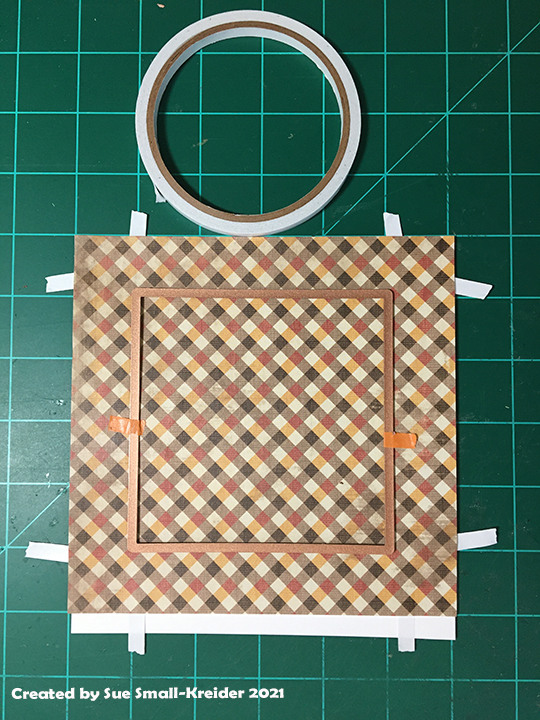
To turn the beautifully foiled card base into a slider card, I measured the finished house and lightly traced around the shape to know here the slider easel needed to be cut into the card base. (See this earlier slider card blog for more details.) The slider arm was cut using the door outline die from the Slimline Door die set and trimmed to fit the card base. A small hole punch was used to have a place to tie a ribbon pull onto the slider card which is hidden when the card is closed. A thumb hole was cut through both layers of the closed card base at the card top in the center using a 1-inch hole punch.

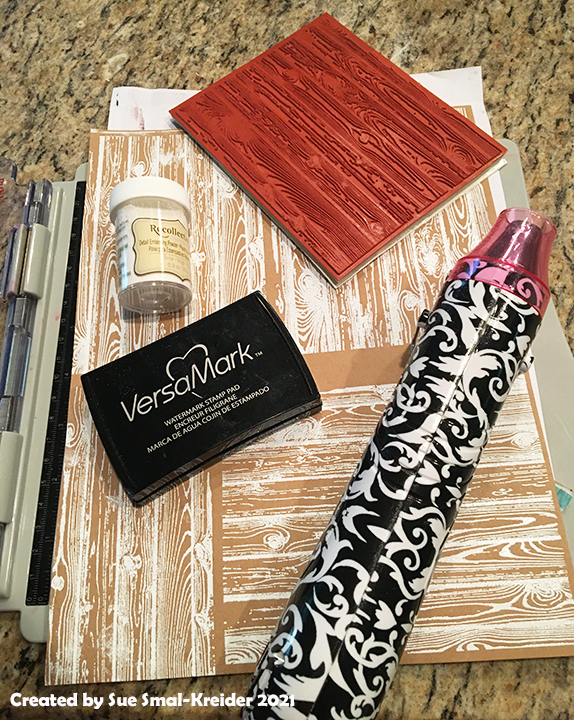
Before assembling the card, the sentiments were stamped with watermark ink and heat embossed on a cream piece of paper for the “Merry Christmas” and “Happy New Year” on to the top of the slider arm.

To assemble, the slider arm was glued to the backside of the lower tab of the slider easel. Next, using two layers of double-sided tape on the inside of the card base, along the two sides and bottom of the slider frame, the card was adhered shut.

The house was attached to the slider easel with foam pads on the front half of the easel. Ribbon was tied to the slider arm as well as a tiny tag saying “PULL” to ensure good CRX. (For more on good CRX see earlier blogs.)

Envelopes should never be left plain. They are the first hint as to what is inside. For this card I used a holly sprig stamped in dark green ink to set the Victorian mood of the card to come.

Thank you for reading. If you enjoyed this blog post, please like it and follow the blog. 😊

Click here for a list of other house cards on my blog.

Dies:

Stamps

Inks & Embossing Powders

  • VersaMark – Watermark Stamp Pad
  • Stampin’ Up – Classic Stampin’ Pad – Tranquil Tide
  • Nuvo Embossing Powder – Crimson Gloss
  • CraftStash – Gold Embossing Powder – from 2020 Advent Calendar
  • Gold metallic marker

Papers

  • Colored and white cardstock
  • Pattered paper from Mrs. Sparkle paper pads
  • Card base and envelope from Anna Griffin’s Present Pop-Up Card Making Kit

Additional Supplies:

An Autumn Day in the Park

Sometimes spending a holiday alone in a place far from home means that one must adapt and make new traditions, friends and feasts.

This penta-fold aperture card opens out to form a park scene complete with a water fountain and squirrels sharing acorns. Karen Burniston dies are used for all but the 4 inch square apertures.

Card base: Cut four pieces of heavy weight cardstock 6 inches x 6 ¼ inches and one piece 6 inches by 3 inches. Score and fold all the 6 ¼ inches sides at ¼ inch to form tabs.

Adhere decorative papers to the front and back of two of the tabbed squares. (I used double-sided tape at the outer edges of paper.) Center a 4-inch square die over the patterned paper and secure with removable tape. (Remember if you are using different papers for the inside and outside of your card to test that you have the papers on the correct sides of your tabbed card base panels before you cut the apertures.) 

Glue the aperture side panels to the 6-inch sides of the back panel whose tab is glued to the floor panel. The floor panel’s tab is glued to the 6-inch side of the 6 inch x 3inch piece. Adhere decorative paper onto all panels on the card base.

Trees: Cut four tree trunks using Tree Pop-Up die set.  Cut four leaves dies. Glue trunks to leaves. Use a fence piece to position each tree trunk on the sides of the apertures, gluing the overlapping leaves together in the aperture opening. Repeat all steps for other aperture panel.

Fence: Cut ten fence panels from the Iron Fence Pop-Up die set. (I cut twelve fence piece incase I made a mistake in cutting, which I did.) Trim five fence panels at the sixth post from the left. Trim the remaining fence panels at the sixth post from the right. Trim off sixth post tip and scrolls at the right of post on left panel as shown in photo. Glue right panel over left panel. Take one elongated fence panel and adhere to the back panel. Glue fences over aperture panels front and back matching up fence tips. 

Bench: Stamp with woodgrain stamp onto brown kraft card stock and heat emboss with white embossing powder.

Die cut one whole bench using the Garden Bench Pop-Up die set. Cut the seat section again with the woodgrain going with the seat planks. Save two of the scrolling out-cuts from the bench back to glue onto the front of bench arms. Glue seat onto bench matching up planks. Follow package directions to attach the bench to the back and floor panels.

Fountain: Cut one of each of the two pieces of tree trunk from Tiny Trees Pop-Up die set of blue card stock. Cut tree base from gray card stock.  Cut two sets of rocks from Tent Pop Up die set.

Assemble tree as per package directions. Trim the tips of branches off

Trim two colors of mylar foil into 1/8 inch wide strips. (I used the Spellbinders Quick Trimmer) Glue two color strips to each side of the trimmed tree trunk.

Cut a circle of blue foil and glue to fold made by the floor panel and the 6×3 inch panel. Cover edges with gray rocks. Attach the tiny tree foundation per directions on package.

Squirrels: Cut two squirrels and the tummy fur from two different colors. Cut two acorns from a light brown and two acorn tops from a dark brown. Assemble squirrels and acorns per package directions.  Cut one of the long pop-up platforms from the bench pop-up die set. Attach to bench per directions on package. Glue squirrel to platform.

Sentiments: “autumn colors”, “happy autumn” , “Happy Thanksgiving” and “Thinking of you” are sentiments from two of Karen Burniston Word die sets – Greetings and Autumn Word Set.

Thank you for reading. If you enjoyed this blog post, please like it and follow the blog. 😊

Other Bench Cards

VALENTINE SWING

A SWINGING ANNIVERSARY

SWING GATE FOLD

The Secret Garden

Dies:

Stamps & Heat Embossing

  • VersaMark – Watermark Stamp Pad
  • Stampin’ Pad – Rubber Stamp – Hardwood
  • Recollections – Detail Embossing Powder – Snow

Papers

  • Heavy weight white card stock
  • The Paper Studio – traditions Floral paisley – 112094
  • Authentique – Pioneer Plaid – THA005
  • Brown kraft cardstock
  • Colored cardstock and specialty paper scraps from my stash

Additional Supplies:

Hillside Holiday Wishes

One Christmas I got to experience Christmas in San Francisco with its hillside houses. Another Christmas I was driving through up-state New York on snowy streets where the houses are all on hillsides. This card evokes these memories for me.

It took several tries experimenting with the three dies in this Hero Arts die set. I finally figured out the positioning on an 11-inches by 5 3/8 inches card. The card is folded at 3 5/8 inches and 7 5/16 inches. I used a bone folder to burnish my folds.

The card sat on my desk for a few weeks until I found the right sentiment stamps. When my copy of Creative Stamping, issue 101 arrived with Lou Collins’ Text{ures} brand Seasonal Sentiments stamps, I knew they would be perfect when heat embossed in gold on the all-white card.

I remembered to wipe the card with an anti-static bag the first time I stamped and heat embossed the card, but I forgot to wipe the last panel before I stamped and there are a few tiny stray gold specks. (Moral of the story – always wipe the space that you will be applying embossing powder to before you stamp.)

To finish this clean and simple card, I chose a cream A2 size envelope and stamped the flap with the words “Happy Wishes” and heat embossed in gold. The stamps are from the same stamp set as the card.

Thank you for reading. If you enjoyed this blog post, please like it and follow the blog. 😊

Dies

  • Hero Arts – Fancy Dies – Tri-fold Edge, Village

Stamps

  • Text{ures} by Lou Collins – Seasonal Sentiments from Creative Stamping, issue 101, November 2021

Ink & Embossing Powder

  • VersaMark – Watermark Stamp Pad
  • Cosmic Shimmer – Detail Embossing Powder – Bright Gold

Papers

  • Heavy weight 8 ½ inches x 11 inches white cardstock
  • A2 envelope

Additional Supplies:

Figgy Pudding In A Jar

The warm fruity smell of spices and icing sugar as it cools means that Christmas is in the air.

These dimensional cards are made from a Queen & Co. Holiday Jar kit which include the patterned paper, sentiment stamps, dies, foam jar shakers and pre-cut acetate. Colored cardstock scraps and heavy white cardstock card bases and envelopes were the only things besides red ink, glue, baker’s twine and tiny candy canes that were not in the kit.

The tiny tag says “Mrs. Claus’ Gingerbread Bakery, Cookie, Pies, Figgy Pudding” and is one of the tag stamps in the set. both the outside sentiment “Sweet Christmas Wishes and the inside sentiment of “Have yourself A merry little Christmas” are also included in the kit.

For the jar lids I used Hunkydory mirri card from the oxidized metals collection. The jar handle is cut from shiny black cardstock and the white stitched jar frame white linen textured cardstock both from a DCWV “The Spooky Time Cardstock Matstack.”

The envelope flaps are stamped with the same Stampin’ Up Real Red ink as the cards and the sentiment “Thinking of you at Christmas” sets the tone for the card.

I also made one other design from this kit using a fir tree theme complete with a pine scent air freshener tucked inside the card.

PLEASE NOTE: Queen & Co. makes these kits in small batches and when they sell out they may not bring the items back. I usually purchase a kit and several of the refill foam sets when a new kit comes out.

Holly Jolly Santa Greetings

What a jolly feeling the “Ho Ho Ho” of Santa brings to anyone who hears or sees it. This 3D snow globe designed by Becca Feeken for Spellbinders makes you hear the jolly old elf.

This was my first time using these die sets. I focused on using just four colors of red, green, white and gold and mostly mirror or foiled cardstock.

My Santa and tree are based off of the picture on the packaging using Nuvo Drops instead of jewels. I die cut several layers of the Santa and tree using up scraps to fussy cut the various pieces of the scene which are glued onto a red base. The belt and boots are colored with a fined-tipped black permanent marker. The belt buckle is a freehanded square of gold paper.

The holly leaves are fussy cut and glued onto the sentiment and front layers. The red berries are red glitter glue. I added a thin green stripe at the bottom of the front layer for interest.

As is my style, I stamped the back of the envelope with hints of what’s inside using red and green ink and Christmas sentiment stamps from Paper Discovery. I used a new stamping tool with my stamping platform for an even and easy stamped image. I highly recommend the Stampendable Stamping Tool.

Thank you for reading. If you enjoyed this blog post, please like it and follow the blog. 😊

Dies:

Stamps & Ink

Papers

Additional Supplies Used:

Santa’s Naughty List

Staying off Santa’s naughty list can be a challenge sometimes.  This fun shutter card featuring a retro Santa die-cut and papers is sure to bring back childhood memories of the holidays.

Based on a card in the Die-cutting Essentials, issue 82, by Sharon-Elaine Jones, the card uses the free dies and printable papers and sentiments from the magazine.  I had to convert the template from 20cm x 30cm to fit an 8 ½ inches x 11 inches card base.  It took me several tries to get the correct measurements and folds, but in the end I got there. (See template).

You will need to cut:

  • One rectangle from white cardstock 8 ½ inches x 3 ¾ inches for the card back
  • Six 1 ¾ inch squares from red cardstock
  • Two rectangles 1 ¾ inches x 1 3/8 inches from red cardstock
  • Two rectangles 3 3/8 inches x 4 ¼ inches from red cardstock
  • One rectangle 3 ½ inches x 4 ¼ inches from green cardstock
  • Two rectangles 3 inches x 1 ¾ inches from green cardstock
  • Two rectangles 2 ¾ inches x 1 ½ inches from white cardstock
  • One rectangle 3 1/3 inches x 4 inches from white cardstock (to be embossed)
  • One rectangle 3 ¼ inches x 4 inches from patterned paper
  • Two rectangle 1 1/3 inches x 1 1/2 inches from patterned paper
  • Six 1 ½ inch squares from patterned paper

Die-cut:

  • Six of the holly die from white cardstock
  • One of the Santa outline from white cardstock
  • One hat from white cardstock (Fussy cut just the fir trim and ball to be glued on to red hat.)
  • One beard, mustache and eyebrows from white cardstock
  • One hat from red cardstock
  • One of face, nose and mouth from pink cardstock (Using a watercolour pencil and water brush, color the cheeks and mouth pieces rosy pink. Then using a fine-tipped pencil or maker, highlight the eyes.)

Print and fussy cut from sentiments:

  • One oval sentiment topper
  • One rectangular Santa’s naughty list sentiment

To emboss the background of the Santa panel, lightly mist the white card stock (3 1/3 x 4 inches) with water before placing in embossing folder. This will allow the paper fibers to bend in the embossing folder rather than break and tear. Set emboss piece aside to dry before gluing onto red matting piece (1 3/8 x 1 ¾ inches).

Assembling Santa:  Position the face piece on the Santa outline backing piece with the bread and hat over it. Mark position of face with pencil. Glue eyebrows on to face in indentations. Glue white fur pieces to red hat. Attach nose on top of mustache and mouth under it. Adhere face on to backing using pencil markings. Glue beard onto backing and just up to face.  Attach hat over face matching it up with same shape on backing. Glue on mustache with nose and mouth attached. Glue assembled Santa onto embossed panel that was already glued to red mat.

Faux Embossing of Holly Panels: Glue three of the holly die cuts and three of the berries on to one of the white rectangles (2 ¾ x 1 ½ inches). Adhere white panel onto a green rectangle mat (3 x 1 ¾ inches). Repeat with another three holly die-cuts, white rectangle and green mat.

Other Panels: Glue the six square pattern papers on to six red square mats.  Glue the two small pattern paper rectangles onto the two small red rectangle mats. Glue the large patterned paper rectangle to the large green mat and then glue the Santa’s naughty list sentiment onto the center of the patterned paper.

To Assemble Card: Take white card base that has been cut, scored and folded into shutter card and open-out flat. Glue red squares and rectangles in the areas shown in photo. The large rectangle for the card front will have its topper sentiment glued on after the squares have been glued down. Adhere the green rectangles into the appropriate spaces in the center of card base.  Fold-up and glue large white rectangle piece to back of card. This back piece will be where you can write a personal message as well as helping stablish the card when opened and set on display.

Envelope: The card folds to fit inside a #10 business size envelope. To hint at what is inside the envelope, I stamped the flap with a sentiment “Have a Holly Jolly Christmas” and below it a Santa’s sleigh with reindeer.

Thank you for reading. If you enjoyed this blog post, please like it and follow the blog. 😊

Dies & Embossing Folder:

  • Retro Santa from Die-cutting Essentials, issue 82, October 2021
  • Cut & Emboss Baubles from Papercraft Essentials, issue 192, November 2020

Papers

Stamps and Ink

Additional Supplies:

  • Scoring board and tool
  • Paper cutter
  • Metal ruler
  • Craft knife
  • Nuvo Watercolour Pencils
  • Waterbrush

Snowy Christmas Globe

All is calm, all is bright until you shake-up the snow globe. This traditional style snow globe easel card is made with PoppyStamps/Memory Box die set with the sentiment coming from a Tonic Studios die.

This was my first go at using these dies, so I followed the package example for the assembly and easel stopper (three holly berries placed on top of tiny foam circles with holly leaves cut from thin paper.) My green base card stock was lightweight, so I double cut the base and glued together before burnishing the fold lines.

The background white circle was ink blended use a sky-blue ink and a large blending brush. Next, I spritzed with circle once with a white ink spray. The snowy ground is a specialty handmade paper I’ve had for a while. For the cabin, I used a yellow scrap for the house outline/windows. Its roof is more of the specialty textured paper. I like the variety of fir and hardwood trees in this set which can easily be cut from various shades of green and brown scraps. The scene was laid-out and then glued to together before spraying the whole scene with white ink spray a few times.

For the woodgrain globe base, I used some heat embossed stamped woodgrain paper I had made for another project. (Click here to learn more about the paper.) I cut two of the thin trim piece from gold foil cardstock and trimmed one piece to fit the top of the woodgrain base.

To assemble the snow globe, there is a white globe outline die-cut that the assembled globe is glued onto and then the woodgrain base followed by the two gold trim pieces.

The sentiment was cut three times using the Tonic Studios die. The base layer is gold foil while the top layer is a thick red cardstock that was from some packaging that I had saved. I cut the tiny green holly leaves from a green paper.

Foam circles topped with the holly berries are used as the easel stop on the bottom card base with the holly leaves cut from thin dark green paper.

A personalized message can be written inside the card base. The card fits inside an A2 envelope (4 3/8 x 5 3/4 inches.) with its back flap stamped with stamps from the Winter Stags set by Stampendous! in a dark green ink.

Thank you for reading. If you enjoyed this blog post, please like it and follow the blog. 😊

Dies & Embossing Folder:

Stamps & Ink

  • Winter Stags stamp set by Stampendous! – free gift in Creative Stamping, issue 90, Nov. 2020.
  • Stampin’ Up – Classic Stampin’ Pad – Tranquil Tide
  • Catherine Pooler – Premium Dye Ink – Party Collection – All That Jazz
  • Avey Elle White Ink Spray
  • Simon Says Stamp Large Blending Brush
  • VersaMark – Watermark Stamp Pad
  • Stampin’ Pad – Rubber Stamp – Hardwood
  • Recollections – Detail Embossing Powder – Clear

Papers

  • White and green card stock
  • Gold foil card stock
  • White textured specialty handmade paper
  • Kraft card stock
  • Colored card stock scraps
  • A2 envelope

Additional Supplies:

Sweet Christmas Greetings

Can you smell the fresh baked gingerbread straight from the oven?  This card is made for a child’s Christmas and depicts a gingerbread house complete with white sugar icing, cinnamon drops, peppermint drops and candy canes.

This was my first attempt making Karen Burniston’s Tiny House Pop-Up and I made some mistakes that created a catch point on a roof corner. (I highly recommend watching the assembly video to avoid some of my mistakes such as making the front door of the house on the end with the bottom attachment flaps and gluing the roof unevenly on top of the house.)

Overall, the Gingerbread Tiny House Add-ons set is easy to use with the Tiny House set. The cane canes and peppermint drops are tiny and may require tweezers to assemble. (I added Glossy Accents to the tops of the candy canes and peppermint drops to give them a shiny coating.) There are other decorative die pieces for gum drops and tiny dots in the set, but I opted to use some Nellie’s Effect Snow media for dimensional icing and Nuvo Drops for red cinnamon drops. (The Effect Snow made the roof curl up some creating more of a catchpoint on the roof corner.)

The card base is an A2 size card (5 ½ x 4 ¼ inches) made of heavy white cardstock and covered with patterned papers for smooth surfaces for the house to slide over. The sweets decorations are placed so that they don’t hinder the house mechanism opening.

Merry Christmas has a shadow die cut background of patterned paper and all the sentiments are cut from red paper so there are less chances of creating catchpoints. (I used some fancy nested label dies to create areas for a personal message.)

As is my style, I stamped the back of the envelope with hints of what’s inside using two colors of ink and a gingerbread house stamp set from Hero Arts.

Thank you for reading. If you enjoyed this blog post, please like it and follow the blog. 😊

Other cards that use the Tiny House Pop-up die Set

Dies:

Stamps & Ink

  • Memento -Fade-resistant Dye Ink – Rich Cocoa
  • Stampin’ Up Classic Stampin’ Pad – Melon Mambo
  • Hero Arts – Clear Stamp Set – Color Layering Gingerbread House -CM462

Papers

  • Heavy white card stock
  • Brown cardstock
  • Patterned papers from Carnation Crafts – Merry & Bright
  • Colored papers from my stash
  • A2 green envelope

Additional Supplies Used: