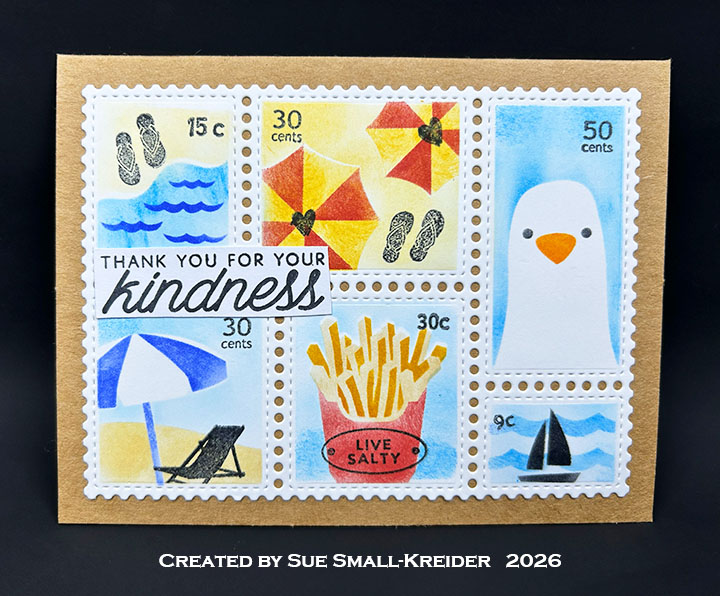
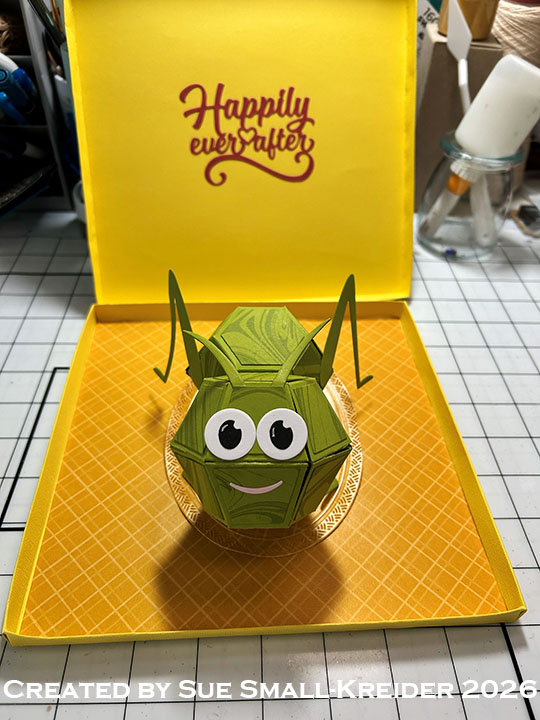
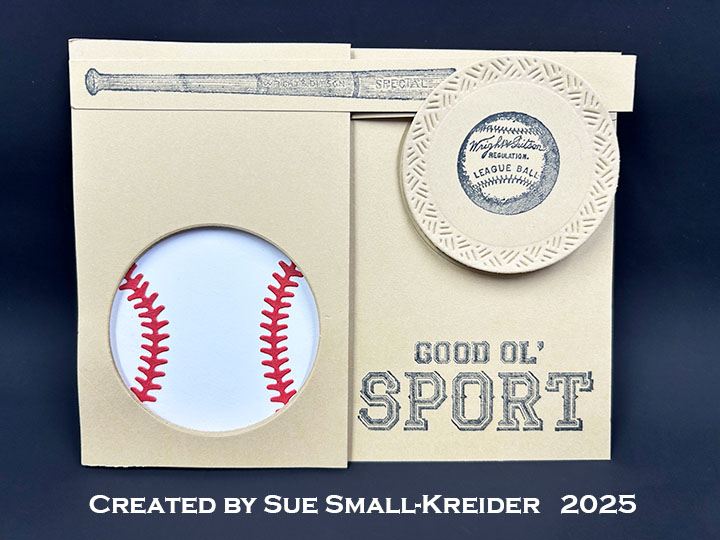
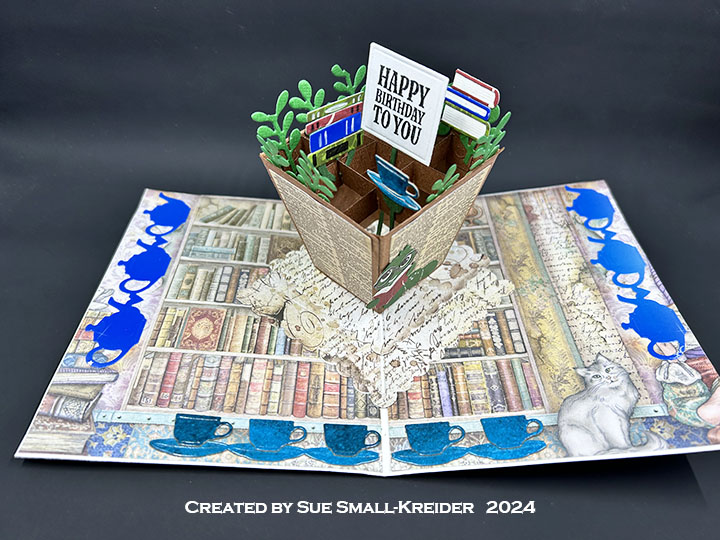
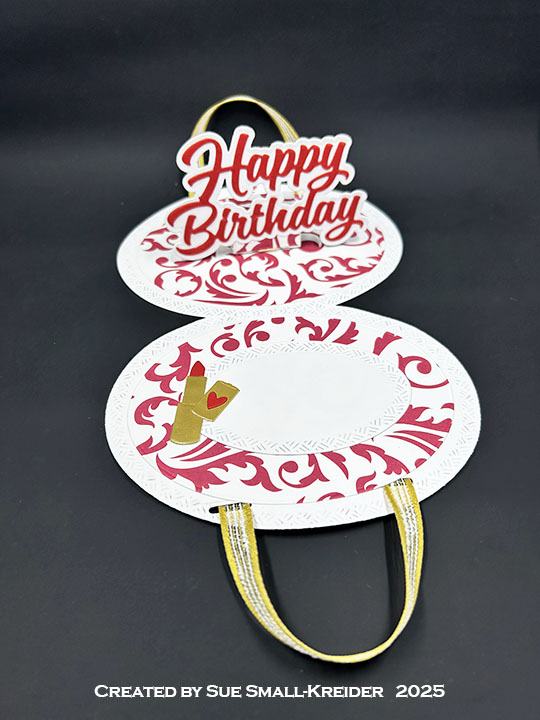
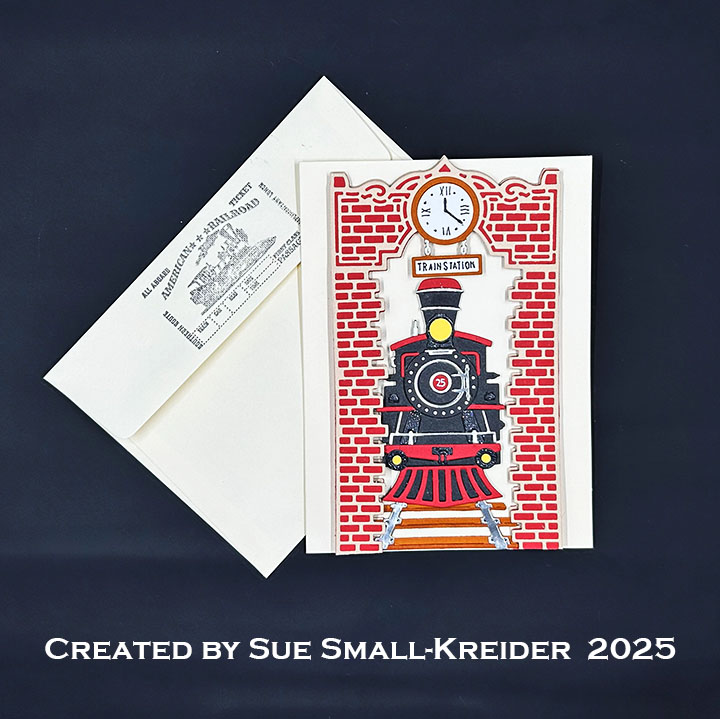
This card was made for Craft Roulette #302 whose parameters were: a card on card project, unicorn farm colors, light(s) element and label(s). I used Karen Burniston dies and Craft Roulette stamps for this pop-up birthday card.
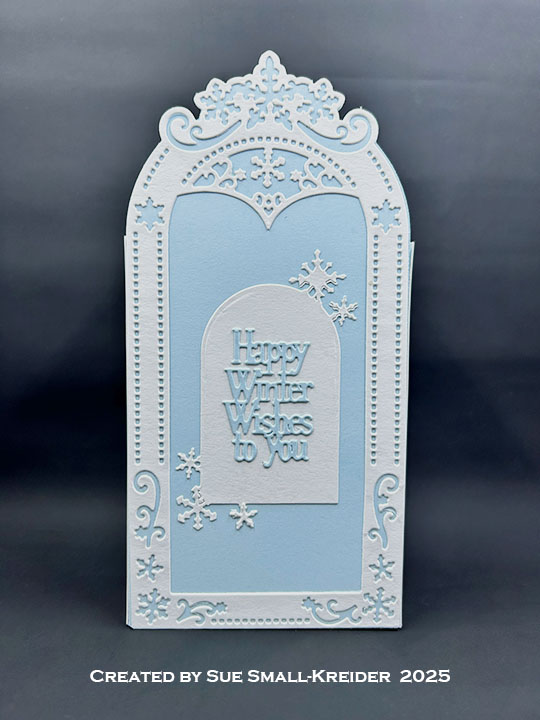
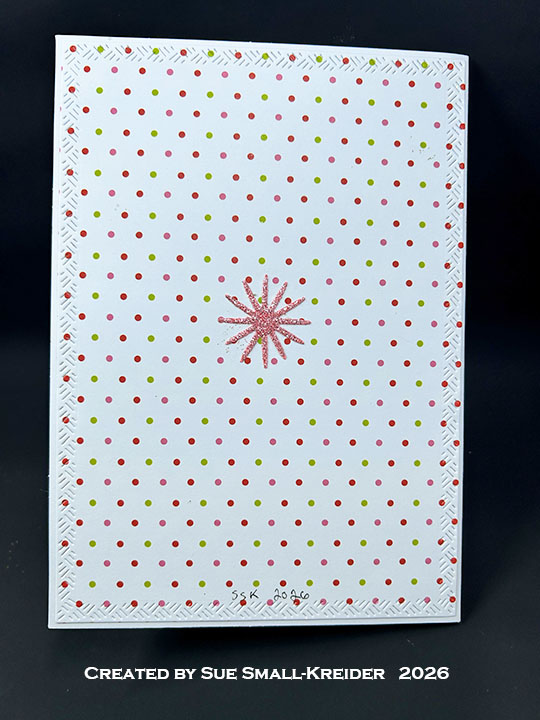
Cardbase: I used a purchased American size A7 (5×7-inches) cardbase and matching envelope. The card base is covered with decorative paper panels inside and out using Karen Burniston’s Rectangles and Labels – Crosshatch dies.
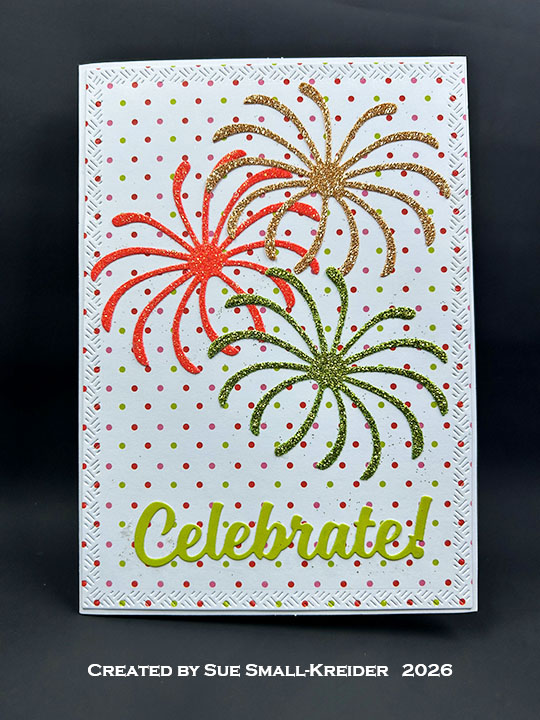
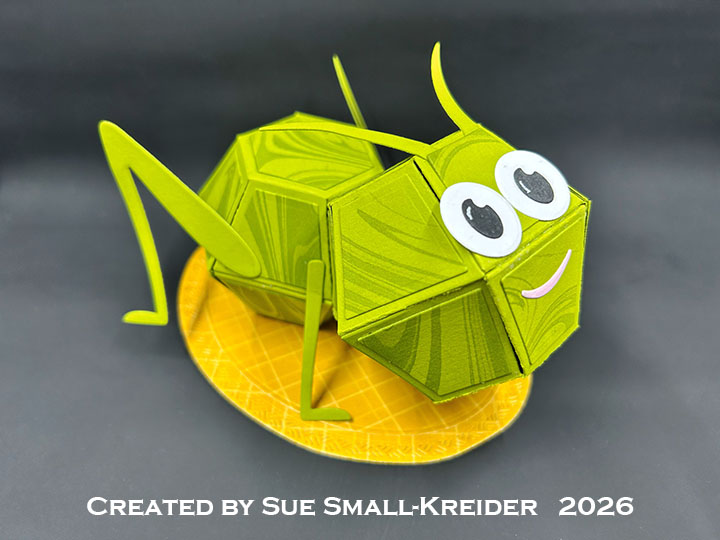
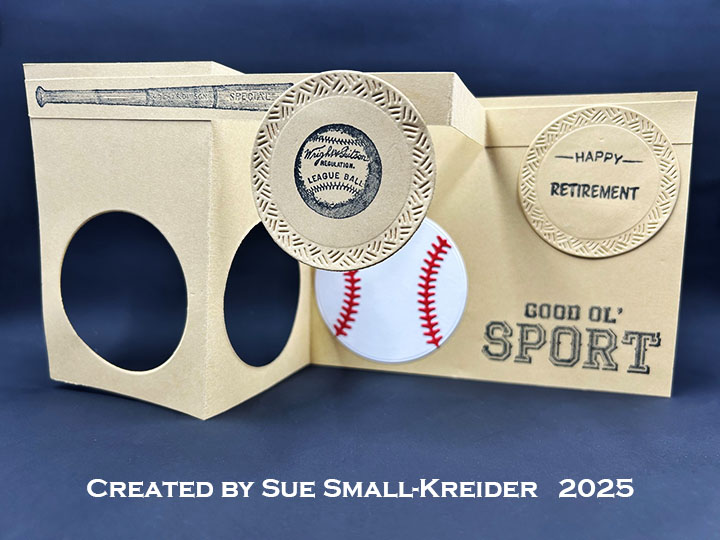
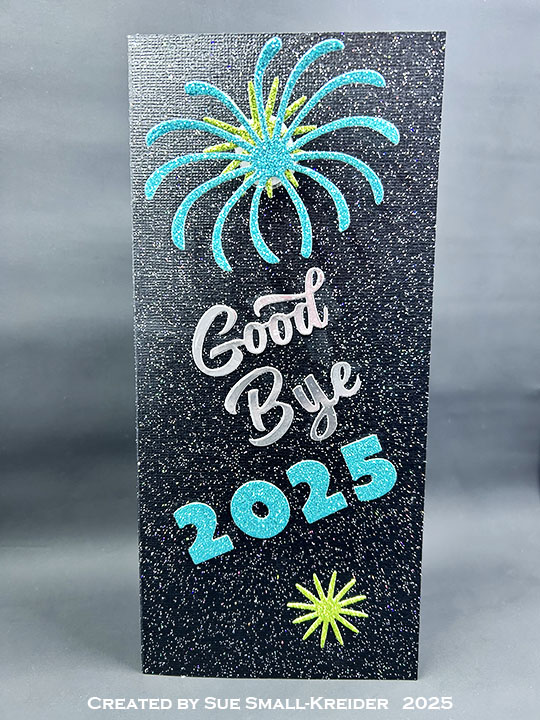
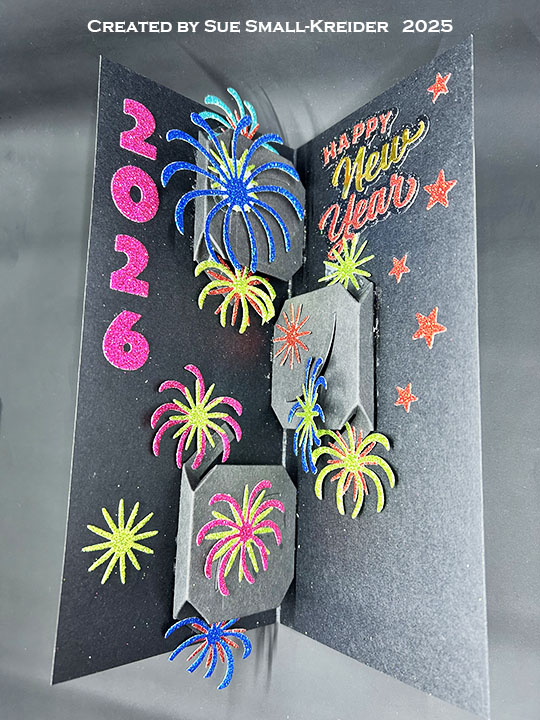
Pop-Up: Karen Burniston’s Triple Platform Pop-Up was used to create the pop-up inside that supports the glitter cardstock Fireworks. (Watch the assembly video at the bottom of the linked page for the Triple Platform Pop-Up.)
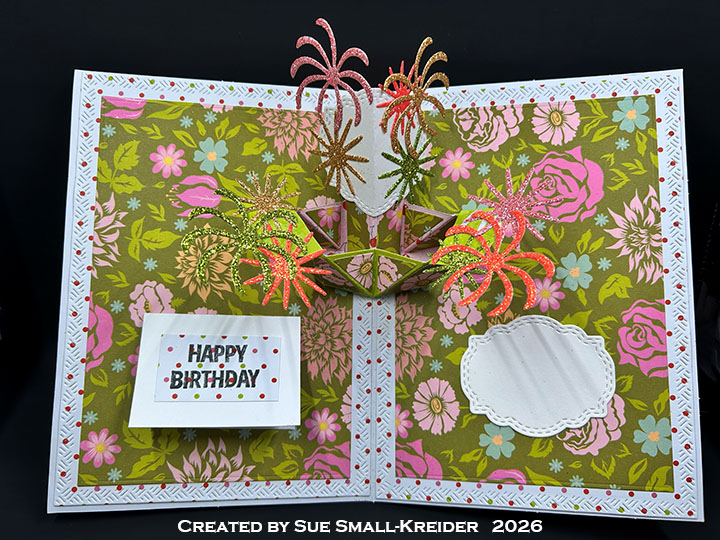
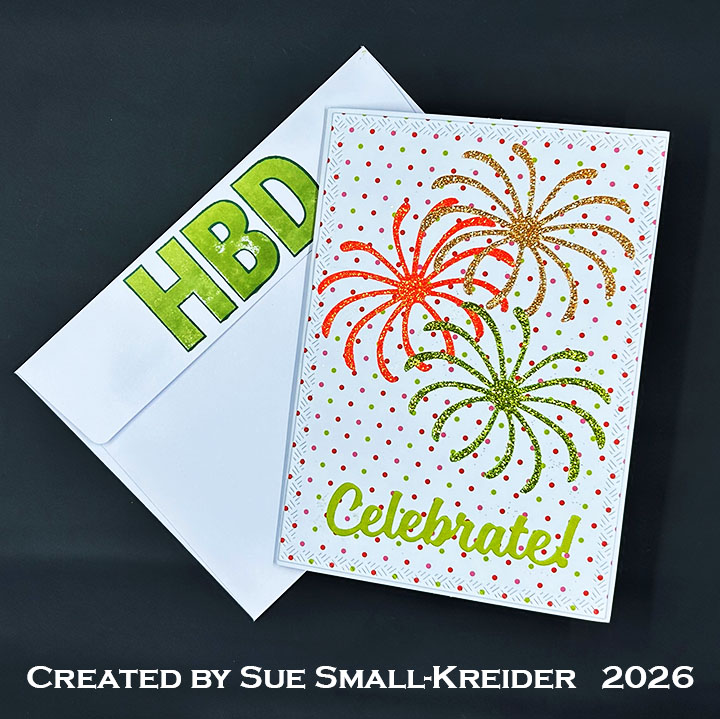
Sentiments: “Celebrate!” is a Karen Burniston die cut in green. The Happy Birthday sentiment inside is from Craft Roulette’s Funn Sentiments #1.
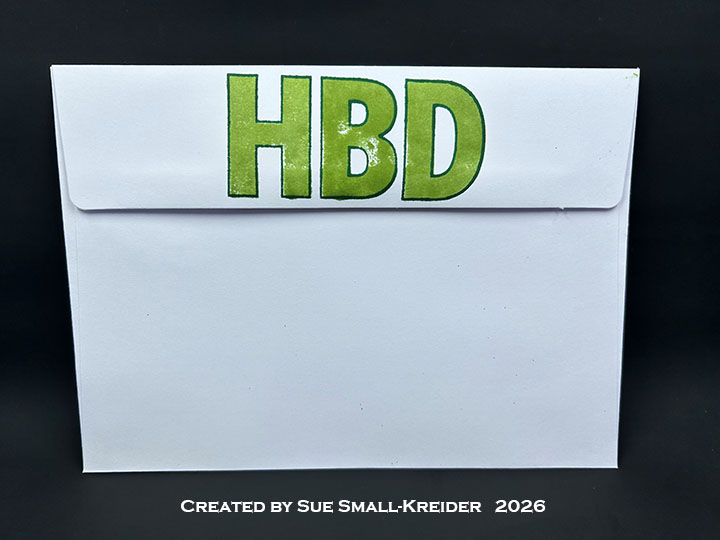
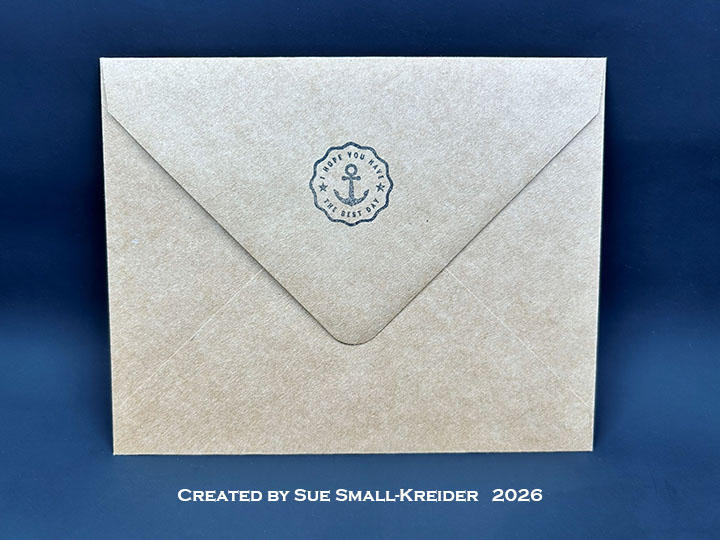
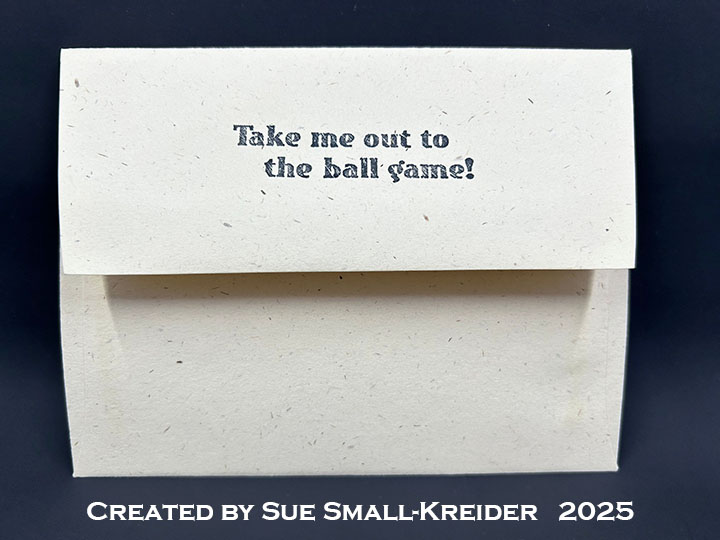
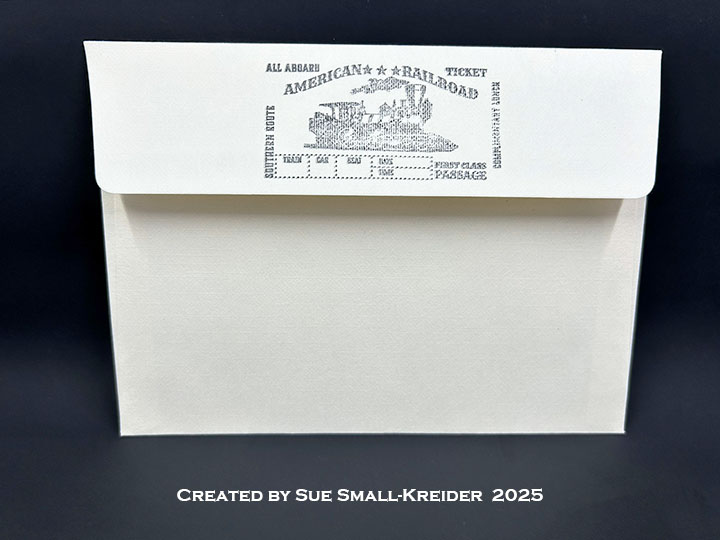
Envelope: The card fits into an A7 (5×7-inches) size envelope with the back flap stamped with “HBD” in two shades of green ink. The stamp is part of the Craft Roulette set used previously.
___________________________________
Thank you for experiencing this blog post.
I hope this inspires you and makes you smile.
Please subscribe, like and leave comments 😊
___________________________________
Disclaimer: Karen Burniston products are provided free of charge by the manufacturer for review and use. All other items were personally purchased. Compensated affiliate links used where or when possible, meaning I will receive a small percentage commission from these manufacturers at no cost to you. This will allow me to add more content to my YouTube channel and help out a lot. Thank you.
Materials Used:
Dies
- Karen Burniston in cahoots with Riley and Company – Triple Platform Pop-Up – 1300
- Karen Burniston in cahoots with Riley and Company – Fireworks – 1287
- Karen Burniston in cahoots with Riley and Company – Rectangles and Labels – Crosshatch – 1233
- Karen Burniston in cahoots with Riley and Company – Celebrate! – 1067
Stamps
- Craft Roulette – Clear Stamps – Funn Sentiments #1
Papers
- DCWV – 6×6-inch Glitter Cardstock – Pastels
- Scrapbook.com – 6×8-inch Double-Sided Cardstock – Patterned Collection – Berry Sweet
- Simple Stories – 12×12-inch Double-Sided Cardstock – Garden Party Collection – Tea Party
- Park Lane Paperie – A7 Cardbase & Envelope – White
Ink
- Catherine Pooler – Green Mini Ink Pads – Deck The Halls & Succulent
- Memento – Fade-Resistant Dye Ink – Tuxedo Black
- Pigma – Mircon 01 Fine Tip Pen – Black
Adhesives
Tools
- Die Cutting Machine
- Scrapbook.com – Magic Mat
- Stamping Block
- Stamping Platform
- Paperweight
- Scissors
- Scrapbook.com – Mint Tape
- Tweezers