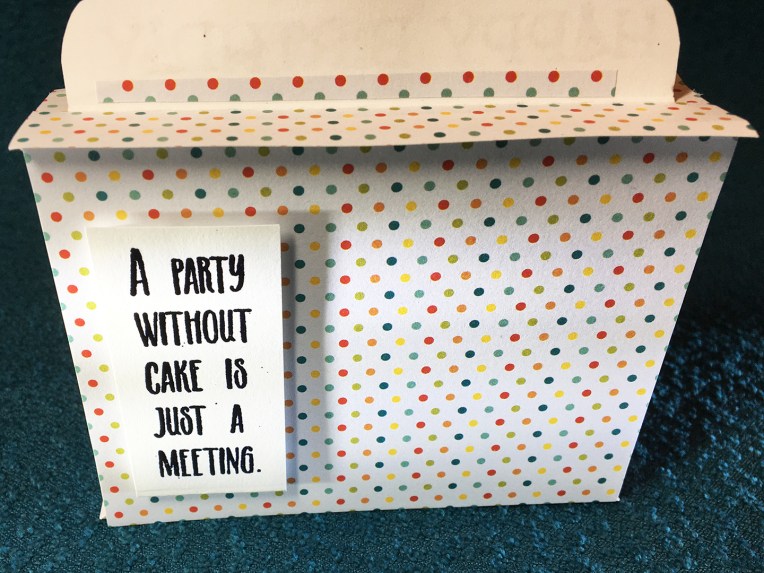
“A party with out cake is just a meeting” is the sentiment for this pop-up cake shop birthday card. Made with Die-cutting Essentials Special Edition Issue 6 – Shop Front and Hunkydory Moonstone Shadow Box Frame – MSTONE076 die sets and papers from shop front kit, this scrumptious card is a fun little diorama style card.

The shop front papers include interior scenes as well as signs and background papers. I adhered the interior paper for the cake shop on to light weight cardstock and then fussy cut around the table shapes. Then I cut the shadow box outer frame and two inner frames. I played with spacing the three tables out on the frames looking through he window and door, before I adhered the tables to frames. I taped using double-sided tape the striped pink wallpaper to the back piece of cardstock for the shadowbox frame and then using foam tape placed the back table on the wallpapered panel. The front two tables were taped using transparent removable tape to the lower corners of the interior shadow box frames.

Next, I worked on decorating the shop front cut from a textured red paper, and I cut a second shop front from cream colored cardstock and fussy cut the window frame and door out it. The “sweet” sign on the door is a sticker. The mail flap is a piece of gold holographic card, and the doorknob is Nuvo Crystal Drops. The green bushes are cut from a food box and embossed with the embossing folder from the shop front kit and placed with foam tape. The doorstep is from paper kit. A clear piece of acetate was adhered to the back of the window after the shop front was adhered to shadow box frame with double-sided-tape. This helps with the folding of the card, so cakes don’t get caught in the window frame. Sign was cut from papers and then adhered to cream cardstock before being permanently on shop front.

The “Happy Birthday” top of the card was stamped, and heat embossed onto white card stock and the cut out with a tab on the bottom. Using makers to create polka dots and then adhered to shop roof. The same polka dot paper from the back was used to roof the shop. The back sentiment was also heat embossed and adhered to back with foam tape.
SUPPLIES USED:
Dies
- Die-cutting Essentials Special Edition Issue 6 – Shop Front
- Hunkydory Moonstone Shadow Box Frame – MSTONE076
Paper:
- Dura-Lar .0005 Clear Film acetate
- DCWV Textured Cardstock Stack – 12 x 12 inches
- Colorbok Carnival Designer Papers – 6 x 6 inches
- Paper scraps from my stash
Embossing Folder:
Stamps and Ink:
- Impression Obsession Rubber Stamps – C13786 by Dina Kowal
- Bo Bunny Sentiments Stamp – 10105761
- VersaMark Watermark Stamp Pad
Miscellaneous:
- Double-sided tape, foam tape, transparent removable tape
- Tombow Multi Liquid Glue
- Recollections Detail Embossing Power- Ebony
- Crayola Signature Brush & Detail Dual Ended Markers
- EK Success Brands- Sticko Everyday Stickers-Lucy Love
- Nuvo Crystal Drops – Bright Gold
 Autumn leaves are falling. This simple shadow box card is made using
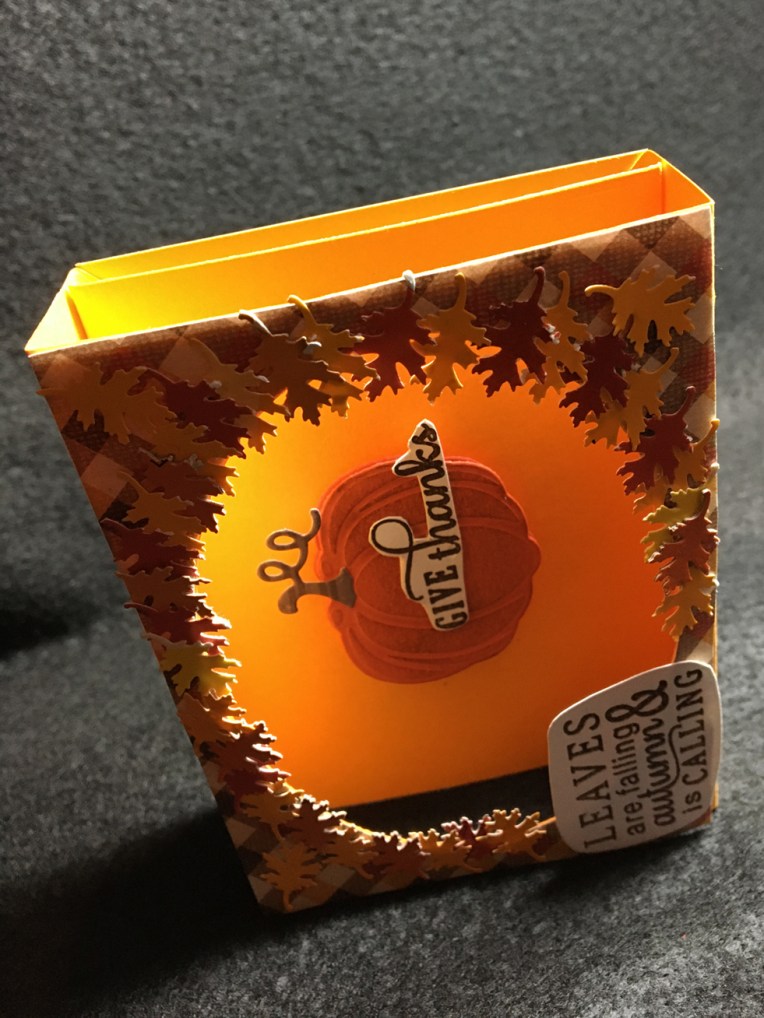

 Shadow box cards can be as simple or as complicated as you want to make them. Let It Snow is of medium difficultly. This die set, along with strong double-sided tape, makes it quick to cut and assemble a four-panel shadow box with depth and character. You can choose to color or not.
 Step 7: Assembly – start with blue background and peel off backing of one shadow box tab tape on inside of box. Line up long side of blue paper to folded edge of tab.
 Step 8: Peel off tape on back panel same side as blue panel and line up with fold of shadowbox tab.
  Repeat with other three panels butting the edge of new panel up to folded edge of previous panel until all panels are adhered to inside of shadow box.
 Step 9: Peel off tape on Front panel and line it up on opposite side of shadow box to be equal distance from front opening as other side of panel.
  Repeat with remaining three panels.
 Step 10: Peel off tape on inside of shadow box tab and adhere blue panel.
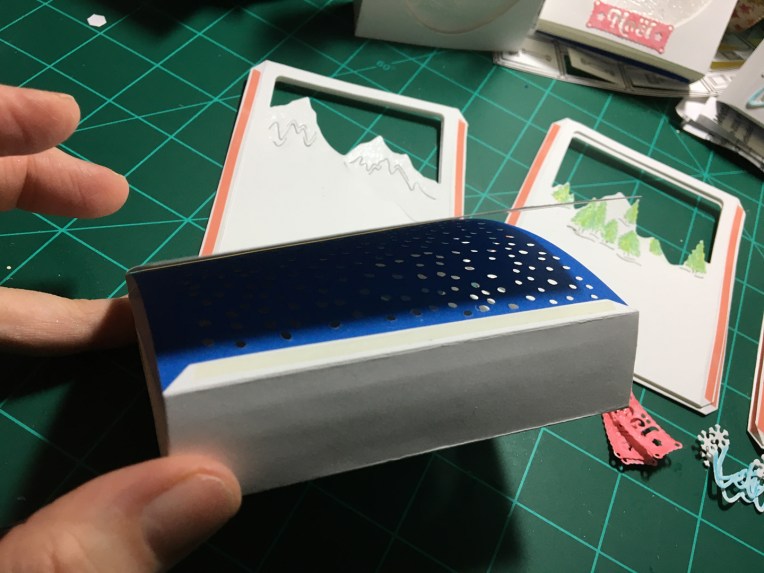 Step 11: Peel off tape on outside of shadow box tabs and adhere white card panel.