Thank You For Being So Sweet

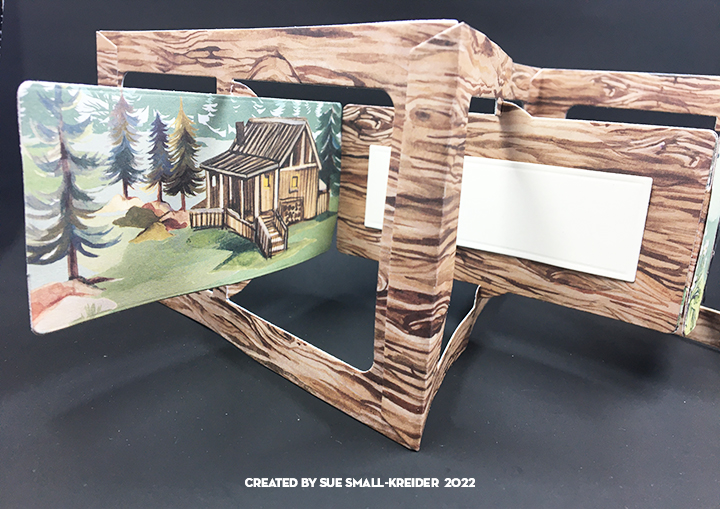
Queen & Co. make some delightful shaker card kits and this Candy Land one is no exception. The thing that I love about the company’s kits are the pre-cut foam shaker frames that simplify the effort needed to make a shaker card. The extra foam left over from the frames is ideal for popping some of the candies cut from the paper pad as additional decorations.

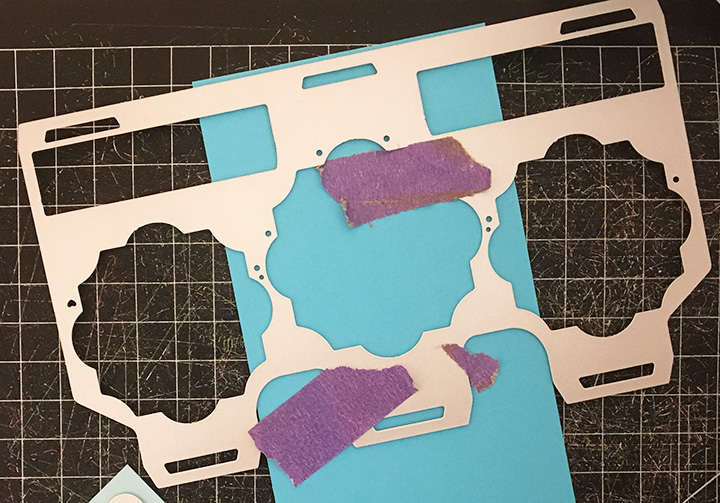
The dies have uses beyond shaker cards with some basic shapes of circles and ovals.

I filled the shaker with elements I collected over the years, and are not included in the kit.

To hint at the envelope’s contents, I stamped in a variety of colors the candy stamps from the set with the sentiment “goody, goody gumdrops!” on the back flap and more colorful candy on the front left edge of the envelope.

Thank you for reading this blog post. Please like and leave comments 😊

Materials Used:

Dies & Dies

  • Queen & Co. – Candy Land Kit

Inks

  • Memento – fade-resistant Dye Ink – Tuxedo Black
  • Hero Arts – Hero Hues Reactive – Creamsicle, Blue Hawaii, Pool Party and Key Lime Fizz
  • Hero Arts – Dye Inks – Rose Hues -Cotton Candy, Pale Tomato and Bubble Gum

Papers

  • Queen & Co. –double-sided papers -6”x 6” Mat Stack – Candy Land
  • A2 floral card base and white envelope from American Crafts Boxed Cards – The Pier

Shaker Elements

  • Kat Scrappiness – Rainbow Dot Sprinkles
  • Buttons Galore & More – Sprinkletz – Pink It UP
  • Stamp Anniething Adornments – Jelly Dots – Blue and Red

Miscellaneous

A Golfing Minion Father’s Day Card

Making cards for loved ones requires a good idea and secrecy to make the card. For a dad who shares his love of golf with his children, is known to wear blue plaid shirts and loves green, this card’s concept came easily.

For the card base I cut two panels (6 1/4 inches x 3 1/4 inches and 6 1/2 inches by 3 1/4 inches) the longer piece I scored a 1/4 inch tab and glued the tab to the other panel. The tabbed piece is the top of the card.

I’ve used the platform from the House & Fence Pop-up by Karen Burniston a few times before and knew it would work to have Bob the Minion standup as well as provide a place to glue the green with the flag image.

The card needed some height, so I cut the middle section from another Karen Burniston die, the Little Labels Pop-up, and modified the width of the top tab. The blue labels at the top and bottom panels inside are also from the Little Labels set and are spaces to personalize the card.

All the images are stamped in a permanent ink and colored with makers and then fussy cut.

For the front die-cut “Happy Father’s Day” sentiment and its background shadow piece I used another die set by Karen Burniston. The small gold star is cut from a small scrap of gold foiled cardstock and glued it on top of the sentiment. The stamped golf images are from Crackerbox Stamps.

The card fits into a mini slimline envelope which has been stamped on the front with a golf ball on a tee. The back of the envelope has a humorous golfing sentiment along with the flag on the green. The stamps are all from Crackerbox Stamps.

Thank you for reading this blog post. Please like and leave comments 😊

Materials Used:

Dies

Stamps

Inks

  • Memento – fade-resistant Dye Ink – Tuxedo Black
  • Crayola Signature Blending Markers
  • Brown fine-tipped marker
  • Silver gel pen

Papers

  • Pattern papers by Recollections
  • Black and white cardstock scraps

Miscellaneous

A Cabin Father’s Day Card

Designed for a gentleman who use to take his sons up to a mountain cabin in the 1960s, this card should help evoke memories of good father and son times.

The mechanism for this triple panel accordion card is by Karen Burniston. The 12-inch by 12- inch double-sided paper pad in the In The Forest Collection by Clare Therese for Craft Consortium has a page with three narrow panorama scenes that work for the main panels. The smaller framed animals are from the cover of the 6-inch by 6-inch pad of papers from the same collection while the wood grain paper is from the larger pad. The large panorama scenes were cut with scissors from the die-cut frames and glued to the woodgrain frames’ center panels that pivot.

To make the card frame sturdy the woodgrain paper was glued to the back of the scenic paper. I followed the assembly video for the accordion fold card. (I found it useful to layout the card and its decorative pieces before gluing as sometimes a tab that connects the various panels needs to be hidden by a decorative piece so the order of gluing all the tabs together needs to be thought through before assembly.)

For the black “Happy Father’s Day” I used another Karen Burniston die and glued it in place letting the edges of some letters overhang the panel but making sure they would not impede the pivot mechanism. The small white rectangle can be written on with a personal message and then glued to the card. It is cut with a rectangle die from another coordinating Karen Burniston die set.

The card fits into a mini slimline envelope which has been stamped on the front with pine trees in both green and brown ink. The back of the envelope has a trail signpost stamped in brown ink. The stamps are coordinating ones from the In The Forest Collection by Clare Therese for Craft Consortium.

Thank you for reading this blog post. Please like and leave comments 😊

Materials Used:

Dies

Stamps

  • Craft Consortium – Clear Stamps – In The Forest by Clare Therese

Inks & Pigments

  • Stampin’Up – Classic Stampin’ Pad – Soft Suede and Tranquil Tide

Papers

  • Craft Consortium – Premium Quality Papers – 12” x 12” – In The Forest by Clare Therese
  • Craft Consortium – Premium Quality Papers – 6” x 6” – In The Forest by Clare Therese
  • Mini Slimline Envelope – white
  • Black and white cardstock scraps

Miscellaneous

Just Peachy

It is almost peach season where I live and there will be pop-up fruit stands on the side of the road with Georgia peaches for sale by the bushel.  To honor this up-coming season, I’ve made a peachy card using stamps and stencils by The Greetery from 2020.

If you have not used layered stencils before I highly recommend watching the demo video for the stencils and stamp set. There is a paper guide included in the set, but I would have missed learning about the etched markings on the stencils that helps to line-up the various layers.

I used three colors of ink to get the rosy glow on the peaches. Using a large blending brush, I inked blend first a layer of the Citrine yellow followed by a light brushing of Sunbeam orange and then for highlights, I brushed lightly Grapefruit Grove pink. I stamped the shading on with the Grapefruit Grove ink.

For the leaves, I used a base ink blending with a finger dauber of Pear Pizzazz light green and stamped the Emerald Green leaf highlights. The peach stems are stamped with a dark brown ink cube that was in my stash. I used the same brown ink to stamp the sentiments using the Just Peachy Sentiment stamps.

The stencils are designed for a 4 ¼ inch x 5 ½ inch card. I stenciled onto a scrape piece of white cardstock and trimmed down to 4 inches by 5 ½ inches, and then backed it with a 4 ½ inch by 6-inch green mat. These dimensions work well with the 5-inch x 6 ½ inch card base I used.

For the inside and back of the card, I stamped two tiny peaches which I fussy cut and glued in place. The sentiment words were fussy cut with the phrase “Hope you’re felling” edged with a green marker. Foam squares were used to adhere the words and add dimension to the card. A piece of gingham ribbon was glued to the back of the green mat before the entire card front was glued to the cardbase.

To hint at the envelope’s contents, I stamped in a small peach and a peach slice on the back flap and a tiny peach on the front of the envelope.

Thank you for reading this blog post. Please like and leave comments 😊

Materials Used:

Stamps

Inks

  • Crayola Signature Blending Markers

Papers

  • White and green card tock
  • A7 white card base and white envelope

Miscellaneous

A Train Lover’s Father’s Day

This is a card for the vintage train lover in your family. It has a steampunk meets art deco vibe.

Using a new die set by Anna Griffin, the Antique Train Slimeline Easel Dies, it came together quickly using just two types of cardstock, one sentiment die, a fine-tipped permanent marker and some gold glitter drops.

The die set cuts the easel base and the shadow outline of the train as two separate dies. I used a double-sided 180gsm weight cardstock from metal textures collection by Craft Consortium for these two pieces. The train is cut from Hunkydory’s oxidized metals collection of 220gsm mirror cardstock. Using the fine-tipped permanent marker to color the roofs and stacks of the mirror card train, I found I could also color a scrap of the mirror card and then cut the wheels and cow-catcher grate for added dimension.

After gluing the train to the gray shadow piece, I filled-in much of the void spaces on the train with the marker. With the train flat, I used some gold glitter glue or drops to create the wheel center caps.

The sentiment was cut three time – one in mirror cardstock and twice from thick black cardstock. The three layers were glued together and the words “Happy” and “Day” were colored with the black permanent marker.

To assemble the card, the easel base was folded on its score lines and glue placed on the long thin tab. The shadow backed train was then positioned over the card base centering the train within the card base’s outline. Pressure was applied to the tab to adhere the train back to the easel. The sentiment was glued on to the inside of the card once the position was established to have it hold the train in its open easel position.

The card fits into a #10 business envelope which has been stamped with VersaMark watermark ink using a bowler hat and sentiment “Hat’s off to you” stamps from Colorado Craft Company.

Thank you for reading this blog post. Please like and leave comments 😊

Materials Used:

Dies

Stamps

Inks & Pigments

  • VersaMark – Watermark Stamp Pad
  • Sharpie Permanent Marker – Ultra Fine Point- Black

Papers

  • Craft Consortium – The Essential Craft Papers – 12” x 12” – Metal Textures
  • Hunkydory – Mirri Card Specials – Oxidised Metals Collection – A4
  • #10 Business Envelope – Brown

Miscellaneous