 Shadow box cards can be as simple or as complicated as you want to make them. Let It Snow is of medium difficultly. This die set, along with strong double-sided tape, makes it quick to cut and assemble a four-panel shadow box with depth and character. You can choose to color or not.

Step 1: Using the shadow box frame set, cut out one large box frame – your choice of oval or rectangle opening. See video on assembly of shadow boxes. (I used a shimmer pen on the blue panel as well as snow highlights on other panels.)
Step 2: Using both the smaller panel frame from shadow box die set and the four panels of winter scene diet set, cut one of each panel. (Because of the delicate detail of some of the dies and the score marks, you may have to use a precision metal cutting pad or make two passes through your die cutting machine.)
Step 3: Cut a piece of blue cardstock and a piece of white cardstock3 inches x 4 inches (76mm x 101mm). Using the snowy background die from the winter scene die set, die cut the snowy background onto the blue cardstock.
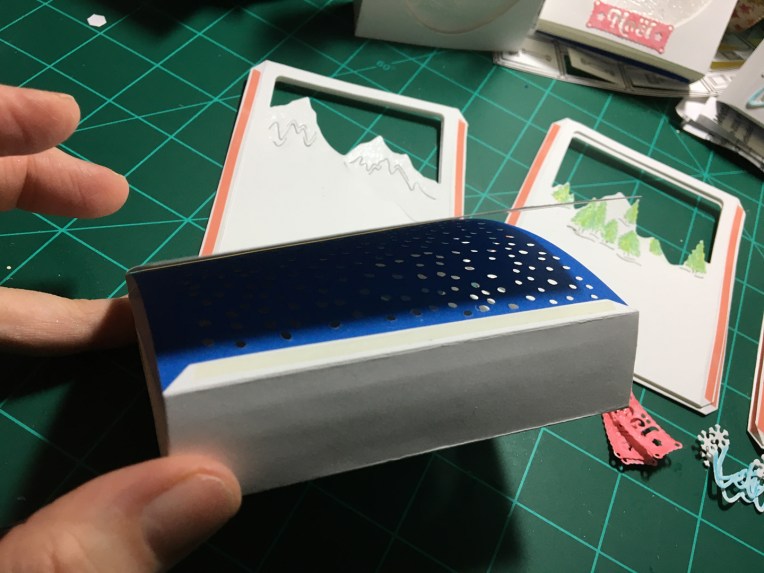
Step 4: Fold the tabs and sides of box and panels first one way and then the other way. Flatten to decorate.
Step 5: Flatten to decorate. Colored pencils, watercolors, or just some glitter pen gloss are some ways of decorating.
Step 6: Place double-sided strong tape on all panel flaps on the face-up side. Place double-sided tape on both front and back tab flaps of shadow box.
 Step 7: Assembly – start with blue background and peel off backing of one shadow box tab tape on inside of box. Line up long side of blue paper to folded edge of tab.
 Step 8: Peel off tape on back panel same side as blue panel and line up with fold of shadowbox tab.
  Repeat with other three panels butting the edge of new panel up to folded edge of previous panel until all panels are adhered to inside of shadow box.
 Step 9: Peel off tape on Front panel and line it up on opposite side of shadow box to be equal distance from front opening as other side of panel.
  Repeat with remaining three panels.
 Step 10: Peel off tape on inside of shadow box tab and adhere blue panel.
 Step 11: Peel off tape on outside of shadow box tabs and adhere white card panel.
Step 12: Decorate outside of shadow box as desired using sentiment die cuts from Winter Scene set.
SUPPLIES USED:
Dies
- Hunkydory -Moonstone Winter Scene Die Set-MSTONE 138
- Hunkydory -Moonstone Shadow Box Frame Die Set -MSTONE076
Paper
- Recollections Cardstock 65 lb/176 g/m2 – White
- Park Lane Paperie -White Core, Smooth Cardstock -65 lb/176 g/m2 – Blue
Miscellaneous

Another amazing card from the most talented lady I know. I just love this one…and I like the idea that you can make it simple or more detailed if you want. You are a wonder, Sue! I love all your posts.
Hugs, Donna
LikeLike
Thank you for your kind words.
LikeLiked by 1 person