
A cold winter’s night looking out from a window safe and warm onto a sleepy village is the scene this card suggests with hints of happy Christmas memories and the main reason for looking forward to Christmas eve.
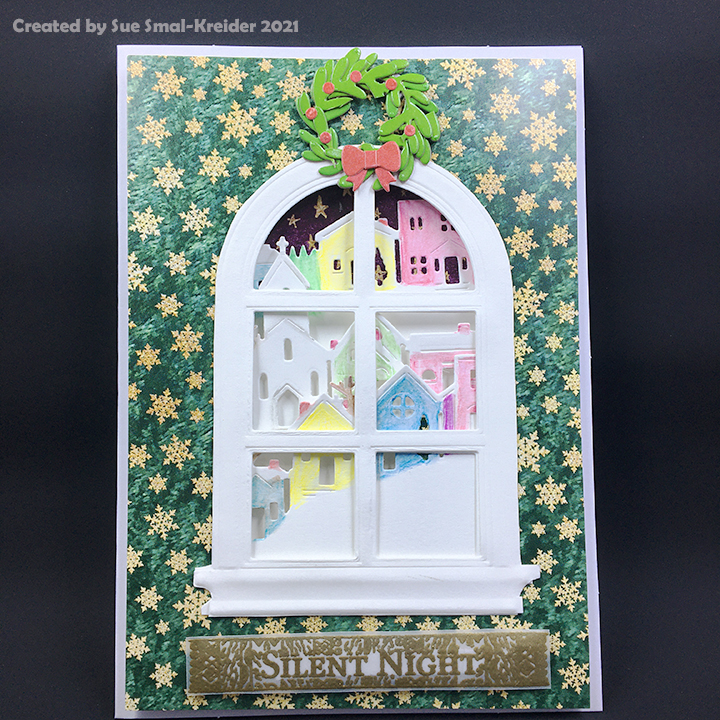
The card is a happy mix of papercrafting products from both the USA and UK. The decorative papers and Bethlehem stamps are from Hunkydory. (Christmas papers from Hunkydory sell-out quickly, so I purchase them when I first see them generally on Craftstash as they have the best shipping rates from the UK to the USA.) The window frame is a cut and embossing folder from Memory Box. (I fussy cut two of these window frames and glued together for stability. After cutting out the basic window opening from the patterned paper.) My village is made from the hero Arts Tri-fold Edge Village dies and colored with watercolor pencils. At the top of the window is a wreath cut from thick packaging cardboard using an older Lawn Fawn mini wreath die set. The village and patterned paper are layered with foam tape.

For sentiments on this card I heat embossed “Silent Night” from the Bethlehem stamp set onto vellum using my favorite gold embossing powder. Inside the card is a Christmas tree shaped sentiment by Tim Holtz from Stampers Anonymous. The card back features the Bethlehem stamp in Crumb Cake ink that is similar to gold.

The envelope flap is stamped with one of my favorite round Christmas stamps from the Love Cardmaking magazine in a dark green ink mimicking the wreath on the card.
Thank you for reading. If you enjoyed this blog post, please like it and follow the blog. 😊
Dies & Embossing Folder:
- Hero Arts – Fancy Dies – D1787 Tri-fold Edge Village Fancy Edge
- Memory Box – Open Studio – 3D Embossing Folder -EF12 Domed Window Emboss and Cut
- Lawn Fawn – Lawn Cuts – LF1496 Mini Wreath
Stamps, Ink, Embossing Powder
- Hunkydory – For the Love of Stamps – Little Town of Bethlehem – Club-FTLS26B
- Stampers Anonymous – Tim Holtz Collection – Doodle Greetings 2
- Sweet Sentiments Set from Love Cardmaking, issue 9 November 2018
- Stampin’ Up – Classic Stampin’ Pad – Tranquil Tide and Crumb Cake
- Gold embossing powder from June 2020 Papercraft Society kit
- VersaMark – Watermark Stamp Pad
Papers
- Park Lane A7 card base and envelope
- Hunkydory – Duo Designs Paper Pad 8×8 – All Wrapped up & Festive Foil
- Hunkydory – Adorable Scorable pattern Pack – Snowflakes Splendour
- White card stock
- Clear vellum
Additional Supplies:
- Cosmic Shimmer – Specialist Acrylic Glue – 125ml
- Sizzix – Big Shot PLUS die cutting Machine
- Fineline 20 Gauge Applicator & Bottle
- Nuvo Watercolour Pencils
- Waterbrush
- Foam tape

 Shadow box cards can be as simple or as complicated as you want to make them. Let It Snow is of medium difficultly. This die set, along with strong double-sided tape, makes it quick to cut and assemble a four-panel shadow box with depth and character. You can choose to color or not.
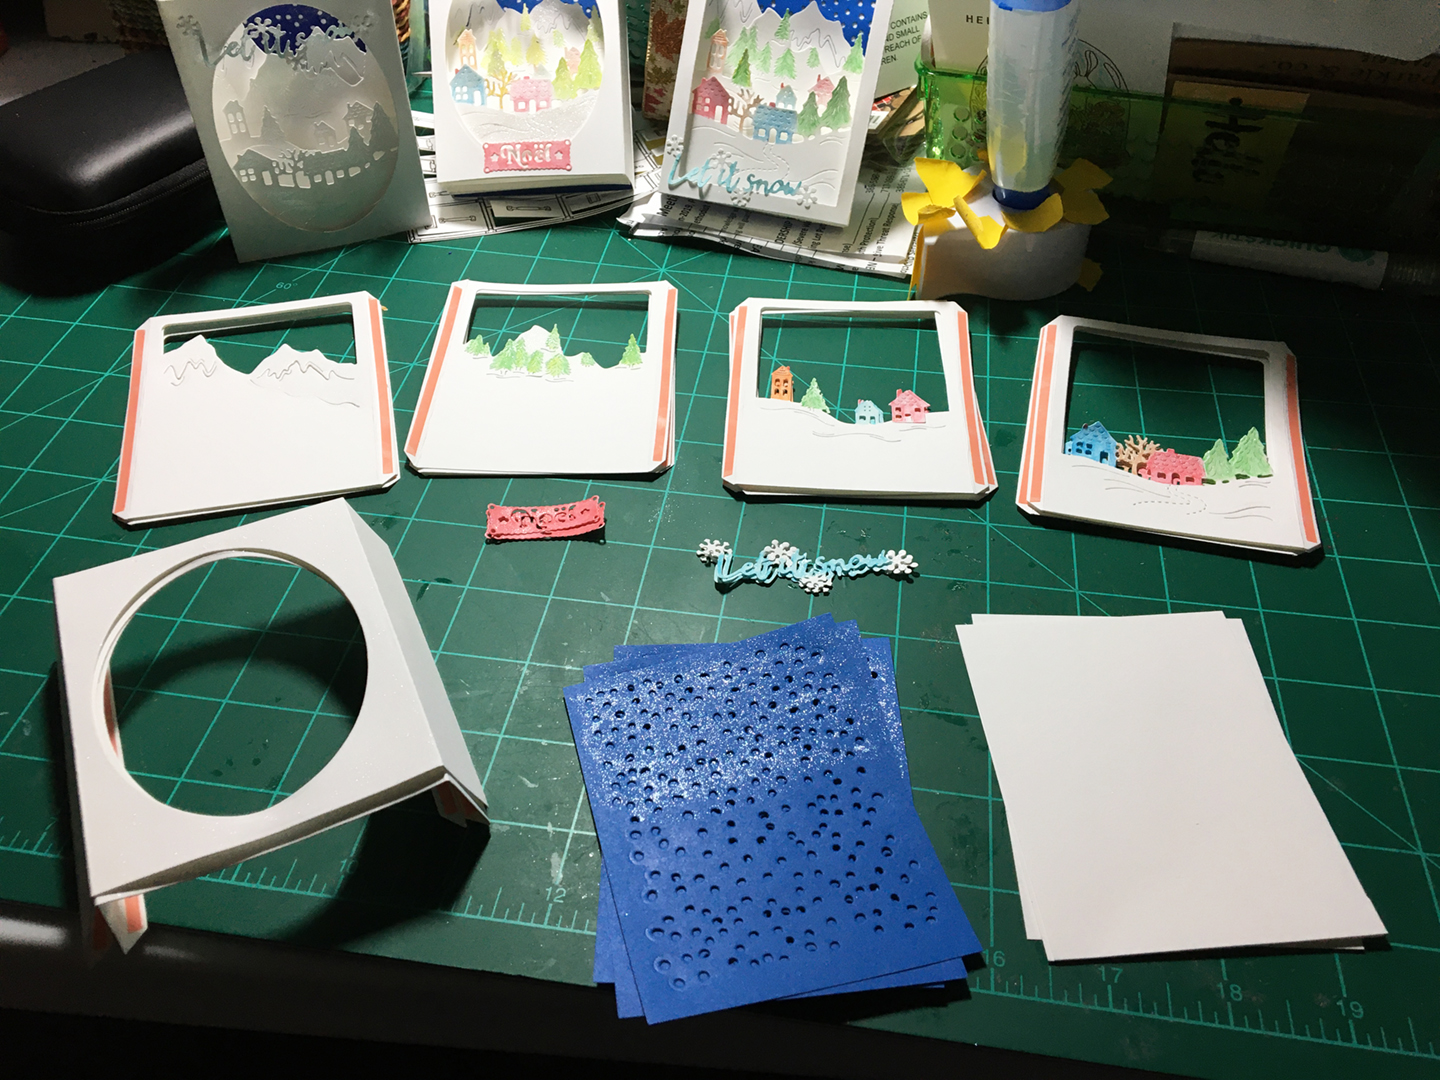
 Step 7: Assembly – start with blue background and peel off backing of one shadow box tab tape on inside of box. Line up long side of blue paper to folded edge of tab.
 Step 8: Peel off tape on back panel same side as blue panel and line up with fold of shadowbox tab.
 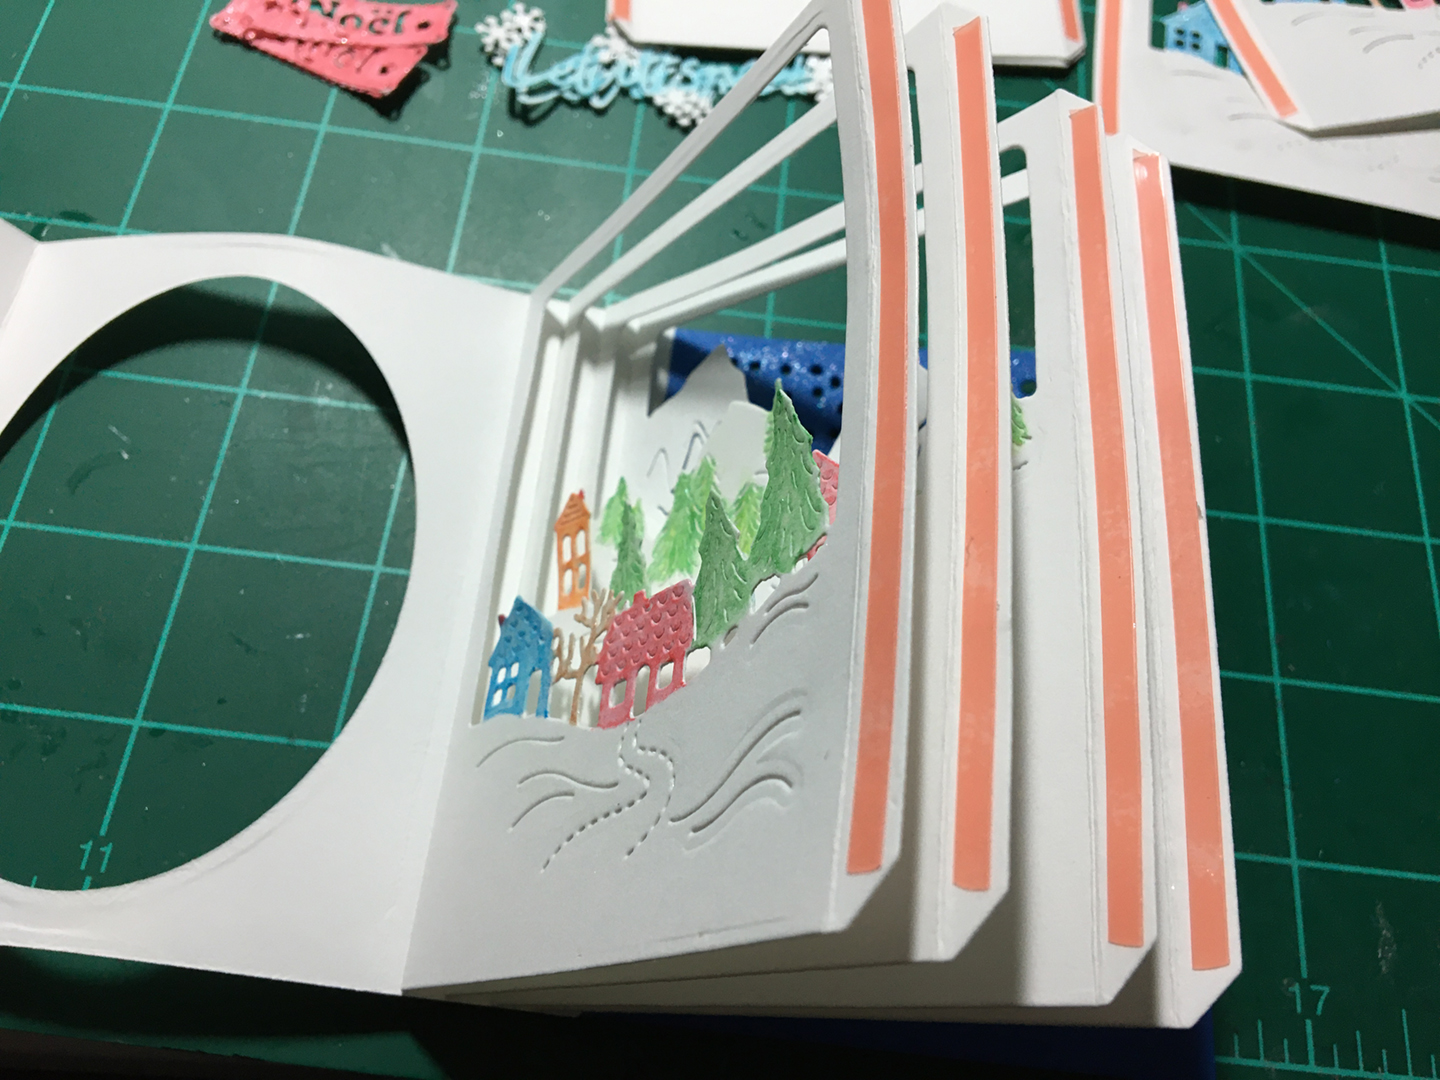 Repeat with other three panels butting the edge of new panel up to folded edge of previous panel until all panels are adhered to inside of shadow box.
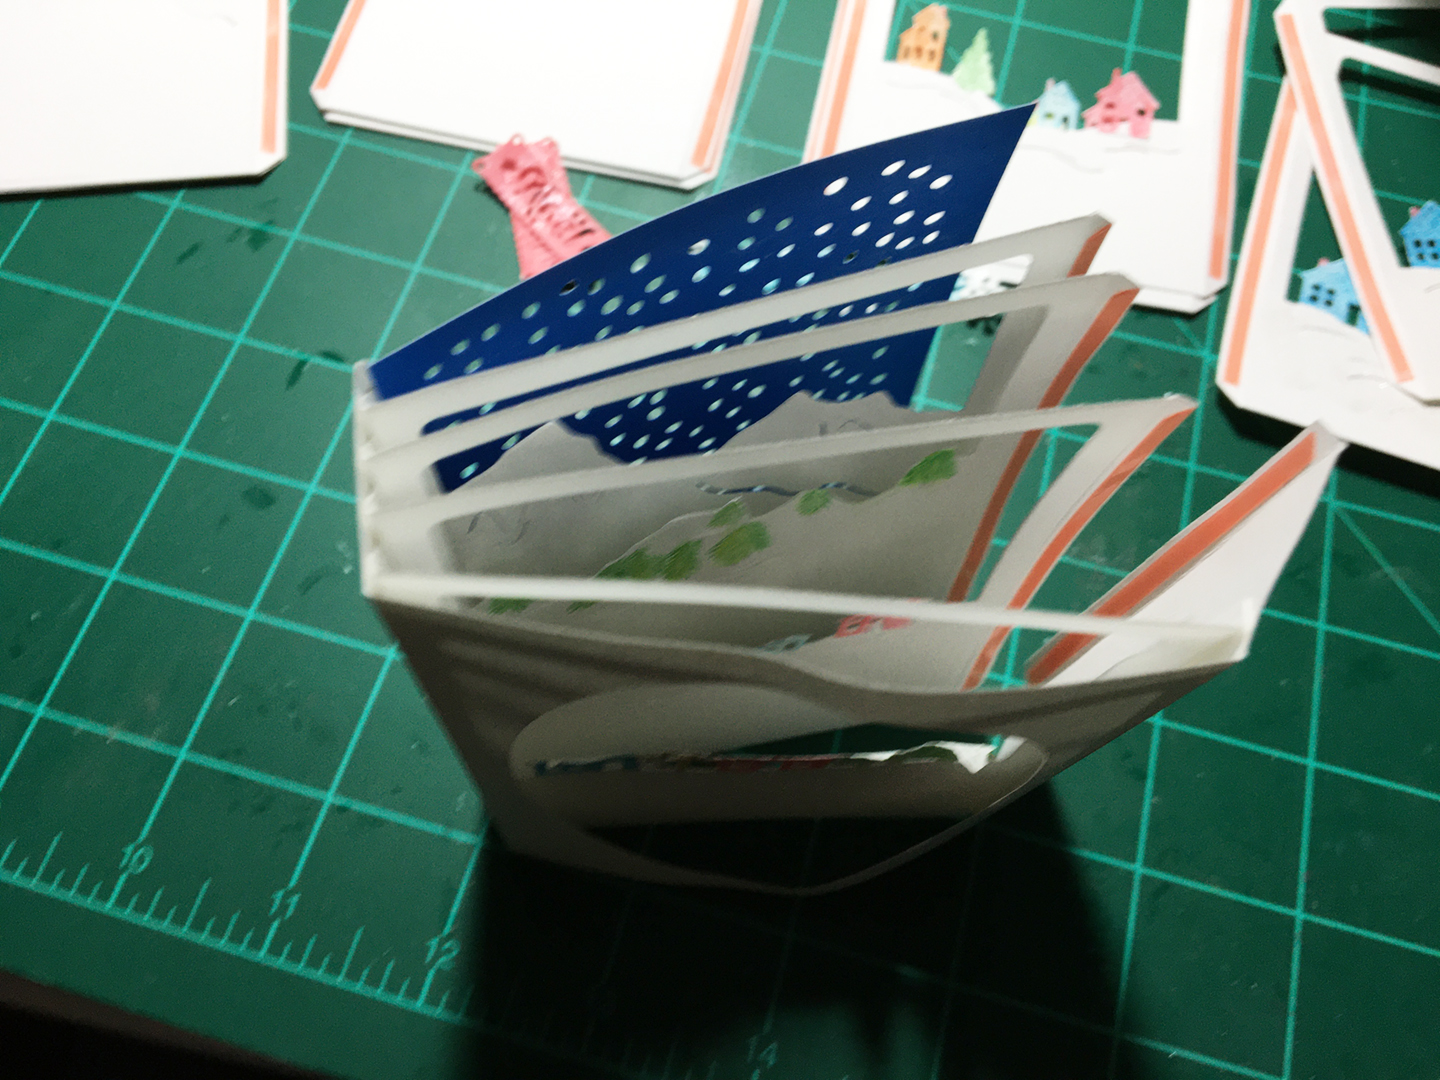 Step 9: Peel off tape on Front panel and line it up on opposite side of shadow box to be equal distance from front opening as other side of panel.
  Repeat with remaining three panels.
 Step 10: Peel off tape on inside of shadow box tab and adhere blue panel.
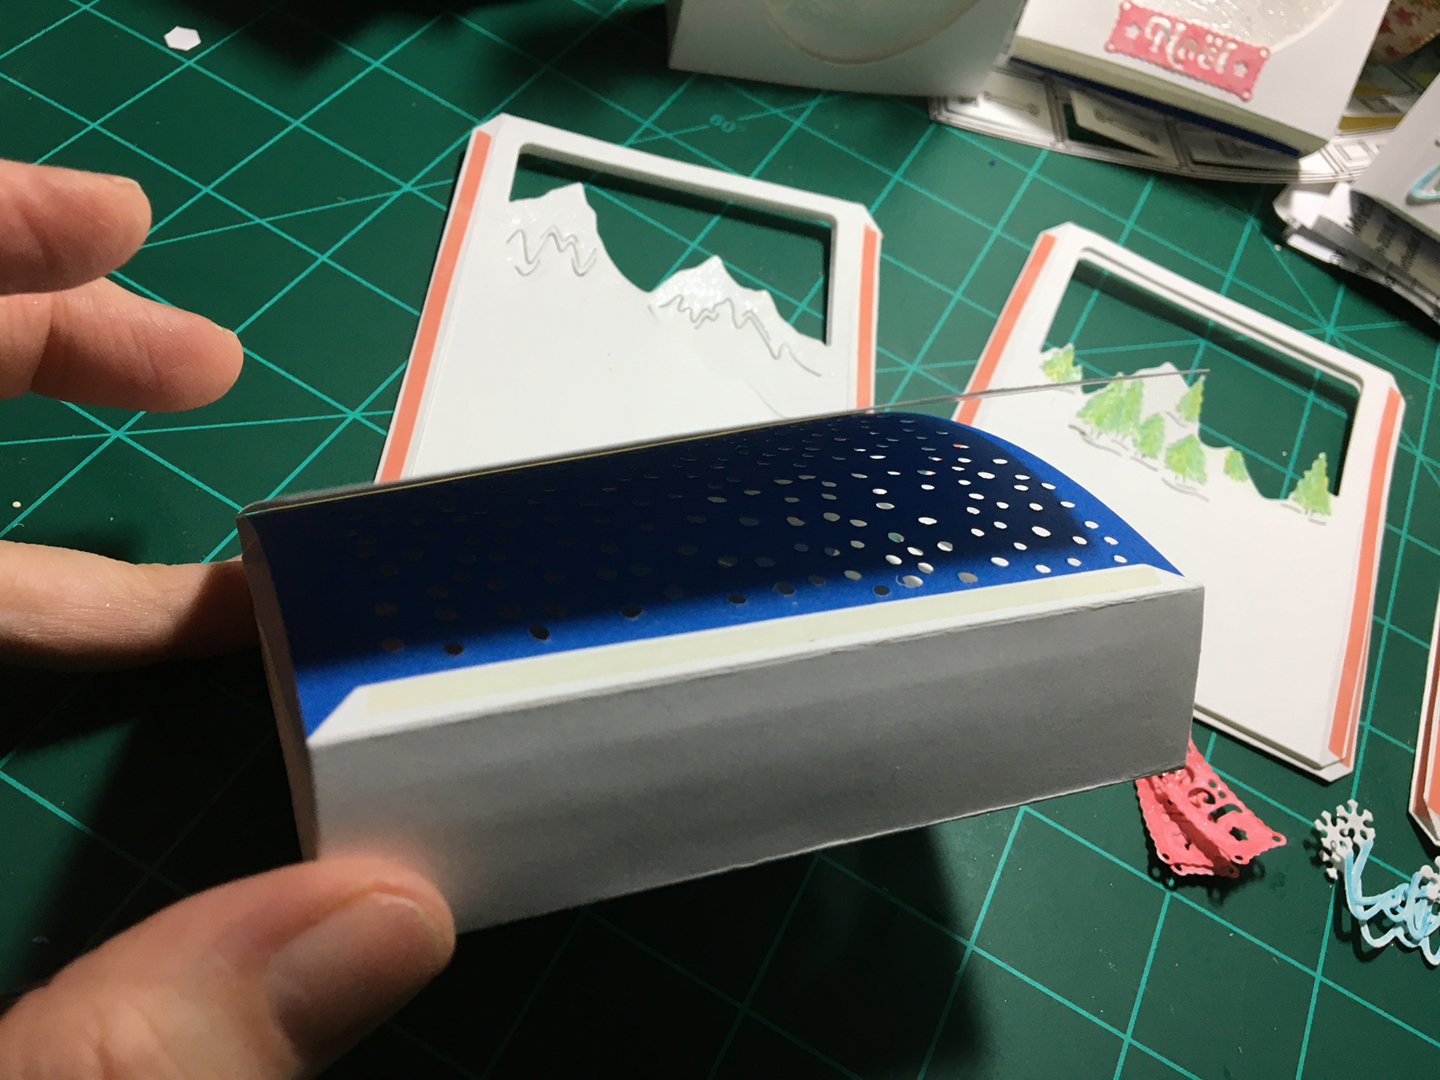 Step 11: Peel off tape on outside of shadow box tabs and adhere white card panel.