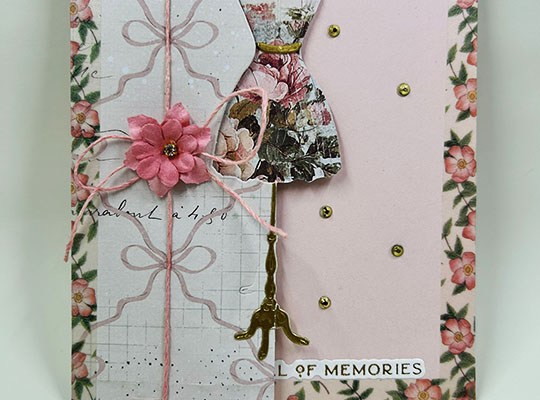
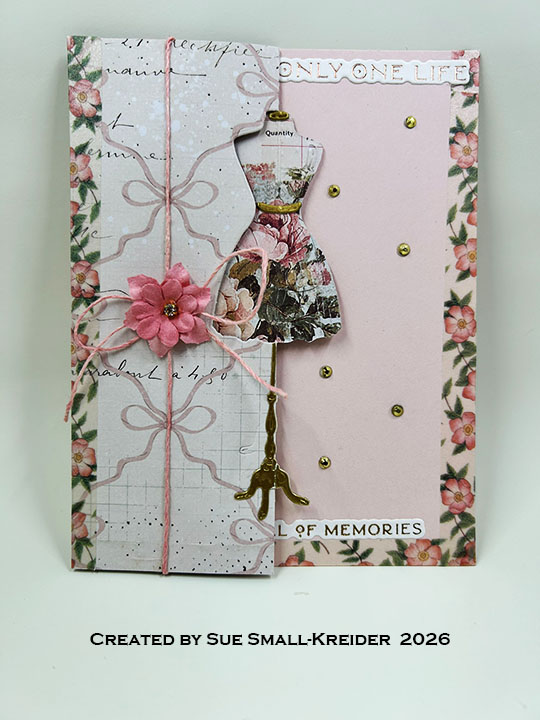
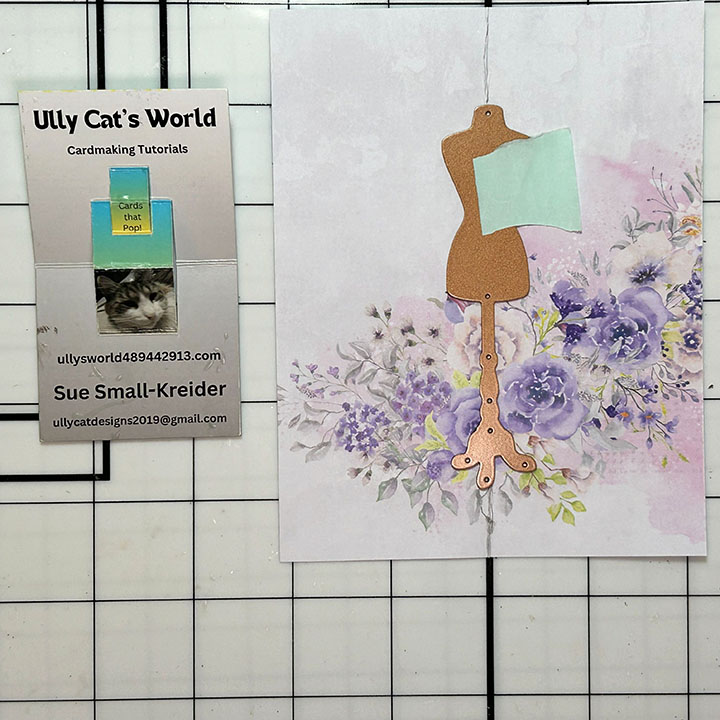
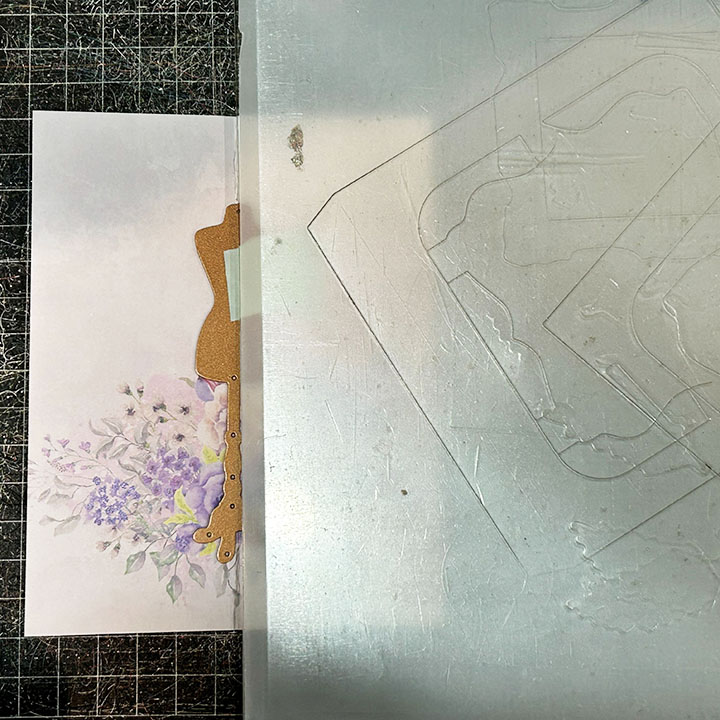
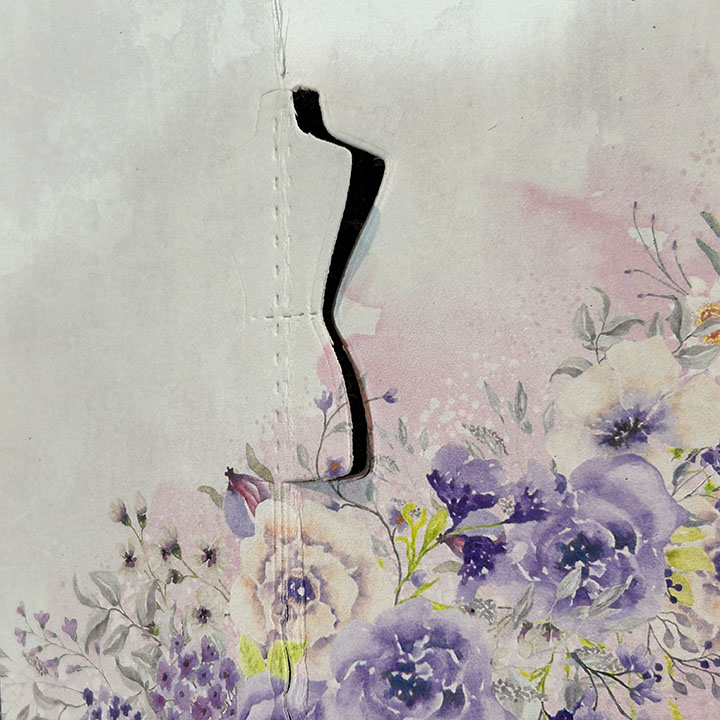
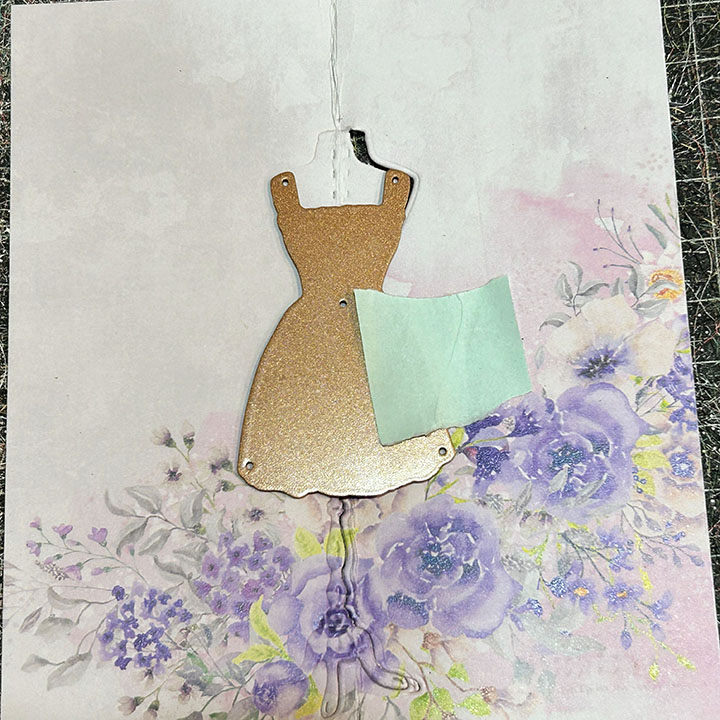
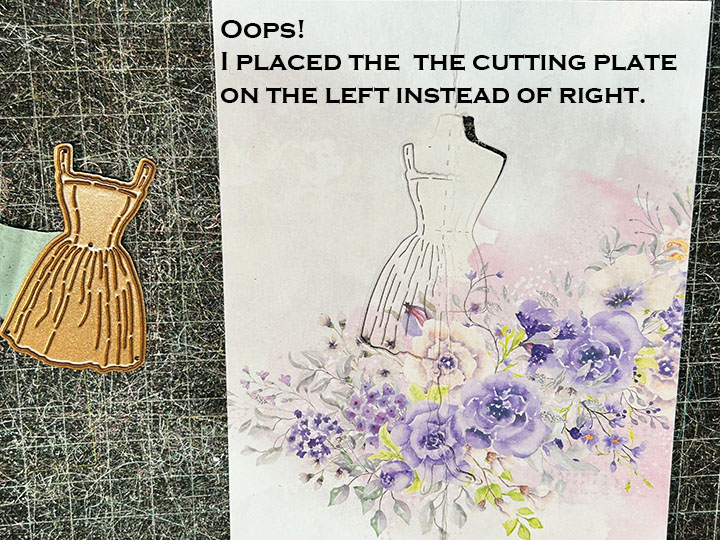
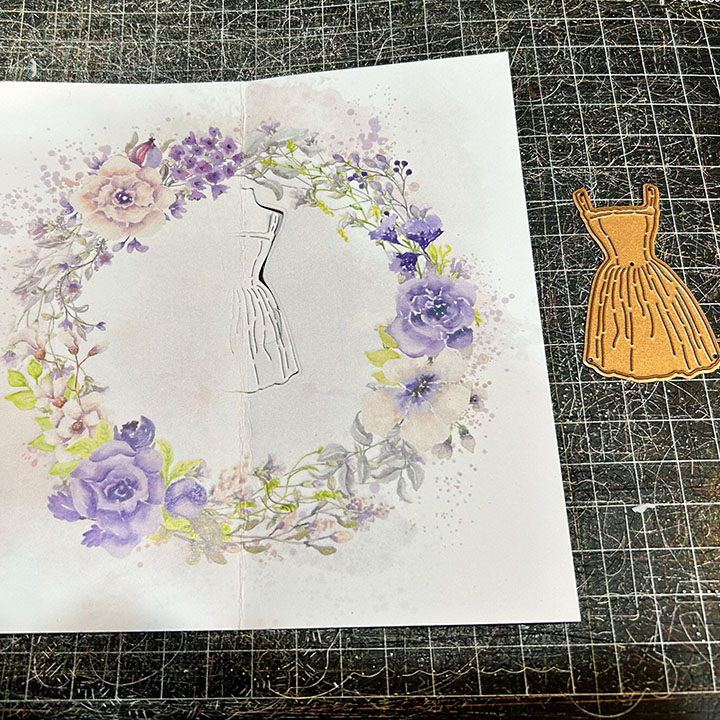
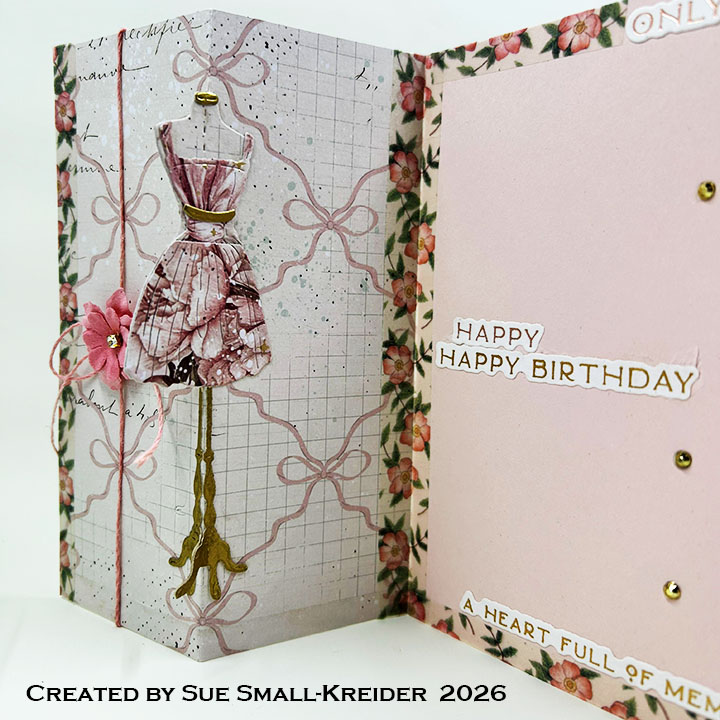
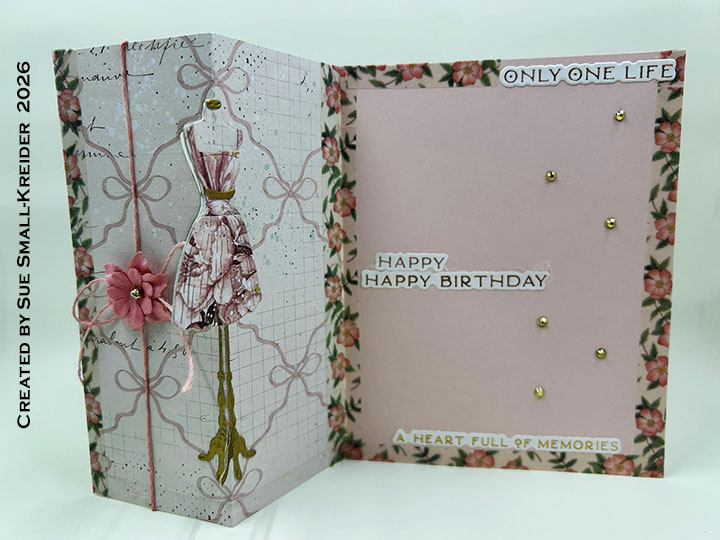
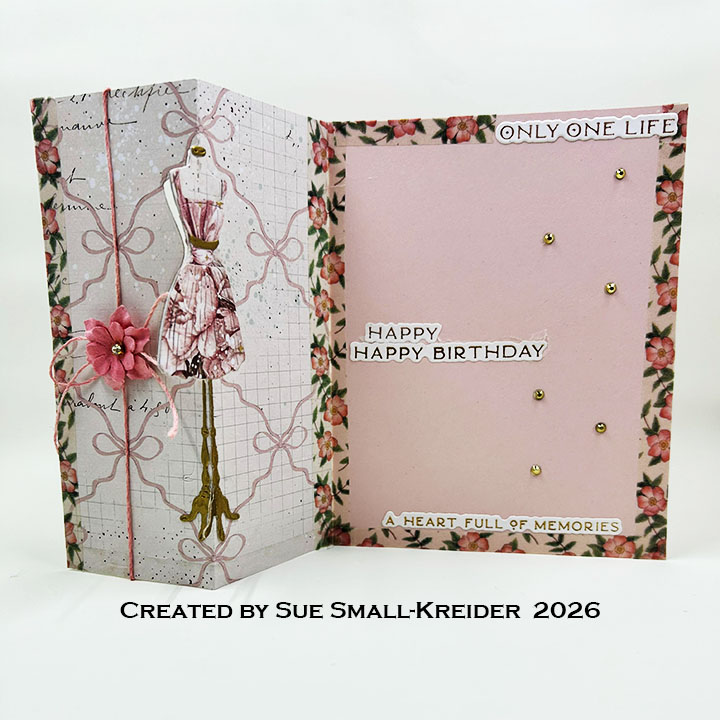
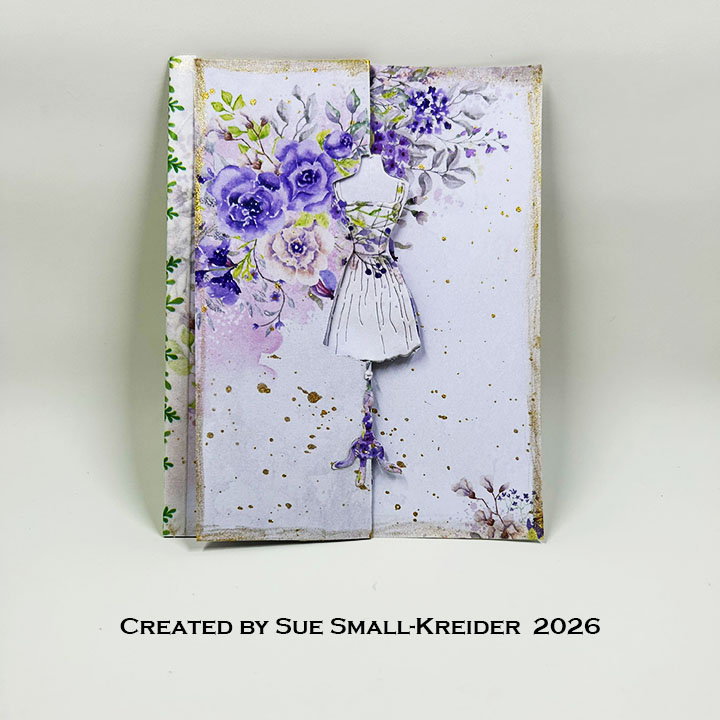
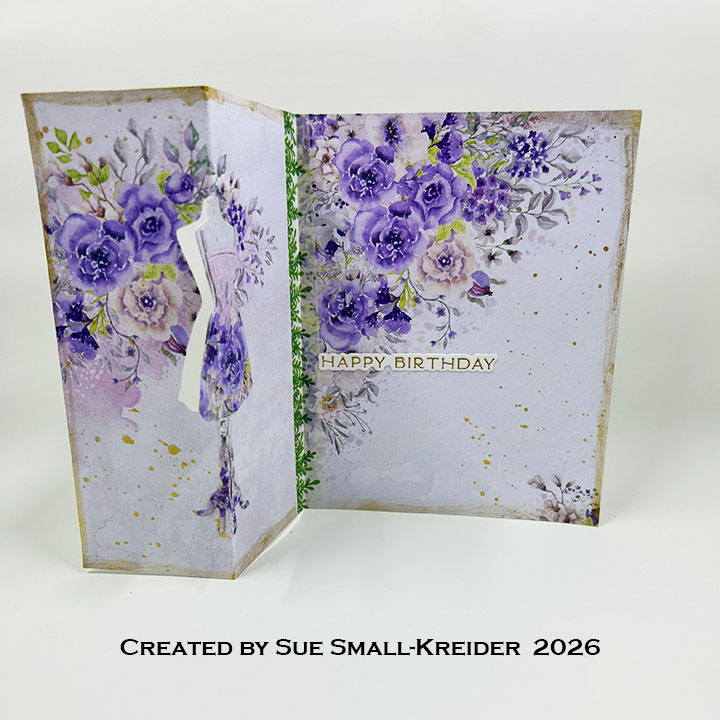
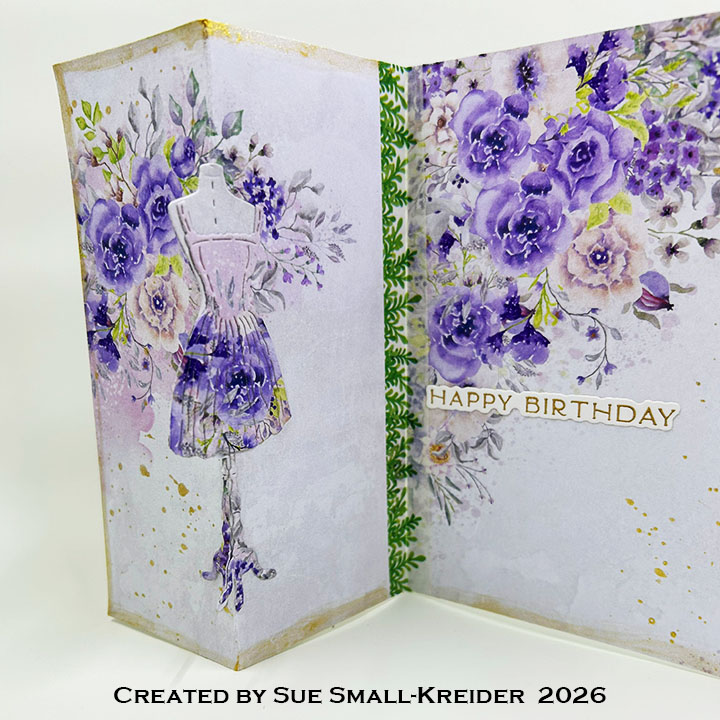
I used one piece of the 6×6 Prima double-sided patterned cardstock cut down to 4.25×5.5-inches and folded in half. Using the fold line as my guide, I centered the dress form die over the fold and did a partial die-cut with edge of my top cutting plate at the fold-line and the plate over the right side of the plate. I repeated the process with the dress die. (You may want to practice this two step die-cutting with scrap cardstock until you feel comfortable doing it with your patterned paper.)
Watch the video below to learn how to do do the partial die-cutting.
Watch the video below to learn how I made this card.
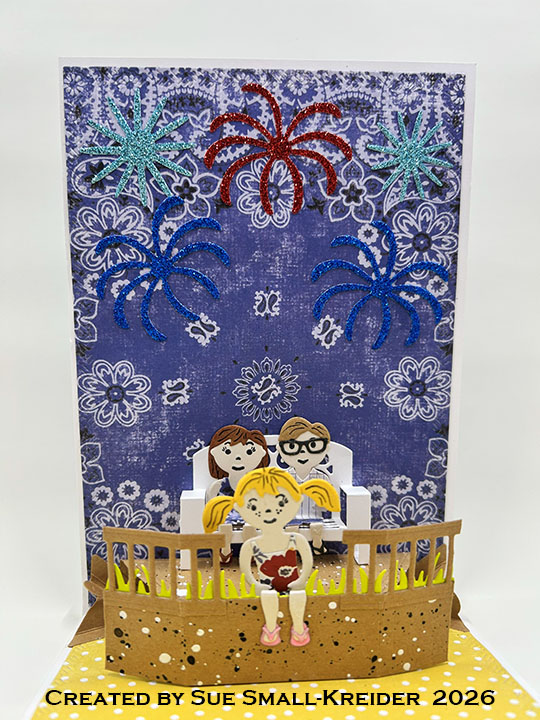
Cardbase: Cut a 5×7-inch rectangle and a 5×7.25-inch rectangle scored at .25-inches. Fold and glue tab to back of smaller rectangle to form a top-fold A7 size cardbase. Cut four of the largest crosshatch rectangle die in the Rectangles and Labels – Crosshatch from patterned paper and glue to the four panels of the cardbase.
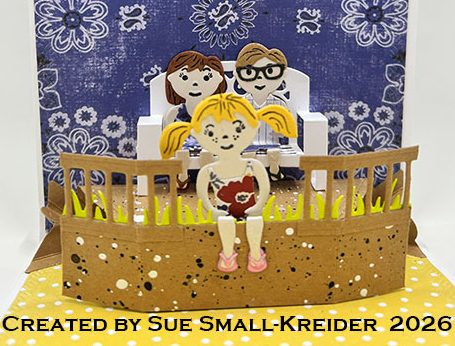
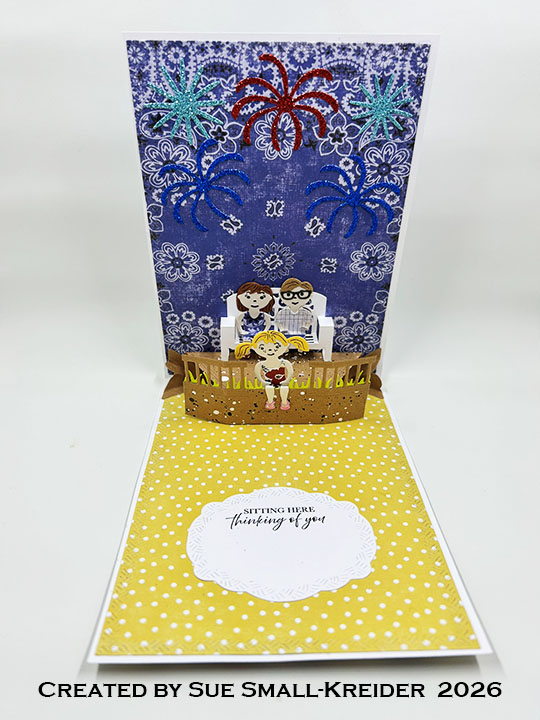
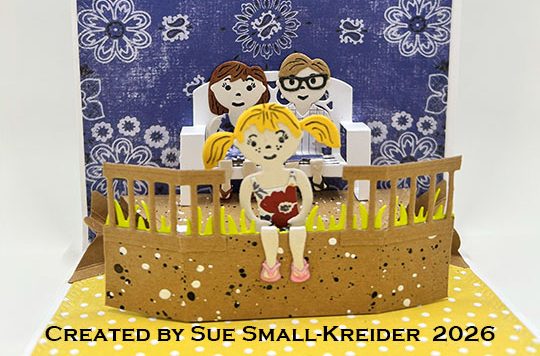
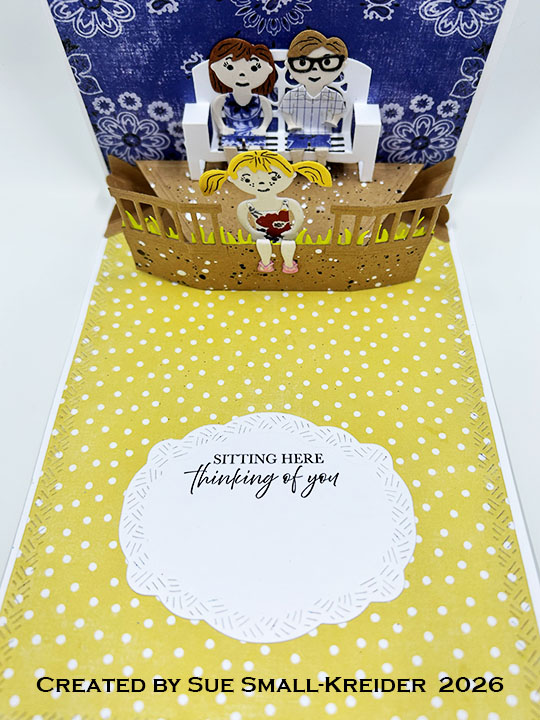
Paper People: Cut three figures using the body die in the Paper People Summer Styles set. Stamp faces on them using the Fun Faces1 stamp set. Watch the video above to learn more about how I styles this family of three using just the dies in this die set. (I accidentally mixed up my body dies between the original Paper People set and the new one and so the original body shape with the very thin waist was used for the little girl. The feet are a bit different so the flip flops look big on her.)
Deck: (My original idea was to have a half gazebo on this card, but the roof and side panels only work for a free-standing gazebo, hence the deck.) Cut one base piece, one side piece and one polygon decorative piece from the Stage Pop-Up die set. Cut one grassy side piece from the Grass Stage Add-Ons set. Cut one railing from the Gazebo Stage Add-Ons. (In hindsight, I would recommend gluing the grass strip whole to the brown side strip, but not to train any of the folds. Add railing as shown in the video. Also cut a rectangle the size of the deck instead of the polygon decorative piece. Trim the siding piece to the size of the rectangle.) Add two Display Helpers to either side of the deck to keep the card open.
Bench Pop-Up: This is an alternative way to use the Little Bench Pop-Up. Cut one bench and trim off the table strip as shown in the video above. Assemble as shown in video. Add glue to bottom of legs and to the back of bench to attach bench to deck and blue background. (Suggest bending Paper People bodies to fit bench, before styling them with clothes. This will allow you to avoid bending through three layers of clothing having to do “knee surgery” to get them to fit and bend up when card is closed.)
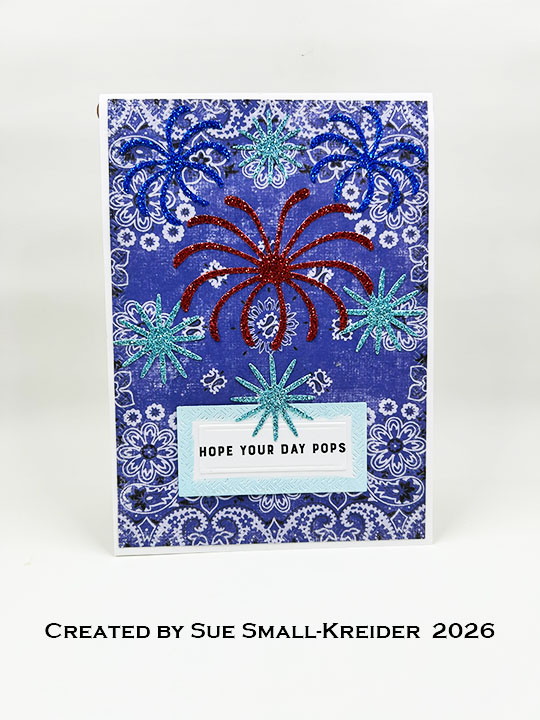
Sentiments: The front sentiment “Hope your day pops” comes from the Beer and Soda Sayings stamp set. Using the fancy label die from the Rectangles and Labels – Crosshatch for the inside sentiment of “Sitting here thinking of you” which comes from the Garden Greetings stamp set. The fireworks on the card front and inside are cut from glitter cardstock using the Fireworks die set.
Envelope: The card fits into an A7 (5×7-inch) envelope.
Disclaimer: Karen Burniston products are provided free of charge by the manufacturer for review and use. All other items were personally purchased. Compensated affiliate links used where or when possible, meaning I will receive a small percentage commission from these manufacturers at no cost to you. This will allow me to add more content to my YouTube channel and help out a lot. Thank you.
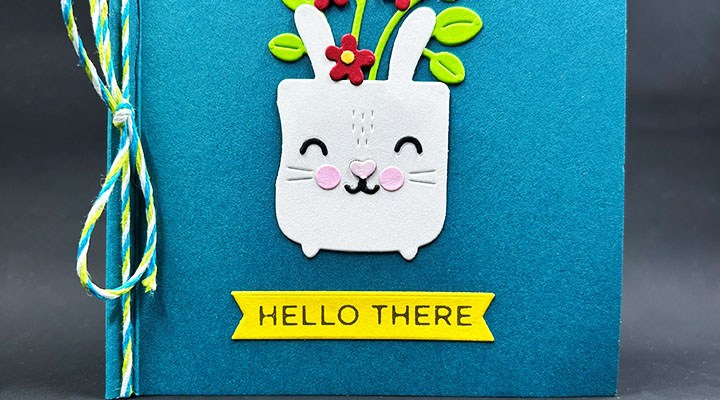
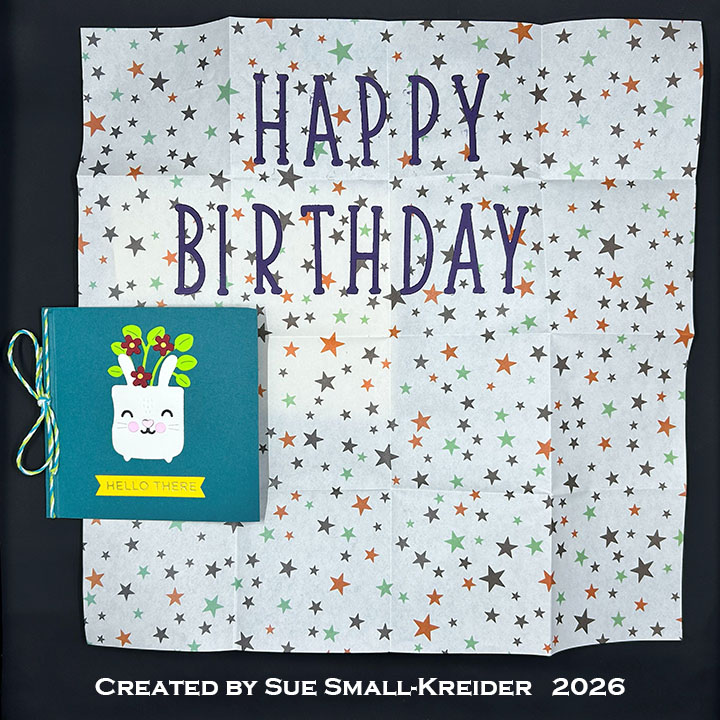
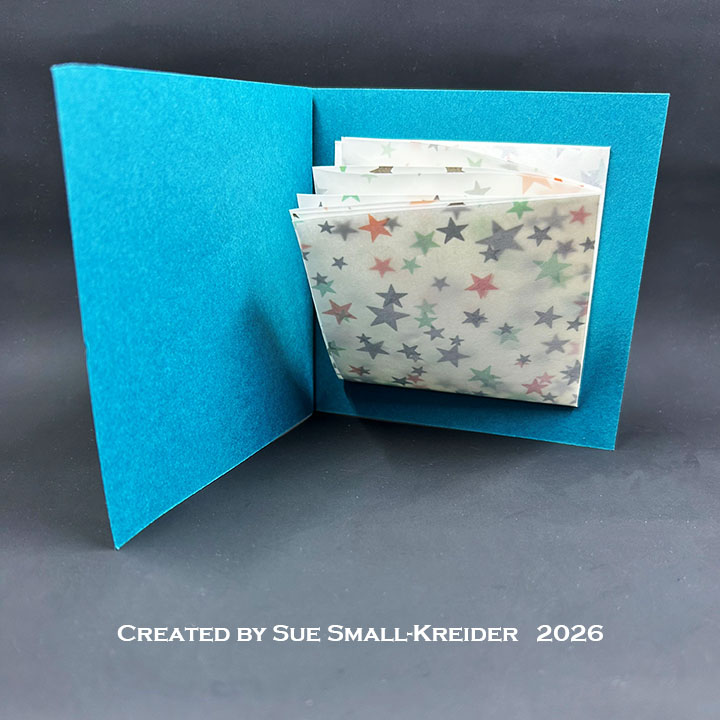
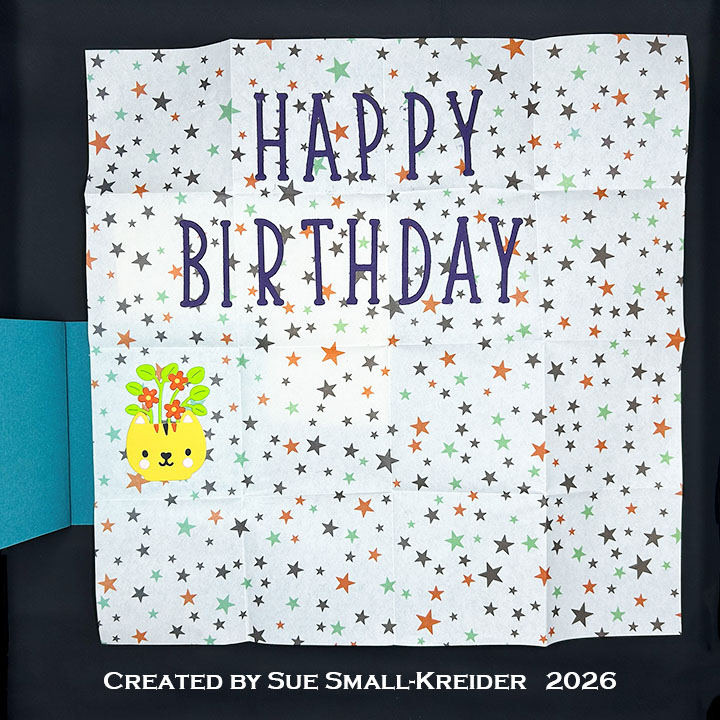
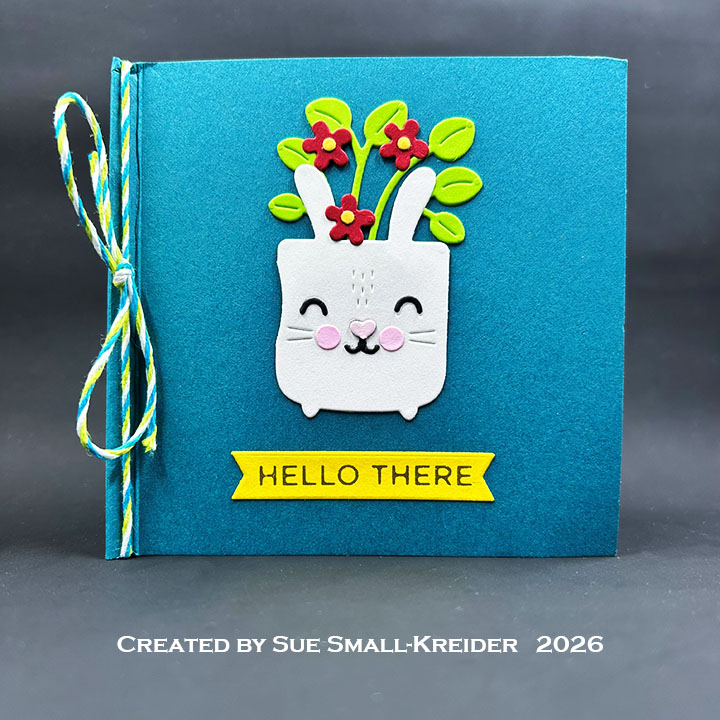
This card was made for Craft Roulette #329 whose parameters were: a book binding card, roadside market colors, plant (s) element and grid as random. I used Spellbinders and My Favorite Things dies to make this 4×4.25-inch card that opens up to 12×12-inches..
Watch the video below to learn how I made this card.
Cardbase: Score at 4-inches and at 4.25-inches an 8.5×4-inch teal rectangle of cardstock into a 4×4.25-inch book binding cardbase with a .25-inch “binding” on the left side of the card. Watch the video above for details.
Inside Grid: Using a thin paper that is 12×12-inches, fold in half and burnish fold with a bone folder. Repeat folding in half and burnishing until the paper has been folded down to a 3×3-inch square. Open up the paper and mark an x on the back side of the second square from bottom left corner. This will be the square that will be adhered to the cardbase. Watch the video above for details.
Planters: Using the Potted Pets die set from My Favorite Things, cut and assemble the bunny planter and the cat planter using the foliage and tiny flowers in the set so that the planters will fit onto the 3-inch square grid.
Sentiments: Using the Spellbinders How Does your Garden Grow Alphabet die set, cut “Happy Birthday” from eggplant cardstock and adhere onto the grid as shown in the video above. The from yellow banner foiled sentiment of “Hello There” was one I found in my stash from an early SpellbindersGlimmer Hot Foil Club of the Month set.
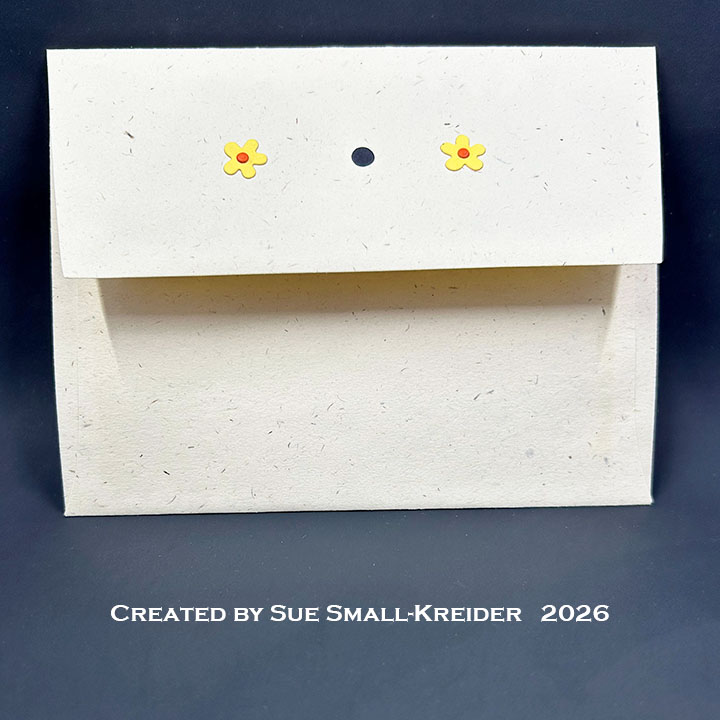
Envelope: The card fits into an A2 (4.25×5.5-inches) envelope with leftover floral decorations on the back flap.
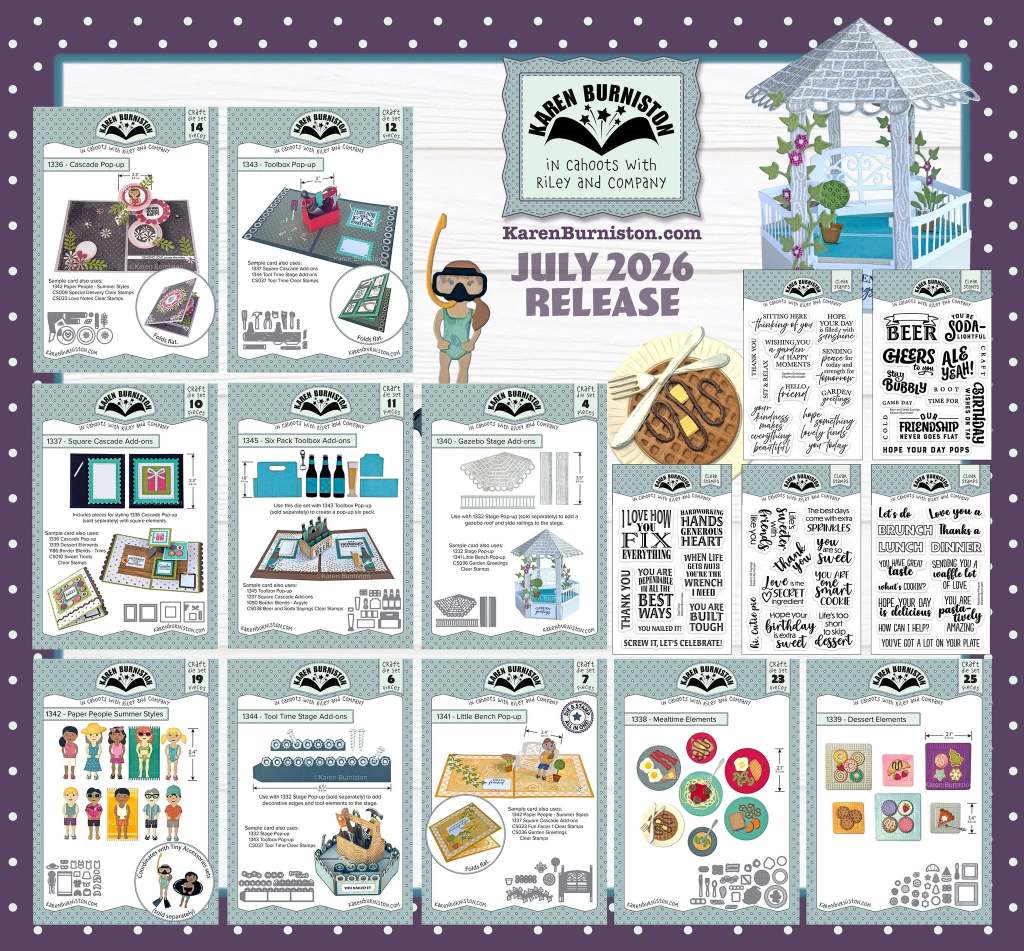
Welcome to our Karen Burniston Products – KB Riley LLC July 2026 Release Blog Hop. (See GIVEAWAY details at the end of this post for blog hop list.) The Design Team have come together with Karen today for a fun blog hop to celebrate the release of ten new die sets and five new stamp sets. Sneak peeks of the new release started last week, and the dies are available to order NOW on Karen Burniston’s website.
Watch the process video to see how I made this card.
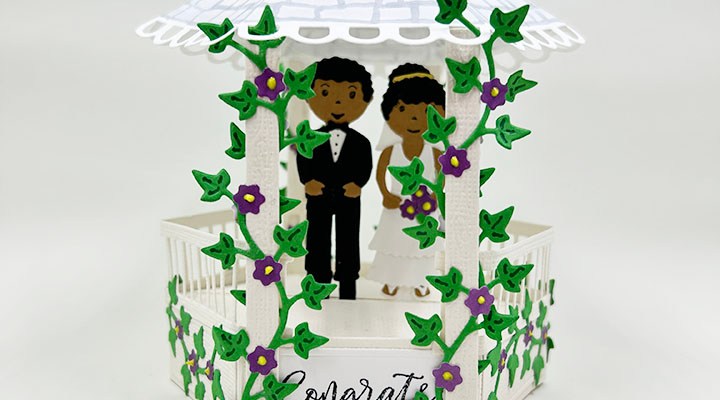
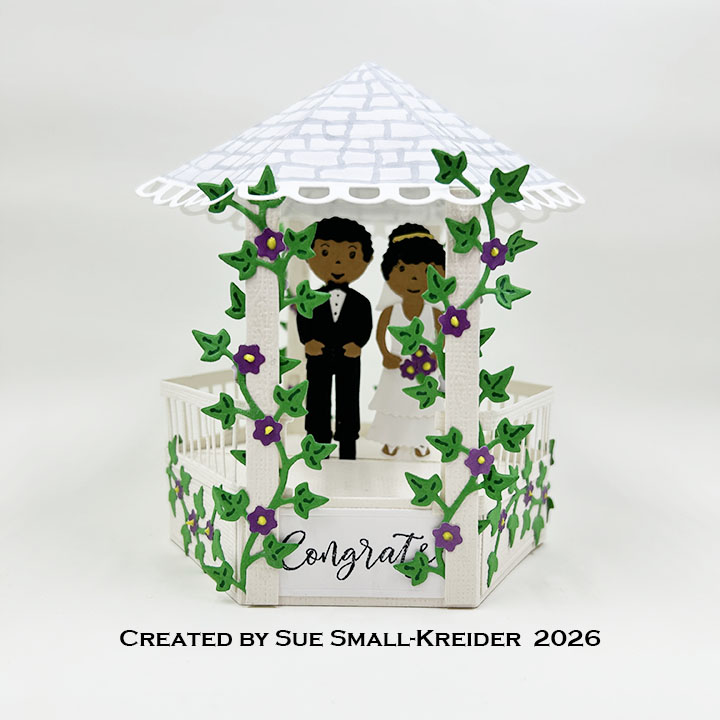
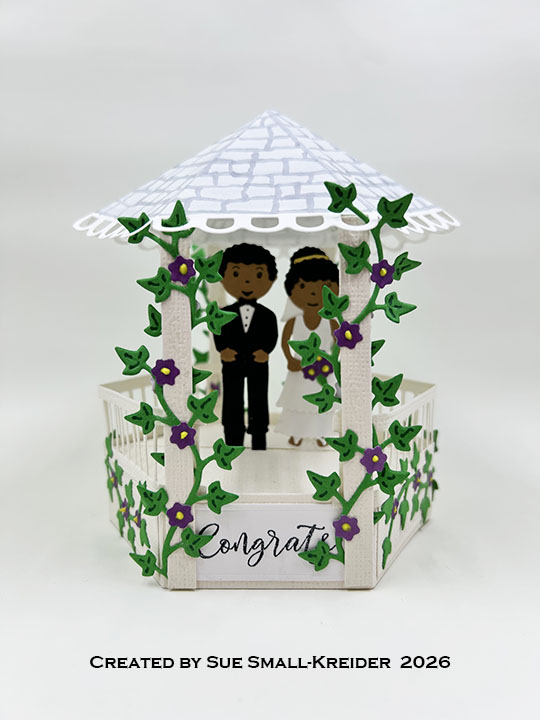
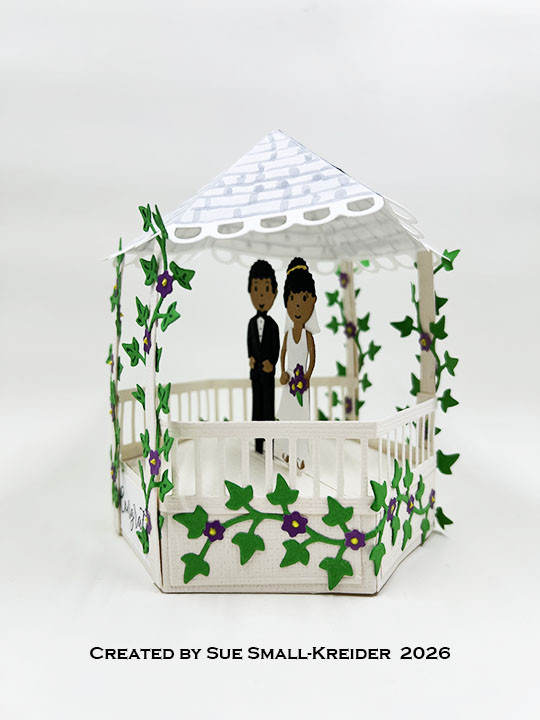
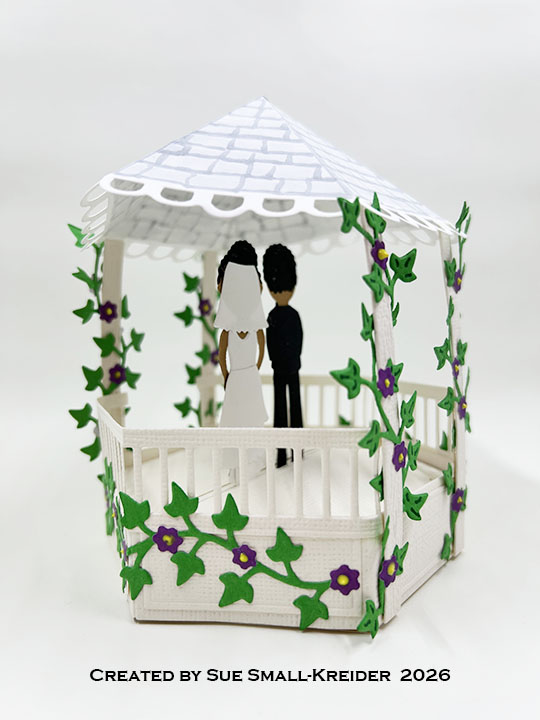
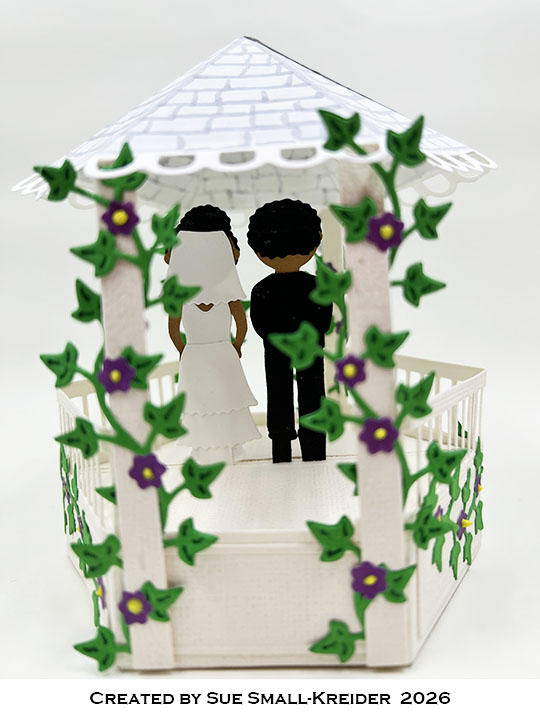
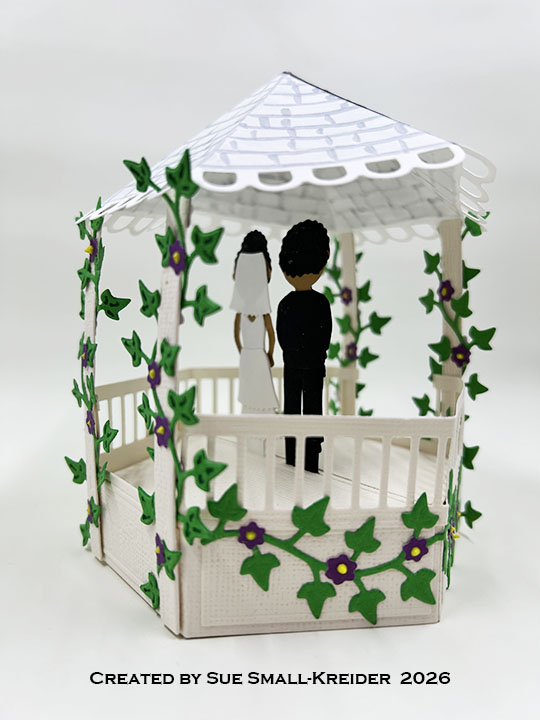
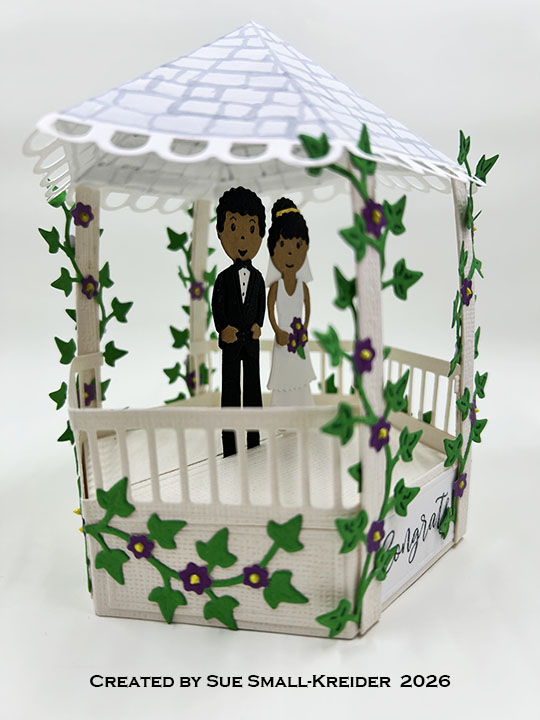
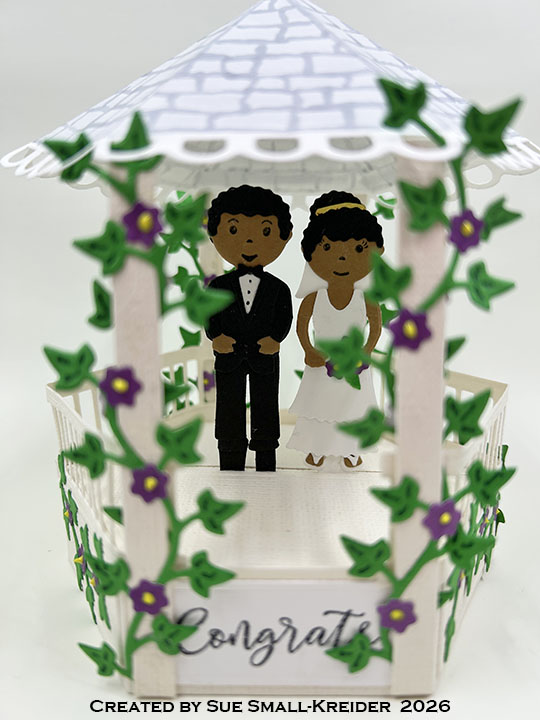
Stage Pop-Up Base: (Watch the assembly video at the bottom of the linked page for Stage Pop-Up.) Using the Stage Pop-Updie set and a medium weight cream textured cardstock, cut two of the large stage pieces, two of the side strips, two of the polygon decorator shapes and five of the rectangle side labels. From white cardstock cut two of the polygon decorator shapes and one of the rectangle side labels. Cut two of the “L” strips from black for the groom and one strip from white for the bride. Following the assembly steps in the video above, waiting to insert the bride & groom between the two stage sections, before gluing the base together. Stamp sentiment labels. Add the rectangle labels to the stage side strips before attaching to stage base.
Gazebo Stage Add-Ons: Using the Gazebo Stage Add-Ons set, cut four of the woodgrain posts and two railings from cream cardstock. Cut two of the scalloped roof pieces from medium to lightweight white cardstock. Color the slate roof with alcohol markers. Assemble the gazebo as shown in the video above – adding the two posts to each roof section and then attaching the roof sections together. Cut and emboss six of the vine die from the Little Bench Pop-Upset and highlight the leaf veins with a fine tipped green marker. Weave four of the vine decorations around the four posts before gluing posts to the stage base. Once the posts are attached to base, glue down the remaining two vines to the sides.
Watch this video to see how I styled the bride and groom figures.
Bride: Using the Paper People Summer Styles die set, cut one of the figure, two sets of hair style pieces, five of the long skirt, two of the curvy top and one set of the flip-flop sandals. From gold foil cardstock, cut one diamond using the Wedding Charms die set. This will be the tiara that tucks behind the front hair piece. Assemble as shown in the video making sure to attach the “L” strip on to back side of the bride before gluing on her back skirts. (I used the Fun Faces 1 stamp set to stamp on her face before I added her hair.)
Groom: Using the Paper People die set, cut one of the figure, two sets of hair style pieces, two pants, two sets of shoes, one long sleeved shirt (use this shirt to trace the back piece with the open collar closed). Using the Wedding Charms die set, cut one tuxedo and one of the shirt triangle piece. Trim the tuxedo’s loop, sleeves and pants off. Glue in shirt triangle and assemble the coat as shown in the video above. (I used the Fun Faces 1 stamp set to stamp on his face before I added his hair.)
Flowers: Using theLittle Bench Pop-Upset, cut four or more sets of the flowers. Add yellow centers to the flowers. (I used a liquid resin to add the flower centers, so I did this first when cutting out all my pieces so the resin had time to dry.)
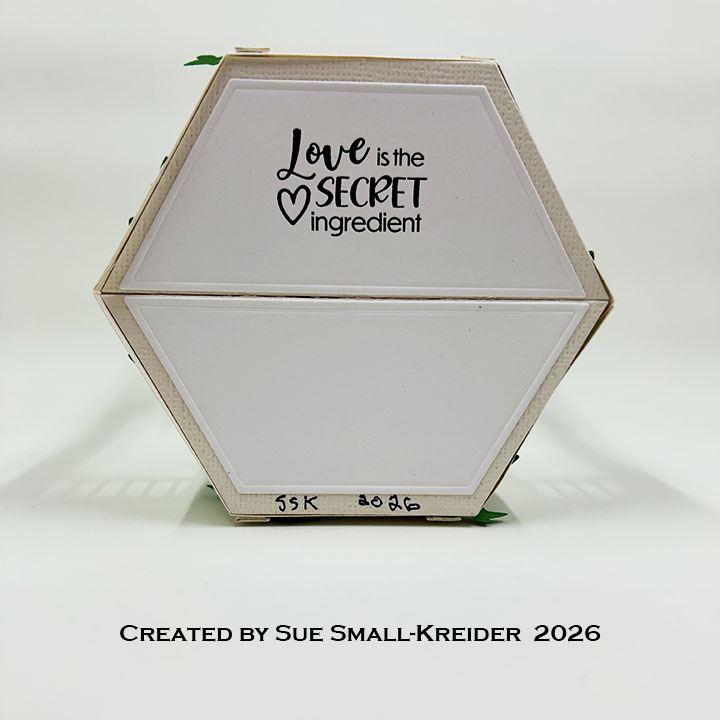
Sentiments: “Congrats” is from the Seasons stamp set While the “Love is the secret ingredient” is from Sweet Life Sayings set.
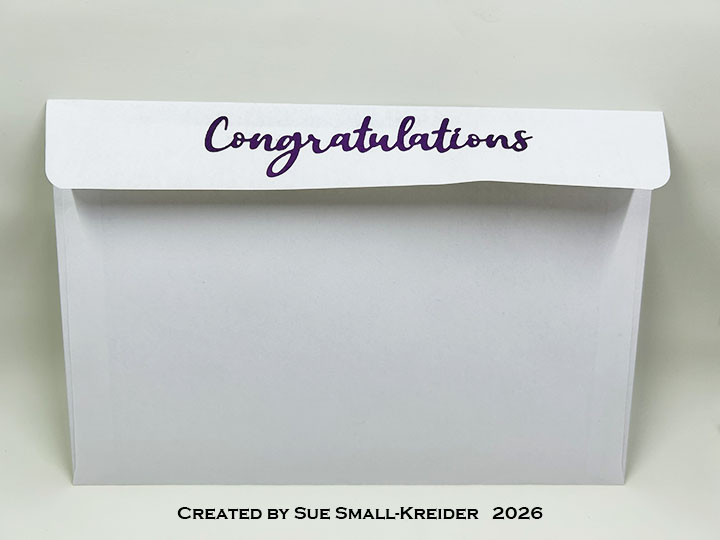
Envelope: The card fits into a catalog (6×9-inches) size envelope. The back envelope flap is decorated with the word “Congratulations” die-cut using Word Set 17 from the same purple paper that was used for the gazebo flowers.
Disclaimer: Karen Burniston products are provided free of charge by the manufacturer for review and use. All other items were personally purchased. Compensated affiliate links used where or when possible, meaning I will receive a small percentage commission from these manufacturers at no cost to you. This will allow me to add more content to my YouTube channel and help out a lot. Thank you.
To celebrate the release Karen Burniston and each of the Karen Burniston – KB Riley LLC Design Team members will be giving away a $25 Gift Certificate to some lucky person who comments on our blog posts, so make sure you join the hop and comment on everyone’s blog post. Winners will be randomly chosen from ALL of the blog hop comments received on our blog posts by Thursday, July 30, 2026. Lots of chances to win some goodies, so just leave a comment on this post or any other blog hop posts to enter! Don’t forget to leave some way for us to contact you, in case you are a lucky winner!
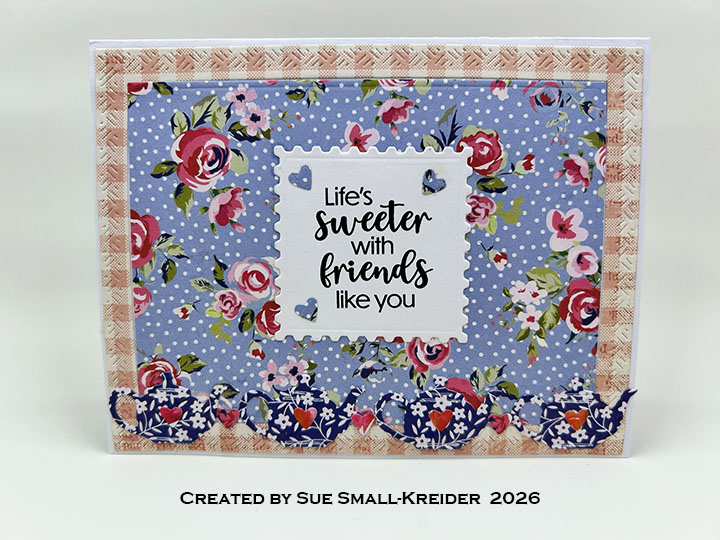
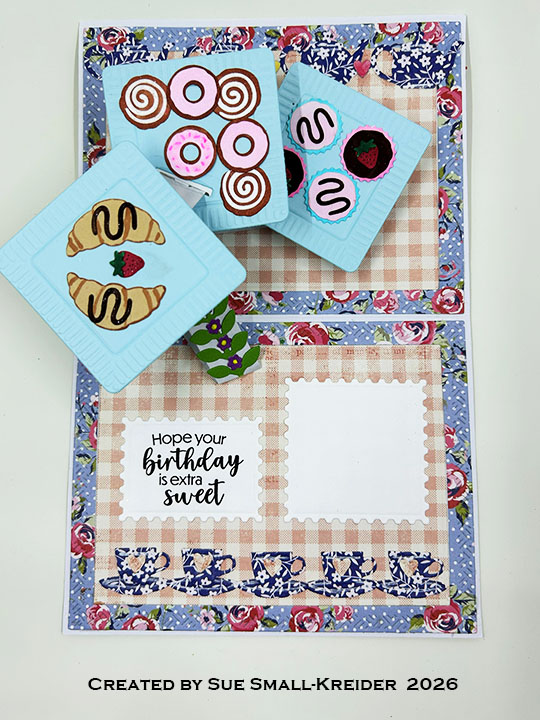
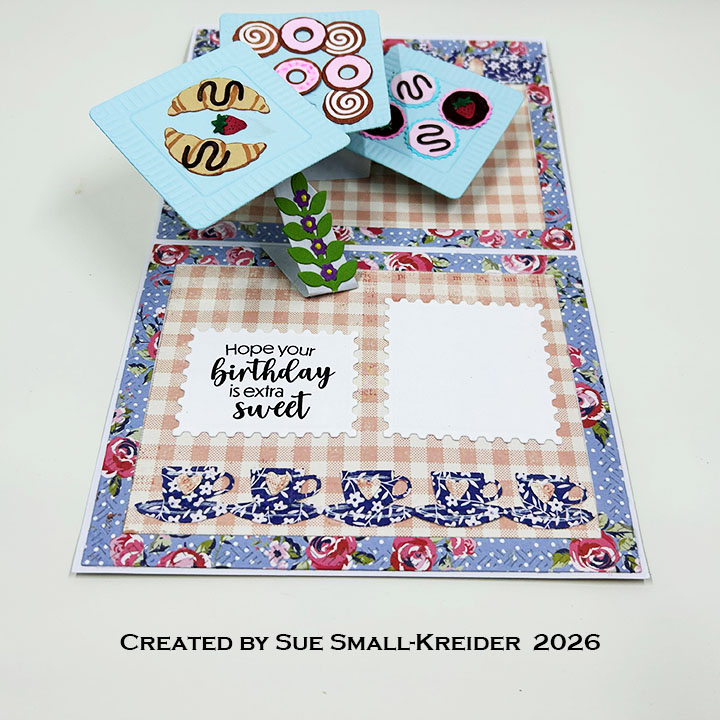
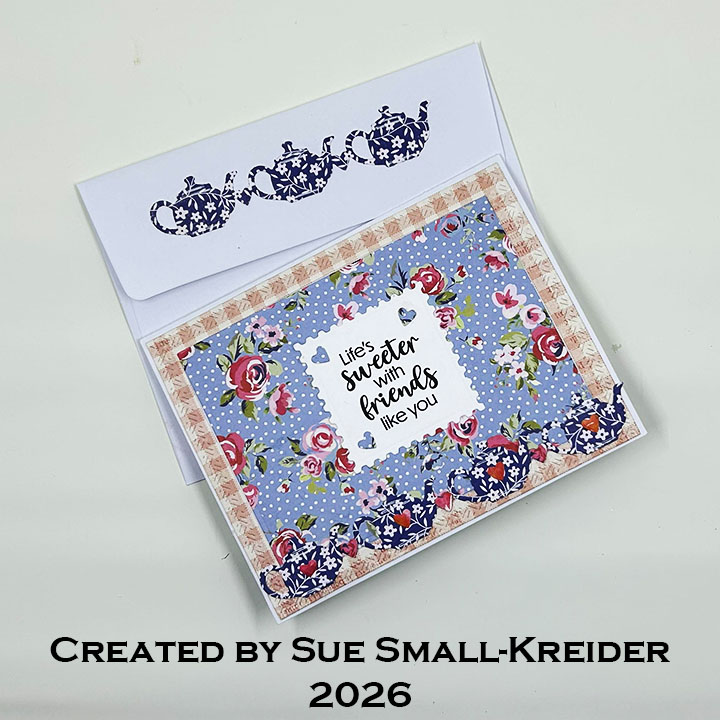
Cardbase: I used a purchased (4.25×5.5-inch) cardbase and covered the four panels, inside and out, with frames and rectangles of patterned paper cut using the the two largest dies in the Rectangles – Crosshatch set.
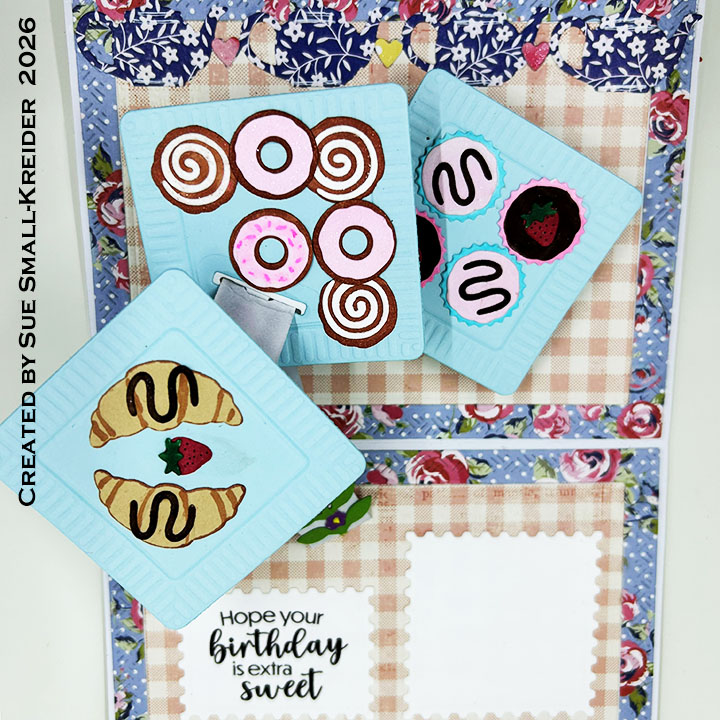
Tea Party: The teapot and tea cup borders used inside and out on the card are from the previously released Tea and Coffee Bordersdie set. The square plates of cupcakes, doughnuts and sticky buns along with the croissants are cut using the Dessert Elements dies. (I used white cardstock and alcohol markers to colour the food.) The square plate dies have an emboss feature which works well with heavy cardstock.
Cascading Circles Pop-Up: From medium to heavy cardstock, cut one of the large mechanism piece, and one of the small strip using the Cascade Pop-Up die set. (I cut these pieces from white and colored them with a gray marker.) Following the directions on the packaging, install the mechanism. (I cut the slotted square from the Square Cascade Add-Ons and then used one of the smaller squares in the set to make the platform smaller, but still retaining the slot. I positioned one large square plate die with the movable slot die to fit on the middle platform and still stay inside the card when closed.) Next, add the three square plates with the slotted square on the middle platform with the strip going through the slot. Decorate with food and flowers. ( I used the green leafy stem from the Cascade Pop-Up die set, with leftover tiny purple and yellow flowers that I had from the Little Bench Pop-Up set.)
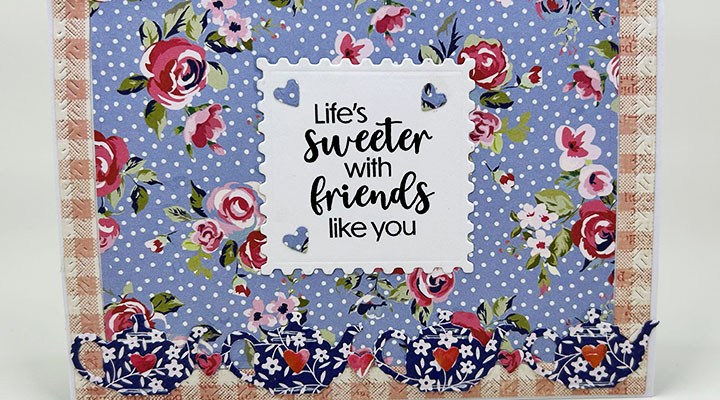
Sentiments: All the stamped sentiments come from the Sweet Life Sayings stamp set. They are cut out with the postage edged dies from the Square Cascade Add-Ons set.
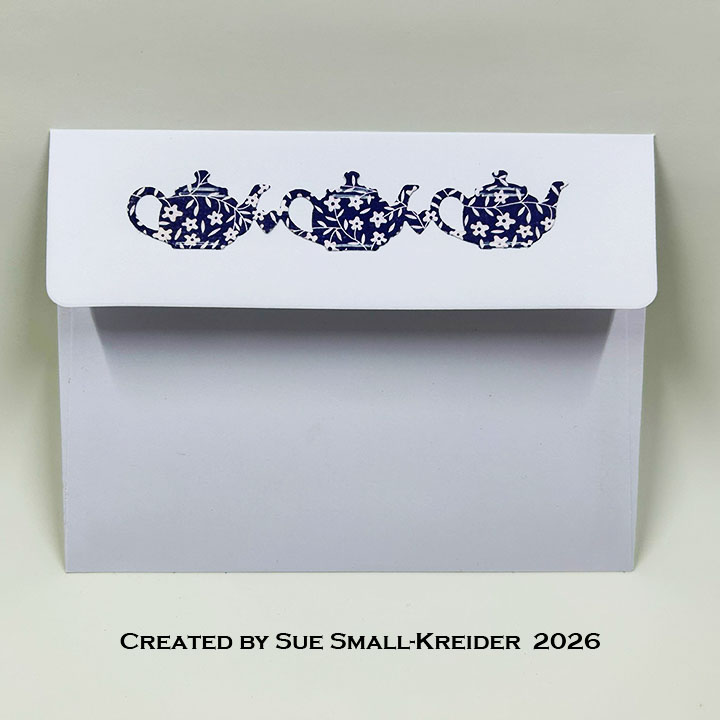
Envelope: This card fits into an A2 size envelope decorated with teapots cut from the Tea and Coffee Borders die set..
Disclaimer: Karen Burniston products are provided free of charge by the manufacturer for review and use. All other items were personally purchased. Compensated affiliate links used where or when possible, meaning I will receive a small percentage commission from these manufacturers at no cost to you. This will allow me to add more content to my YouTube channel and help out a lot. Thank you.
Materials Used:
Dies
Karen Burniston in cahoots with Riley and Company – Little Bench Pop-Up – 1341
Karen Burniston in cahoots with Riley and Company – Dessert Elements – 1339
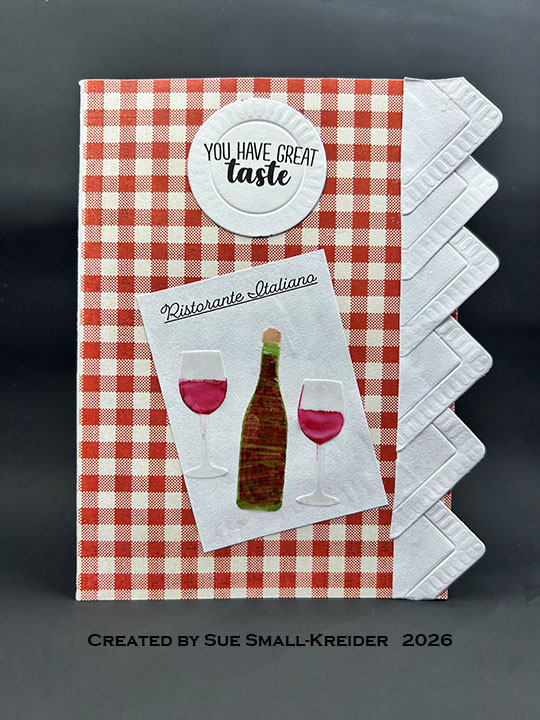
Cardbase: I used a purchased (4×5.5-inch) cardbase and covered the four panels, inside and out, with rectangles of patterned paper.
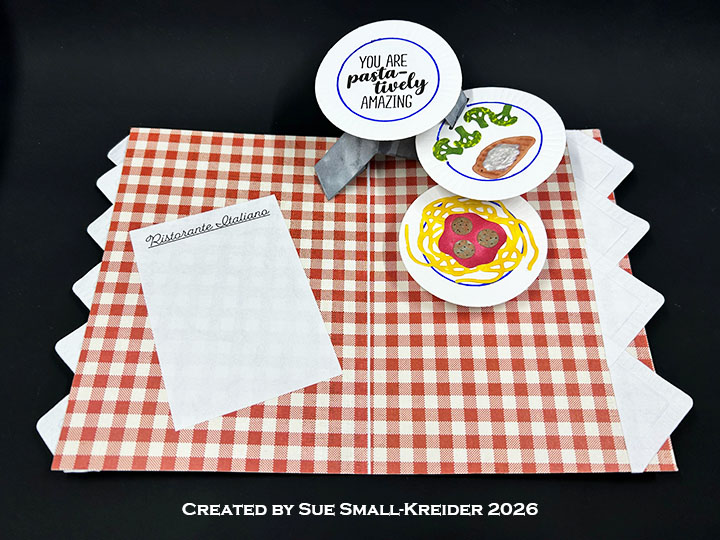
Food: The two plates of food come from the Mealtime Elements die set. Cut two of the large plates from white cardstock and use the embossing feature of the die to get the ridged rim of the plate. Cut one of the large slotted circle from the Cascade Pop-Up die set and then cut and emboss the large plate from the slotted circle making sure to leave enough space around the slot. Use a blue fine-tipped marker to mark the inner circles of the plates. (I cut all the food from white cardstock and then colored them with alcohol markers. The parmesan chicken uses the die stencil feature for the grill marks and some Nuvo Drops for the cheese slice.The trick to coloring broccoli is to color the top florets a yellow green and then add dots of the darker green so some of the yellow green shows.) Glue food to plates. Stamp sentiments before gluing in place.
Cascading Circles Pop-Up: From gray cardstock, cut one of the large mechanism piece, and one of the small strip using the Cascade Pop-Up die set. (I cut these pieces from white and colored them with a gray marker.) Following the directions on the packaging, install the mechanism and the three plate circles with the slotted circle on the middle platform with the strip going through the slot.
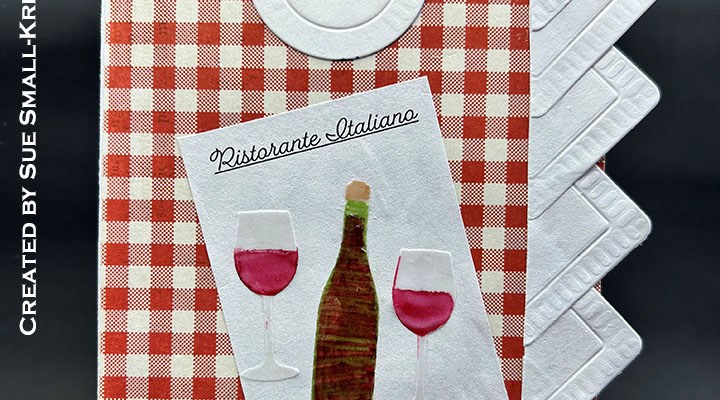
Card Front: I cut six of the smaller square plates from the Dessert Elements die set using thin, white paper and then cut on the diagonal to make triangles. These triangles cover the edge of the plate that over-hangs my cardbase because the cardbase is .25-inches less than a traditional A2 (4.25×5.5-inches) cardbase. The two wine glasses and wine bottle are cut from clear vellum using the Wine Charms die set. Alcohol markers were used to color the bottle and glasses.
Sentiments: The “Ristorante Italiana” menus were computer generated using a script font. “You are pasta-tively amazing” and “You have great taste” are from the Mealtime Phrases stamp set. All the circles were cut using the plate dies in the Mealtime Elements die set.
Envelope: This card fits into an A2 size envelope.
Disclaimer: Karen Burniston products are provided free of charge by the manufacturer for review and use. All other items were personally purchased. Compensated affiliate links used where or when possible, meaning I will receive a small percentage commission from these manufacturers at no cost to you. This will allow me to add more content to my YouTube channel and help out a lot. Thank you.
Watch the video below to learn how I made this card.
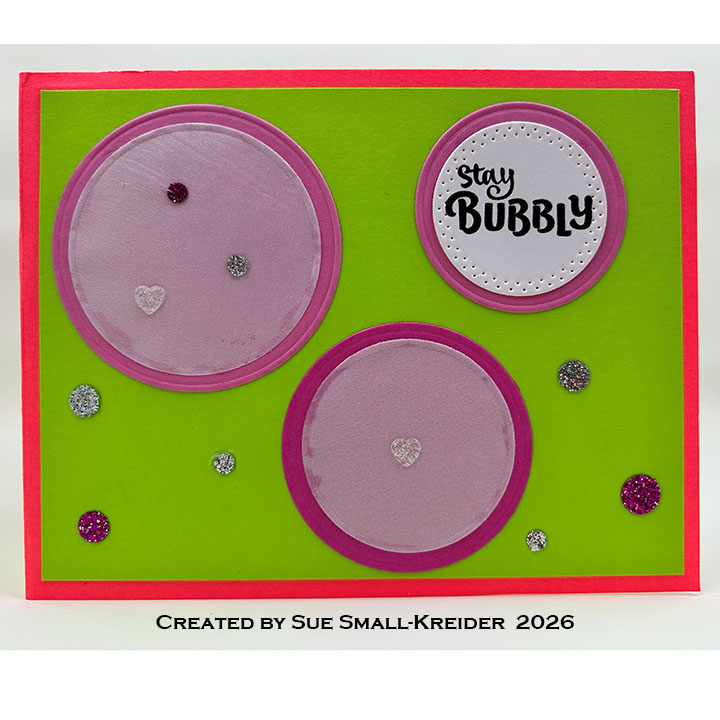
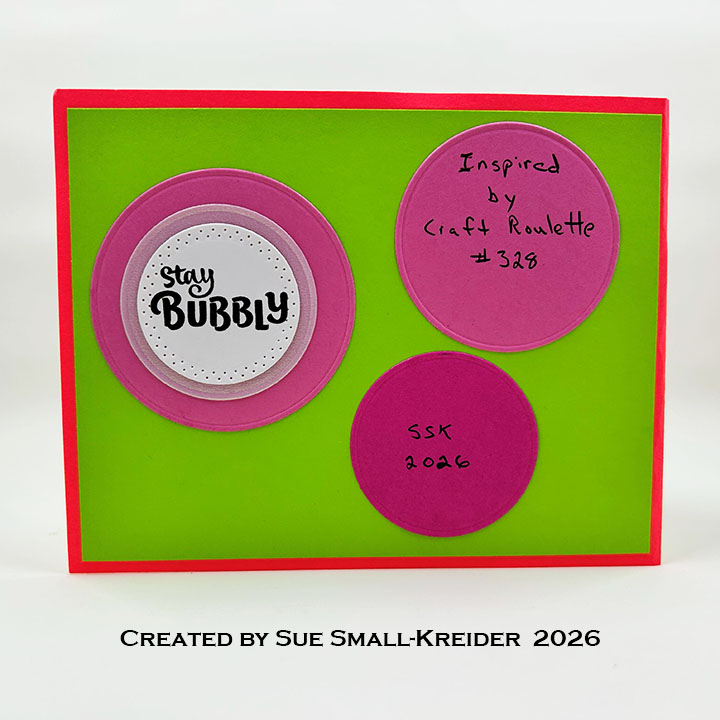
Cardbase: Score and fold an 11×4.25-inch neon pink rectangle of cardstock into a 4.25×5.5-inch cardbase. Cut four 4×5.25-inch rectangles of lime green cardstock and glue on to the cardbase panels.
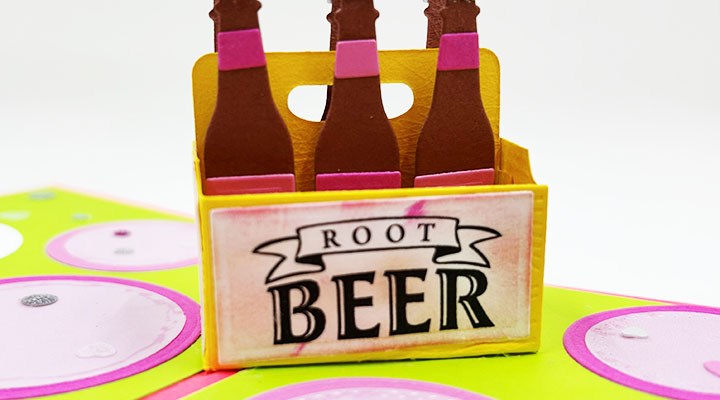
Six Pack Root Beer Pop-Up: Watch the assembly video at the bottom of the linked page for Six Pack Toolbox Add-Ons. The video will also explain the Toolbox Pop-Up assembly. Watch the video above for more details on bottles.
Bubbles: The bubble decorations are created by using the circles in the Cascade Pop-Up set to cut various size and shades of pink circles as well as vellum and pearlescent vellum circle. Sparkle spots and hearts are added for accents and tiny bubbles.
Sentiments: Using the Beer and Soda Sayings stamp set, stamp the “Root Beer” labels twice from white and die cut using the rectangle die in the Six Pack Toolbox Add-Ons die set. Ink blend labels with a light pink ink. From the Stage Scenes set stamp “Happy Birthday to you” in black and die cut using the medium circle in the Cascade Pop-Up die set. Use the smallest banner die in the Greeting Labels die set to cut out ” Hope your day pops” from the Beer and Soda Sayings stamp set and glue on to the popping circle with uses the largest Fireworksdie and leaves from the leaf stem in the Cascade Pop-Up trimmed to droplets.
Envelope: The card fits into an A2 (4.25×5.5-inches) envelope.
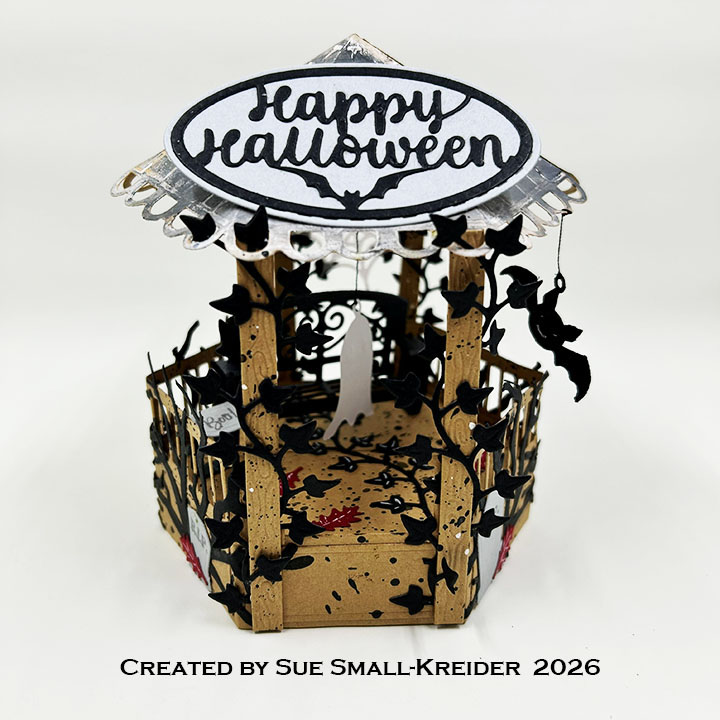
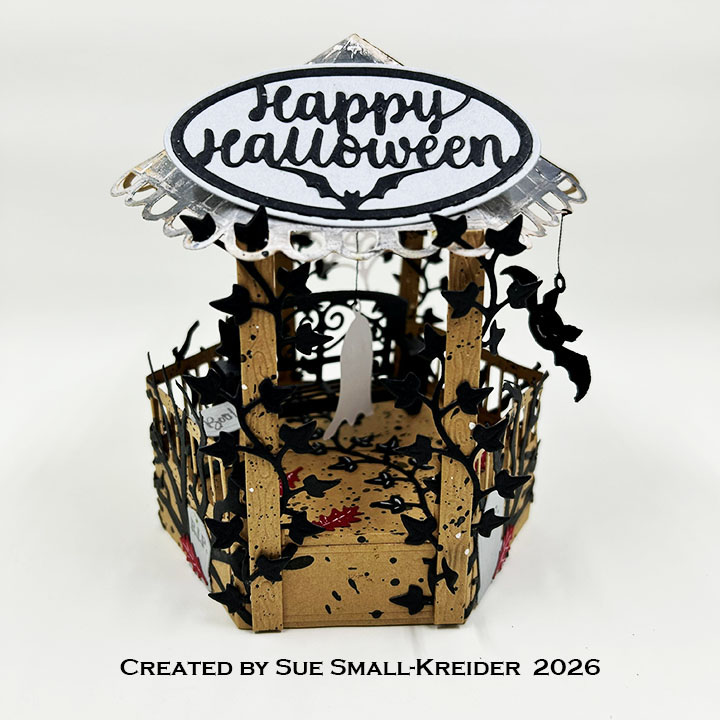
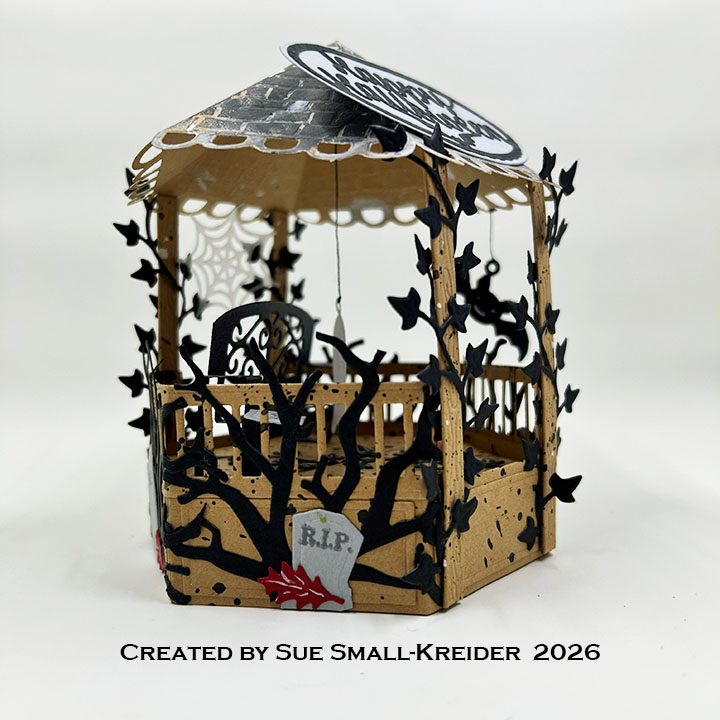
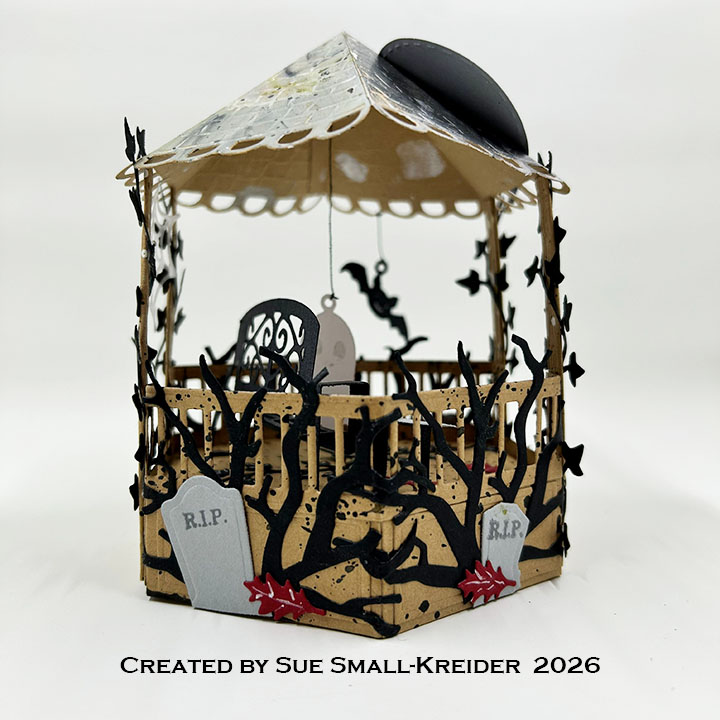
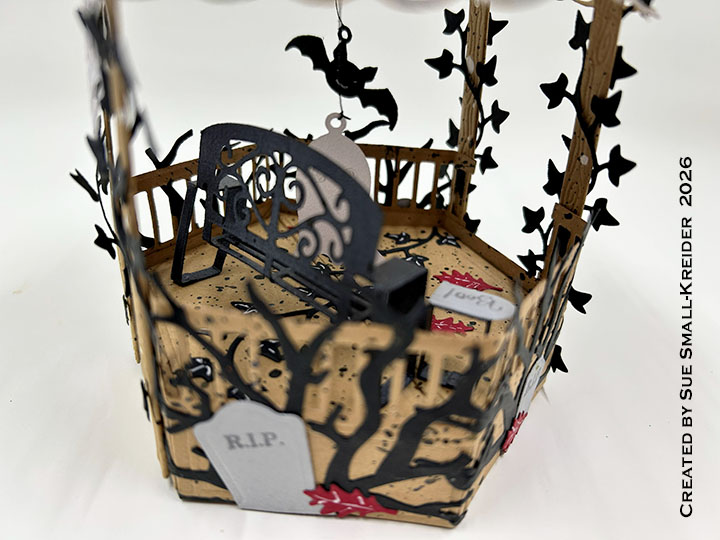
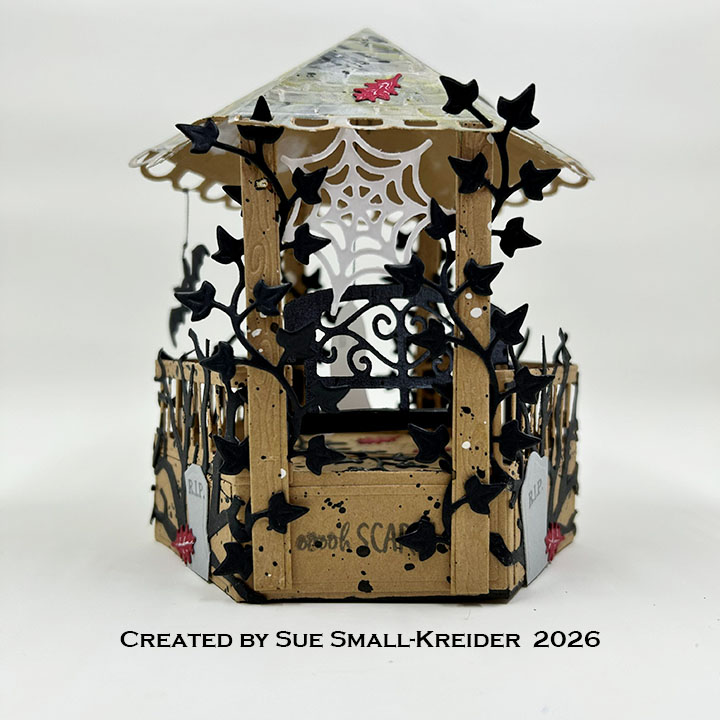
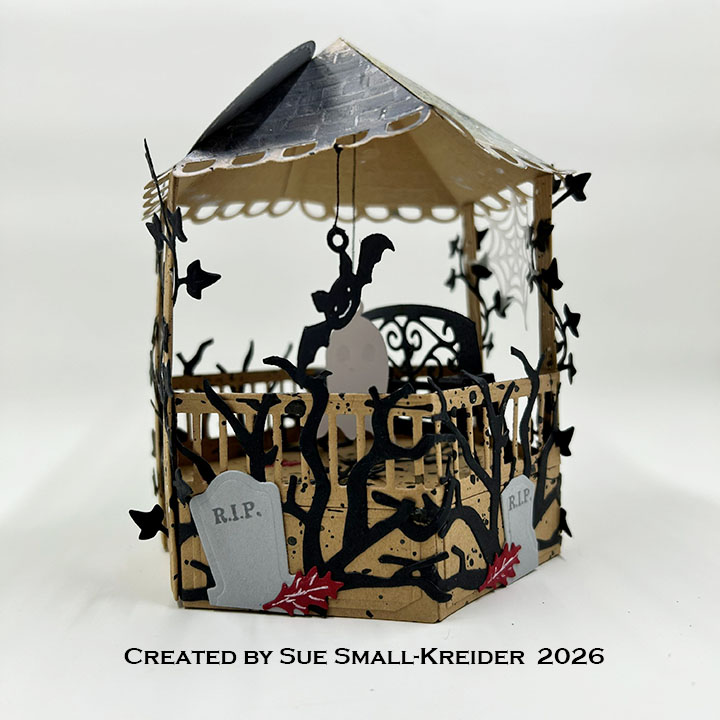
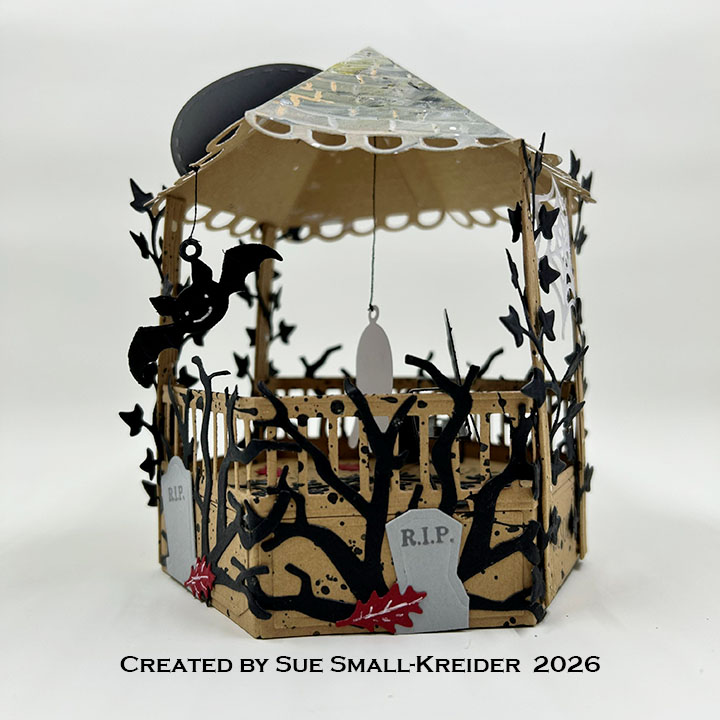
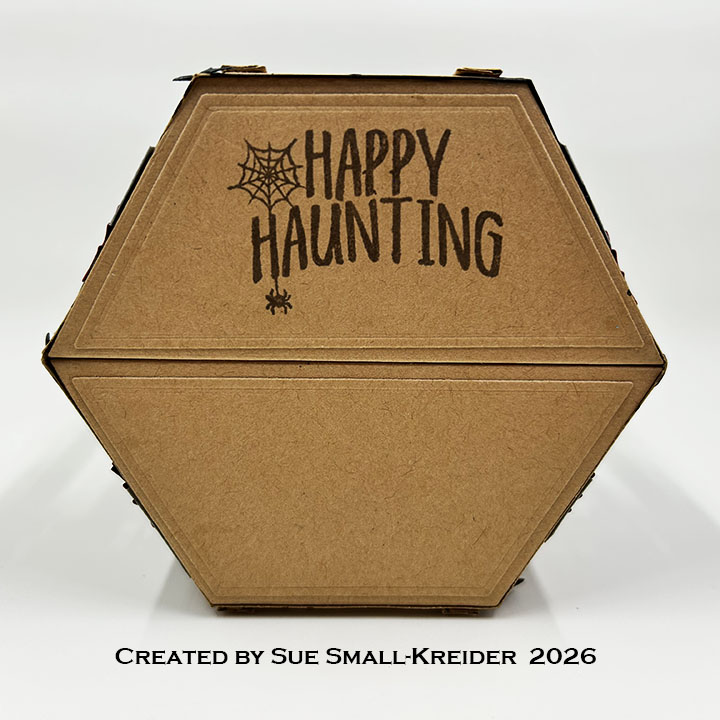
Stage Pop-Up Base: (Watch the assembly video at the bottom of the linked page for Stage Pop-Up.) Using the Stage Pop-Updie set and a medium weight kraft cardstock, cut two of the large stage pieces, two of the side strips, and four of the polygon decorator shapes. Assemble stage. Splatter drops of black, brown and white paint onto stage. Stamp sentiments before adding to the base.
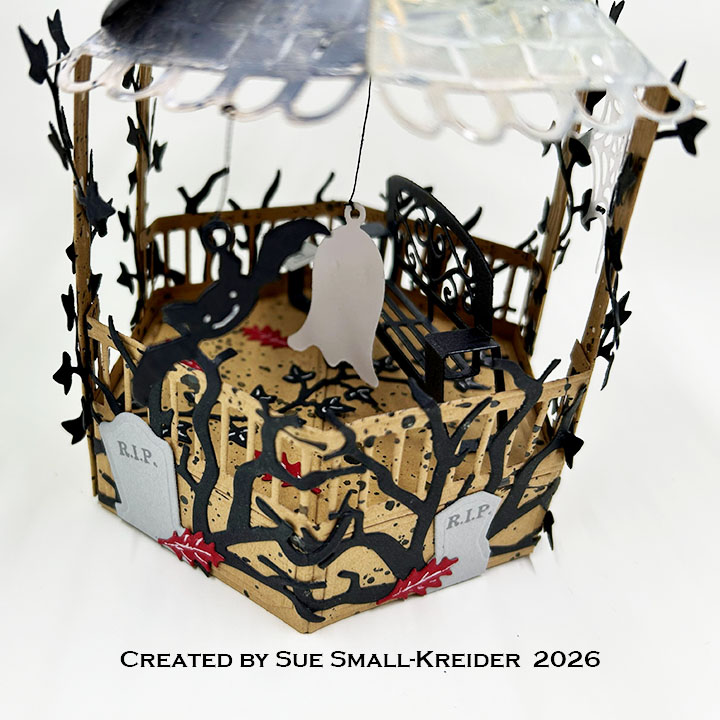
Bench and Table: Using the Little Bench Pop-Upset, cut the bench from a black sparkle cardstock and fold as shown on the packaging and glue in place with the bench on one side of the Stage Pop-Upcenter fold and the table on the other. (Watch the assembly video for the Family Room Pop-Up to see how bench and table /sofa and chair are added to base.) I used a tiny tombstone with “Boo!” stamped on it for the table top.
Gazebo Stage Add-Ons: Using the Gazebo Stage Add-Ons set, cut four of the woodgrain posts and two railings from kraft cardstock. Cut two of the scalloped roof pieces from kraft cardstock. Paint the roof with white, black and brown paints. Assemble the gazebo as shown on the packaging – adding the two posts to each roof section and then attaching the roof sections together. Cut four of the vine die from the Little Bench Pop-Upset in black. Weave the vine decorations around the four posts before gluing posts to the stage base.
Ghost, Spiderweb and Bat: From the Halloween Charms, I cut the ghost and bat charms. The ghost and spiderweb are cut from pearlescent vellum which shimmers. The spiderweb is from the Halloween Scene set. Thread was used to suspend the ghost and bat from the roof.
Tombstones and Bushes: Cut four trees from black using the Tree Pop-Up die. Trim off trunks of trees and add to the railing sides of gazebo. From the Halloween Scene set, cut two sets of tombstones from gray cardstock and stamp “R.I.P.” from the Halloween Phrases stamp set. Trim the tombstones apart and glue onto sides. Add red oak leaves cut from the Tree Pop-Up to tombstone bases.
Sentiments: “Happy Haunting” ” Boo!” “ooooh SCARY!” is from the Halloween Phrases stamp set. The oval “Happy Halloween” is cut using the Halloween Charms die set.
Envelope: The card fits into a catalog (6×9-inches) size envelope.
Disclaimer: Karen Burniston products are provided free of charge by the manufacturer for review and use. All other items were personally purchased. Compensated affiliate links used where or when possible, meaning I will receive a small percentage commission from these manufacturers at no cost to you. This will allow me to add more content to my YouTube channel and help out a lot. Thank you.
Watch the video below to see how this card was made.
PAPERS: I printed six pages of 8.5×11-inch prints from the Jane Austen’s Christmas at Pemberley collection. Pages 2 and 4 are the gold patterned red and green prints I used for the backgrounds. Page 6 is the snowy house print used on the front and back panels of the card. The fussy cut ornaments or baubles on the inside and back panels, come from page 15. The solid red and green sheets are pages 21 and 22. I used a matte gold cardstock from my stash for the gold frames around the sentiments.
DIES & STAMPS: All the dies and stamps used are by Karen Burniston. See the Materials Used list below for specific sets used.
Disclaimer:Relatively Thoughtful and Karen Burniston products were provided for free or at a discount by the manufacturer for review and use. All other items were personally purchased. Compensated affiliate links used where or when possible, meaning I will receive a small percentage commission from these manufacturers at no cost to you. This will allow me to add more content to my YouTube channel and help out a lot. Thank you.
Materials Used:
Dies
Karen Burniston in cahoots with Riley and Company – Thank You Lorna Add-Ons – 1329
Karen Burniston in cahoots with Riley and Company – Merry Christmas Lorna Add-Ons – 1288
Karen Burniston in cahoots with Riley and Company – Lorna Label Pop-Up – 1266
Karen Burniston in cahoots with Riley and Company – Rectangles and Labels – Crosshatch – 1233
Karen Burniston in cahoots with Riley and Company – Label Charm Pop-Up – 1209
Stamps
Karen Burniston in cahoots with Riley and Company – Thank You Phrases