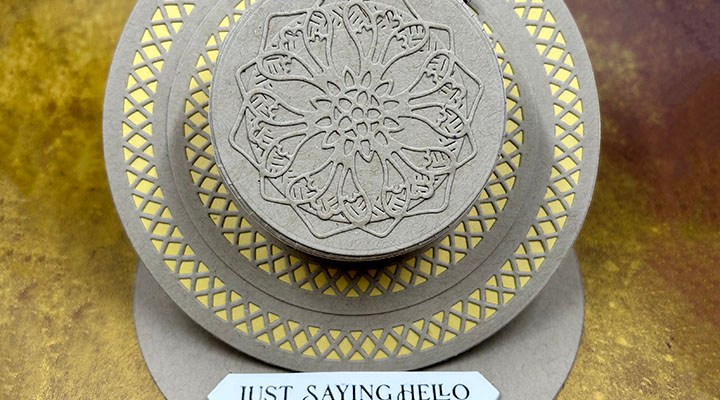
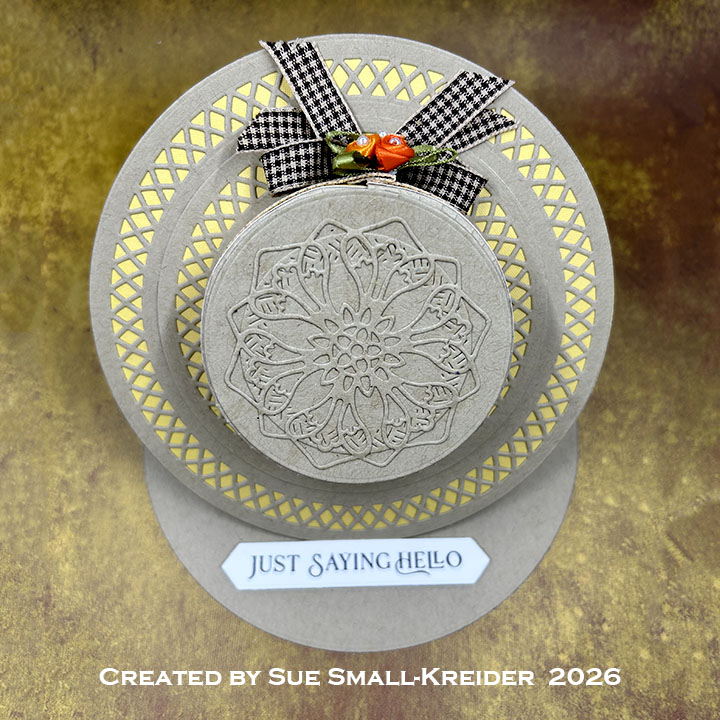
Hat Easel Card

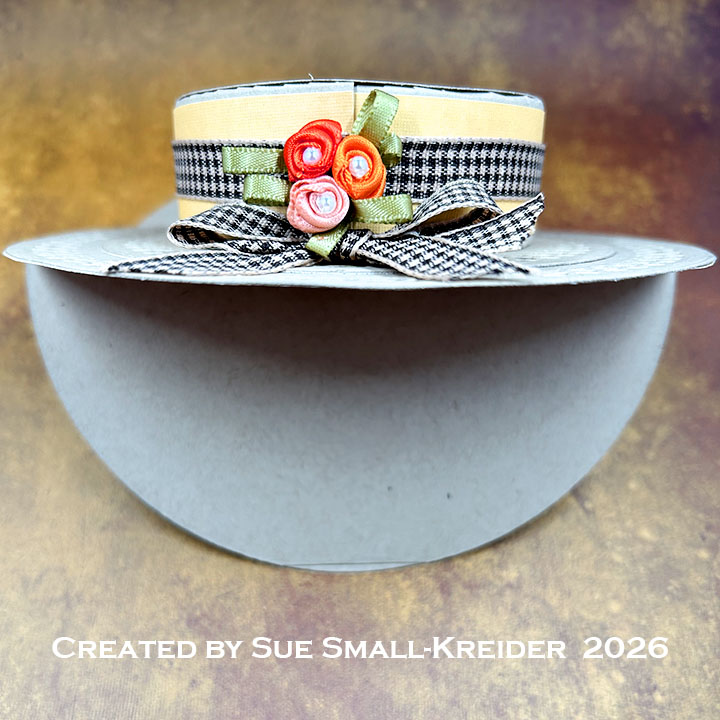
This is my card for Craft Roulette #345 whose parameters were a circle card or a card with circle(s) for project; hayride colors, flower cluster for element; and add a moustache for random. I used Paper Discovery and Karen Burniston circle dies, Spellbinders BetterPress sentiment and a Sizzix moustache stamp to create a hat easel card after watching a number of videos on how to make a hat easel.
Watch the process video to see how I made this card.

Cardbase: I folded a sheet of wheat -colored cardstock in half and placed my 5 ½-inch circle die from Paper Discovery’s Card Builder Nested Circle Die Set. Next, I scored one panel at 2 ¾-inches (the middle of my circle) and folded to create the easel. I cut a circle with the same circle die and added the decorative die to the center of it to cut a piece to be glued to the card back (which is the panel without the scored easel fold.)
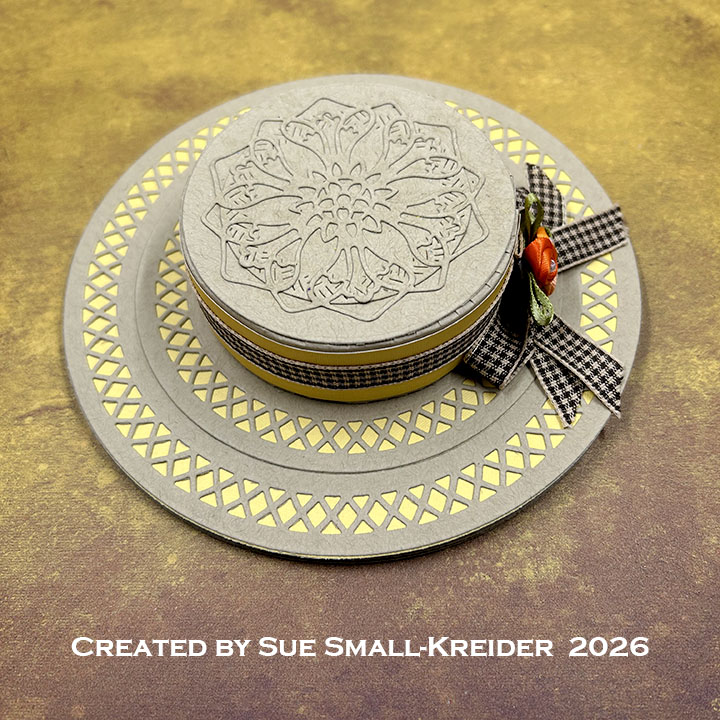
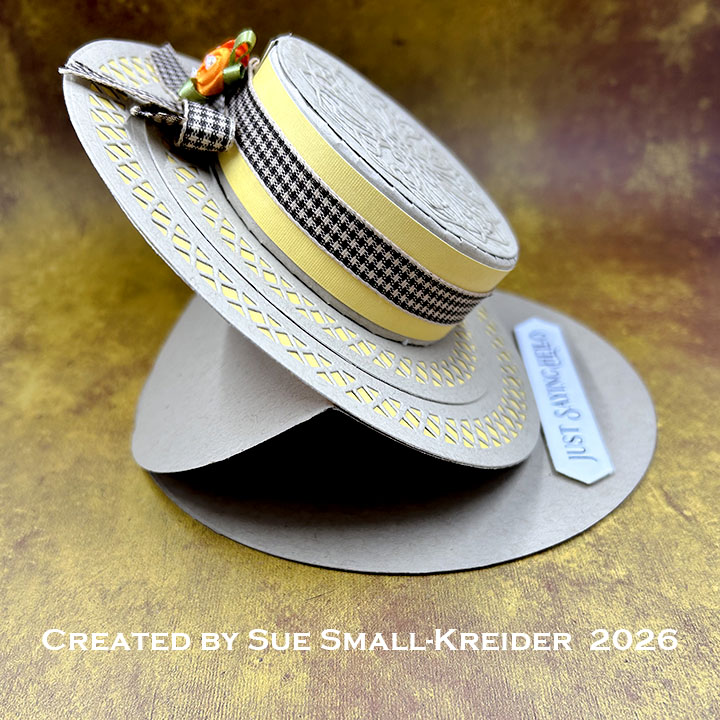
Hat: Using the Paper Discovery Circles die set, cut from wheat cardstock a 5 ½-inch circle and a 4-inch circle both with the decorative center dies. Cut three solid 2 ¾-inch circles from wheat. From one of these circles cut a frame using 2-inch circle die (I used the smallest die in Karen Burniston’s Circle-Crosshatch die set.) Also, from wheat, cut an 11×1 ½-inch strip that is scored ¼-inch from each long edge. Cut fringe on the two long edges to the score marks. Cut from yellow paper, a 5 ½-inch solid circle and a 4-inch solid circle. Cut a 1×11-inch yellow stripe. Assemble these pieces as shown in the video above. Once the hat has been decorated with ribbon and flower cluster, glue to the bottom half of the easel on the cardbase.
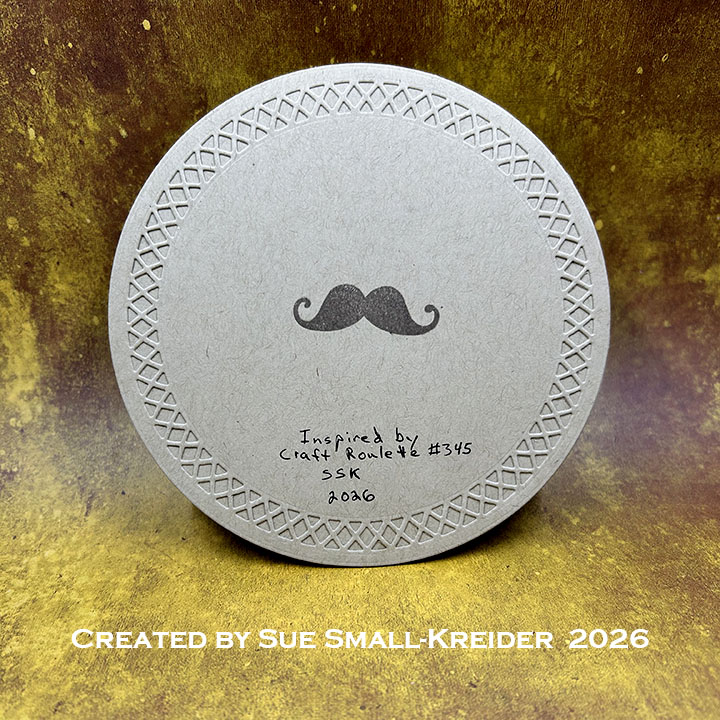
Sentiments: The sentiment “Just saying Hello” is printed using Spellbinder’s Fancy Sentiment Strips press plate & die set. A moustache was stamped on the card back in brown ink using Sizzix’s World’s Best Dad set.

Envelope: The card will need a custom box for hand delivery of the card.

___________________________________

Thank you for experiencing this blog post.

I hope this inspires you and makes you smile.

😊 Please subscribe, like and leave comments 😊

Follow my YouTube channel, Instagram and Pinterest as well.

___________________________________

Disclaimer: Karen Burniston products are provided free of charge by the manufacturer for review and use. All other items were personally purchased. Compensated affiliate links used where or when possible, meaning I will receive a small percentage commission from these manufacturers at no cost to you. This will allow me to add more content to my YouTube channel and help out a lot. Thank you.

Materials Used:

Dies

  • Karen Burniston in cahoots with Riley and Company – Circles Crosshatch – 1057
  • Paper Discovery – Metal Dies – Card Builder Nested Circle

Press Plates/Foil Plates

  • Spellbinders – BetterPress – Press Plate & Die Set – Fancy Sentiment Strips

Stamps

  • Sizzix – Clear Stamps – World’s Best Dad

Papers

  • ATD by Mementa – 12×12 inch Textured Cardstock – Earthtones
  • Concord & 9th – 8.5×11 Cardstock – Wheat
  • White Cardstock

Ink

  • Memento – Fade Resistant Dye ink – Rich Cocoa
  • Spellbinders – BetterPress Ink – Black
  • Pigma – Mircon 01 Fine Tip Pen – Black

Adhesives

Tools

Miscellaneous

  • Satin Ribbon Flower Cluster
  • Fun Stampers Journey – Cocoa Powder Gingham Ribbon 1/2-inch wide
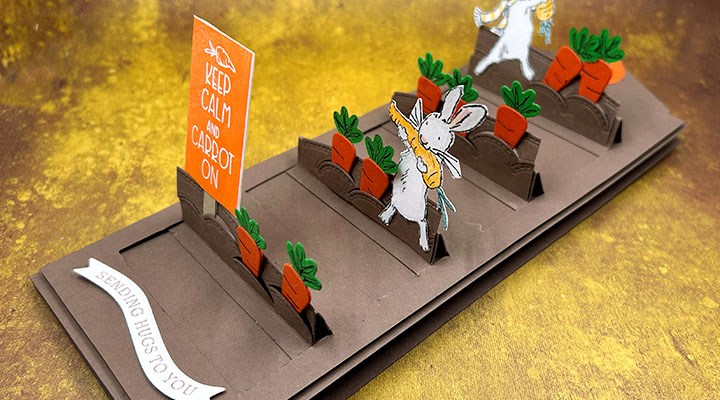
Carrot Patch Split-Slider Slimline Card

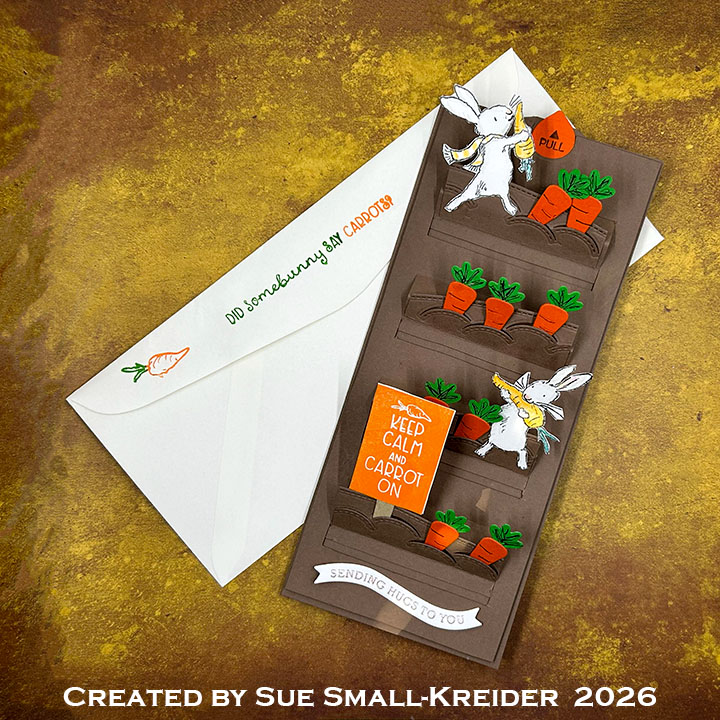
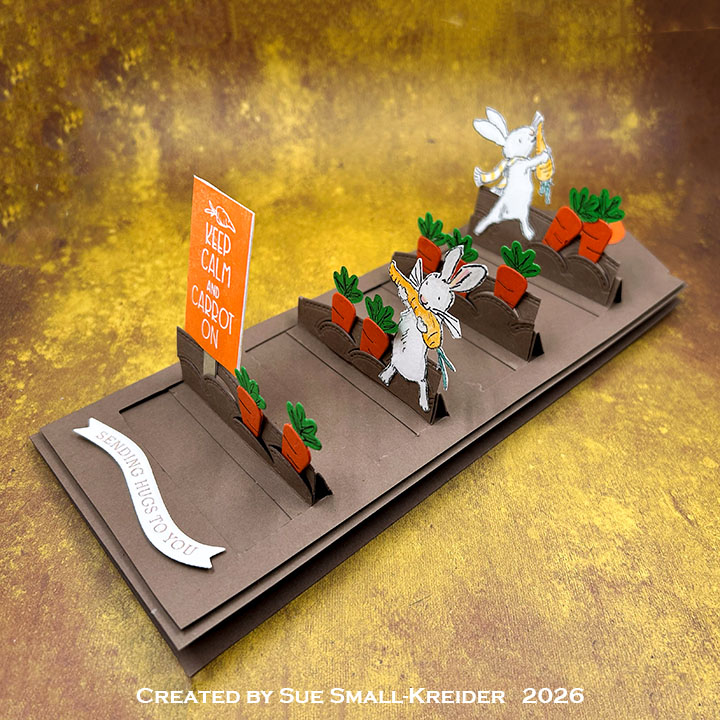
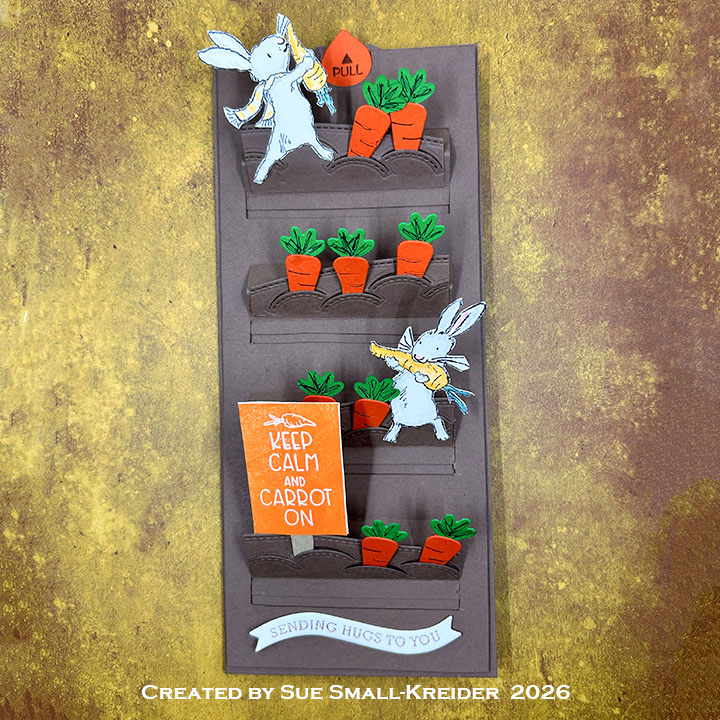
This is my card for Craft Roulette #344 whose parameters were a card with a pocket for project; vegetable garden colors, small critter(s) for element; and tidbit(s) for random.

Watch my process video below to learn how the card was made. There are free downloads of the template and CRX sheet below.

CARDBASE: The finished cardbase is 3 3/4x 8 3/4-inches. See video above for assembly.

SPLIT-SLIDER: Use the split-slider template you can download for free below. Assemble as shown in the video above.

Please note that this template is copyrighted, and Ully Cat Designs must be cited if you publish a card made using it.

The carrot and stitched garden rows from Lawn Fawn’s Stitched Garden Border die set and the rabbits are from Colorado Crafts’ Summer Garden stamp set designed by Anita Jeram. The Rabbits were colored with watercolor pencils.

SENTIMENTS: The “Keep Calm and Carrot On” is a stamp from Colorado Crafts’ Carrot On stamp set designed by Anita Jeram. The “Sending hugs to you” is a hot foiled banner from my stash (Might be a retired Spellbinders Glimmer plate.)

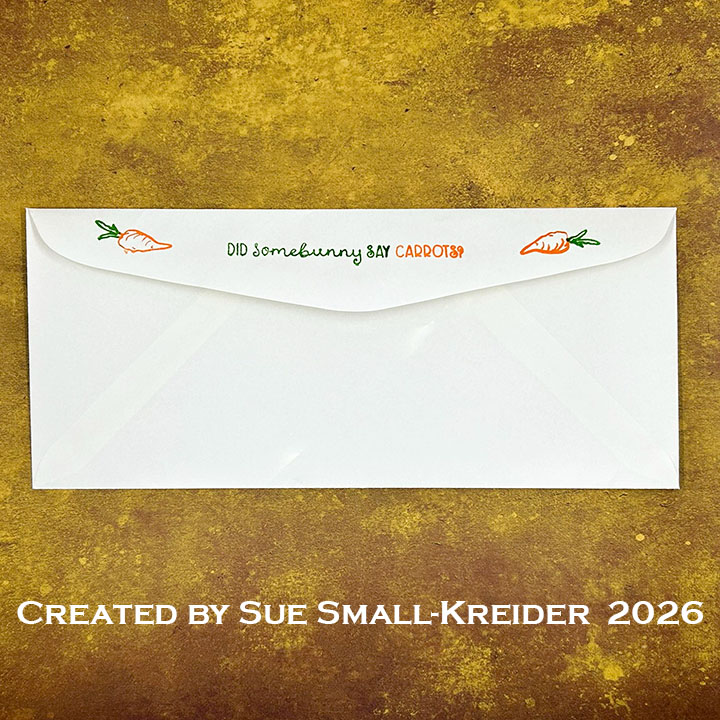
ENVELOPE: On the back flap, stamped in orange and green inks, is “Did some bunny say carrots?” and two carrots from Colorado Crafts’ Carrot On stamp set.

___________________________________

Thank you for experiencing this blog post.

I hope this inspires you and makes you smile.

😊 Please subscribe, like and leave comments 😊

Follow my YouTube channel, Instagram and Pinterest as well.

___________________________________

MATERIALS USED:

Dies

Stamps

  • Colorado Crafts – Clear Stamps – Carrot On
  • Colorado Crafts – Clear Stamps – Summer Garden
  • My Favorite Things – Clear Stamps – Interactive Labels

Inks

Papers

  • Neenah – 8.5×11-inch 110lb Cardstock – Solar White
  • Spellbinders – 8.5×11-inch 100lb Cardstock – Latte
  • Green and Orange Cardstock Scraps
  • Cream #10 Business Envelope from my stash

Adhesives

Tools

© 2026 Sue Small-Kreider/Ully Cat Designs

You’re A Blessing Thanksgiving Card

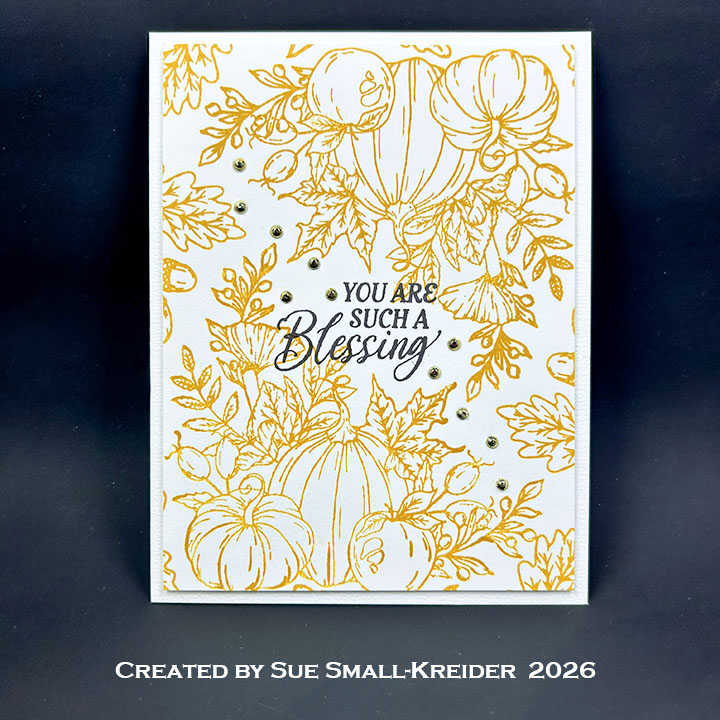
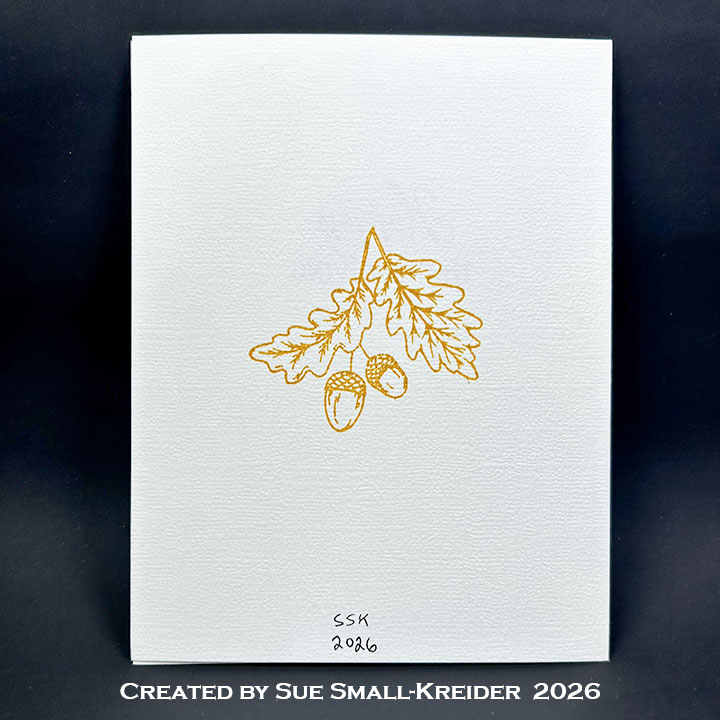
I needed a Thanksgiving Day card and had just found in my stash the Spellbinder’s Autumn Wishes Stamp + Die of the Month -September 2024. So I made this stamped card.

Cardbase: I used purchased side-fold A2 cardbase and matching envelope. The images were stamped onto a 4×5.25-inch piece of white cardstock. Then the stamped panel is adhered to the front of the cardbase with 1mm thick foam tape.

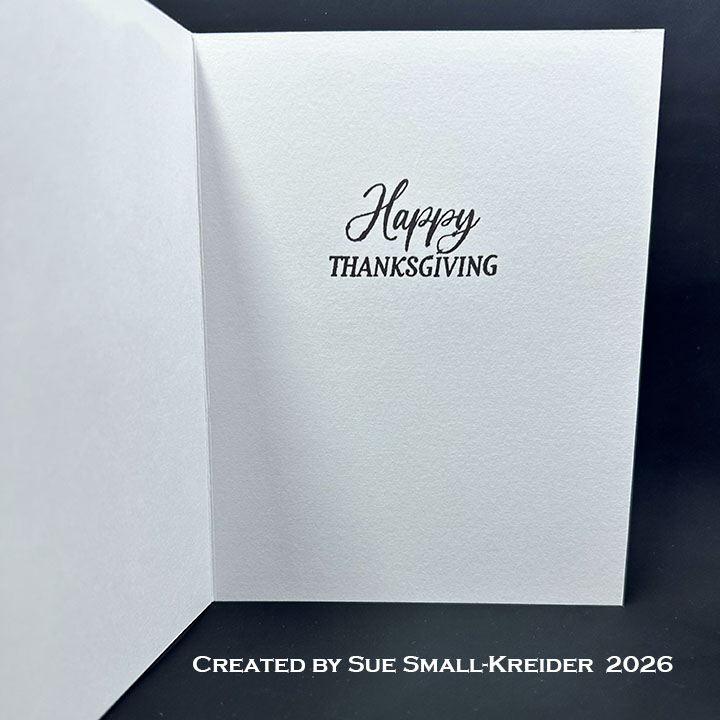
Sentiments: The front sentiment “You Are Such A Blessing” and the inside one of “Happy Thanksgiving” are part of Autumn Wishes stamp set. Gold half gems decorate around the front sentiment.

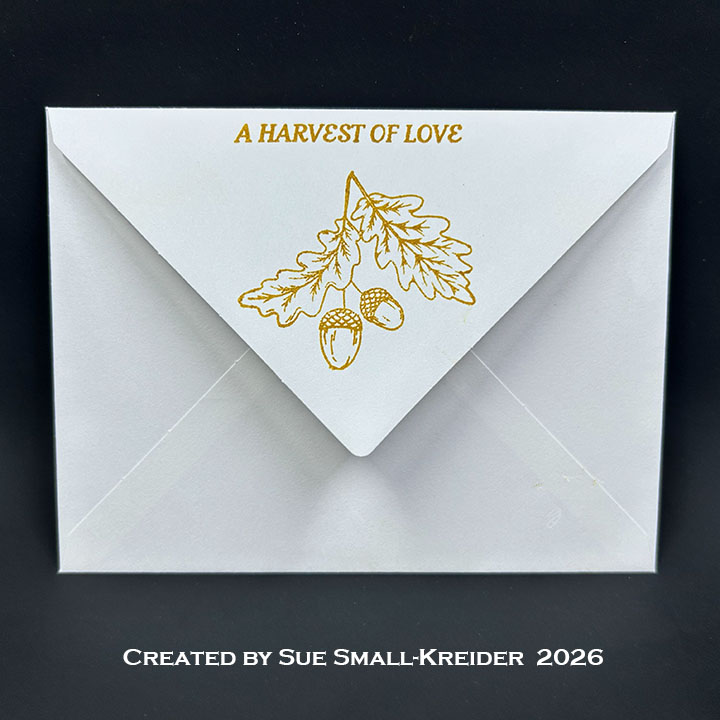
Envelope:  The card fits into an A2 (4.25x 5.5-inches) size envelope stamped on the back flap with an image and sentiment from the Autumn Wishes set.

___________________________________

Thank you for experiencing this blog post.

I hope this inspires you and makes you smile.

Please subscribe, like and leave comments 😊

Follow my YouTube channel, Instagram and Pinterest as well.

___________________________________

Disclaimer: Karen Burniston products are provided free of charge by the manufacturer for review and use. All other items were personally purchased. Compensated affiliate links used where or when possible, meaning I will receive a small percentage commission from these manufacturers at no cost to you. This will allow me to add more content to my YouTube channel and help out a lot. Thank you.

Materials Used:

Stamps & Dies

  • Spellbinder’s – Stamp + Die of the Month – Autumn Wishes – CDOM-SEP24

Papers

  • White Cardstock
  • Spellbinders Merry Moments Holiday Kit – A2 Cardbase and Envelope – White

Ink

  • Memento – Fade Resistant Dye ink – Espresso Truffle
  • Pigma – Mircon 05 Fine Tip Pen – Black
  • Stampin’ Up – Classic Ink Pad – Pumpkin Pie

Adhesives

Tools

Miscellaneous

  • Craftstash – Gold Half Gems

The Greetery’s Basket Tag Card

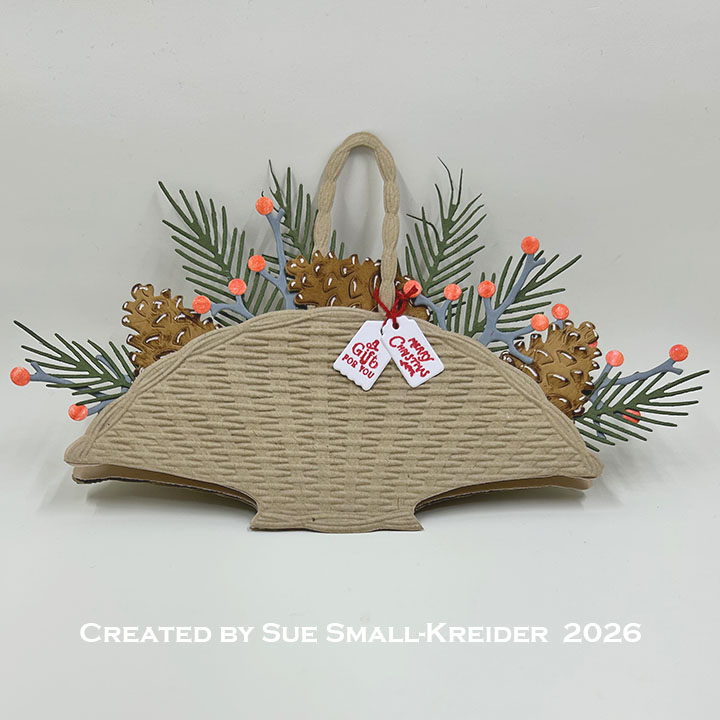
This card was made for Craft Roulette #343 whose parameters were include a tag for project, library colors, new for element and pencil(s) for random. I used some new stamps, dies and embossing folder from The Greetery along with some winter greenery dies from Karen Burniston.

Watch the process video to see how I made this card.

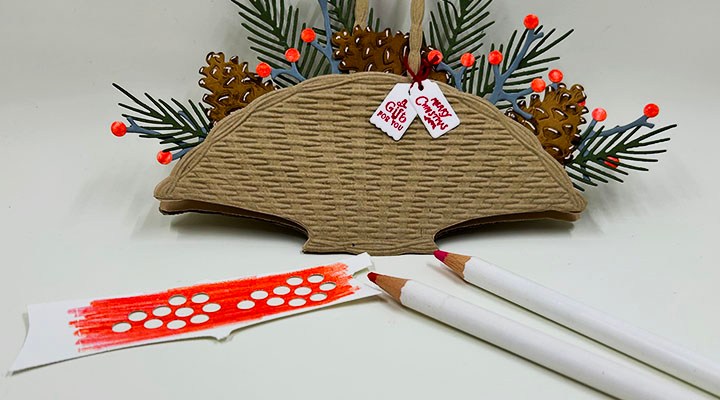
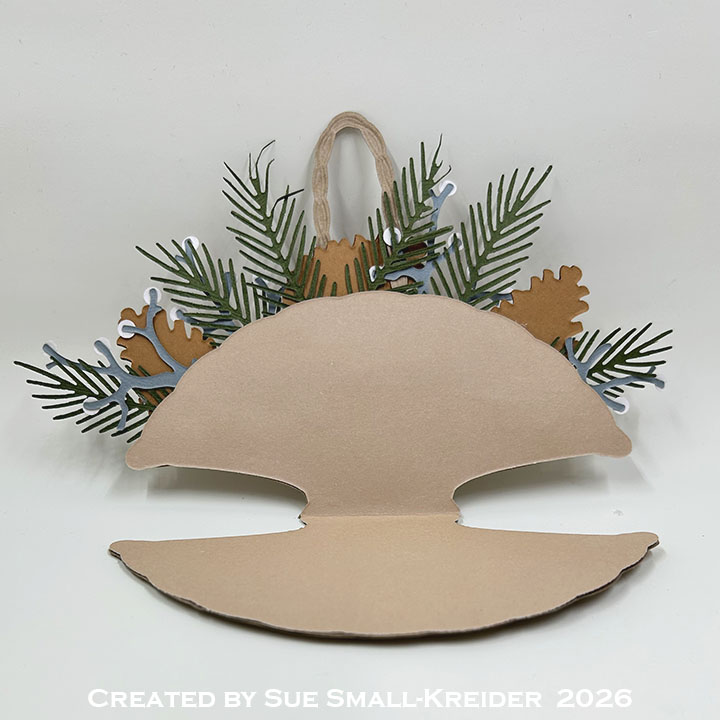
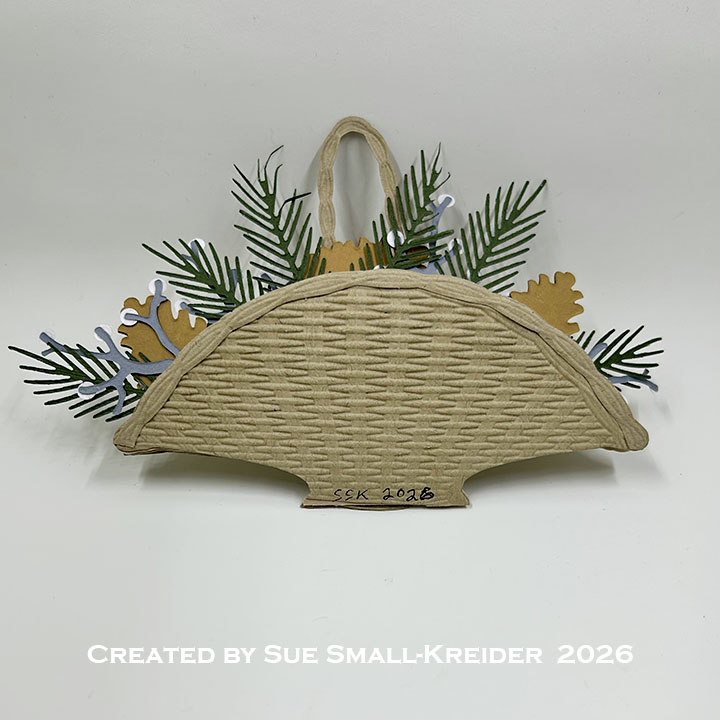
Cardbase: For the inside of your basket tag card, fold a 6×6-inch piece of cardstock and place the large basket die from The Greetery’s Brimming Baskets die set with the bottom edge just over the fold as shown in the video above. Cut and emboss two of the large basket bases from a medium to heavy tan cardstock using the Brimming Baskets embossing folder and die set. Cut and emboss one large basket handle. Glue handle to back of one basket and then glue floral stems to back of the handle basket. Adhere the two baskets to the folded card base. (You may need to trim the base off the basket on the back for the card to open.)

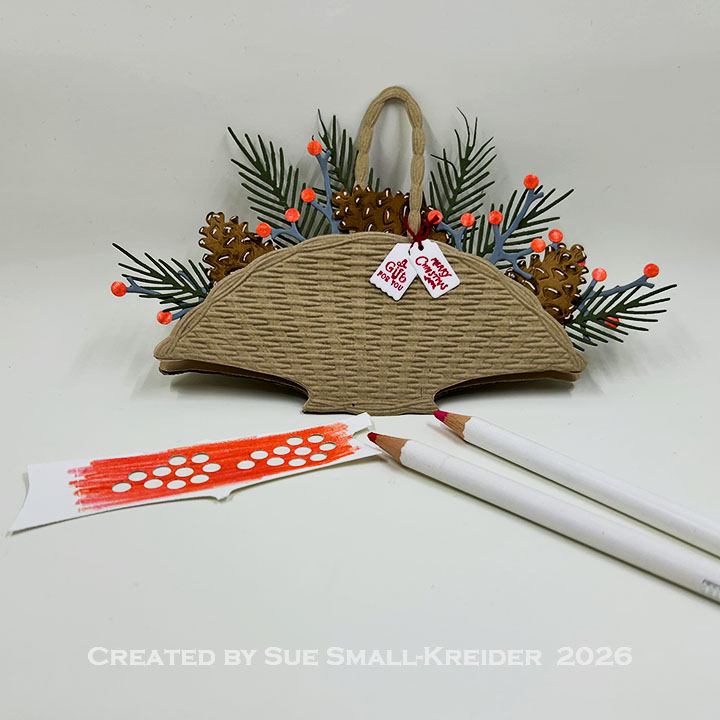
Pine Cones & Greenery: Cut three of the small pine cone bases and tops using Karen Burniston’s Pine Cone die set. Follow the assembly and decoration video below.  Cut three green fir branches and three gray branches using the same die set. Color a piece of white cardstock with red colored pencils and cut two sets of round berries. Glue berries to gray branches.

Sentiments: Stamp and die cut tags from The Greetery’s Teeny Tags Holiday stamp set and Teeny Tags die set. (I used the smallest tags for “Merry Christmas” and “A Gift For You” stamped in red ink and tied with red embroidery floss.)

___________________________________

Thank you for experiencing this blog post.

I hope this inspires you and makes you smile.

Please subscribe, like and leave comments 😊

Follow my YouTube channel, Instagram and Pinterest as well.

___________________________________

Disclaimer: Karen Burniston products are provided free of charge by the manufacturer for review and use. All other items were personally purchased. Compensated affiliate links used where or when possible, meaning I will receive a small percentage commission from these manufacturers at no cost to you. This will allow me to add more content to my YouTube channel and help out a lot. Thank you.

Materials Used:

Dies

Stamps

Embossing Folder

Papers

  • Kraft and White Cardstock
  • Brown, Gray, and Green Cardstock

Ink

  • Catherine Pooler  – Mini Ink – Rockin’ Red
  • Ranger – Tim Holtz – Distress Ink- Vintage Photo
  • Pigma – Mircon 01 Fine Tip Pen – Black
  • Sakura – Gelly Roll Pen – Medium – White
  • Nuvo – Highly Pigmented Watercolour Pencils – Cardinal Red & Cashmere Rose

Adhesives

Tools

Miscellaneous

  • Red Embroidery Floss