Ice Cream Sundae Pop-Up Card

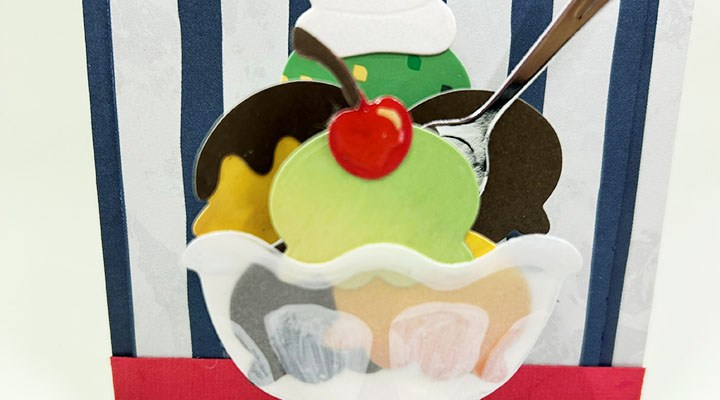
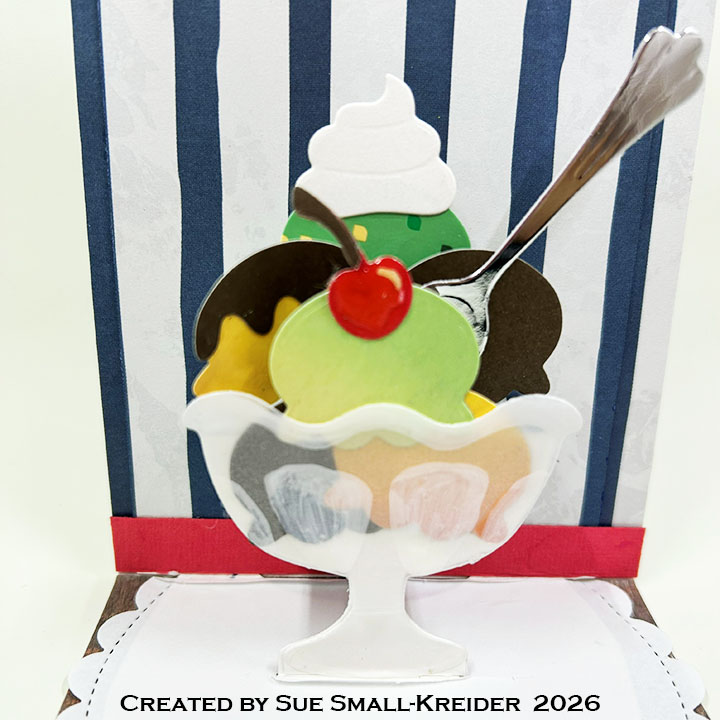
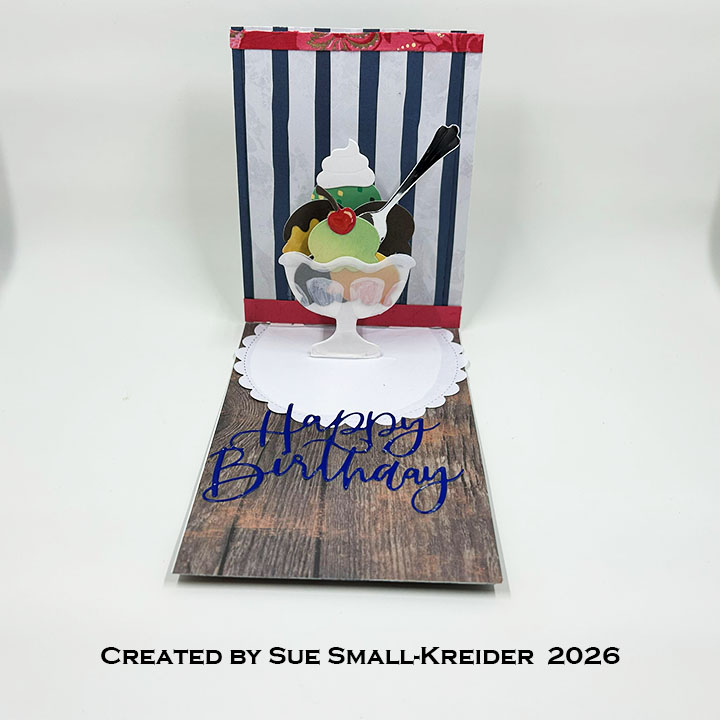
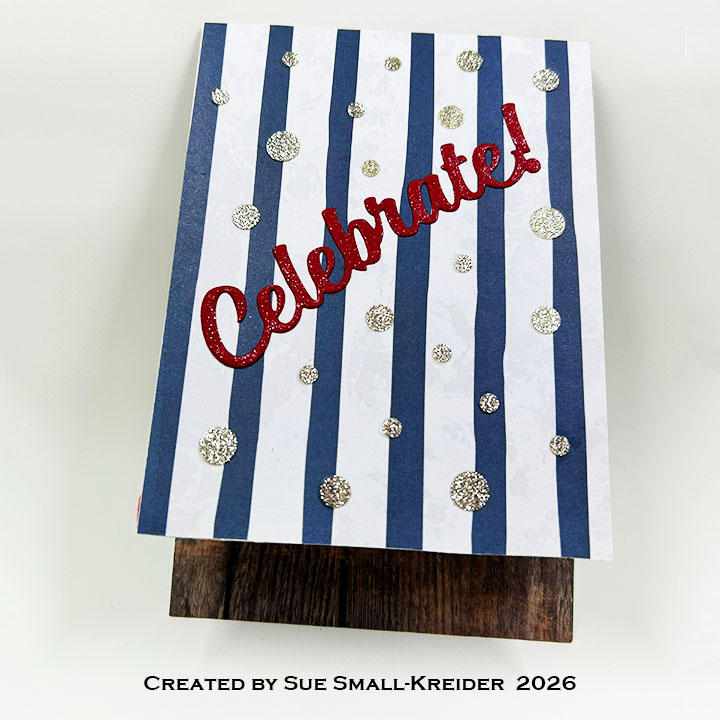
This card was made for Craft Roulette #333 whose parameters were a 4×6 project, buffet colors, holiday element and bark as random. I used Karen Burniston’s Ice Cream Sundae Pop-Up die set to make this top-fold card.
Watch the video below to learn how I made this card.

Cardbase: Follow the video above to create the 4×6-inch top-fold cardbase from an 8.5×11-inch sheet of 80lb white cardstock.

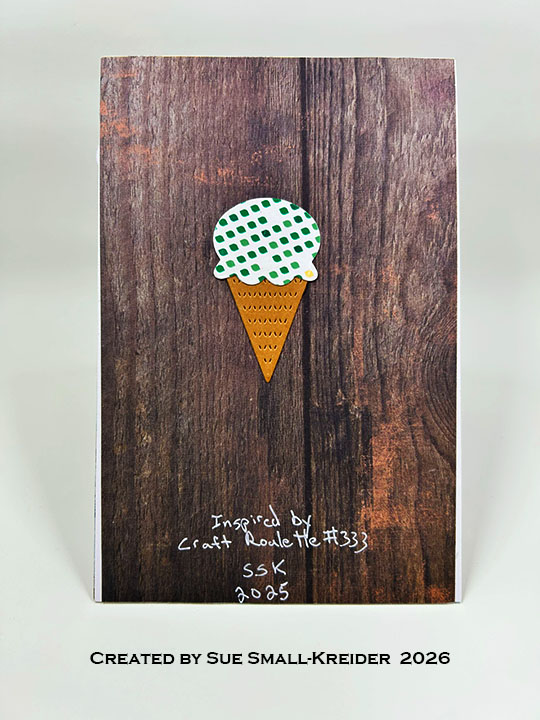
Card Back

Ice Cream Sundae: Watch the assembly video at the bottom of the linked page for Karen Burniston’s Ice Cream Sundae Pop-Up die set. Watch the video above for how to make and attach the paper doily under the ice cream dish.

Sentiments: The “Celebrate!” sentiment on the card front is cut using Karen Burniston’s Celebrate die. “Happy Birthday” is a sticker made using double-sided tape and Chloe’s Creative Cards Happy Birthday die.

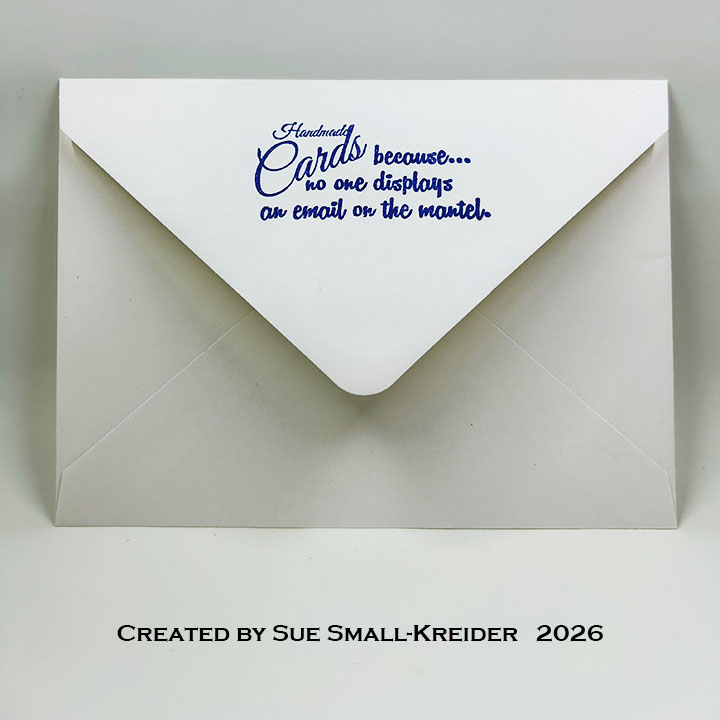
Envelope: I used an A7 (5×7-inches) envelope with a decorative cardstock insert and humorous stamp on the back flap from Funny Bones by Riley & Company. Watch the video above for details.

___________________________________

Thank you for experiencing this blog post.

I hope this inspires you and makes you smile.

Please subscribe, like and leave comments 😊

Follow my YouTube channel, Instagram and Pinterest as well.

___________________________________

Materials Used:

Dies

Stamps

  • Funny Bones by Riley and Company – Clear Stamp – Handmade Cards Because – RWD-738

Papers

  • Kaisercraft – 12×12-inch Double-Sided Cardstock – Uncharted Waters Collection
  • Multi-Colored Cardstock & Packaging
  • Blue Junk Mail Envelope
  • Silver Mirror Cardstock
  • Clear Vellum
  • White Cardstock

Ink

Adhesives

Tools

Miscellaneous

  • Trinity Stamps – Sparkle Spots Embellishments – Gold

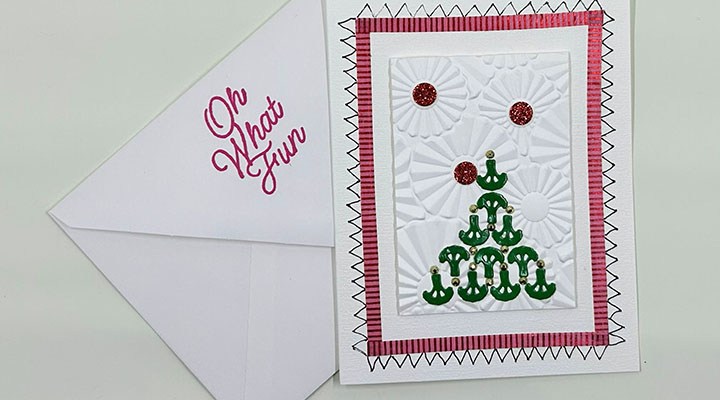
2027 New Year Card

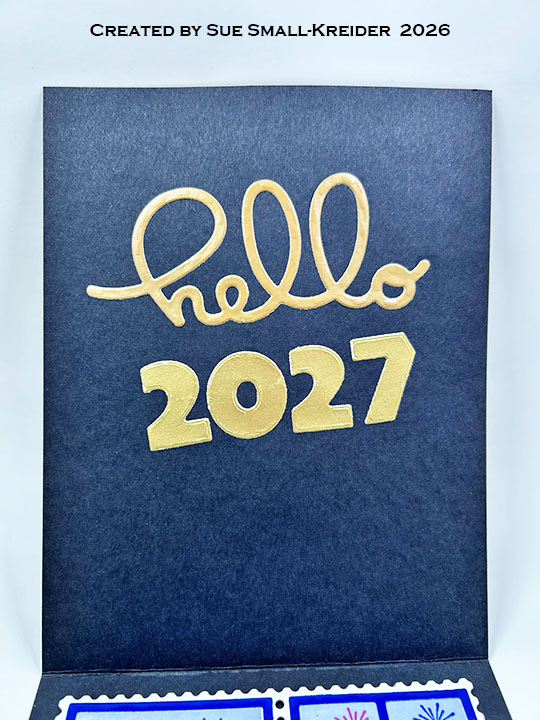
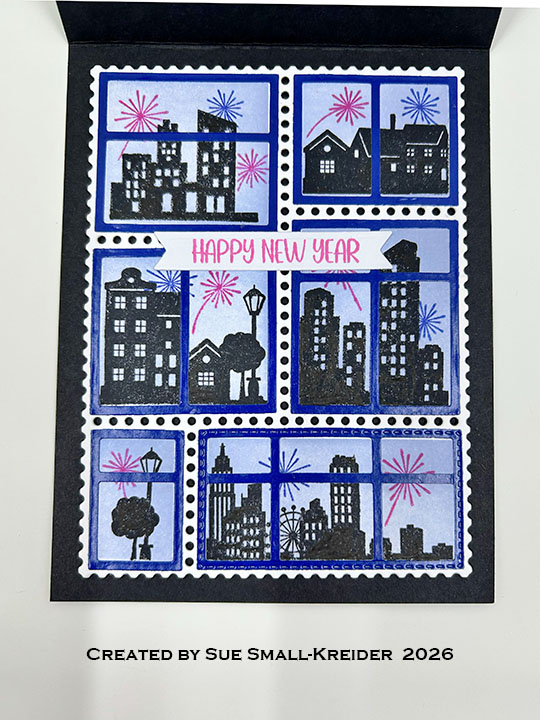
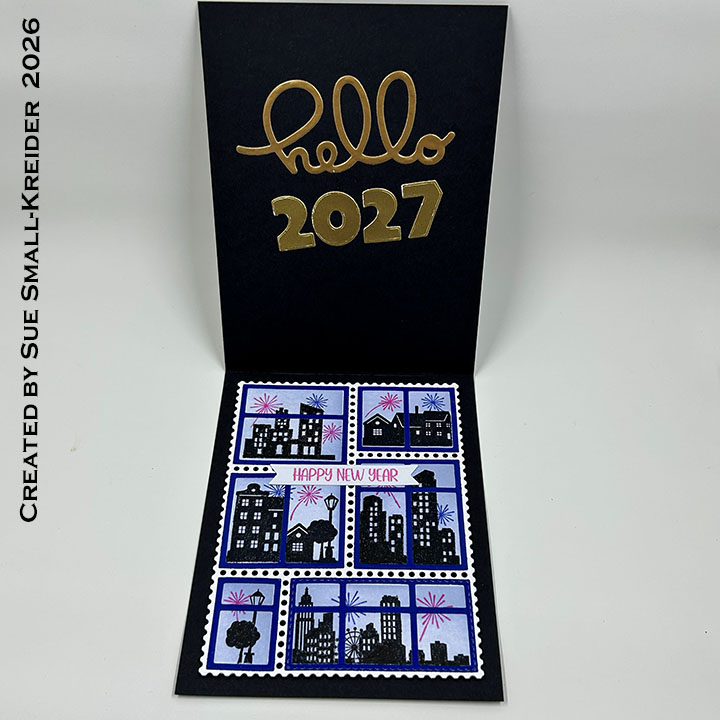
Using Waffle Flower Postage Collage collection of City Sunset stamp set, Postage Collage dies Windows Die and Coloring Stencil, I made the inside of this New Year 2027 card.

Cardbase: I created an American size A2 (4 1/4×5 1/2-inches) top-fold, vertical cardbase from thick black cardstock.

Postage Stamps: I used a blending brush with the Catherine Pooler ink of Tranquil for the sky with the Postage Collage Coloring Stencil. The buildings and fireworks are from the Postage Collage City Sunset and stamped with Memento inks of Paris Dusk, Rose Bud and Tuxedo Black. The blue window frames are die cut using the Postage Collage Windows Die.

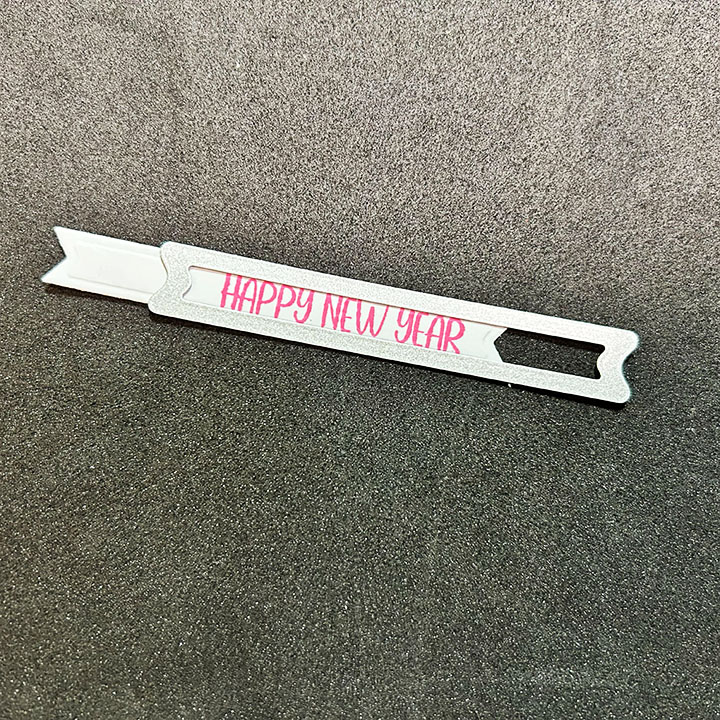
Sentiments: All the sentiments are by Karen Burniston. “Happy New Year” is from her Season of Cheer set stamped in red ink and then using her smallest banner die from the Greeting Labels die set to cut it out as shown above. (I cut the banner twice – one to get the long banner – twice to trim it to size.)

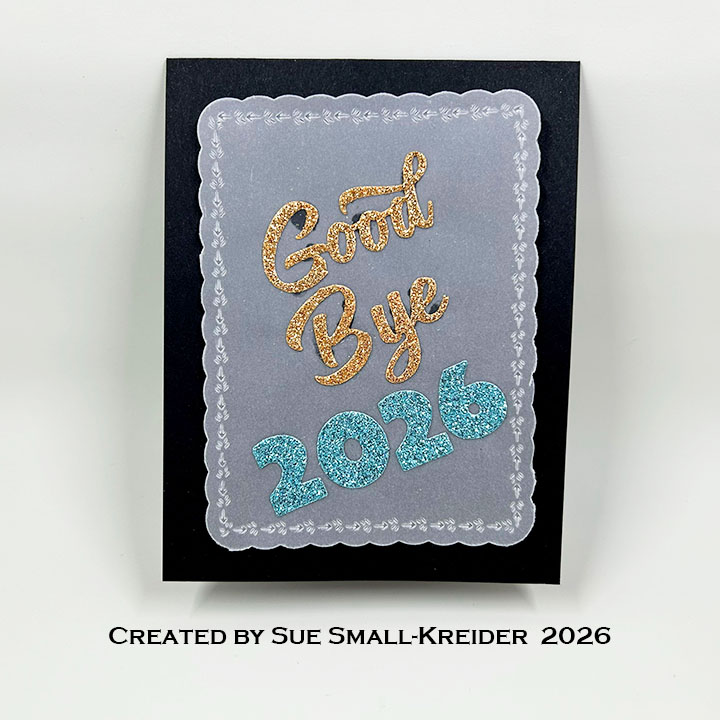
“Good Bye 2026” is die cut using the “Good” is from Good Luck The “B” is from Happy Birthday while the “ye” is from Happy Easter. The years are cut using the Numbers die set. The scalloped edges rectangle of vellum is a die cut from Emily Moore’s Decorative Sentiment Dies.

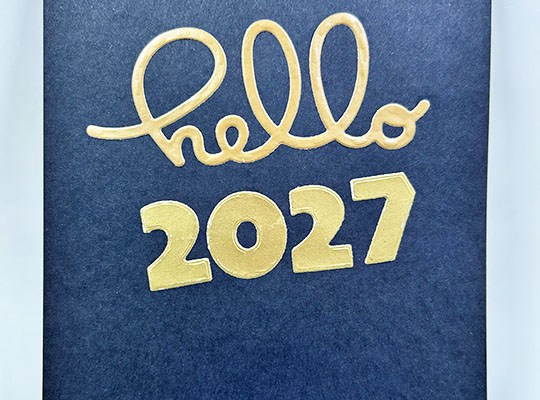
“Hello 2027” uses Hello the Numbers die sets.

Envelope: The panel card fits into an A2 (4 1/4×5 1/2-inches) size envelope.

___________________________________

Thank you for experiencing this blog post.

I hope this inspires you and makes you smile.

Please subscribe, like and leave comments 😊

Follow my YouTube channel, Instagram and Pinterest as well.

___________________________________

Disclaimer: Karen Burniston products are provided free of charge by the manufacturer for review and use. All other items were personally purchased. Compensated affiliate links used where or when possible, meaning I will receive a small percentage commission from these manufacturers at no cost to you. This will allow me to add more content to my YouTube channel and help out a lot. Thank you.

Materials Used:

Dies

Stamps

Stencils

Papers

  • Black and White Cardstock
  • Matte Gold Cardstock and Gold Junk Mail
  • The Paper Studio – 8.5×11 – Clear Vellum
  • DCWV – 6×6 Glitter Cardstock – Glitter Pastels

Ink

  • Catherine Pooler- Mini Ink Pads – Tranquil
  • Memento – Fade-Resistant Dye Ink – Paris Dusk, Rose Bud &Tuxedo Black
  • Pigma – Mircon 01 Fine Tip Pen – Black

Adhesives

Tools

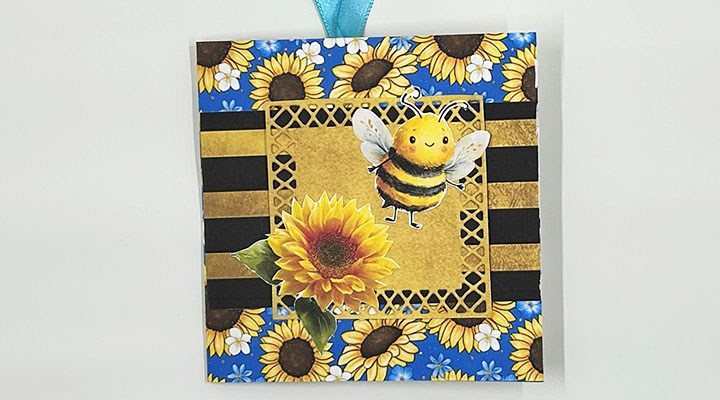
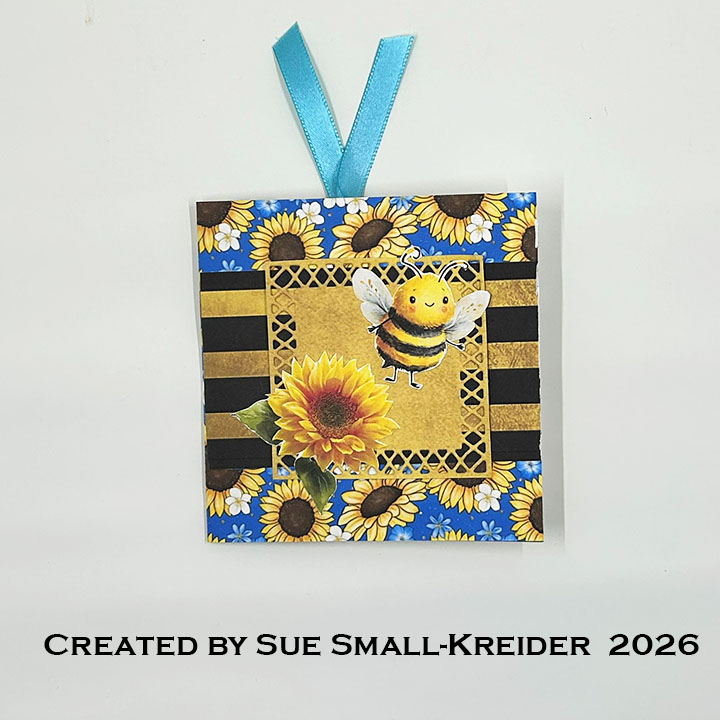
Bee-utiful Square Card

This card was made for Craft Roulette #332 whose parameters were a square card, excited colors, country element and frame(s) as random. I used Relatively Thoughtful’s Craft Challenge – The Wonderful Life of Bees free digital papers and Paper Discovery Card Builder Die Set to create this card.

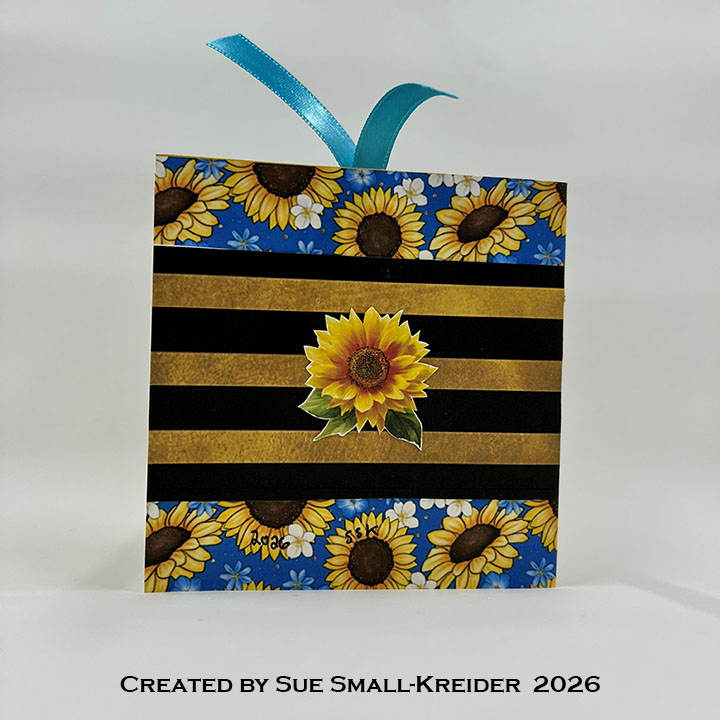
Cardbase: Print the two pages of Relatively Thoughtful’s Craft Challenge – The Wonderful Life of Bees free digital papers onto two sheets of white cardstock. (I printed the two pages back-to-back on one sheet of cardstock as well as a single-sided page of elements.) Cut the three decorative patterned paper apart. Fold the blue sunflower paper in half and trim down to 4×4-inch cardbase. Cut the striped paper to fit the front and back card panels.

Lattice Framed Square & Decorations: Using the Paper Discovery Card Builder set’s smallest lattice square die, cut one square from the yellow paper. Glue to card front. Fussy cut two sunflowers and one bee from element page. Adhere large sunflower and bee to card front and smaller flower to card back.

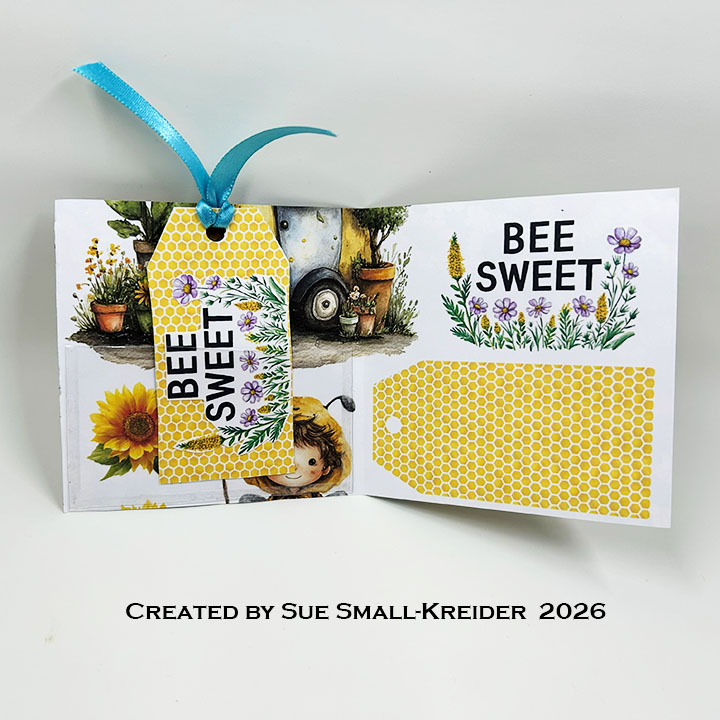
Tag In Pocket: Cut the two tags from the element page and glue together. punch hole and add some ribbon.Cut a 1×3.875-inch piece of clear plastic (I up-cycled some packaging). Using .25-inch wide double-sided tape on three sides of the plastic, attach pocket to left inside panel of the card.

Sentiments: The “Bee Sweet” sentiment is from the element page of the paper collection. Fussy cut the sentiment and glue to tag.

___________________________________

Thank you for experiencing this blog post.

I hope this inspires you and makes you smile.

Please subscribe, like and leave comments 😊

Follow my YouTube channel, Instagram and Pinterest as well.

___________________________________

Materials Used:

Dies

  • Paper Discovery Card Builder Die Set

Papers

Ribbon

  • Teal Satin Ribbon .25-inch wide

Adhesives

Tools

  • Computer Printer
  • Die Cutting Machine
  • Paper Trimmer
  • Scrapbook.com – Magic Mat
  • Scissors
  • Scrapbook.com – Mint Tape
  • Tweezers
  • Stamping Blocks as paper weights

Golf Postage Stamp Thinking of You Card

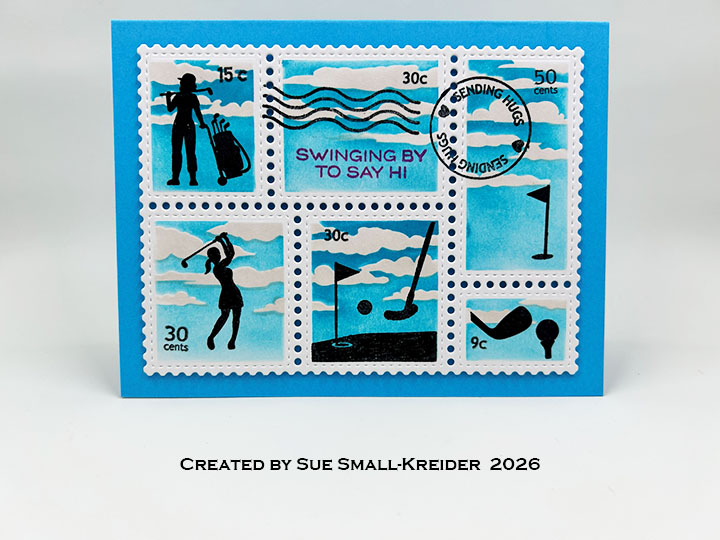
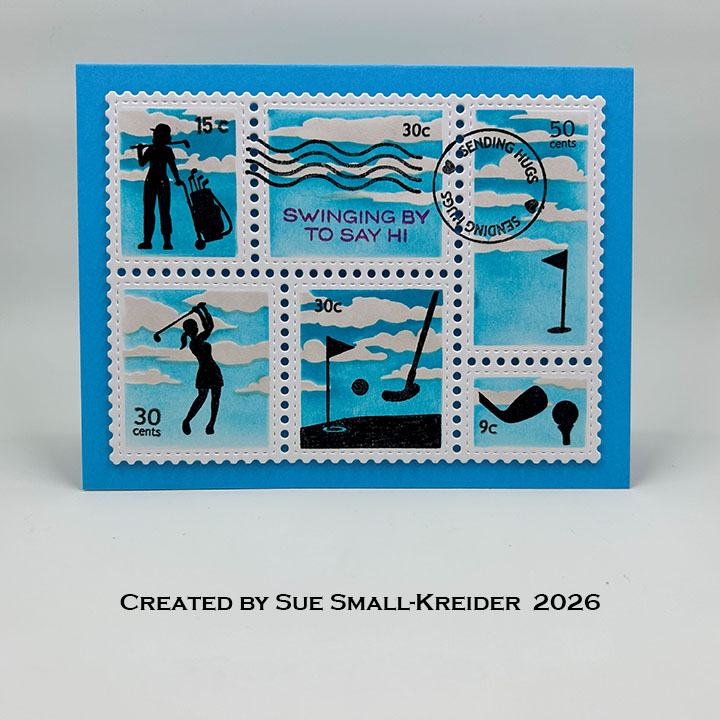
Just got the new Waffle Flower golf themed collection of Gone Golfing Dies, Postage Collage Airmail Stencils, Golf Puns and Postage Collage Golf Silhouettes stamp sets.

Cardbase: I created an American size A2 (4 1/4×5 1/2-inches) top-fold, horizontal cardbase from Spellbinders Island Blue cardstock.

Postage Stamps: I used Catherine Pooler inks of Oyster for the clouds and Fiesta Blue for the sky with the Postage Collage Airmail Stencils. The female golfers are from the Postage Collage Golf Silhouettes.

Sentiments: “Swinging by to say hi” is from the Golf Puns set stamped in red ink. The circle cancellation saying “Sending Hugs” comes from Postage Collage stamps set.

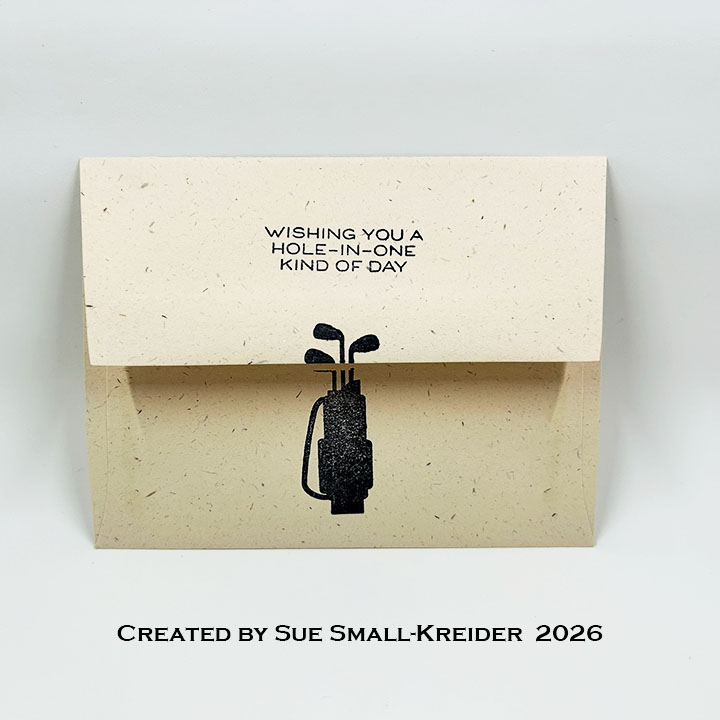
Envelope: The panel card fits into an A2 (4 1/4×5 1/2-inches) size envelope with the back flap stamped with “Wishing you a hole-in-one kind of day” is from the Golf Puns stamp set and a golf bag with clubs from the Postage Collage Golf Silhouettes in black.

___________________________________

Thank you for experiencing this blog post.

I hope this inspires you and makes you smile.

Please subscribe, like and leave comments 😊

Follow my YouTube channel, Instagram and Pinterest as well.

___________________________________

Disclaimer: Karen Burniston products are provided free of charge by the manufacturer for review and use. All other items were personally purchased. Compensated affiliate links used where or when possible, meaning I will receive a small percentage commission from these manufacturers at no cost to you. This will allow me to add more content to my YouTube channel and help out a lot. Thank you.

Materials Used:

Dies

  • Waffle Flower – Steel Craft Dies – Postage Collage

Stamps

  • Waffle Flower – Clear Stamps – Golf Puns
  • Waffle Flower – Clear Stamps – Postage Collage
  • Waffle Flower – Clear Stamps – Postage Collage Golf Silhouettes

Stencils

  • Waffle Flower – Plastic Stencils – Postage Collage Airmail Stencils

Papers

  • Heavy White Cardstock
  • Spellbinders – Color Essentials 100lb Cardstock – Island Blue
  • Fraser Papers for William House – A2 Envelope – Genesis Text Milkweed Smooth

Ink

Adhesives

Tools

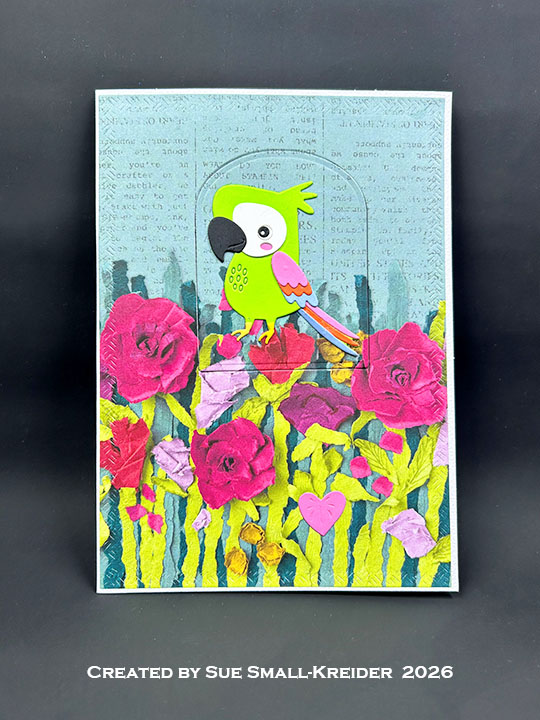
Window Pop-Up Parrot Card

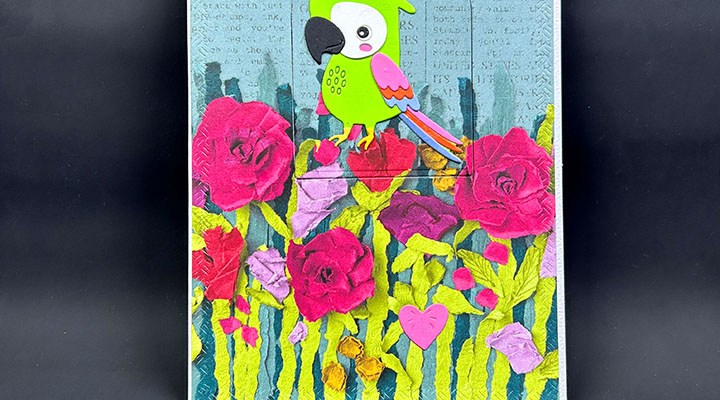
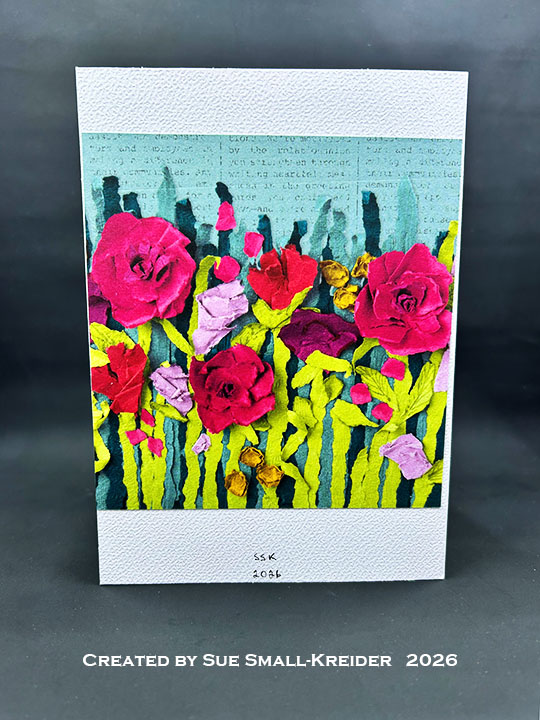
This window pop-up parrot card was made with Spellbinders Tropical Friends and Family & Friends Vignettes die sets. The flowery background is Masterfully Made designer series paper by Stampin’ Up.

Cardbase: Using a 5×7-inch purchased cardbase, cut patterned paper to cover the front and back of the card. (I used Karen Burniston’s largest die in her Rectangles and Labels – Crosshatch set to cut the front mat from a 5×12-inch piece of designer series paper. The leftover 5×5-inch square was used for the back panel.)

Window: Use the largest arched die from the Spellbinders Family & Friends Vignettes die set to cut the window out of the front of the card. (I cut the window after the patterned paper had been adhered to the cardbase, flattening the card out to run through the die cutting machine.)

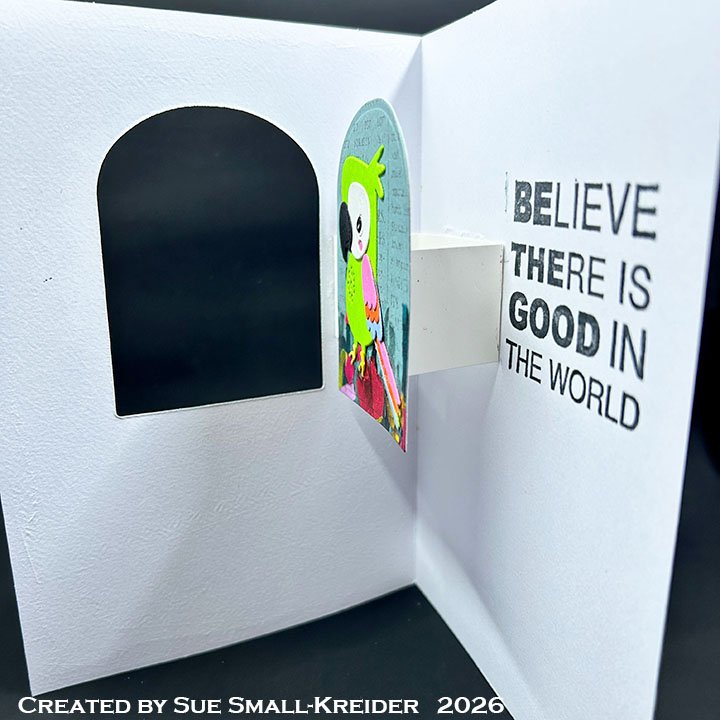
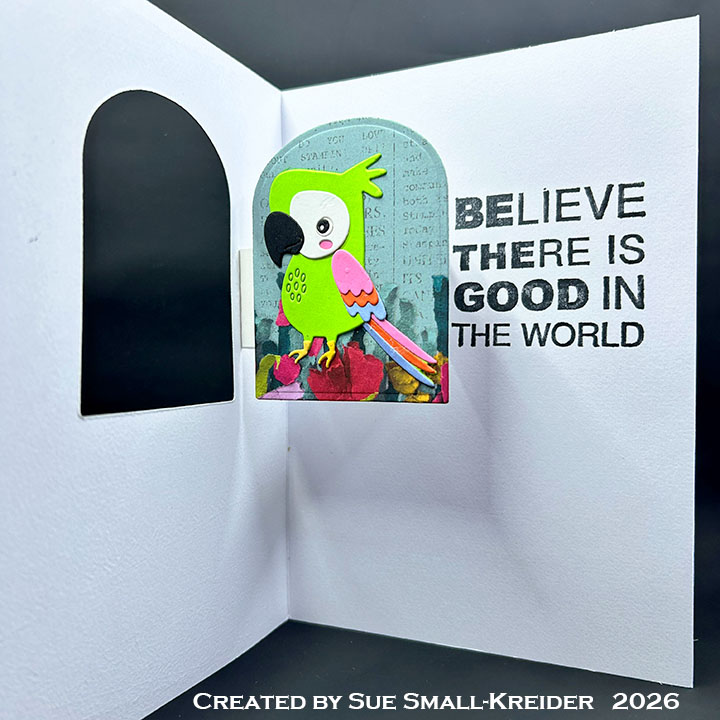
Parrot Pop-Up: Follow the packaging layout guides to assemble the parrot. Cut an 1×8.5-inch strip of cardstock to match your cardbase. Measure the distance from the side edge of the window to the card fold. Use that measurement minus an 1/8-inch, to be the height of the pop-up cube. Using the cut out from the window, place it inside the cut-out and the pop-up strip under it to get the length. (My pop-up rectangle was scored and folded at 1.25-inches, 2.5-inches, 4.75-inches and 6-inches. I trimmed off the excess before gluing the pop-up together.) Glue the pop-up inside the card and the parrot onto the window cut-out. Adhere cut-out to the pop-up making sure in fits inside the window.

Sentiments: “Believe There Is Good In The World” is a stamp from Funny Bones by Riley & Company.

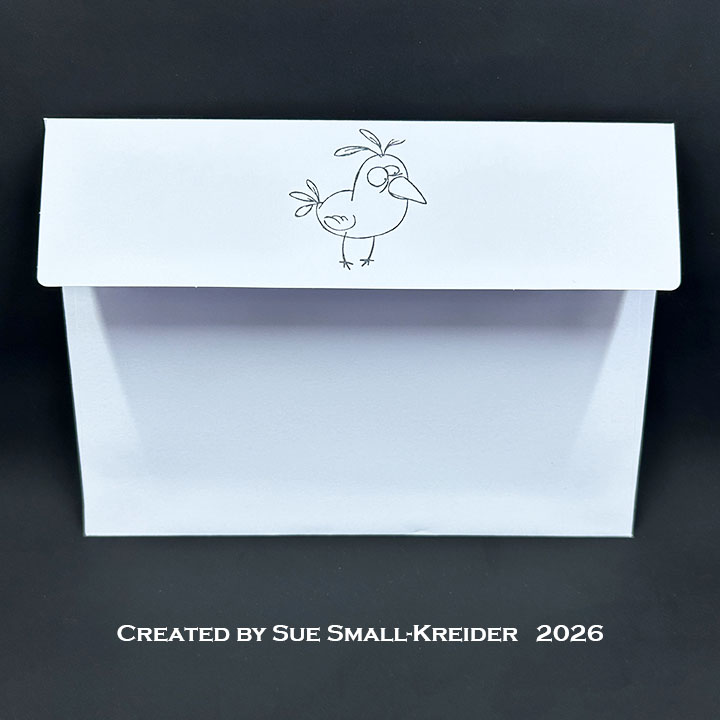
Envelope:  The card fits into an A7 (5x 7-inches) size envelope with a bird stamped on the back flap from The Rabbit Hole Designs called Squawk Talk.

___________________________________

Thank you for experiencing this blog post.

I hope this inspires you and makes you smile.

Please subscribe, like and leave comments 😊

Follow my YouTube channel, Instagram and Pinterest as well.

___________________________________

Disclaimer: Karen Burniston products are provided free of charge by the manufacturer for review and use. All other items were personally purchased. Compensated affiliate links used where or when possible, meaning I will receive a small percentage commission from these manufacturers at no cost to you. This will allow me to add more content to my YouTube channel and help out a lot. Thank you.

Materials Used:

Dies

  • Karen Burniston in cahoots with Riley and Company – Rectangles and Labels – Crosshatch – 1233
  • Spellbinders – Large Die Of The Month – Family & Friends Vignettes DOML-MAR25
  • Spellbinders – Small Die Of The Month – Tropical Friends – DOM-MAY24

Stamps

  • Funny Bones by Riley and Company – Clear Stamps – Be The Good
  • The Rabbit Hole Designs – Clear Stamps – Squawk Talk – TRH-259

Papers

  • Stampin’ Up – 12×12 Designer Series Paper – Masterfully Made
  • White Cardstock
  • The Paper Studio – A7 Textured Cardbase and Envelope – White

Ink

  • Memento – Fade Resistant Dye ink – Tuxedo Black
  • Pigma – Mircon 005 Fine Tip Pen – Black
  • Sakura – Gelly Roll Pen – Medium – White

Adhesives

  • Neutral PH Adhesive by LINECO
  • Fine-Tip Glue Bottle

Tools

  • Die Cutting Machine
  • Paper Trimmer
  • Bone Folder
  • Score Board
  • Stamping Platform
  • Stamping Blocks used as paperweights
  • Scissors
  • T-Ruler
  • Paper Masking Tape
  • We R Memories – QuickStick

Paper Knit Card

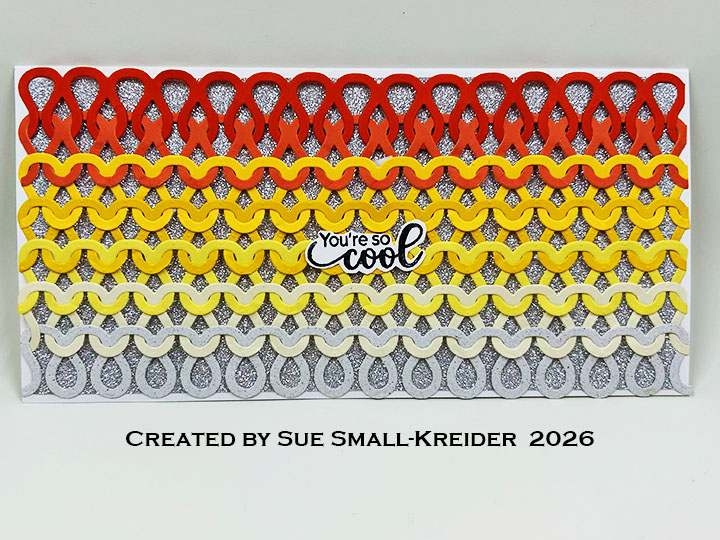
This card was made for Craft Roulette #331 whose parameters were a 4×8 project, excited colors, cold or chilly element and stitch(es) as random. I used the i-crafter Slimline Knit, Knots & Stitches die and a Karen Burniston stamp to make this slimline card.

Watch the video below to learn how I made this card.

Cardbase: Follow the video above to create the 4×8-inch slimline cardbase from an 8.5×11-inch sheet of 65lb. white cardstock.

Knitted Rows: Watch the video above for how to knit the paper ribbons together using seven ribbons die-cut from various shades of lightweight cardstock ranging from orange to yellow to a creamy, flicked blue.

Sentiments: The “You’re so cool” sentiment is from Karen Burniston’s Winter Hugs stamp set..

Envelope: The card fits into a #10 business sized (4×9-inches) envelope.

___________________________________

Thank you for experiencing this blog post.

I hope this inspires you and makes you smile.

Please subscribe, like and leave comments 😊

Follow my YouTube channel, Instagram and Pinterest as well.

___________________________________

Materials Used:

Dies

  • i-crafter – Die Set – Slimline Knit, Knots & Stitches

Stamps

Papers

  • Silver Glitter Paper
  • Blue Flick, Cream, Oranges, White and Yellows Cardstock

Ink

  • Memento – Fade Resistant Dye Ink – Tuxedo Black

Adhesives

Tools

  • Die Cutting Machine
  • Paper Trimmer
  • Scrapbook.com – Magic Mat
  • Scissors
  • Scrapbook.com – Mint Tape
  • Stamping Blocks as paper weights

Cascade Pop-Up Thanksgiving Day Card

It’s time for the Karen Burniston Design Team August 2026 Challenge whose theme is MEALTIME. I chose to make a pop-up Thanksgiving Day card in the form of a cascading feast using double Cascade Pop-Up mechanisms and the Dessert Elements and Mealtime Elements. The stamped sentiments come from the new Mealtime Phrase stamp set.

Watch the process video to see how I made this card.

Cardbase: Fold a 10×7-inch piece of cardstock in half to make a 5×7-inch top fold cardbase. Using the largest rectangle die in the Rectangles and Labels – Crosshatch, cut four panels to cover the cardbase inside and out. (I had to use scraps of my decorative papers to cover all of the back panel.)

Food: Watch the video above for the styling and assembly of the food using the die sets of Dessert Elements, Mealtime Elements, Big Birthday Charms and Happy Hour Charms as well as markers and Distress Inks.

Cascade Pop-Up: Watch the video above for the assembly of the two Cascade Pop-Up mechanisms. Cut two each of the large die and small strip dies from gray medium weight cardstock. Cut from heavy white cardstock, four large plates using the large plate die in the Mealtime Elements set. Cut two large slotted circles from the Cascade Pop-Up and then position the large plate die so that the plate has the slot still cut in it. Cut the two slotted plated from heavy white cardstock.

Card Front Kitchen: (Follow the instructions in the video above to assemble.) From the Oven Pop-Up, cut one oven piece from a white coated cardstock. Cut from silver foil cardstock one oven handle, four stove knobs and eight cabinet knobs. Also cut from silver cardstock, using the Oven Extras, one hood vent, two pots and one pan. From woodgrain cardstock, cut eight sets of the cabinet panels using the Oven Extras. From black cut two 1/2×1-inch strips for the stove burners. from gray metallic textured cardstock, cut a 2-inch square for inside of the oven and a strip that is at least 1/4×6-inches for the kick-plate at the base of the cabinets. (I used three different silver metallic cardstock/paper – one was mirror cardstock packaging, one was a matte silver envelope and the last was a textured, shimmer, gray cardstock.) Cut one turkey leg bone piece from white and one turkey from kraft cardstock using the Oven Extras. Color and shade with Distress Inks and markers.

Sentiments: The front “What’s cookin’?” and the inside “Hope your day is delicious” are from the Fall Phrases stamp set with the fancy labels cut using the Greeting Labels. “Happy Thanksgiving” inside the card uses Word Set 7 – Autumn die set. “Hope your day is Delicious” is from Mealtime Phrase.

Envelope: The card fits into an A7 (5x 7-inches) size envelope with “Thankful, Grateful, Blessed” stamped on the back flap from the Fall Phrases stamp set.

___________________________________

Thank you for experiencing this blog post.

I hope this inspires you and makes you smile.

Please subscribe, like and leave comments 😊

___________________________________

Disclaimer: Karen Burniston products are provided free of charge by the manufacturer for review and use. All other items were personally purchased. Compensated affiliate links used where or when possible, meaning I will receive a small percentage commission from these manufacturers at no cost to you. This will allow me to add more content to my YouTube channel and help out a lot. Thank you.

Materials Used:

Dies

Stamps

Papers

  • Bazzill – 8.5×11 Cardstock – Tiara -18-1002
  • Carta Bella – 12×12 Double-Sided Cardstock Collection by Steven Duncan – Country Kitchen
  • Concord & 9th – 8.5×11 80 lb. Cardstock – Dove
  • Grafix – 8.5×11 Dura-Lar Acetate .005 – Clear Film
  • MemoryBoxCo – 8.5×11 65 lb. Woodgrain Embossed Cardstock – Kraft
  • The Paper Cut – 8.5×11 10 PT Kromekote Cardstock – White Glossy
  • The Paper Studio – 8.5×11 65 lb. Cardstock – White
  • The Paper Studio – 8.5×11 110 lb. Cardstock – White
  • The Paper Studio – 8.5×11 – Clear Vellum
  • Matte Silver Paper Envelope
  • Silver Foil Cardstock Packaging
  • Multicolored Cardstock Scraps
  • Park Lane Paperie – A7 Envelope – White
  • Xcut – A5 Adhesive Vellum Sheets – White

Ink

  • OLO Markers – RV0.1 Cotton Candy, RV0.6 Dragon Fruit, Y1.1 Ginger, YG2.3 Muscat Grape
  • Pigma – Mircon 01 Fine Tip Pen – Black
  • Memento – Fade Resistant Dye Ink – Espresso Truffle & Tuxedo Black
  • Ranger – Tim Holtz – Distress Ink- Antique Linen & Vintage Photo
  • Sharpie – Permanent Marker – Ultra Fine Tip – Black & Green
  • Stampin’ Blends – Markers – Light & Dark Copper Clay
  • Stampin’ Write – Marker – Chocolate Chip

Adhesives

Tools

  • Bone Folder
  • Die Cutting Machine
  • Sponge Dauber
  • Paper Masking Tape
  • Ruler
  • Stamping Blocks used as paperweights
  • Scissors
  • Tweezers
  • We R – Precision Press Mini – Stamping Platform
  • We R Memories – QuickStick

Miscellaneous

  • Nuvo – Aqua Shimmer – Glitter Gloss

Pop-Up Tag Book Robot Card

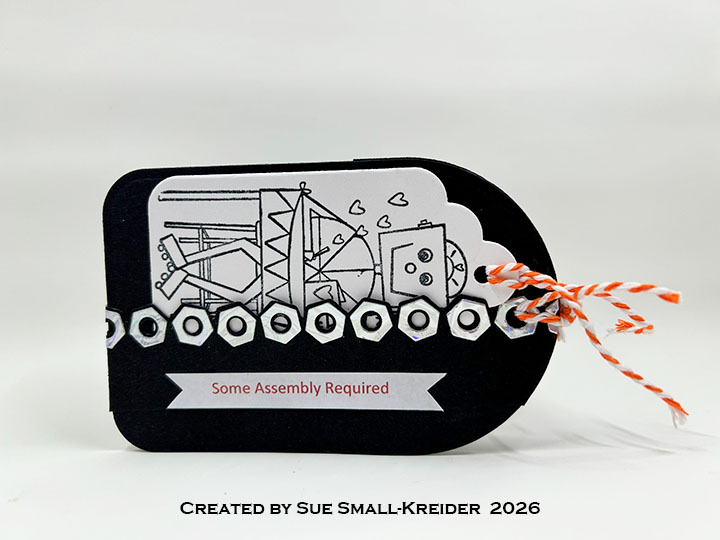
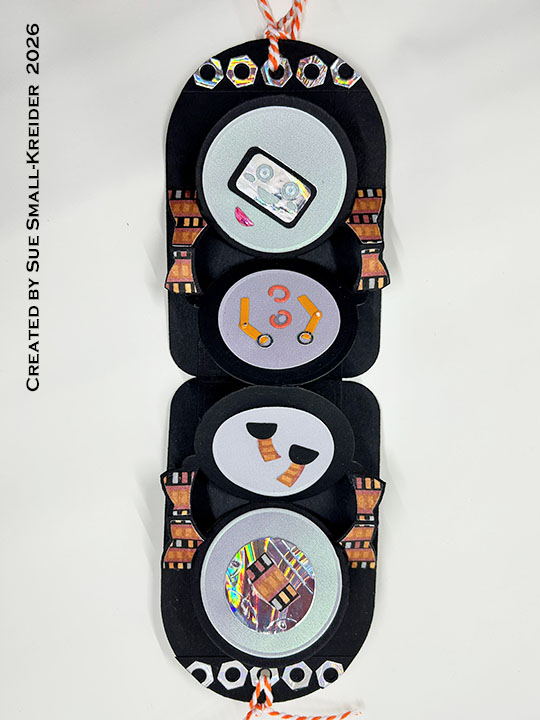
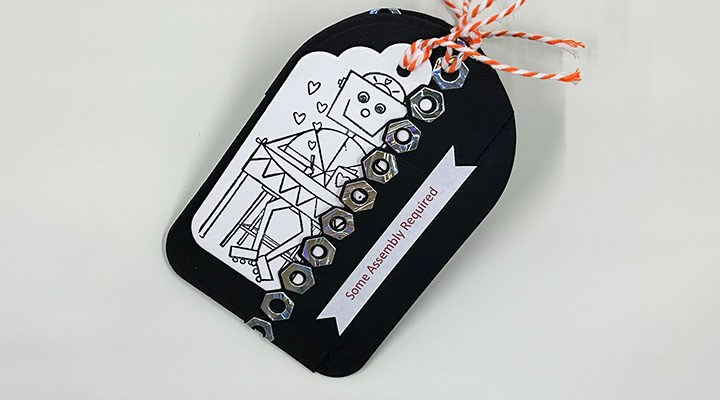
This card was made for Craft Roulette #330 whose parameters were: a tag with pocket, Trick or Treat colors, robot (s) element and three strips of paper as random. I used Karen Burniston’s Circle Tag Book Pop-Up and her new Tool Time Stage Add-Ons along with Trinity Stamps Robot Builder die sets to make this interactive card.

Watch the video below to learn how I made this card.

Cardbase: Follow the assembly video at the bottom of the linked page for how to make the tag book pop-up cardbase using the Circle Tag Book Pop-Up die set. I added from the Tool Time Stage Add-Ons a front pocket using the large side die and inside borders using the border dies.

Robots: The outside white has the Craft Roulette Mug Club stamp of a robot. Inside the card are the head, arms, legs and body of the Trinity Stamps Robot Builder die set.

Sentiments: I used my computer to create the “Some Assembly Required” sentiment and used my trimmer and scissor to cut the fishtailed banner.

Envelope: The card fits into an A2 (4.25×5.5-inches) envelope.

___________________________________

Thank you for experiencing this blog post.

I hope this inspires you and makes you smile.

Please subscribe, like and leave comments 😊

Follow my YouTube channel, Instagram and Pinterest as well.

___________________________________

Materials Used:

Dies

Stamps

  • Craft Roulette – Clear Stamps – Mug Club

Papers

  • Graphic 45 – 12×12 Double-Sided Cardstock – Ghostly Greetings – Sit For A Spell
  • Lawn Fawn – 8.5×11 Vellum – Pearlescent
  • Black, and White Cardstock
  • Paper Insider – Silver Holographic Envelope

Ink

Adhesives

Tools

Miscellaneous

  • Orange and White Bakers Twine