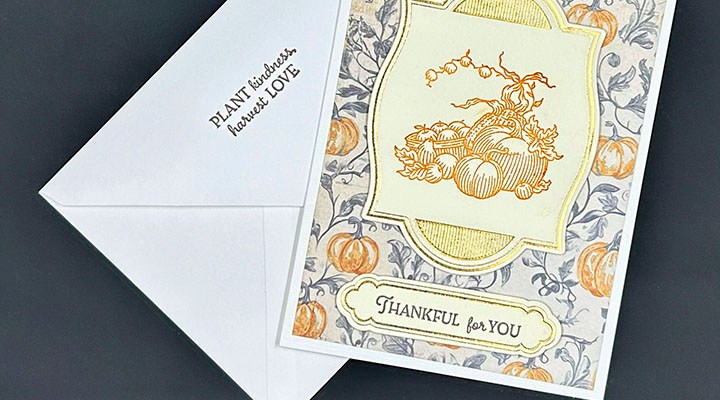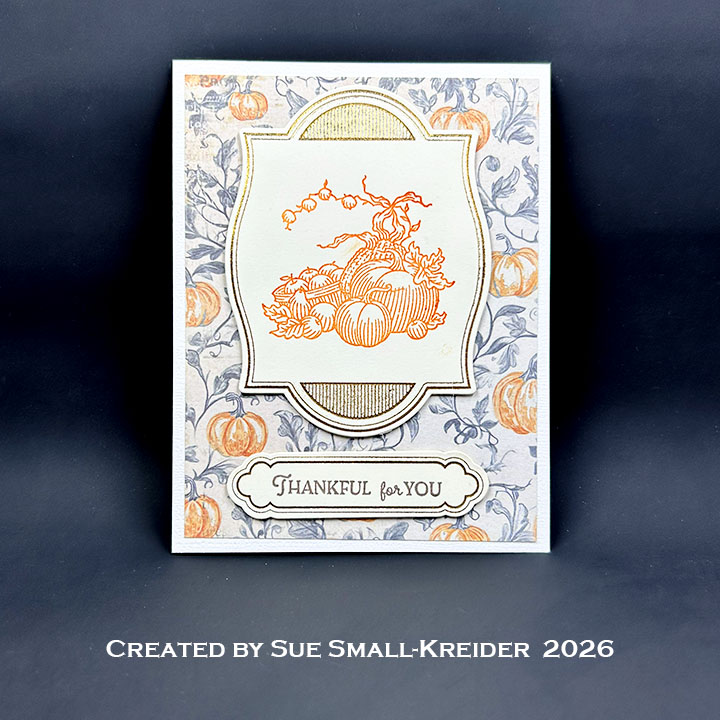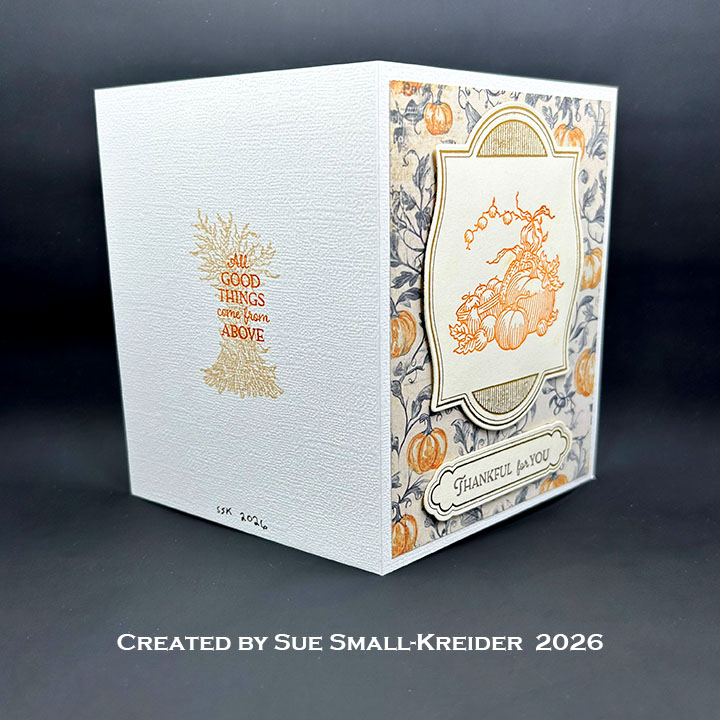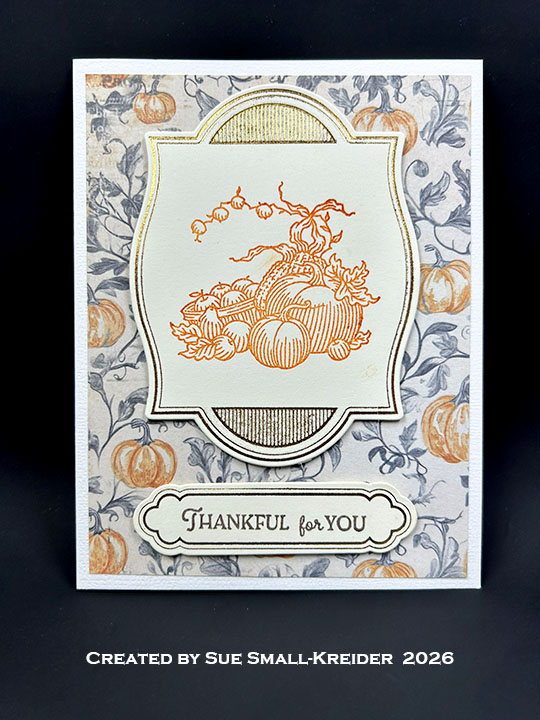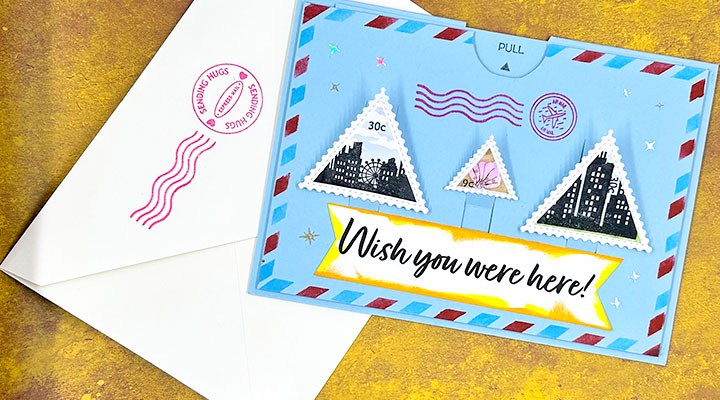
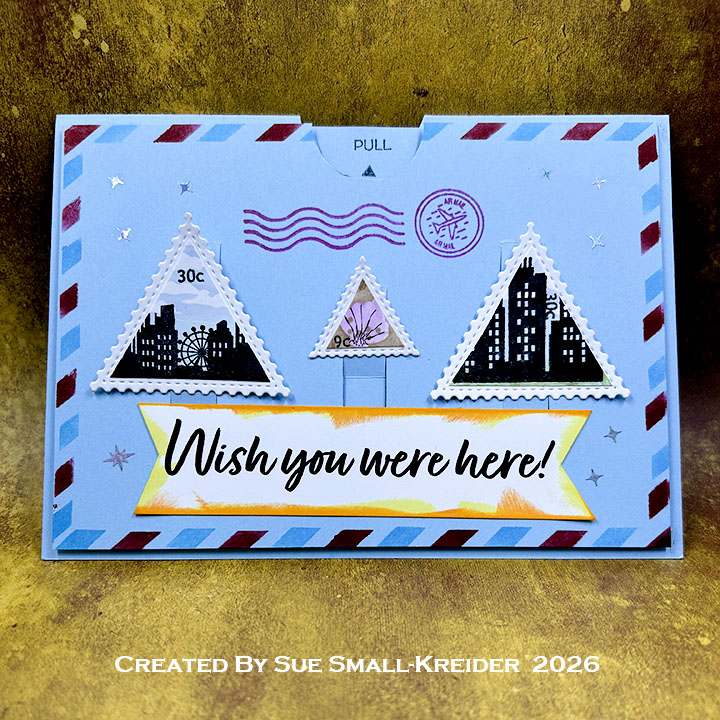
This card was made for Craft Roulette #340 whose parameters were include an A7 (5×7-inch) card project, rainbow colors, vacation for element and three in a row for random. I used Waffle Flower stencils, stamps and dies for this card as well as a metal ruler, pencil and craft knife to create the sliding easels mechanism.
Watch the process video to see how I made this card.
Link to Split Slider Slimline Birthday Card mentioned in video.
Cardbase: Start with a 7×10-inch piece of blue cardstock that is scored and fold to form a 5×7-inch horizontal cardbase. Using a 1-inch circle die or punch cut a circle in the direct center of the card so that when it is fold there is a thumb hole in the center of the fold.
Three Slider Easel Pop-Up: Cut a rectangle from blue cardstock that is 6 5/8x 4 3/4-inches. Stencil a border on the rectangle using Waffle Flower’s Postage Collage Airmail Stencil using red and blue inks. On the back side of the rectangle, mark the top and bottom of the panel before drawing a line at its center of 3 5/16-inches. Draw lines 1/4-inch on either side of the center line. Draw lines 1 1/2-inches from both card edges and repeat drawing lines 1/4-inch on either side of these lines. Draw a line that crosses all these lines at 2 3/8-inches. on the center set of lines measure down 1/2-inch from each side of the crossing center line to mark the fold lines for the slider easel. Mark the bottom cut for this center slider at 1 1/2-inches from the center crossing line. Mark the two side sliders at 1-inch on either side of the crossing center for fold lines and at 1 3/4-inches for the bottom cut line. Cut and fold as shown in the video above using a metal ruler and craft knife. Center the panel on the cardbase and mark with a pencil where the thumb hole needs to be cut with the 1-inch circle die.
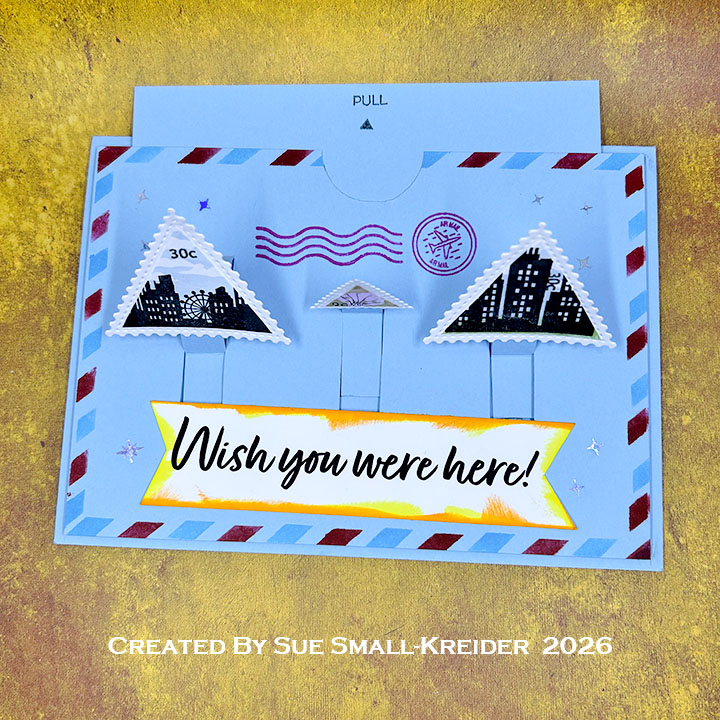
PULL PANEL: Add double sided tape to the three slider bottom tabs as shown in the video above. Using temporary tape on the front of the panel to secure the sliders are totally flat. Add 1/4-inch wide foam tape to the back at the side edges and bottom edge as shown in the video. (I used 2mm thick foam tape.) Cut a rectangle from blue cardstock that is 5 3/4x 4 1/4-inches. Fit this rectangle into the back side of the slider panel between the foam tape. pull off the backing tape from the sliders. Make sure the top edge of both panels line up with each other before securing the sliders to the back panel as shown in the video. Stamp “Pull” using My Favorite Things Interactive Labels.
POSTAGE STAMPS: I cut two large white triangles using the Waffle Flower Postage Collage Moth Die-n-Stencil die and one small triangle from the Postage Collage Die. The city scenes on the large triangles are made with the Postage Collage Airmail Stencil and Postage Collage City Sunset and Postage Collage stamp sets as shown in the video above. The small triangle’s image was made with the Postage Collage Coastal Stencil and Postage Collage stamp set.
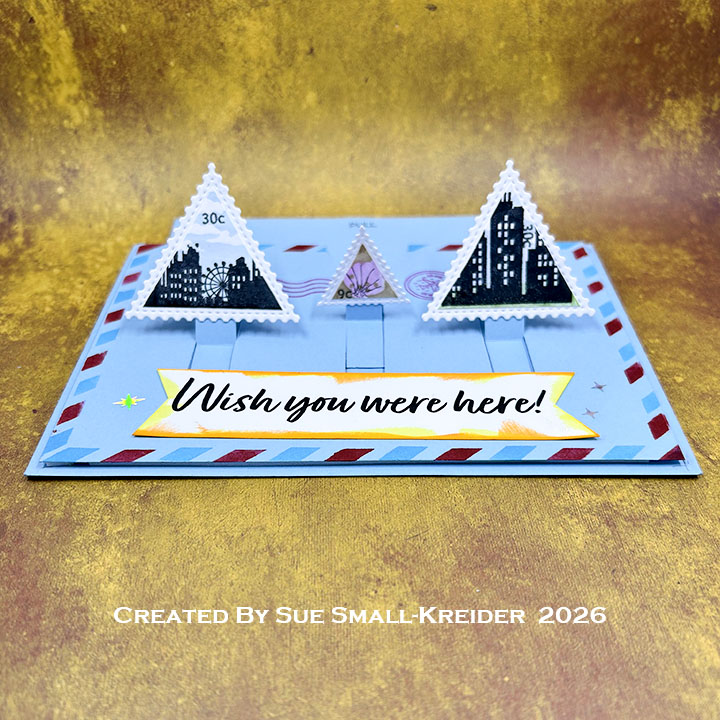
Sentiments: The front sentiment banner was digitally created and printed. The air mail cancellation stamps are from the Postage Collage stamp set. Trinity Stamps star confetti were used as accents to the card front.
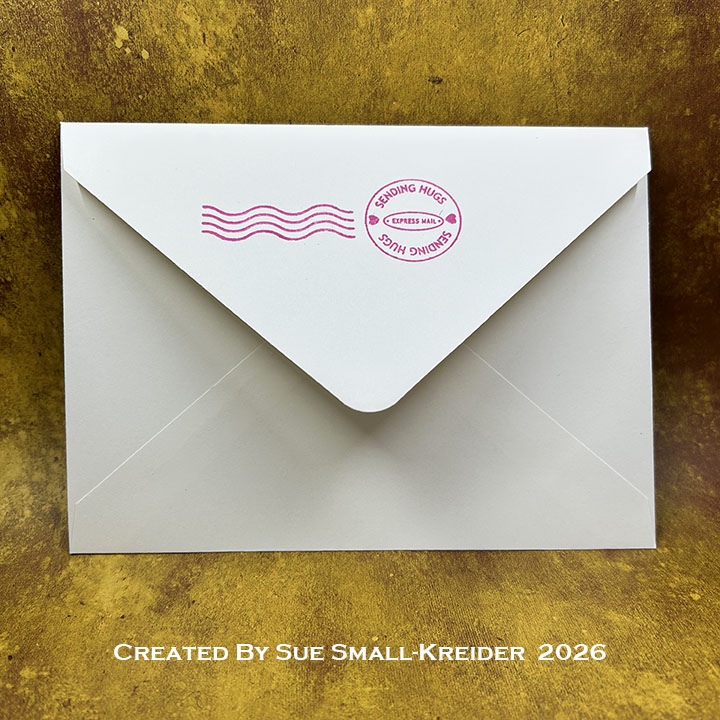
Envelope: The card fits into an A7 (5x 7-inches) size envelope with its back flap stamped in red ink with cancellation stamps from the Postage Collage stamp set.
___________________________________
Thank you for experiencing this blog post. I hope this inspires you and makes you smile.
Please subscribe, like and leave comments 😊
Follow my YouTube channel, Instagram and Pinterest as well.
___________________________________
Disclaimer: Karen Burniston products are provided free of charge by the manufacturer for review and use. All other items were personally purchased. Compensated affiliate links used where or when possible, meaning I will receive a small percentage commission from these manufacturers at no cost to you. This will allow me to add more content to my YouTube channel and help out a lot. Thank you.
Materials Used:
Dies
- Waffle Flower – Dies – Postage Collage Die
- Waffle Flower – Dies – Postage Collage Moth Die-n-Stencil
Stencils
- Waffle Flower – Dies – Postage Collage Airmail Stencil
- Waffle Flower – Dies – Postage Collage Coastal Stencil
Stamps
- My Favorite Things – Clear Stamps – Interactive Labels
- Waffle Flower – Clear Stamps – Postage Collage
- Waffle Flower – Clear Stamps – Postage Collage City Sunset
Papers
- White Cardstock
- Concord & 9th – 8.5×11-inches – Harbor
- A7 (5×7-inches) Envelope – Ivory
Ink
- Catherine Pooler – Mini Inks – Chiffon, Oh Boy, Rockin’ Red, Sand Castle, Succulent, Sugarplum, Sweetheart, Tiki Torch, Tranquil
- Memento – Fade Resistant Dye ink – Rose Bud &Tuxedo Black
- Pigma – Mircon 005 Fine Tip Pen – Black
Adhesives
- Neutral PH Adhesive by LINECO
- Fine-Tip Glue Bottle
- Scrapbook.com – 1/4-inch Foam Tape – 2mm thick
- Scrapbook.com – 1/8-inch Double-Sided Tape
Tools
- Craft Knife
- Cutting Mat
- Gel Plate
- Metal Ruler
- Microfiber Cloth
- Paper Trimmers
- Pencil
- Stamping Blocks
- Stamping Platform
- Scissors
- Scrapbook.com –Mint Tape
- Spellbinders – Platinum Die Cutting Machine – 8.5″ Platform
- We R Memories – QuickStick
- We R Memories – Scoring Tool
Miscellaneous
- Trinity Stamps – Silver Star Confetti