Valentine’s Day is coming and a handmade card in masculine colors with a bit of stitching and soft bling, maybe just the thing for your loved one.

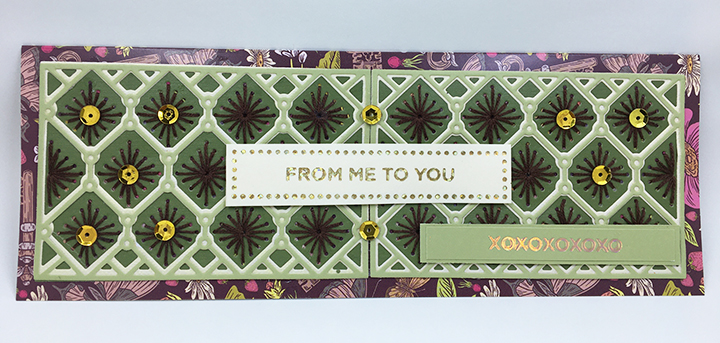
In playing around with the Spellbinder’s Layered Stitched Background dies, I realized that if put side-by-side, two of the backgrounds would fit on a slimline card for a #10 business envelope which would go well for the masculine card I needed to make for Valentine’s Day. The card is to be attached atop a chocolate bar.
I had enough large scraps of pearlescent coordinating green cardstock and a pale celery green textured paper to cut two each of the layers. (I saved all the out-cut pieces and tiny dots to use in other cards.) The card base is a brown flowery patterned cardstock with a white back cut into a 6 ½ inch x 9-inches rectangle, scored and folded in half.
The stitching was done with three strands of brown embroidery floss. Using clear tape on the backside to adhere the thread tails to the card.
A fine tipped glue bottle is the easiest way to apply glue to the fine lines of the top two layers of the die-cuts. (I cut the thicker, middle layer from the lightest color to add contrast to the two other shades of green and to make the medium green fine line detail pop.) Once the lattice layers were glued together it was easy to adhere them to the stitched layer.
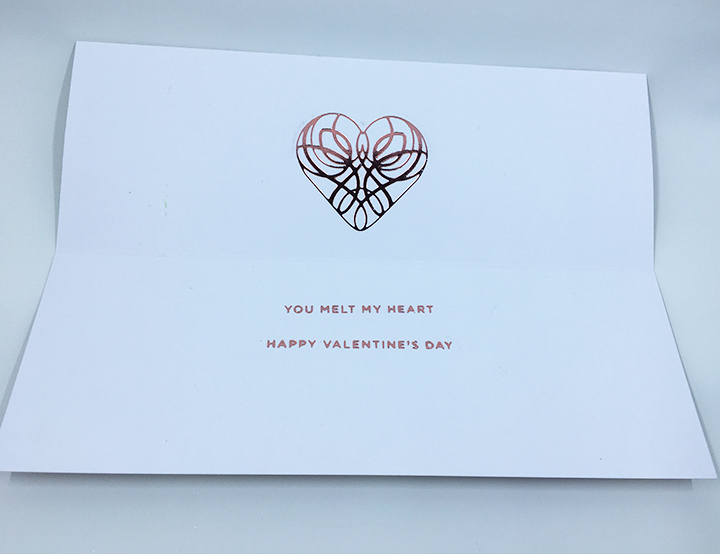
Hot foiling the inside of the card needed to be done before the stitched panels could be adhered to the card base. Spellbinders calls their hot foiling system glimmering. (Here are two videos explaining the hot foiling process – Jennifer McGuire and Yana Smakula) I have found their Quick Trimmer to be much easier to cut the foil with than scissors. I usually do a batch of hot foiling when I get out the Glimmer Hot Foil System heating plate and my die-cutting machine as it takes time to heat-up and cool-down. (I use a die-cutting machine that can take an 8 1/2 x 11 inches sheet of paper but the system can use a smaller 6-inch wide machine too.)
I did some small sentiments first on scraps of the green cardstock and a piece of cream cardstock using scraps of different foils. Some worked well, but some had issues. (I do these as practice runs as I only had one shot at the card inside.) I positioned my foiling plates and rose blush foil on the inside of my card and taped them down using low tack tape. (The plates moved slightly when I ran them through the die-cutting machine and made the sentiments a bit wonky. I should have taped both sides of the plates down.) A sand eraser is good for removing errant foil bits but be careful when using white corded cardstock as the eraser will wear away the color to white.

Once the foiling was completed, the stitched card layers were glued to the front of the card base.
The front sentiments “FROM ME TO YOU” (in Speckled Aura foil on cream cardstock) and “XOXO” (in Aura foil on dark green cardstock) are glued to other scraps to give them some firmer stability before being adhered to the card front with foam squares. Ten gold sequins were added to the tops of the stitching and where the lattice frames meet for a bit of sparkle.

A gold heart rub-on transfer was added to the back of the brown envelope. A chocolate bar will be bundled under the card-stuffed envelope and tied with a white ribbon for presentation.
You can view more Valentines by clicking here.
Thank you for reading this blog post. Please like and leave comments 😊
Materials Used:
Dies
Foiling
- Spellbinders – Calligraphy Hearts – Glimmer Kit of the Month January 2021 -GOM-JAN21
- Spellbinders – Mini Nested Glimmer Dots – Glimmer Hot Foil Kit of the Month July 2021 – GOM-JUL21
- Spellbinders – More Sentiments Glimmer Hot Foil Plates – GLP-156
- Spellbinders – Glimmer Hot Foil Roll – Aura – GLF-027
- Spellbinders – Glimmer Hot Foil Roll – Speckled Aura – GLF-037
- Spellbinders – Glimmer Hot Foil Roll – Rose Gold – GLF-004
- Spellbinders – Glimmer Hot Foil System – GLS-001
- Spellbinders – Quick Trimmer
Papers
- Scrap colored and textured green papers and cardstock
- Hunkydory – Adorable Scorable Patterned Paper Pack – Secret Garden
- Brown #10 Business Envelope
Miscellaneous
- Cosmic Shimmer – Specialist Acrylic Glue – 125ml
- Sizzix – Big Shot PLUS die cutting Machine
- Fineline 20 Gauge Applicator & Bottle
- Scoring board and tool
- Brown embroidery floss – 838
- Large eyed needle
- Foam squares
- Gold sequins
- Rub-on transfer – gold heart
- White satin ribbon
- Chocolate bar

Brilliant card Sue – perfect for the male chocaholic in one’s life! Clare x
LikeLiked by 1 person