Karen Burniston’s October 2024 release of new dies and sentiment stamps are now available.
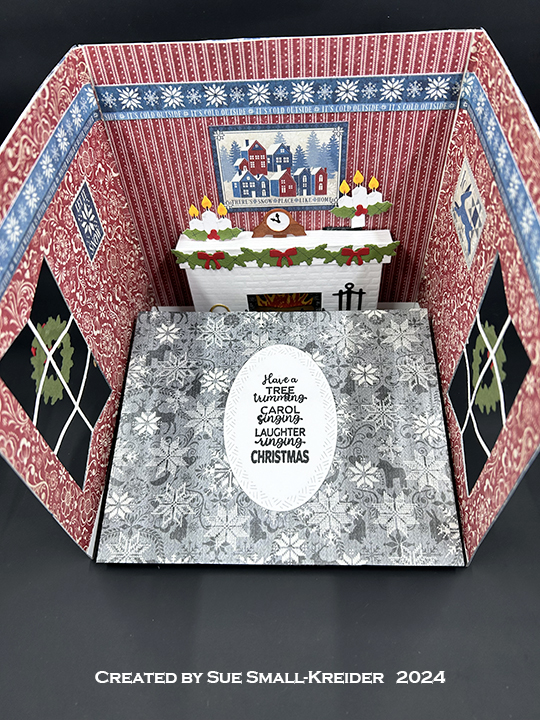
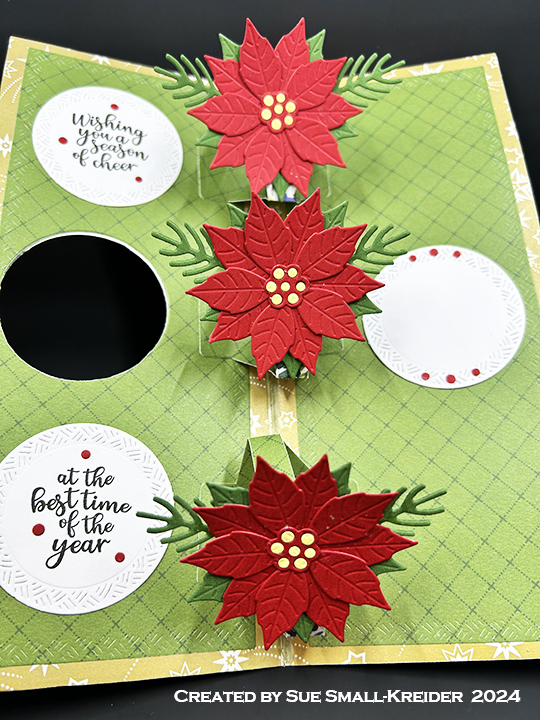
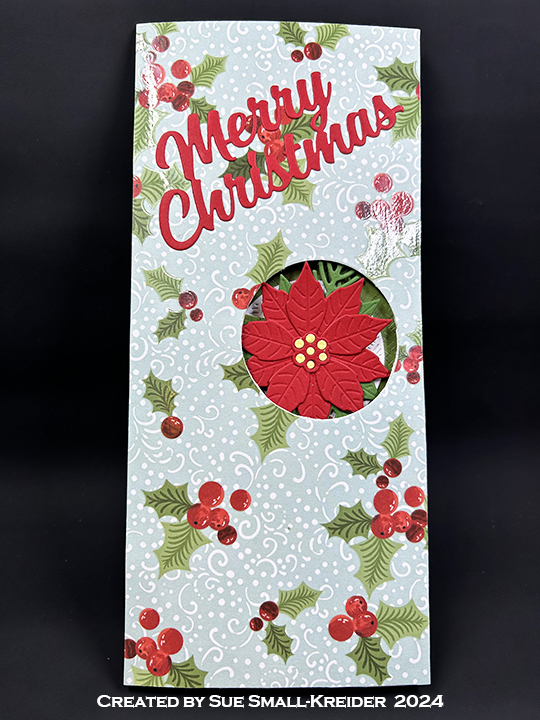
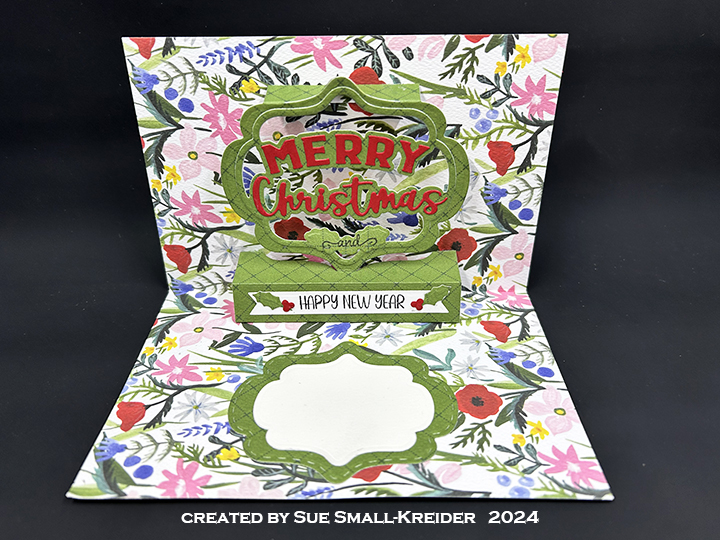
Today’s card is an A7 size top-fold easel card that uses the new Postage Pop-Up, Charm Rings, Snow Charms die sets and Winter Hugs stamp set.

Watch the process video to see how this card was made.
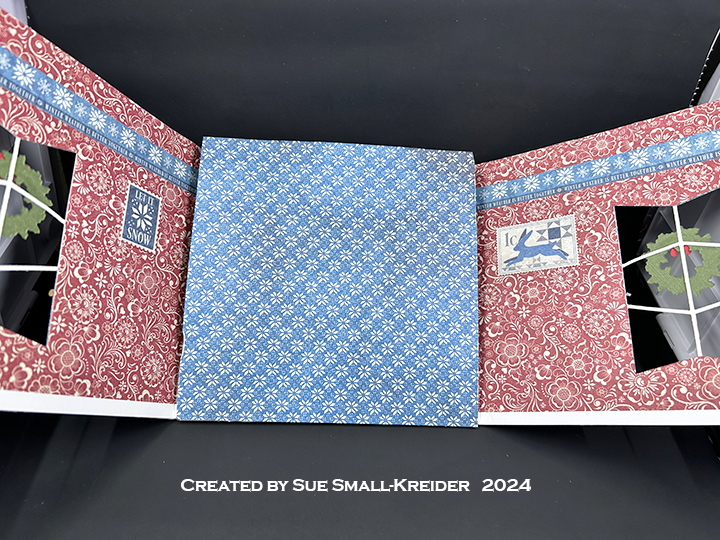
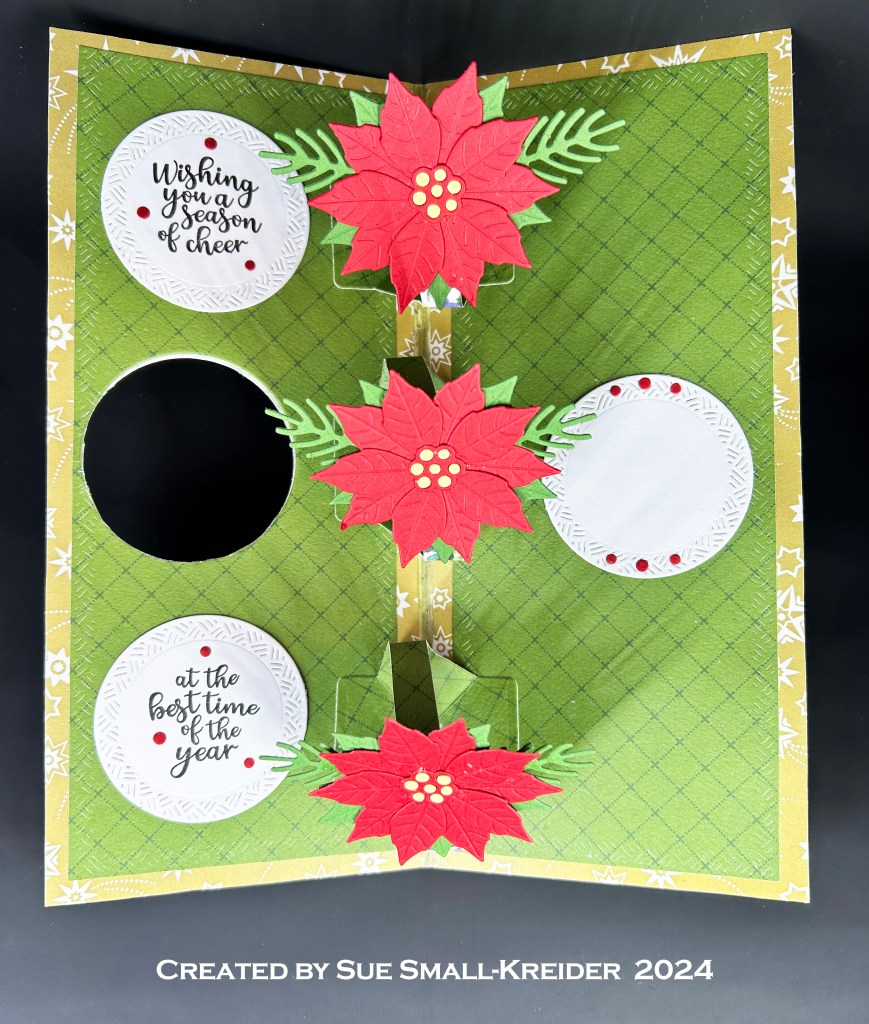
Cardbase: Cut a white 7 1/2 x 5-inch rectangle; score and fold at 7-inches to form a tab. Cut a white 7 x 5-inch rectangle and glue to tab. On panel that does not have the tab glued to it, score at the center (3 1/2-inches) and fold to make an easel. Three decorative panels 3 4/3 x4 3/4-inches will be used to cover the outside of the card.

Postage Stamp Diamond Frames: Using the large postage stamp frame and smaller squares and rectangle dies, cut eight frames. Separate the frames so that you have eight small square frames and two large square frames. (Save the other frames and cut-out shapes for other projects.) Glue to frames together to form four small squares and one large square. Watch video to see how window apertures are cut into the easel and how charms are hung.

Decorations: The smaller snowflake charms are from the Winter Charms set while the larger snowflake charm and individual snowflake are from the Snow Charms set. (Save the small circles that pop-out of the snowflakes to decorate the postage frames at the corners.) Watch the tutorial to see how the individual snowflake was made into a charm using the larger snowflake. Use two of the medium size Charm Rings to hang each snowflake.

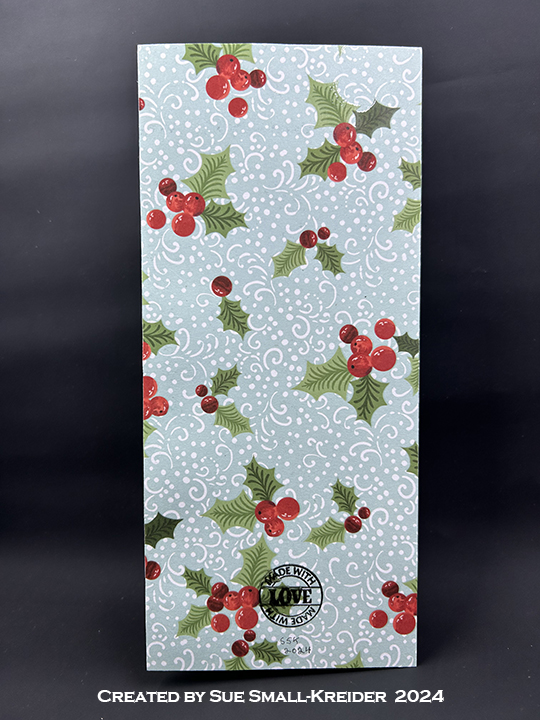
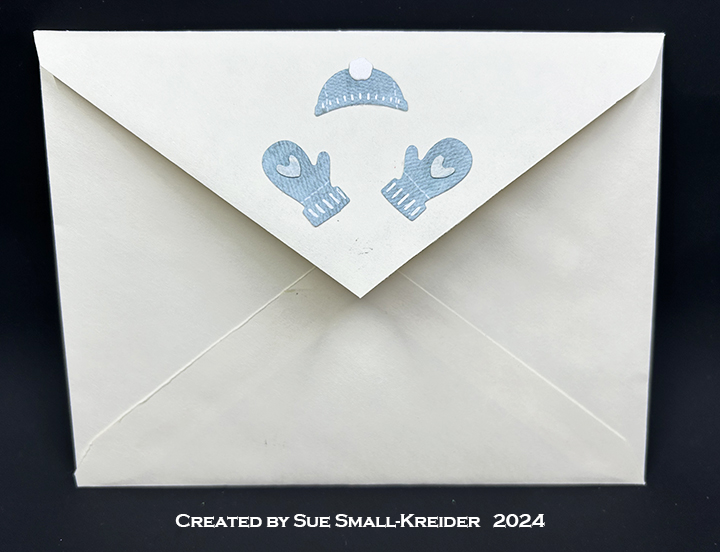
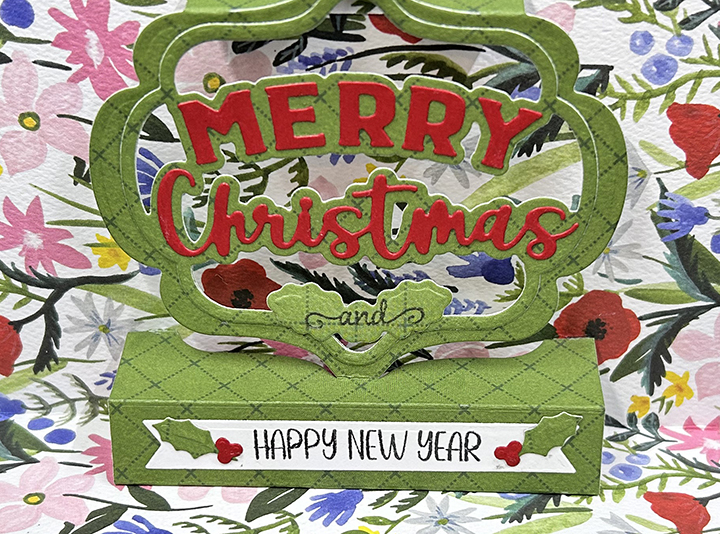
Sentiments: All the sentiments come from the Winter Hugs stamp set and were fussy cut out of the same cardstock as the cardbase. The back of the card uses “I made this cool card” stamp with the maker’s mark below and a pair of mittens from the Snow Charms set.

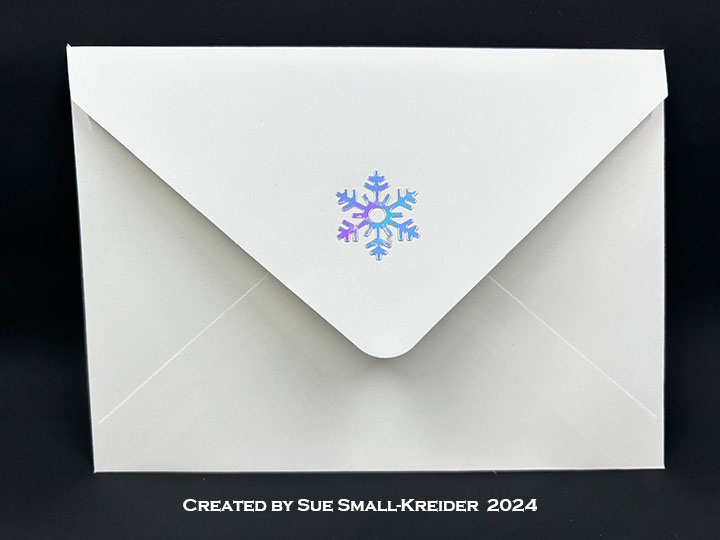
Envelope: The card fits into an A7 (5 x 7-inches) size envelope. The back flap was decorated with a large snowflake from the Snow Charms set.
___________________________________
Thank you for experiencing this blog post.
I hope this inspires you and makes you smile.
Please like and leave comments 😊
___________________________________
Disclaimer: Karen Burniston products are provided free of charge by the manufacturer for review and use. All other items were personally purchased. Compensated affiliate links used where or when possible, meaning I will receive a small percentage commission from these manufacturers at no cost to you. This will allow me to add more content to my YouTube channel and help out a lot. Thank you.
Materials Used:
Dies
- Karen Burniston in cahoots with Riley and Company – Postage Pop-Up – 1291
- Karen Burniston in cahoots with Riley and Company – Charm Rings – 1284
- Karen Burniston in cahoots with Riley and Company – Snow Charms – 1283
- Karen Burniston in cahoots with Riley and Company – Winter Charms – 1018
Stamps
Papers
- My Favorite Things – 8.5×11 inch 100lb. Cardstock – Smooth White
- American Crafts – 8.5×11 inch Specialty Cardstock – Foil On Paper
- Recollections – 12×12 inch Glitter Cardstock – White Marble
- Unknown – 8.5×11 Fabric Backed Paper – Hammered Metal – Silver
- A7 Envelope – Cream
Ink
- Hero Arts – Alcohol-Marker Friendly Ink Pad – Intense Black
- Pigma – Mircon 01 Fine Tip Pen – Black
- Sakura – Gelly Roll Pen – Medium – White
Adhesives
Tools
- Die Cutting Machine
- Paper Trimmer
- Score Board
- Bone Folder
- Stamping Platform
- Stamping Blocks used as paperweights
- Scissors
- Craft Knife
- Pencil
- T-Ruler
- Paper Masking Tape
- We R Memories – QuickStick
- 1/8-inch Hole Punch
- Ice Pick or Awl