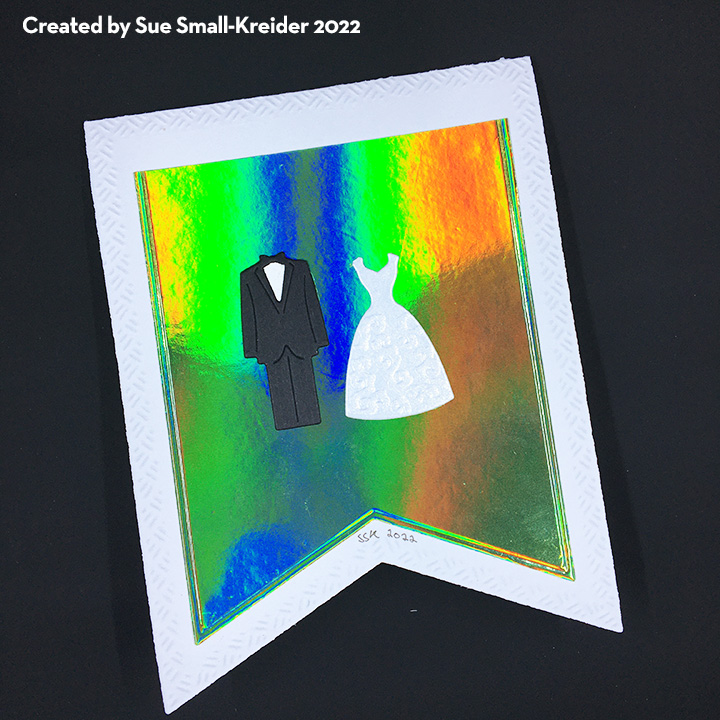
This card was made for Craft Roulette #223 (craftroulette.live) whose parameters included a smaller/larger project, planet colors, house(s) element and white border.
Watch the process video above for how the card was made.

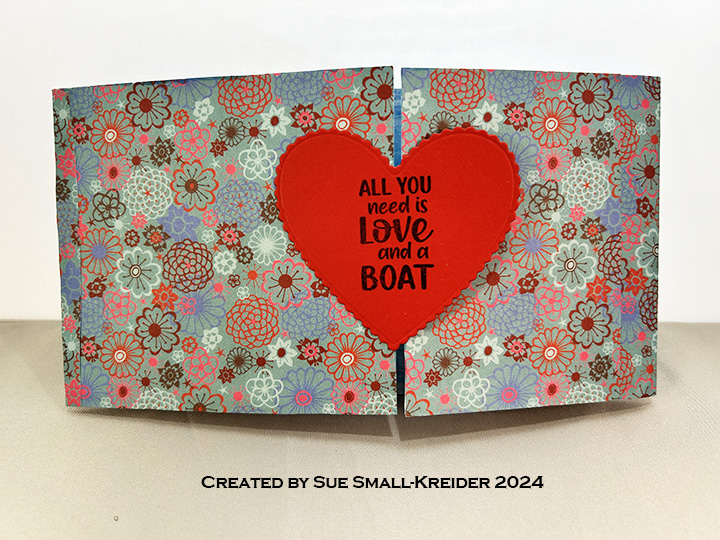
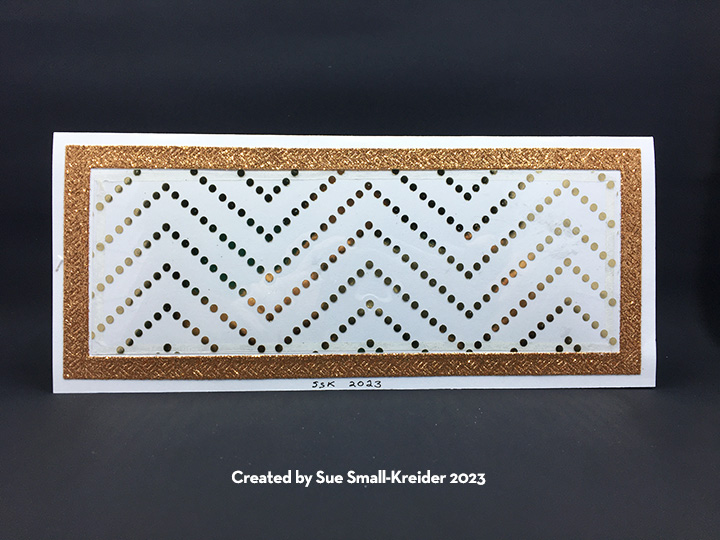
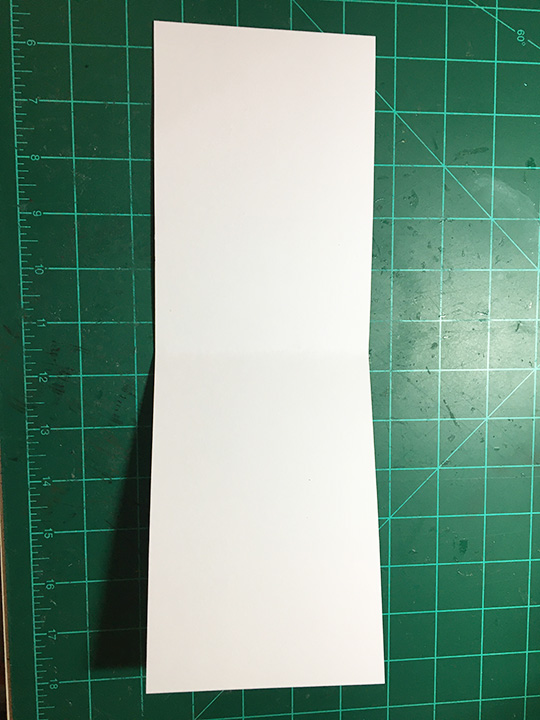
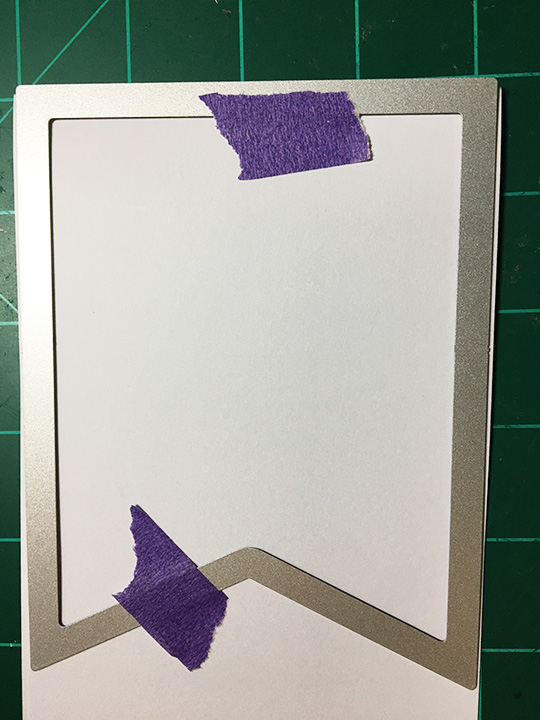
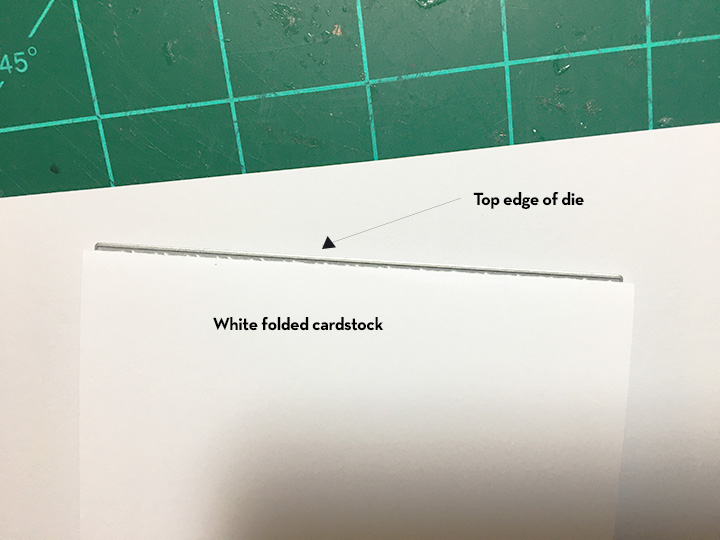
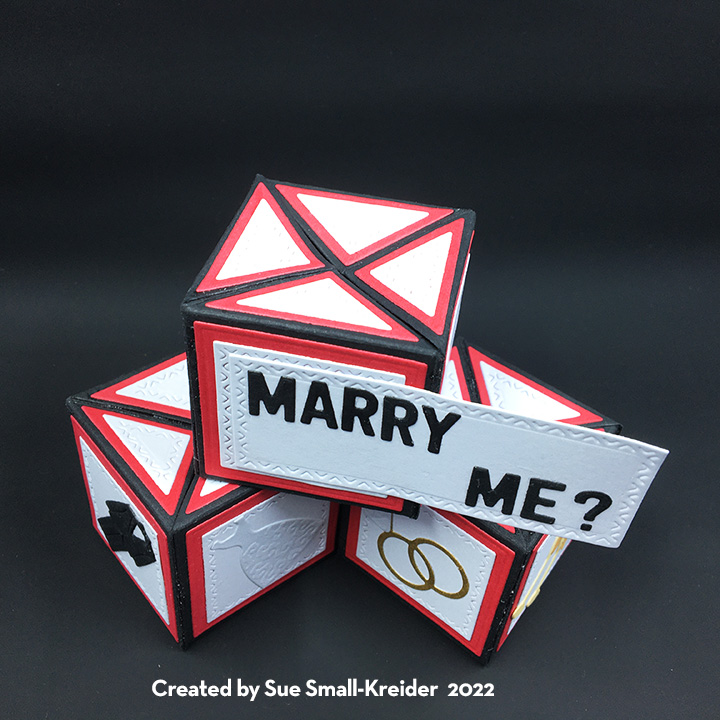
Cardbase: Fold an 8.5×11-inch sheet of white cardstock in half to form a side fold 5.5×8.5-inch A9 cardbase. Cover with decorative papers leaving a white border around each card panel.

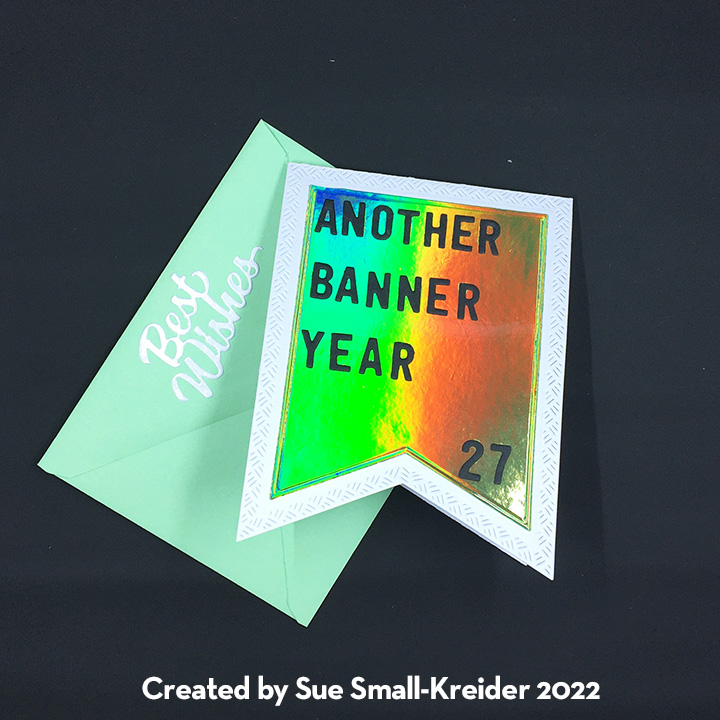
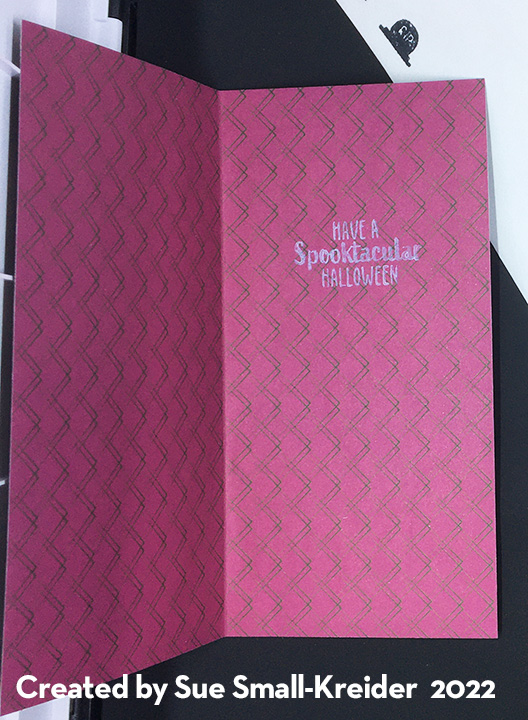
Sentiments: The sentiments are stamped in black ink except for the “Home is wherever I am with you” which was stamped in blue ink before the clouds were inked blended on using a Distress oxide blue ink onto plain copier paper. All sentiments are from the two Kindred Stamps sets listed below.

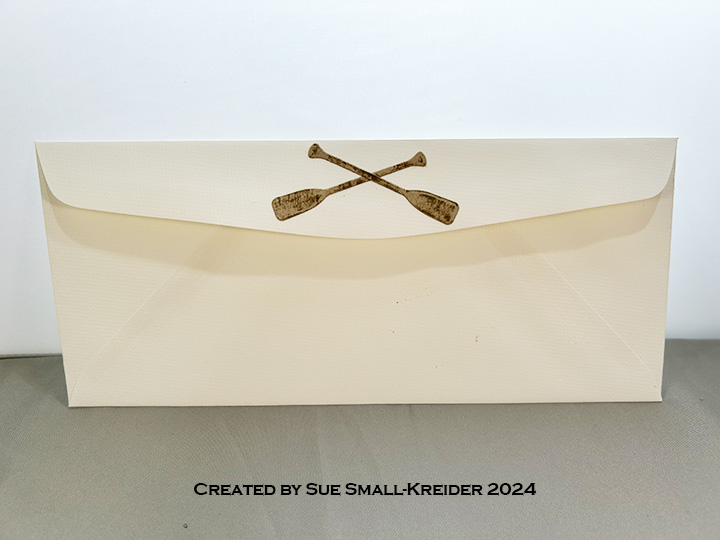
Envelope: The card fits into a catalog size 6×9-inch envelope.
___________________________________
Thank you for experiencing this blog post.
I hope this inspires you and makes you smile.
Please like and leave comments 😊
___________________________________
Materials Used:
Dies
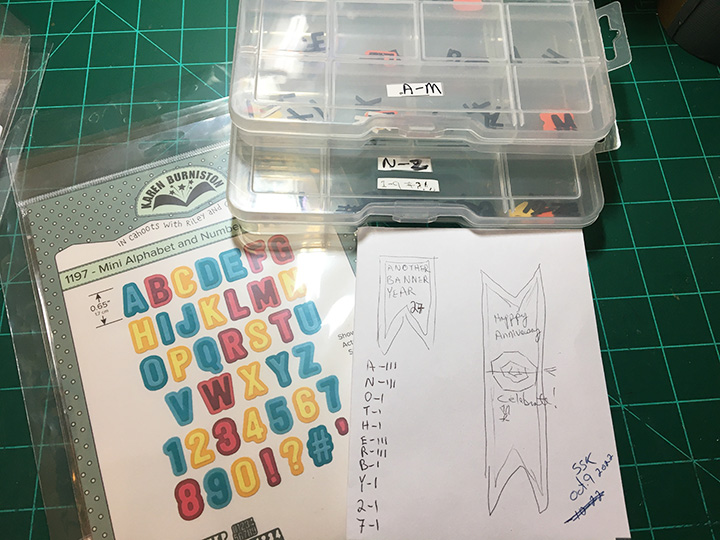
- Karen Burniston in cahoots with Riley and Company – Happy Birthday Lorna Add-Ons – 1276
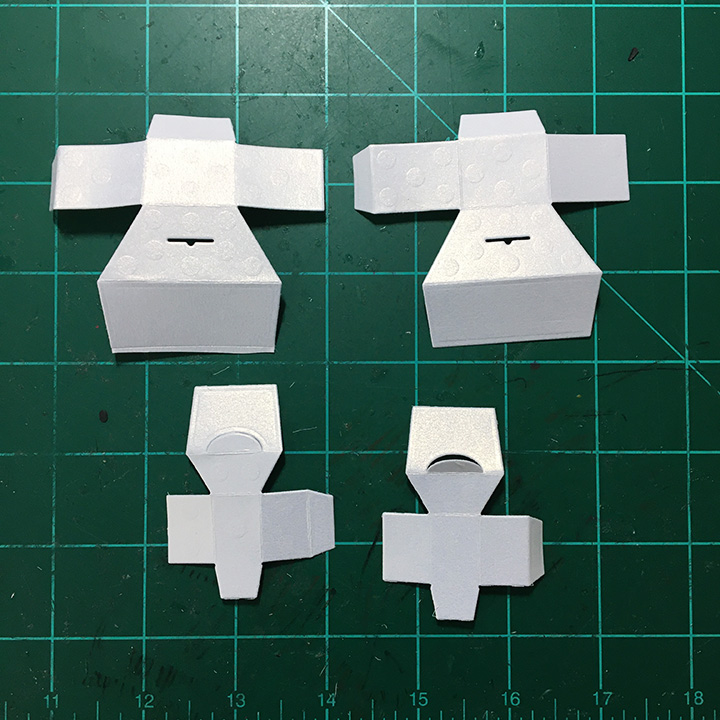
- Karen Burniston in cahoots with Riley and Company – Tiny House Pop-Up – 1157
Stamps
- Kindred Stamps – Clear Stamps – Together Forever
- Kindred Stamps – Clear Stamps – Fly Away
- Craft Roulette – Clear Stamps – The Basics
Stencil
- Craftin Desert Divas – 6×6 Stencil – Clouds and Paths
Papers
- Bazzill – 8.5×11 Textured Cardstock – Tiara -18-1002
- Stampin’ Up – 8.5×11 Thick Basic White Cardstock
- The Paper Studio – 8.5×11 Printed Paper – Blue/Green Watercolor
- Clear Plastic Packaging
- Catalog (6×9) Envelope – White
Ink
- Ranger – Tim Holtz – Distress Oxide –Tumbled Glass
- Stampin’ Up – Classic Stampin’ Pad – Balmy Blue
- Stampin’ Up – Stampin’ Blends Markers – Light Daffodil Delight
- StazOn – Solvent Ink – Jet Black
- Crafter’s Squares – Metallic Markers .05 in – Blue and Silver
- Mont Marte – Dual Tip Art Marker – E2 Raw Sienna
- Pigma – Mircon 01 Fine Tip Pen – Black
- Sharpie – Permanent Marker – Fine Tip – Light Indigo
- Sharpie – Permanent Marker – Ultra Fine Tip – Black, Blue, Green and Brown, Red
- Nuvo – Highly Pigmented Watercolour Pencils – Elementary Midtones and Hair & Skin Tones
Adhesives
- Neutral PH Adhesive by LINECO
- Fine-Tip Glue Bottle
- Double-Sided Tape – 1/8-inch wide
- Foam Dots
Tools
- Die Cutting Machine
- Bone Folder
- Stamping Platform
- LDRS – Stampendable Stamping Tool
- Stamping Blocks used as paperweights
- Scissors
- We R Memories – QuickStick
- Tweezers
- Metal Ruler
- Craft Mat
- Blending Brush
- Paper Masking Tape
- Waterbrush