This is Day 4 in the Week Of Good Cheer Christmas Card series featuring cups and mugs of winter cheer as beverages or as in today’s card, a floral arrangement using all Anna Griffin products. (GIVEAWAY opportunity near end of post.)

Watch the video below to see how the card was made.
Cardbase: I started with an A7 sized (5×7-inches) cardbase and matching envelope from Anna Griffin’s Present Pop-Up Card Making Kit.
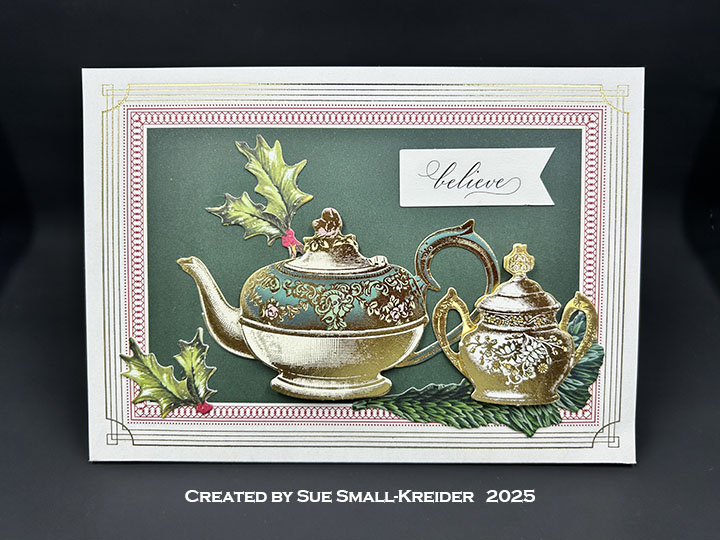
Card Front: Embellishment pieces from Anna Griffin’s Favorite Tea Embellishments, Present Pop-Up Card Making Kit, Finishing School Carte Noel Craft Box, and Holiday Home Slider Card Making Kit were used to decorate the card front.
Teacup Pop-Up: The tea cup’s six pieces were die cut using the Anna Griffin Tea Cup Pop- Up Dies. The dies have an embossing/stenciling feature which I used to color the floral embossings with a gold metallic marker. Watch the video above for the assembly of the piece. The cup is filled with embellishment pieces from the aforementioned kits above.
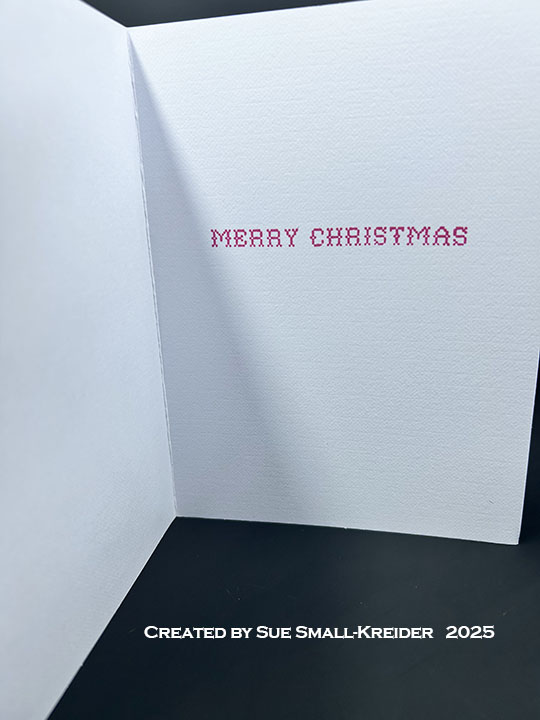
Sentiments: The card front, envelope back flap and inside floral flag sentiments are from the aforementioned kits above. The red label inside has been heat embossed with “Merry Christmas” in gold.

___________________________________
Thank you for experiencing this blog post.
I hope this inspires you and makes you smile.
Please subscribe to the email notices, like and leave comments 😊
___________________________________
GIVEAWAY
I’m cleaning out my dies and stamps and will be giving away crafting bundles to 8 lucky crafters who follow, subscribe and comment on my Week of Good Cheer Christmas Cards posts on Facebook, Instagram, YouTube and my website. (If you comment on all 4 platforms, each day, you have over 28 opportunities to be picked for a crafting bundle.)
Tell me why you like each cup or which is your favorite cup. Winners will be picked by September 2, 2025.
___________________________________
Disclaimer: Karen Burniston products are provided free of charge by the manufacturer for review and use. All other items were personally purchased. Compensated affiliate links used where or when possible, meaning I will receive a small percentage commission from these manufacturers at no cost to you. This will allow me to add more content to my YouTube channel and help out a lot. Thank you.
Materials Used:
Dies
- Anna Griffin – Metal Dies – Tea Cup Pop-Up Dies
Stamps
- Anna Griffin – Clear Stamps – Treasury of Stamps and Dies
Papers
- Anna Griffin – Favorite Tea Embellishments, Present Pop-Up Card Making Kit, Finishing School Carte Noel Craft Box, and Holiday Home Slider Card Making Kit
- White Cardstock
Ink
- Versamark – Watermark Stamp Pad
- Cosmic Shimmer – Embossing Powder – New Gold Lustre
- Crafter’s Square – Metallic Marker – .05in/1.2 mm Point – Gold
Adhesives
- Neutral PH Adhesive by LINECO
- Fine-Tip Glue Bottle
- Double-Sided Tape
Tools
- Die Cutting Machine
- Paper Trimmer
- Stamping Platform
- LDRS – Stampendable Stamping Tool
- Stamping Blocks used as paperweights
- Tweezers
- Scissors
- Heat Gun
- Kat Scrappiness – Anti-Static Tool
- Paper Masking Tape