Concord & 9th Nutcracker Cards

Welcome to Day 2 of my Nutcracker series using a variety of stamps and die sets to make some nutcracker themed cards. My card today uses products by Concord & 9th along with stamps from Scrapbook and Cards Today‘s Christmas in July – Jolly Holiday 2024 event.

Watch the process video below to learn how this card was made.

Cardbase: Cut from white light-to-medium weight cardstock one 4.25 x 11-inch rectangle and folded in half to form an A2 (4.25×5.5-inch) cardbase. Cover with outer two panels with patterned paper. (Do this for card 1 or card 2. For the blue card 1, use the smaller oval die in the Nutcracker Dies set to cut a window aperture into the card front. Save cut-out oval and glue to card inside to fit into the window. Use both oval dies to cut out a red frame and glue to front of card around the window. I also adhered clear glitter to the inside oval using Glossy Accents.)

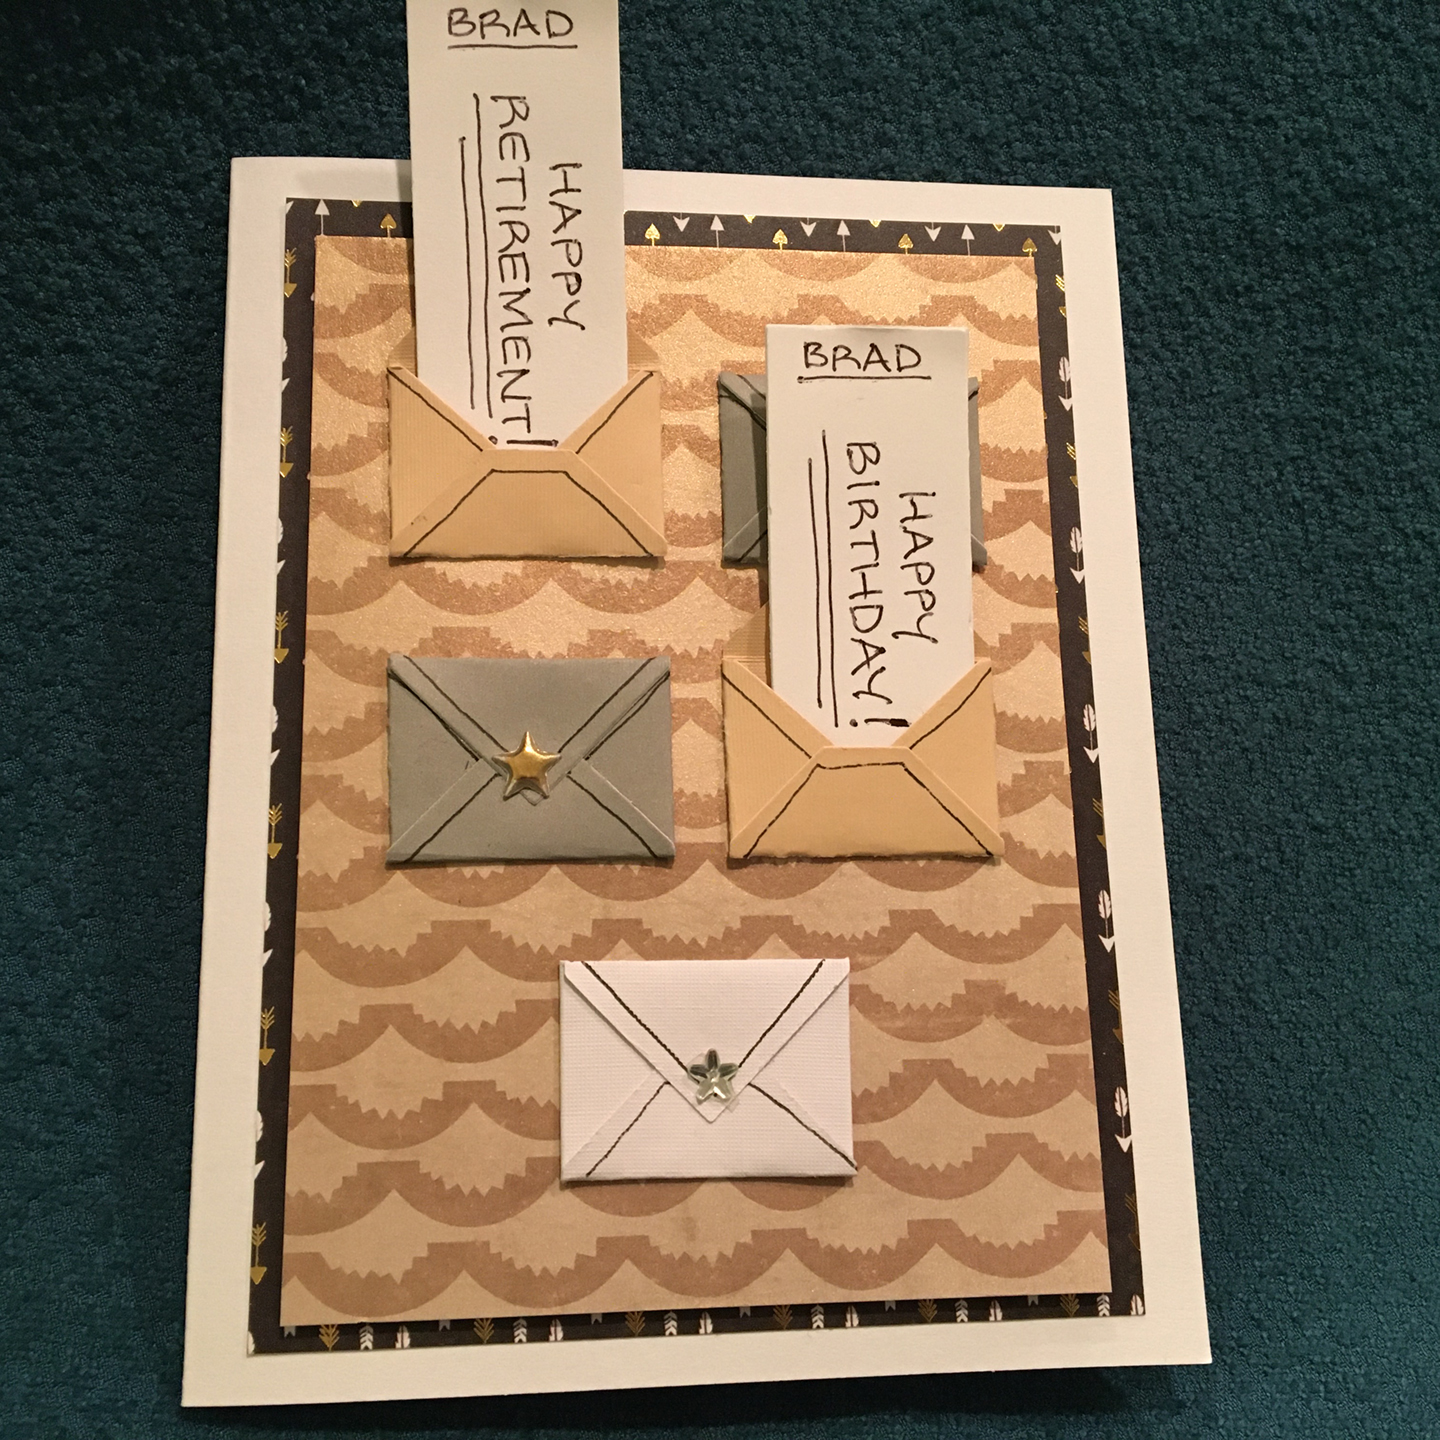
Nutcrackers: Follow the video above for assembly or look at packaging for ideas. (I used the coordinating enamel shapes for the hat feather, belt, shoulder epaulets and boots, but there are dies to cut these pieces as well.)

Sentiments: Using the banner and word dies included in the Nutcracker Dies, cut a banner from white cardstock and either “merry” or “JOY” from colored or patterned paper and glue to banner. Add to the card front. Decorate with holly or leafy stems from the die set or use enamel holly leaves and berries. Inside the green card 2, stamp “everything” in black to match the die-cut “merry” from the card front. Then, using ink to coordinate with the card front paper, stamp a pine branch on the top inside panel and in black on the outside back panel. The stamps I used were from Scrapbook and Cards Today‘s Christmas in July – Jolly Holiday 2024 event.

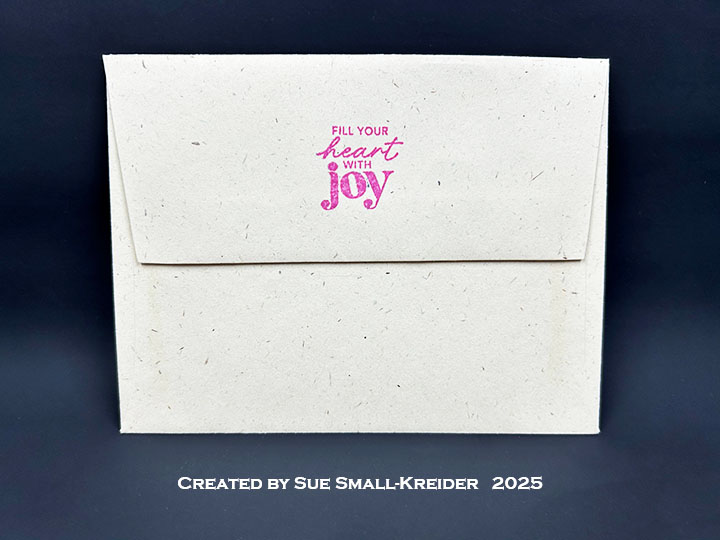
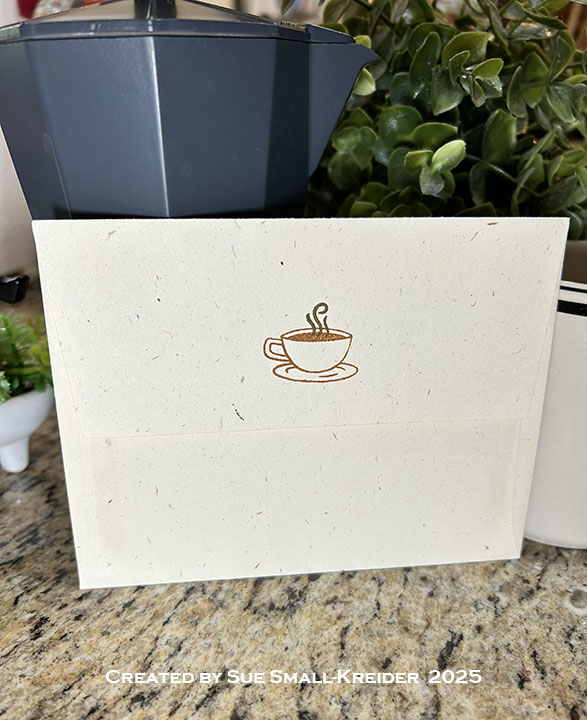
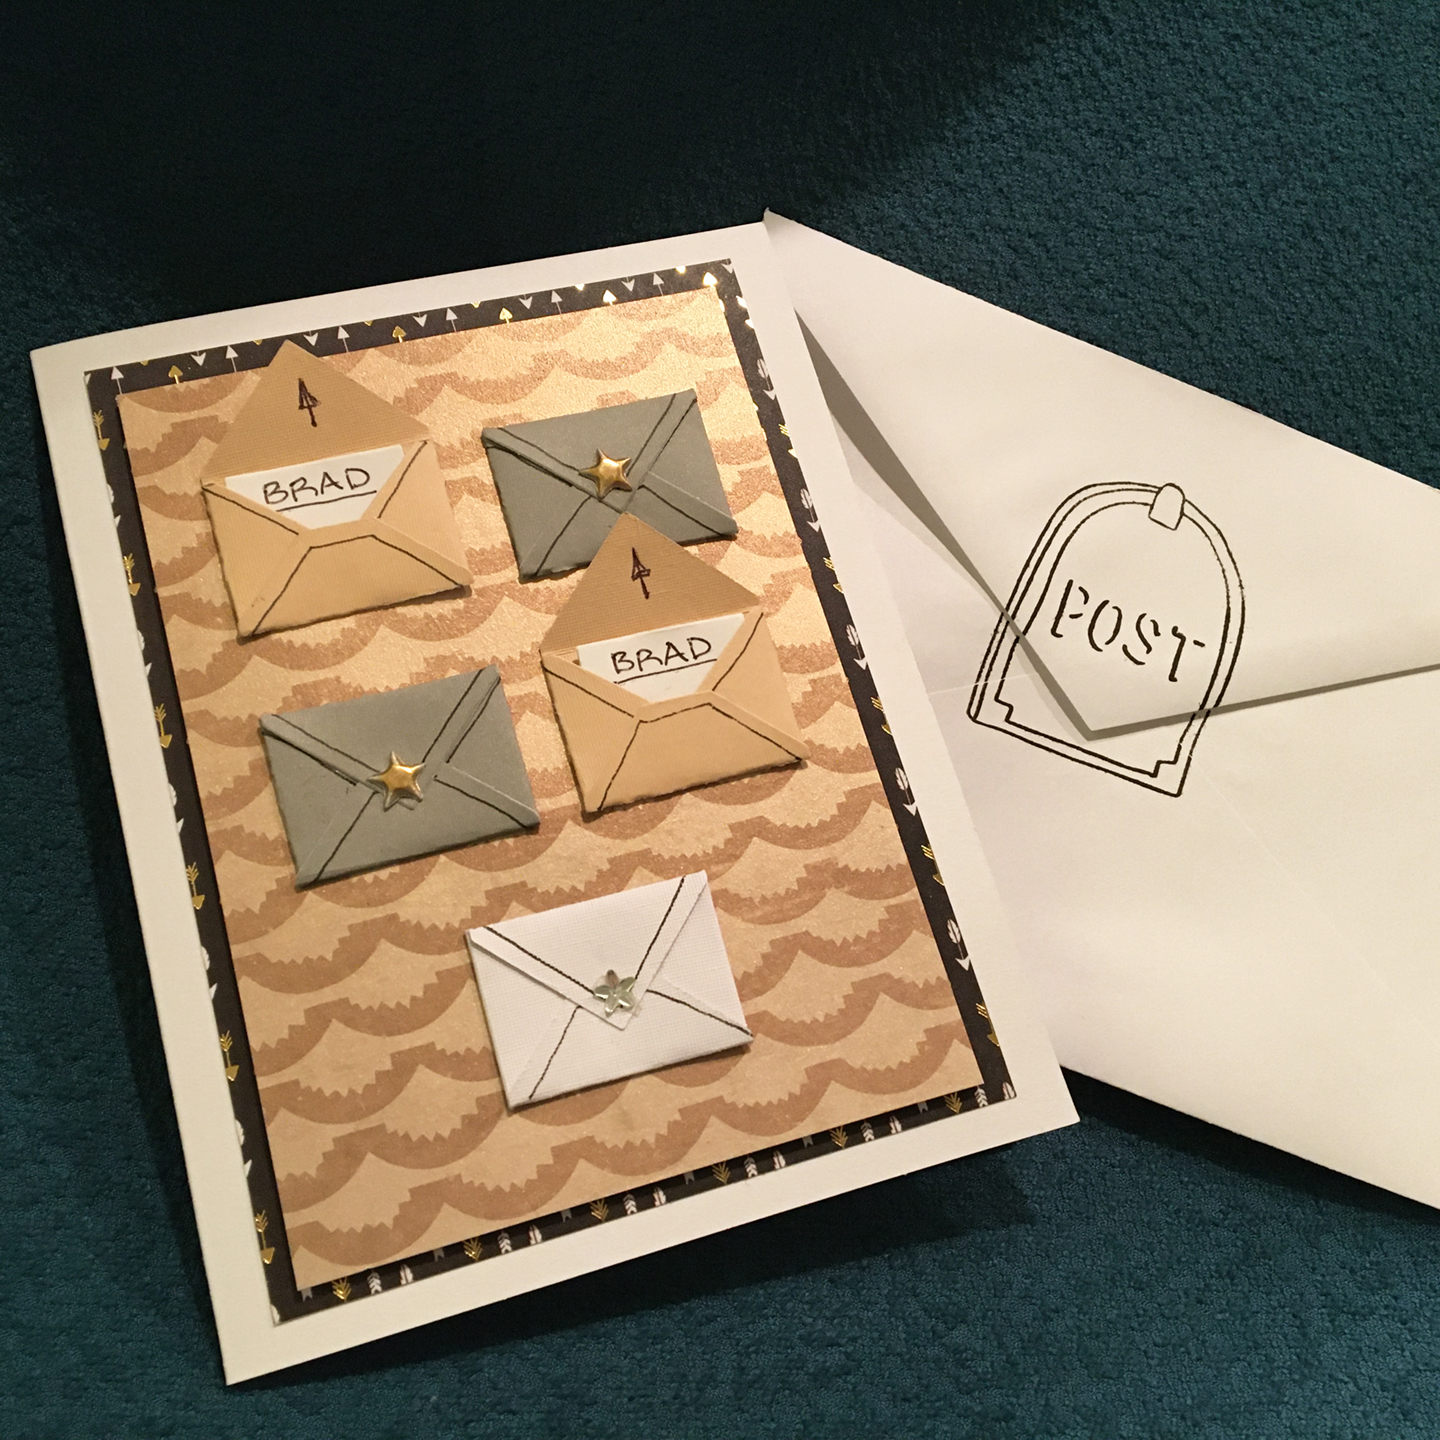
Envelope: The cards fit into an A2 size envelope with “Fill your heart with joy” stamped on the back flap in coordinating ink.

___________________________________

Thank you for experiencing this blog post.

I hope this inspires you and makes you smile.

Please subscribe, like and leave comments 😊

___________________________________

Disclaimer: Karen Burniston products are provided free of charge by the manufacturer for review and use. All other items were personally purchased. Compensated affiliate links used where or when possible, meaning I will receive a small percentage commission from these manufacturers at no cost to you. This will allow me to add more content to my YouTube channel and help out a lot. Thank you.

Materials Used:

Dies

  • Concord & 9th – Dies – Nutcracker Dies

Stamps

  • Scrapbook and Cards Today‘s Christmas in July – Jolly Holiday 2024 event – Clear Stamps

Papers

  • Concord & 9th – 8.5×11 Cardstock – Sea Glass
  • Graphic 45 – 8×8 Double-sided Paper – Let It Snow
  • My Mind’s Eye – 6×6 Paper Pad – Jingle All The Way
  • Black, Blue, Pink, and Red Cardstock
  • Fraser Papers for William House – A2 Envelope – Genesis Text Milkweed Smooth

Ink

  • Concord & 9th – Premium Dye Ink – Tidepool
  • Memento – Fade Resistant Dye ink – Tuxedo Black & Rose Bud
  • Sharpie – Permanent Marker – Fine Tip – Green

Adhesives

Tools

Miscellaneous

  • Concord & 9th – Enamel Stickers – Nutcracker Shapes
  • Ranger – Tim Holtz Distress – Rock Candy Clear Glitter

Thanks A Latte

I always need Thank You cards and coffee, so what better way than to combining the two into some cute cards.

I used the Concord & 9th Coffee Blend Turnabout stamp set and coordinating dies for these two Thank You cards.

The inks that I used were from Stampin’ Up – Soft Suede, Cinnamon Cider and Real Red.

___________________________________

Thank you for experiencing this blog post.

I hope this inspires you and makes you smile.

Please like and leave comments 😊

___________________________________

It’s A Party – Celebrate Your Birthday!

When needing a large number of birthday cards, making multiple inlay die-cut backgrounds is the way to go.

Watch the video below to see how I made these cards.

Cardbase:  I made eight A2 size cardbases by folding 8.5×5.5-inch rectangles of white cardstock in half.

Card Front: The card front uses Concord & 9th’s Party Hats inlay die along with the slice of cake from Karen Burniston’s Big Birthday Charms.

Sentiments:  The sentiments were stamped in black ink using the Craft Roulette’s Funn Sentiments #01 stamp set and Karen Burniston’s Celebrate, Happy Birthday and Shadow dies along with her Katherine Label Pop-Up die set.

Envelope:  The card fits into an A3 (4.25x 5.5-inches) size envelope stamped with a sentiment or a hand-drawn heart.

___________________________________

Thank you for experiencing this blog post. I hope this inspires you and makes you smile. Please like and leave comments 😊

___________________________________

Disclaimer: Karen Burniston products are provided free of charge by the manufacturer for review and use. All other items were personally purchased. Compensated affiliate links used where or when possible, meaning I will receive a small percentage commission from these manufacturers at no cost to you. This will allow me to add more content to my YouTube channel and help out a lot. Thank you.

Materials Used:

Dies

Stamps

  • Craft Roulette – Clear Stamps – Funn Sentiments #01

Papers

  • Craft Consortium – A4 Double-Sided Solid Colored Cardstock – Little Robin Redbreast
  • Craft Consortium – A4 Double-Sided Solid Colored Cardstock – ‘Tis the Season
  • Ink N’ Splatter – 6×6 Double-Sided Cardstock – Ladybug Days
  • Ink N’ Splatter – 6×6 Double-Sided Cardstock – Raspberry Crush
  • White Cardstock
  • Fraser Papers for William House – A2 Envelope – Genesis Text Milkweed Smooth

Ink

  • Memento – Fade Resistant Dye ink – Tuxedo Black
  • Pigma – Mircon 05 Fine Tip Pen – Black
  • Ranger – Letter It – Fineliner Pen – Yellow
  • Sakura – Gelly Roll Pen – Medium – White
  • Sharpie – Permanent Marker – Ultra Fine Tip – Red
  • Stampin’ Up – Stamp Write Marker – Chocolate Chip
  • Nuvo – Aqua Shimmer Brush Marker – Glitter Gloss

Adhesives

Tools

Shelf Cards – Pop-Up Shelves

This is the second in a series of cards that have shelves as the main element of the card.

Today’s card is a pop-up set of shelves made with On Display Pop-Up die set by Concord and 9th.

Watch the process video to see how I made this card.

Cardbase:  The cardbase is an A2 (4.25×5.5-inch) side-fold made by folding an 8.5×5.5-inch rectangle in half.

Sentiments:  The “hello” on the card front is a die in the On Display Pop-Up die set.

Envelope:  The card fits into an A2 (4.25x 5.5-inches) size envelope with a die-cut plant on the back flap.

___________________________________

Thank you for experiencing this blog post.

I hope this inspires you and makes you smile.

Please like and leave comments 😊

___________________________________

Disclaimer: Karen Burniston products are provided free of charge by the manufacturer for review and use. All other items were personally purchased. Compensated affiliate links used where or when possible, meaning I will receive a small percentage commission from these manufacturers at no cost to you. This will allow me to add more content to my YouTube channel and help out a lot. Thank you.

Materials Used:

Dies

  • Concord and 9th – Metal Dies – On Display Pop-Up

Papers

  • Bazzill – 8.5×11 Cardstock – Tira
  • Concord and 9th – 8.5×11 Cardstock – Honeycomb
  • Impression Obession – 6×6 Double-Sided Cardstock – Basics 1 – Yellows
  • My Favorite Things – 8.5×11 Cardstock – Something Blue
  • Spellbinders – 8.5×11 Cardstock – Cosmic Sky
  • Stampin’ Up – 8.5×11 cardstock – Copper Clay
  • Blues, Browns, Greens, White and Yellows Cardstock Scraps
  • Fraser Papers for William House – A2 Envelope – Genesis Text Milkweed Smooth

Ink

  • Ranger – Tim Holtz – Distress Ink- Rustic Wilderness
  • Nuvo – Glitter-Marker – 197 Lemon Drizzle
  • Pigma – Mircon 01 Fine Tip Pen – Black

Adhesives

Tools

  • Die Cutting Machine
  • Paper Trimmer
  • Score Board
  • Bone Folder
  • Stamping Blocks used as paperweights
  • Scissors
  • Paper Masking Tape
  • We R Memories – QuickStick
  • Sponge Daubers

Shop Cards – Coffee and Books

Miniature houses and shops fascinate me. When I saw that Concord & 9TH had come out with a Pop-Up Shoppe Die set and add-on sets for a bakery and a bookstore, I knew I had to try them.

First try – Bookstore
Second try – Coffee/Bake Shop

Here are my first and second cards that I made from these die sets. The first one, a bookstore, was done without watching the assembly video and hence I attached the pop-up store front as an accordion fold rather than the “U” pop-up fold as the video shows. The second one, a coffee/bake shop, uses the “U” fold. (Bake shoppe video, Book shoppe video)

For the coffee/bake shop I cut a 4.25×5.5-inches piece of banana cream cardstock folded in half for a top fold A2 size card base. using double-sided tape I adhered the decorative papers on all but the front inside of the card.

I found that assembling the shop front from the acetate windows, door and, flower box and eaves dental molding first, made it easier to plan how to lay out the inside scene. On the coffee/bake shop I used the largest door die to do a partial die-cut of three sides on the shop front, so that the door could be opened. (I’ve also thought for my next card to use both door dies to cut in windows to the door.)

The acetate windows can be one large piece if you don’t make the door open or two or three pieces if you do cut the door to open. (I reinforced the narrow strip by the door with a piece of acetate.) You need the acetate to glue the window frames onto as well as tables and lights bumped out with foam squares.

The inside decor for the coffee/bake shop uses the bake shoppe dies as well as the counter made from the bookstore’s cabinet with the shelves cut off. The stamped coffee signs come from a coffee shop stamp set from My Favorite Things. The “OPEN” sign on the door is from a Lawn Fawn stamp set. “Bakery” is part of the Concord & 9TH stamp set.

All of the coffee and bakery elements were curved using fingers or flower shaping ball tools. The breads and baskets were inked with Distress inks. Printed watercolored papers were used for other elements like cups and flowers. Foam squares are used to adhere most of the elements to the card back.

Placement of items to be seen through the upper windows and open door may make the inside layout seem off-balance.

The inside of the card needs layers of matted sentiment and a decorative paper on the card back to balance out the weight of the card front.  I think the top fold card works best for the card design, but the side fold card is good too.

As is my way, I decorated the back flaps of both A2 envelopes with stamps from Hero Arts (bookstore) and Concord & 9TH (coffee/bake shop) to hint as to what is inside the envelope.

See more coffee themed cards by clicking here or shop cards click here.

Thank you for reading this blog post. I hope it brought you comfort and inspiration.  Please like and leave comments 😊

Materials Used:

Dies

Stamps

Papers

  • Clear Acetate Sheet
  • Craft Consortium – 6×6 Premium Paper Pad – Brick Textures
  • My Favorite Things – 6×6 Paper Pad – Finishes and Textiles
  • Funky Fossil Designs – 20cm x 20cm Paper Pad – Watercolour Rainbow
  • Fun Stampers Journey – 8.5×11 Cardstock – Banana Cream – CS-0087
  • White A2 Card Base
  • Colored Cardstock
  • Colored, Pattern and Foiled Paper Scraps
  • A2 Envelopes

Inks & Pigments

  • Ranger – Tim Holtz Distress Inks – Walnut Stain and Soot Black
  • Stampin’ Up – Classic Stampin’ Pad – Early Espresso
  • Pigma Micron 01 – Black
  • Sakura – Gelly Roll 08 – Gel Pen – White

Miscellaneous

  • Neutral PH Adhesive by LINECO
  • Fine-Tip Glue Bottle
  • Scrapebook.com – Double-sided Tape – 1/4-inch wide
  • Die Cutting Machine
  • Stamping Platform
  • LDER Creative – Stampendable Stamping Tool
  • Stamping Blocks
  • Sponge Daubers
  • Piercing Tool
  • Tweezers
  • Foam squares

Postman’s Retirement Birthday

Happy Mail! What better way to celebrate one’s birthday, than by retiring.

Retirement Bday-Front letters down

That’s what a family friend did recently when he retired after 30 years delivering mail.

Retirement Bday-Front letters halfway

This card was created using Concord & 9th’s Mail Drop die and stamp set. My husband wrote the messages on the letters since I did not have any stamps that would provide the sentiments we wanted in the small space we had to work with on the letters.

Retirement Bday-Front letters up

Inside I used an older Stampin’ Up “Happy Birthday” stamp.

Retirement Bday-inside

I used the mailbox lid stamp from Concord & 9th’s Mail Drop stamp set on the envelope flap.

Retirement Bday-Front envelope

SUPPLIES USED:

Dies

Stamps

Paper

Miscellaneous