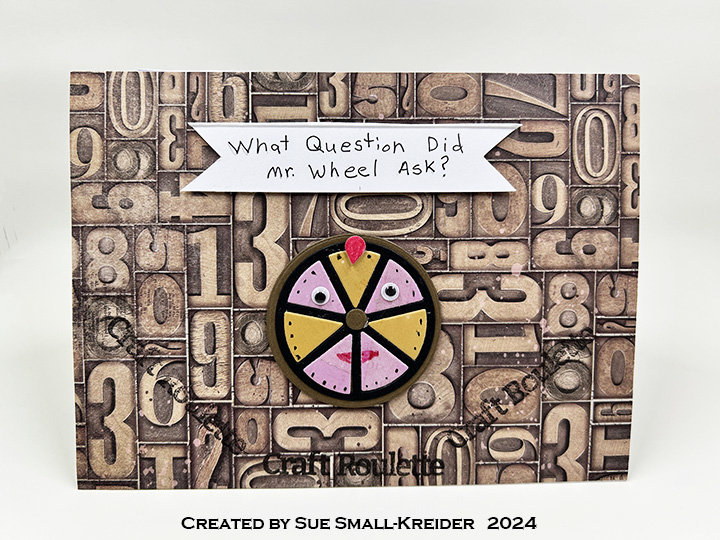
This card was made for Craft Roulette #211 whose parameters included good tidings, summer colors, mechanical element and tie closure.
This is a retirement card for someone who loves working with mechanical action.
(Please note that the Tonic Craft Kit 59 used in this card is no longer available. The Karen Burniston dies however are still available and links are provided to them.)

Cardbase: I used a purchased A7 (5×7-inch) cardbase and matching envelope. Each of the four panels were covered with coordinating papers in either watermelon pink or rind green. The circle was cut thru the front panel using the clock dial circle die.

Clock: Using three different green cardstock, they were cut with the main clock base die from the Tonic Craft Kit 59. The darkest green was trimmed to just the bottom and side trims, while the green patterned paper had the clock dial circle cut out and two bottom art-deco corner die-cut as well. Matching up the patterned green piece with the light green piece, the clock dial circle was cut in the light green piece. The dark green trim was attached to the patterned green piece before having a piece of clear plastic packaging adhered with thin double-sided tape to its backside. Sandwiching the plastic between the patterned green piece and light green piece by using double-sided tape again. The clock was glued onto the card front matching up the circle apertures.

Moving Gears: I watched Karen Burniston’s Double Spinner video at the bottom of her Mailbox Pop-Up page before adding the spinning gears pop-up to my card. I switched out gear dies from the Tonic Craft Kit 59 set for her fancy labels and gardening charms, but I followed her technique exactly to create the spinning gears. Gears were cut from steel blue and cooper oxidized foil cardstock.

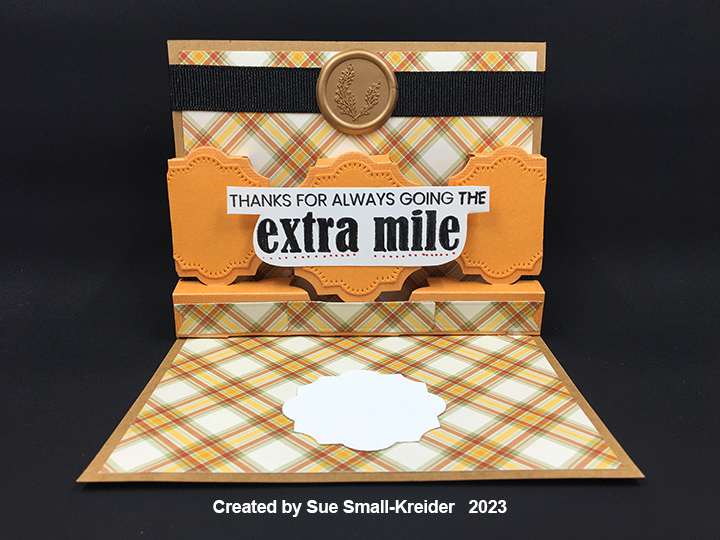
Sentiments: All the sentiments on the front of the card “Time flies when you’re having fun,” and “Happy Retirement” are from the Tonic Craft Kit 59. All stamped in black ink. The sentiments were stamped before the inside mechanical pop-ups were added. The personal message circle uses a large gear cut in blue oxidized metal foil cardstock (Tonic Craft Kit die) and a circle of pale gray cardstock using Karen Burniston’s Crosshatch Circles die set.

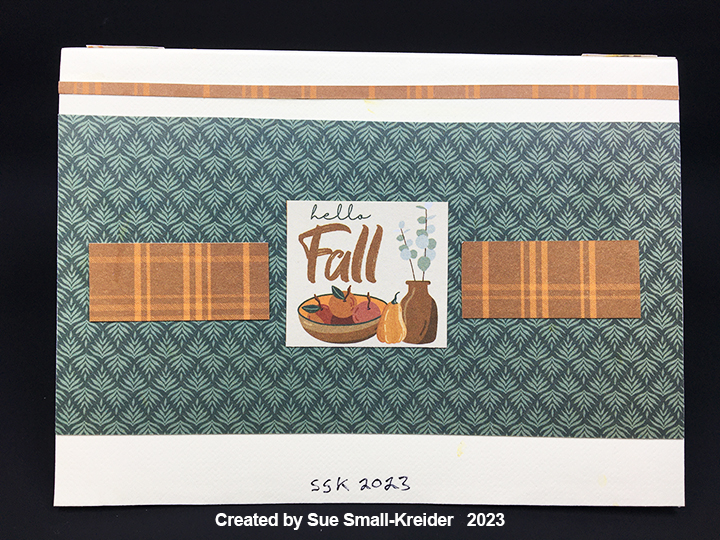
Envelope: The back flap was stamped in black ink “TIME to celebrate.”
Thank you for reading this blog post. I hope this inspires you and makes you smile. Please like and leave comments 😊
Materials Used:
Dies
- Karen Burniston in cahoots with Riley and Company – Mailbox Pop-Up – 1192
- Karen Burniston in cahoots with Riley and Company – Circles – Crosshatch – 1057
- Tonic Studios – Tonic Craft Kit 59 – Clocks & Cogs
Stamps
- Tonic Studios – Tonic Craft Kit 59 – Clocks & Cogs
Papers
- Bazzill – 8.5×11 Textured Cardstock – Easter Grass and Gumdrop
- Core’dinations – 12×12 inch Single-Sided Paper – Light Green Crosshatch
- Craft Consortium – A4 Solid Colour Double-Sided Paper – Gardener’s Delight
- Hunkydory – A4 Single-Sided Mirri Cardstock – Oxidised Metals Collection
- Keep It Simple – 6×9 Double-Sided Cardstock – Back To Basics Collection Pack – Ruby
- Keep It Simple – 12×12 Double-Sided Cardstock – Jade Collection Pack – Spearmint: Linen
- Gold Foil cardstock
- Green Cardstock
- Plastic Packaging
- Park Lane Paperie – A7 Cardbase and Envelope – White
Ink
- StazOn – Solvent Ink – Jet Black
- Scrapbook.com – Glitter Brush Marker – Key Lime Green and Pretty Pink
- Pigma – Mircon 01 Fine Tip Pen – Black
Adhesives
- Neutral PH Adhesive by LINECO
- Fine-Tip Glue Bottle
- Double-Sided Tape -1/8-inch wide
- Foam Dots
- Glue Dots
Tools
- Die Cutting Machine
- Bone Folder
- Stamping Platform
- LDRS – Stampendable Stamping Tool
- Tweezers
- Stamping Blocks used as paperweights
- Scissors
Miscellaneous
- Organza Ribbon – 1/4-inch wide – Green