This card was made for a Scapp’n Savvy Card Challenge for KB Bundlers April 2025 using Karen Burniston’s Purse Pop-Up, Flip Frame Pop-Up, Flutter Charms and Celebrate die sets. I also used Karen Burniston’s Photo Memories clear stamp set.

Watch the video for instructions on the construction of the card.
Read more below on specifics of this card.
Cardbase: Cut a 10 x7-inch rectangle of green cardstock, score at 5-inches, fold in half and burnish with a bone folder. Cover inside with two 4.5×6.5-inch rectangles of patterned paper. Save scraps of pattern paper to decorate card front. Die cut large frame from Flip Frame Pop-Up die set from red dotted paper. Cut bee and small flower pieces from Flutter Charms die set and assemble as shown in process video above.

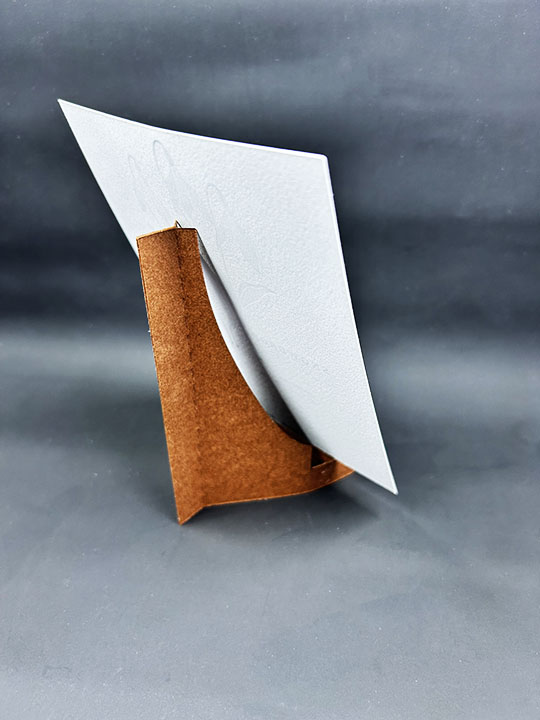
Flower Planter Pop-Up: Watch the assembly video for the Purse Pop-Up located at the bottom of the linked page. Cut one large, stitched rectangle from the Flip Frame Pop-Up die set from a journal card. Follow directions in the process video above for how to die cut tabs into red rectangle. Die cut one purse base from striped paper and follow directions in process video above. Using the flower and stem dies in the Flip Frame set, die-cut flowers from patterned paper and stems from green cardstock. (Save patterned paper with flowers cut out for card back.)

Sentiments: Die cut the “Celebrate” once from, orange, red and black. (I use a shiny black piece of junk mail.) From the KB April Zoom class kit use the pre-printed “Happy Birthday” sentiment rectangle label. (Alternative is to stamp the sentiment using Karen Burniston’s Bouquet Sayings clear stamp set on to white cardstock.) Die cut sentiment label with smallest rectangle die from Flip Frame Pop-Up die set. Cut the smallest stitched rectangle from the same set, in pale blue. Glue sentiment label onto blue rectangle.

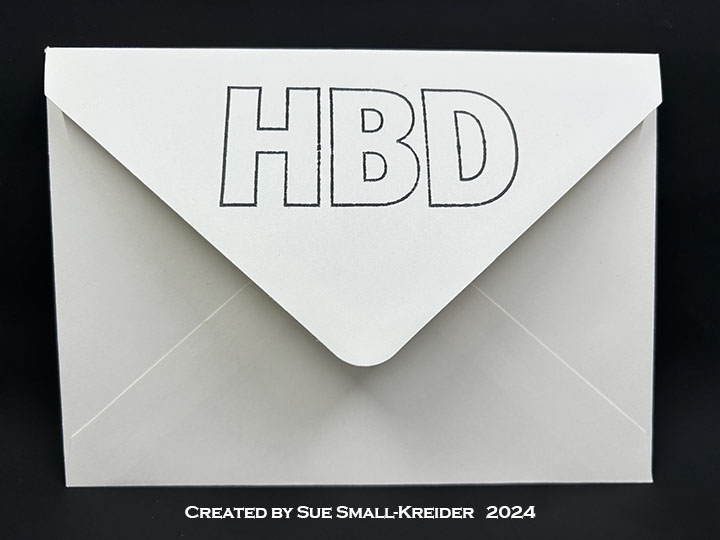
Envelope: This card fits into an A7 (4.25×5.5-inch) envelope with “Celebrate your big awesome day” stamped in red on the back flap. Stamps is from Karen Burniston’s Photo Memories.
___________________________________
Thank you for experiencing this blog post.
I hope this inspires you and makes you smile.
Please like and leave comments 😊
___________________________________
Disclaimer: Karen Burniston products are provided free of charge by the manufacturer for review and use. All other items were personally purchased. Compensated affiliate links used where or when possible, meaning I will receive a small percentage commission from these manufacturers at no cost to you. This will allow me to add more content to my YouTube channel and help out a lot. Thank you.
Materials Used:
Dies
- Karen Burniston in cahoots with Riley and Company – Flutter Charms – 1196
- Karen Burniston in cahoots with Riley and Company – Flip Frame Pop-Up – 1134
- Karen Burniston in cahoots with Riley and Company – Purse Pop-Up – 1132
- Karen Burniston in cahoots with Riley and Company – Celebrate – 1067
Stamps
Papers
- Scapp’n Savvy – Card Challenge Paper Pack
- 8X12-inch Cardstock – Orange, Pale Blue and Green
- Journaling Cards with Red Polka Dots on Back
- Patterned Paper with Clouds and Colorful Pinwheels/ Rainbow stripes
- Red & Yellow Cardstock Scraps
- Shiny Black Junk Mail
- Clear Vellum
Ink
- Pigma – Mircon 005 Fine Tip Pen – Black
- Memento – Fade-Resistant Dye Ink – Rose Bud
Adhesives
Tools
- Die Cutting Machine
- Paper Trimmer
- Bone Folder
- Score Board
- Stamping Blocks used as paperweights
- Scissors
- Pencil
- Paper Masking Tape
- We R Memories – QuickStick
Miscellaneous
- Yellow Enamel Dots
- Three Pre-Cut & Inked Flowers from Flutter Charms