It’s the Karen Burniston design team challenge for May 2025 using the theme of fluffy. I chose to make a card celebrating the three-headed dog, Fluffy, from the book and movie Harry Potter and the Sorcerer’s Stone using the Heart Collage Pop-Up, Cat and Dog as well as the Paper People die sets.

Watch the process video to see how I made this card.
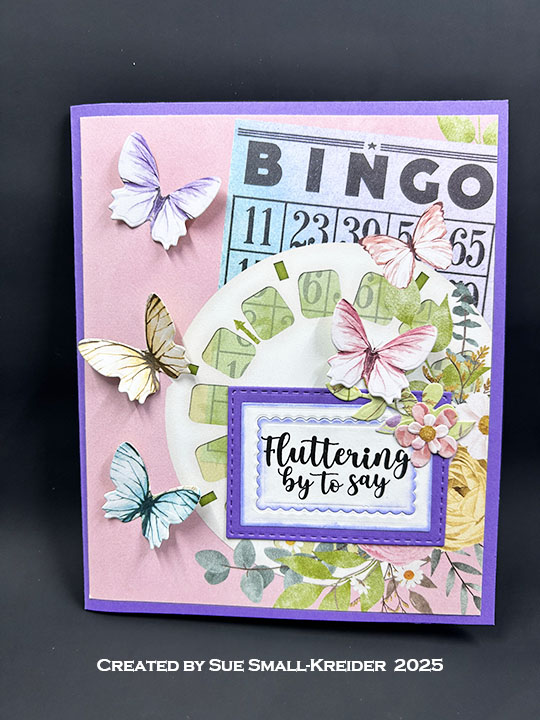
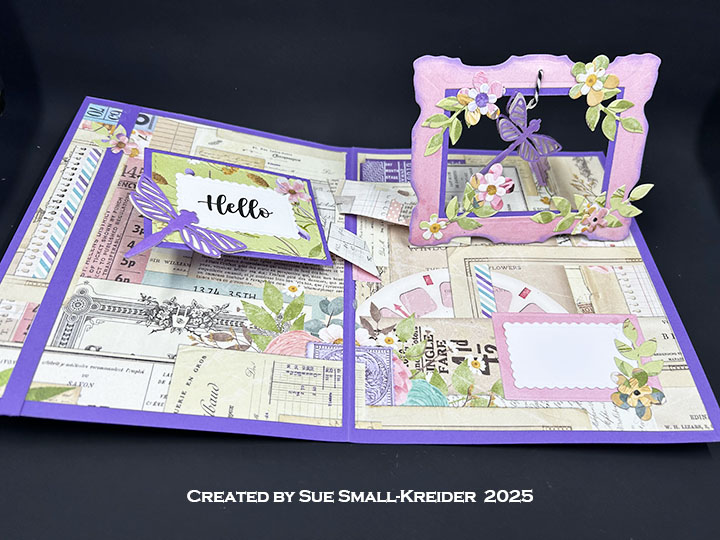
Cardbase: Start with a 8.5×5.5-inch piece of cardstock and fold in half to form a side-fold A2 (4.25×5.5-inch) card. Cover the four panels with decorative papers. (I used Ciao Bella’s Wizard Academy paper pad.)
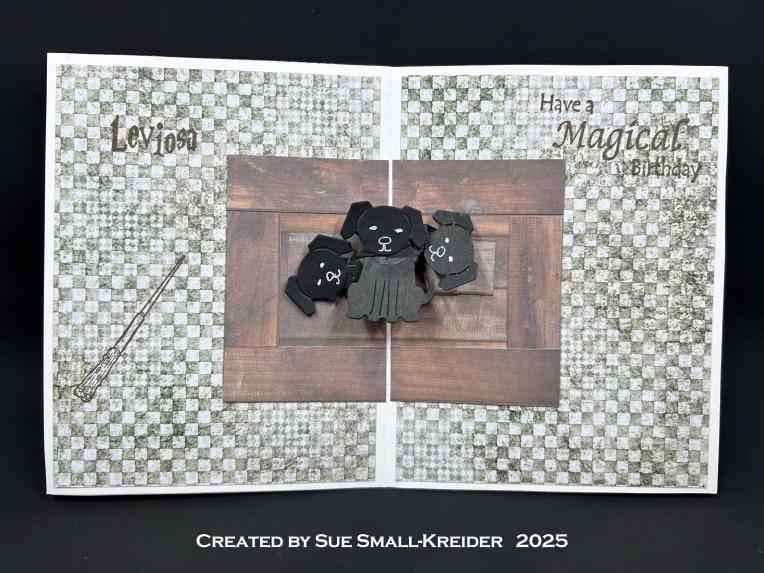
Fluffy Pop-Up: Watch the assembly video for the Heart Collage Pop-Up. Cut out one of the collage mechanism from black cardstock as well as three dogs using the Cat and Dog die set. Assemble as instructed in the video above. Use a white gel pen to add eyes, nose and mouth to the dog’s heads before attaching.


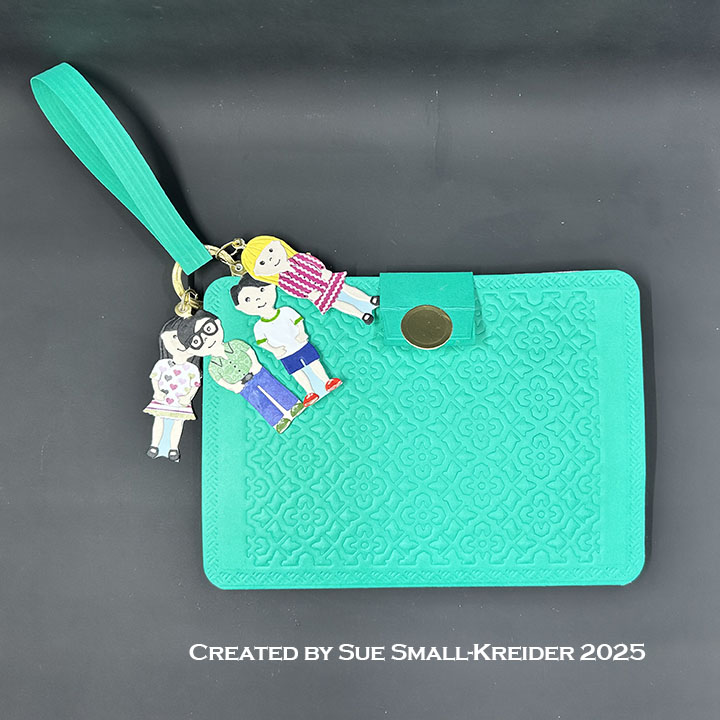
Ron, Harry & Hermione: Watch the video above to see how I transformed the Paper People into these well-known characters. Harry’s glasses come from the Tiny Accessories 1 die set. (My academic robe pattern is pictured above.)
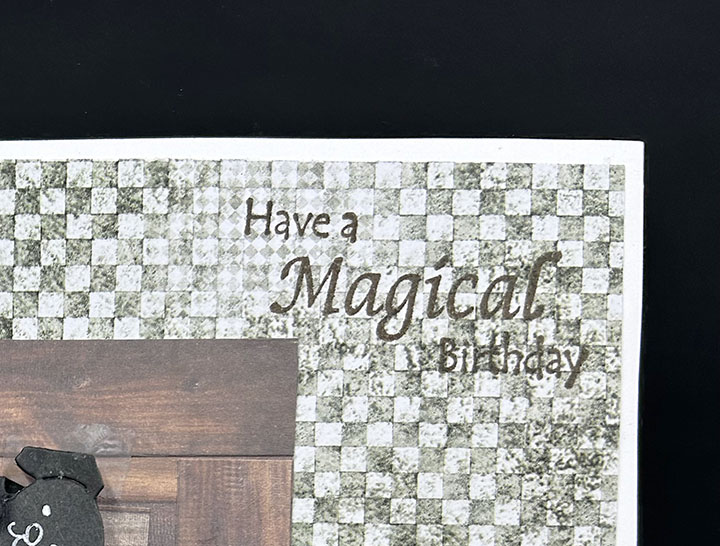


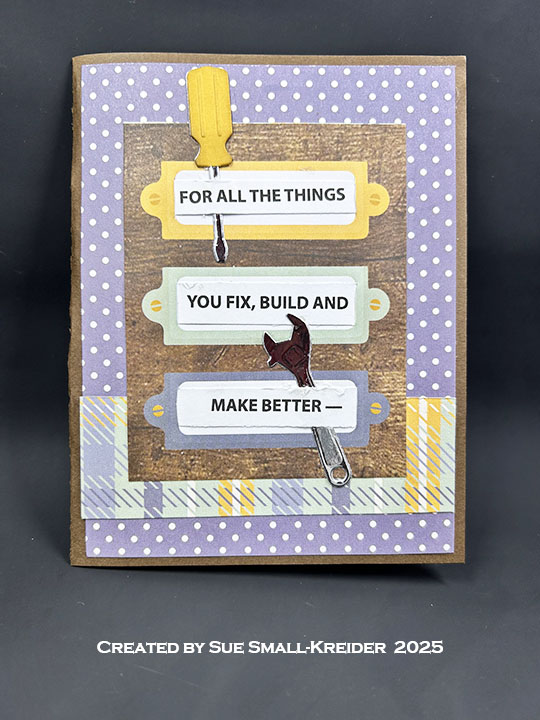
Sentiments: All the sentiments used on the card are stamped using brown ink and Crackerbox Stamps.

Envelope: The card fits into an A2 (4.25x 5.5-inches) size envelope stamped with a Crackerbox Stamps castle and an owl post stamp on the back in brown ink.
_________________________________________
Thank you for experiencing this blog post.
I hope this inspires you and makes you smile.
Please like and leave comments 😊
________________________________________
Disclaimer: Karen Burniston products are provided free of charge by the manufacturer for review and use. All other items were personally purchased. Compensated affiliate links used where or when possible, meaning I will receive a small percentage commission from these manufacturers at no cost to you. This will allow me to add more content to my YouTube channel and help out a lot. Thank you.
______________________________________
Materials Used:
Dies
• Karen Burniston in cahoots with Riley and Company – Paper People – 1299
• Karen Burniston in cahoots with Riley and Company – Heart Collage Pop-Up – 1193
• Karen Burniston in cahoots with Riley and Company – Tiny Accessories 1 – 1025
• Karen Burniston in cahoots with Riley and Company – Cat and Dog – 1024
Stamps
• Crackerbox Stamps – Rubber Stamps – Harry Potter Collection
Papers
• Bazzill – 8.5×11 Cardstock – Tiara -18-1002
• Ciao Bella – 8×8-inch Double-Sided Paper –Wizard Academy
• Concord & 9th – 8.5×11 Cardstock – Dove
• Craft Consortium -6×6-inch Double-Sided Paper – Wood textures
• Black, Blush, Browns, Orange and White Cardstock
• Fraser Papers for William House – A2 Envelope – Genesis Text Husk Smooth
Ink
• Memento – Fade Resistant Dye ink – Rich Cocoa
• Pigma – Mircon 005 Fine Tip Pen – Black
• Sakura – Gelly Roll Pen – Medium – White
• Sharpie – Permanent Marker – Ultra Fine Tip – Green, Red, Yellow
Adhesives
• Neutral PH Adhesive by LINECO
• Fine-Tip Glue Bottle
• Temporary runner dot tape
Tools
• Die Cutting Machine
• Paper Trimmer
• Bone Folder
• Score Board
• Stamping Platform
• LDRS – Stampendable Stamping Tool
• Stamping Blocks
• Scissors
• Pencil
• Paper Masking Tape
• We R Memories – QuickStick