This card was made for a Scapp’n Savvy Card Challenge for KB Bundlers April 2025 using Karen Burniston’s Arch Pop-Up, Fun Flowers, Rectangles and Labels – Crosshatch, Happy Birthday Shadow, Happy Birthday and Flowers and Bee die sets. I also used Karen Burniston’s Rainbow Greetings clear stamp set.

Watch the video for how the card was made.
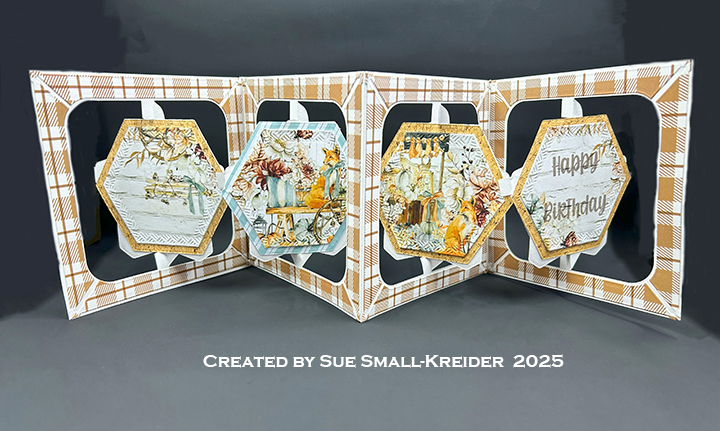
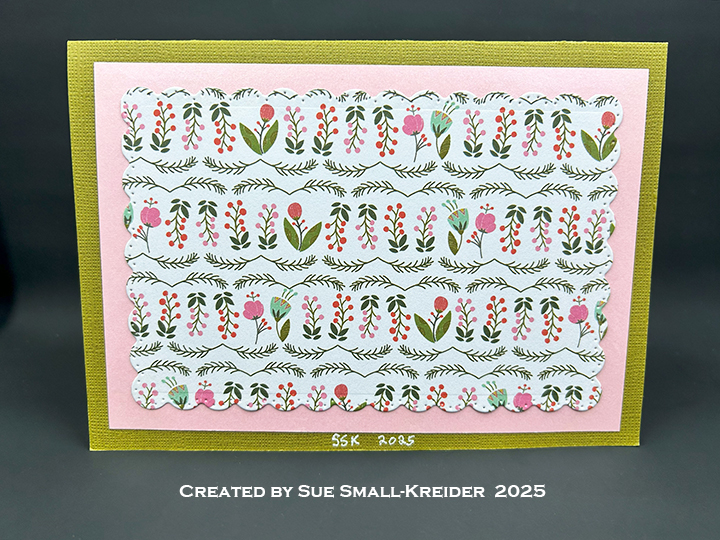
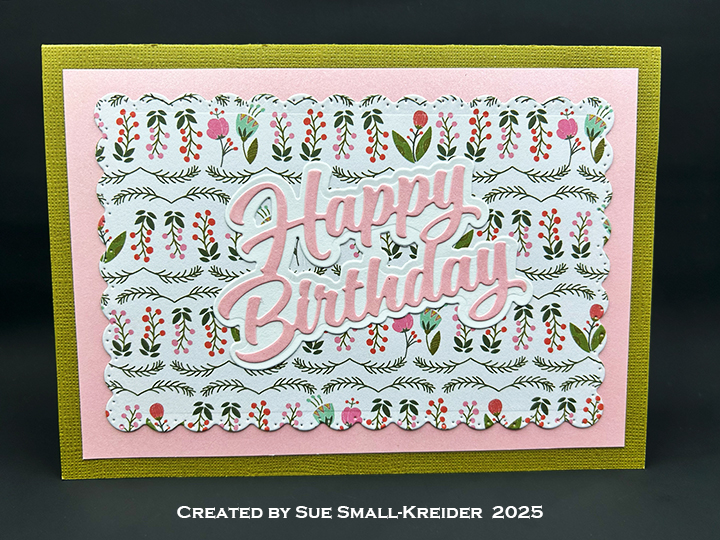
Cardbase: Cut a 10 x7-inch rectangle of olive green cardstock, score at 5-inches, fold in half and burnish with a bone folder. Cover inside with two 4.2×6.2-inch rectangles of patterned paper and the outside panels with two 4.5×6.5-inch rectangles of pink shimmer cardstock followed by the scalloped edged rectangles of patterned paper cut using the Rectangles and Labels – Crosshatch die set.
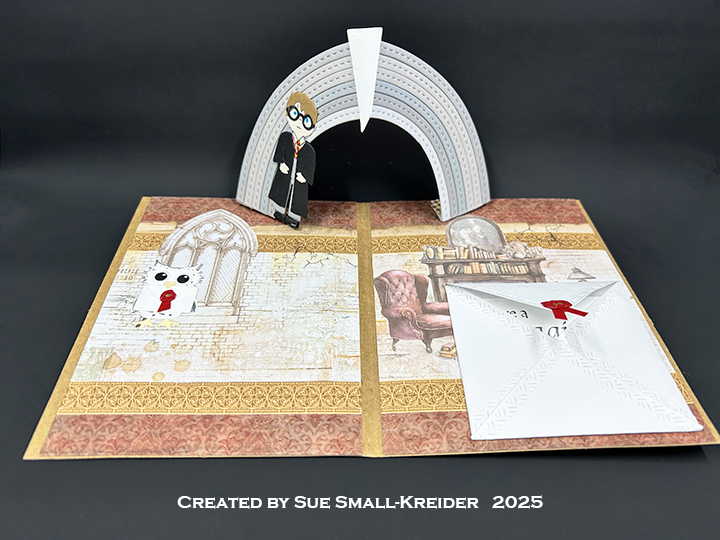
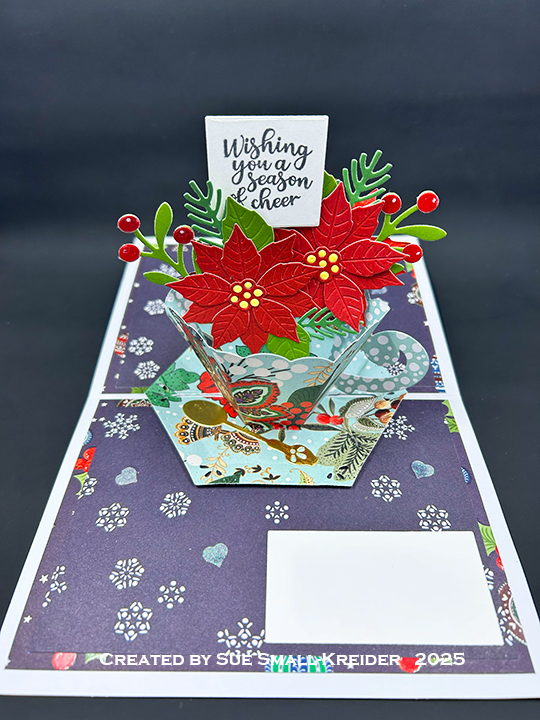
Arch Pop-Ups: Watch the assembly video for the Arch Pop-Up die located at the bottom of the linked page. Watch the video above for the modifications made to the arch for placing two arches in a 5×7-inch card. Decorate with Fun Flowers and Flowers and Bee die sets.

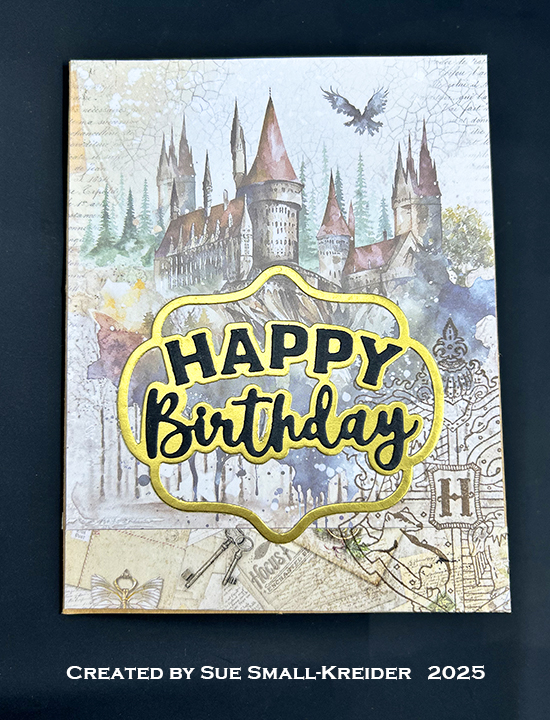
Sentiments: Using Happy Birthday Shadow and Happy Birthday dies, cut the shadow from white and the words from shimmer pink. Cut two of the crosshatch labels from white cardstock using the Rectangles and Labels – Crosshatch die set. Stamp one label with a sentiment from the Rainbow Greetings stamp set.
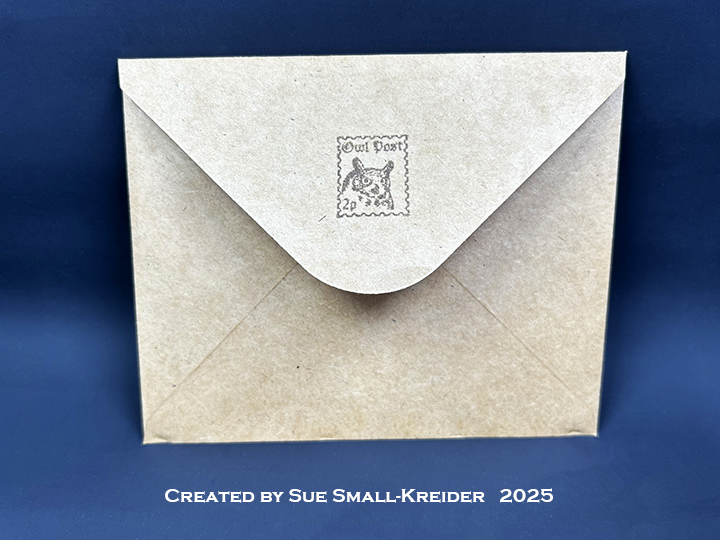
Envelope: This card fits into an A7 (4.25×5.5-inch) envelope with strips of the decorative paper on the back flap.

___________________________________
Thank you for experiencing this blog post.
I hope this inspires you and makes you smile.
Please subscribe to the email notices, like and leave comments 😊
___________________________________
Disclaimer: Karen Burniston products are provided free of charge by the manufacturer for review and use. All other items were personally purchased. Compensated affiliate links used where or when possible, meaning I will receive a small percentage commission from these manufacturers at no cost to you. This will allow me to add more content to my YouTube channel and help out a lot. Thank you.
Materials Used:
Dies
- Karen Burniston in cahoots with Riley and Company – Arch Pop-Up – 1308
- Karen Burniston in cahoots with Riley and Company – Fun Flowers – 1234
- Karen Burniston in cahoots with Riley and Company – Rectangles and Labels – Crosshatch – 1233
- Karen Burniston in cahoots with Riley and Company – Happy Birthday Shadow – 1179
- Karen Burniston in cahoots with Riley and Company – Happy Birthday – 1030
- Karen Burniston in cahoots with Riley and Company – Flowers and Bee – 1026
Stamps
Papers
- Scapp’n Savvy – Card Challenge Paper Pack
- Reminisce – 12×12 Double-Sided Cardstock – Strong Mom & Best Mom
- Ranger – 12×12 Textured Cardstock – Tim Holtz Distress Collection – Olive
- Shimmer Paper – Pink
- White Cardstock
- A7 Envelope – Cream
Ink
Adhesives
Tools
- Die Cutting Machine
- Paper Trimmer
- Bone Folder
- Score Board
- Stamping Blocks used as paperweights
- Scissors
- Stamping Platform
- Paper Masking Tape
- We R Memories – QuickStick
Miscellaneous
- Nuvo – Glimmer Paste – Moonstone