Kindness Personified – A Thank You Card

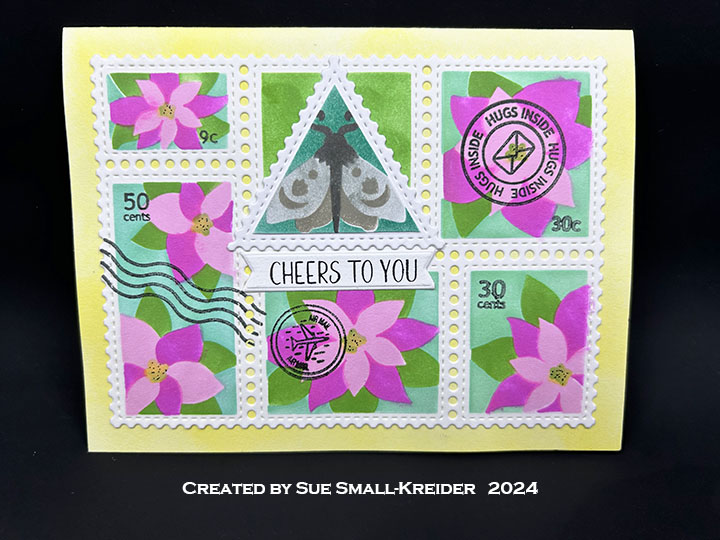
This card was made using stamps and dies from the February 2025 Scrapbook and Cards With Love event. I designed this card before the event as a thank you card.

Cardbase:  Cut a 8.5×5.5-inch rectangle from white cardstock. fold to make a side-fold A2 (4.25×5.5-inch) card base. Cut a 4.25×5.5-inch rectangle of white cardstock and emboss it using the brick stencil.

(Use the embossing sandwich for a die as recommended for your die cutting machine.) Then glue the brick panel to the front of card.

Coffee Cup:  Stamping the coffee cup on a lightweight white cardstock in red ink. Stamp the dots on the lower half of the cup also in red. Using a blending brush and stencils, color in the handle and shade the top, sides and bottom of the cup leaving most of the center white. Die cut out the cup. Adhere to card front using thin foam squares (or one layer of foam tape.)

Flowers:  Stamp the floral bouquet onto lightweight white cardstock and color using the stencil set and sponge daubers to color with Distress Inks. Die cut out the bouquet. Adhere to card front using thick foam dots (or two layers of foam tape.) Add highlights to the bouquet with a glitter gloss pen.

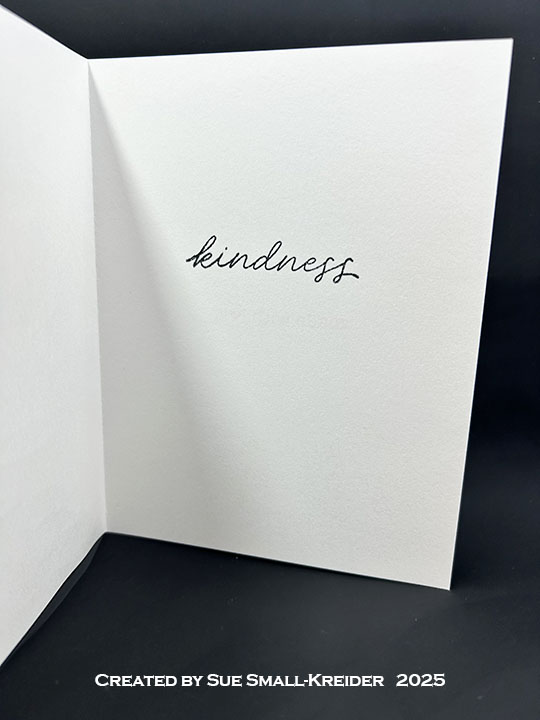
Sentiments:  Die cut the “You are” from dark purple and its shadow from white. Glue together.  Stamp on the inside “kindness” in black and “made with love” on the card back in red.

Envelope:  The card fits into an A2 (4.24×5.5-inch) envelope with flowers stamped on the back flap.

___________________________________

Thank you for experiencing this blog post.

I hope this inspires you and makes you smile.

Please like and leave comments 😊

___________________________________

Disclaimer: Karen Burniston products are provided free of charge by the manufacturer for review and use. All other items were personally purchased. Compensated affiliate links used where or when possible, meaning I will receive a small percentage commission from these manufacturers at no cost to you. This will allow me to add more content to my YouTube channel and help out a lot. Thank you.

Materials Used:

Dies

  • Scrapbook and Cards Today’s With Love Feb. 2025 workshop kit – Dies

Stamps

  • Scrapbook and Cards Today’s With Love Feb. 2025 workshop kit – Clear Stamps

Stencil

  • Scrapbook and Cards Today’s With Love Feb. 2025 workshop kit – Stencils

Papers

  • Recollections – 8.5×11 65 lb. Cardstock – White
  • Purple Cardstock
  • Fraser Papers for William House – A2 Envelope – Genesis Text Milkweed Smooth

Ink

  • Memento – Fade Resistant Dye ink – Rose Bud, Tuxedo Black
  • Ranger – Tim Holtz – Distress Ink- Abandon Coral, Fossilized Amber, Mowed Lawn, Rustic Wilderness, Saltwater Taffy, and Seedless Preserves
  • Pigma – Mircon 005 Fine Tip Pen – Black
  • Nuvo – Aqua Shimmer Brush Marker – Glitter Gloss

Adhesives

Tools

  • Die Cutting Machine
  • Paper Trimmer
  • Stamping Platform
  • LDRS – Stampendable Stamping Tool
  • Stamping Blocks
  • Scissors
  • Craft Mat
  • Sponge Daubers
  • Paper Masking Tape
  • Blending Brush

A Jungle Postage Stamp Thank You Card

This card was made for Craft Roulette #240 whose parameters included a card for a helper, cereal box colors, jungle element, and a paper sack.

I choose to make a thank you card with a paper sack for an itty-bitty gift, stenciling tropical flowers and a large moth that you might see in a jungle. (Please note that after I completed the process video, I decided to add some cancellation stamps to the front of the card. So they are not mentioned in the video, but they are Waffle Flower stamps.)

Watch the process video to see how I made this card.

Cardbase:  Cut a 5.5 x 8.5-inch piece of white cardstock and fold in half to form a 4.25×5.5 top-fold A2 size card.

Sentiments:  The front sentiment “Cheers to you” is from a BetterPress plate and die set while the inside foiled “Thank You” is a Spellbinders Glimmer plate die cut with a Waffle Flower Postage Collage rectangle die. The “Itty-bitty gift stamped on the paper sack is from the Craft Roulette Stamp set.

Envelope:  The card fits into an A2 (4.25x 5.5-inches) size envelope with an extra moth stamp on the back flap.

___________________________________

Thank you for experiencing this blog post.

I hope this inspires you and makes you smile.

Please like and leave comments 😊

___________________________________

Disclaimer: Karen Burniston products are provided free of charge by the manufacturer for review and use. All other items were personally purchased. Compensated affiliate links used where or when possible, meaning I will receive a small percentage commission from these manufacturers at no cost to you. This will allow me to add more content to my YouTube channel and help out a lot. Thank you.

Materials Used:

Dies

  • Spellbinders – Glimmer Plate – Everyday Sentiments – GOM-FEB19
  • Spellbinders – BetterPress Plate – Cheers To You – BP-162
  • Waffle Flower – Steel Craft Die – Postage Collage Die
  • Waffle Flower – Steel Craft Die – Postage Collage Moth Die

Stamps

  • Craft Roulette – Clear Stamps – Funn Sentiments #01
  • Waffle Flower – Clear Stamps – Postage Collage

Stencil

  • Waffle Flower – Plastic Stencil – Postage Collage Coloring Stencil
  • Waffle Flower – Plastic Stencil – Postage Collage Moth Stencil
  • Waffle Flower – Plastic Stencil – Postage Collage Poinsettia Stencil

Papers

  • White Cardstock
  • Fraser Papers for William House – A2 Envelope – Genesis Text Milkweed Smooth

Ink

  • Simon Says Stamp – Premium Dye Ink – Mint
  • Simon Says Stamp – Pawsitivity Saturated Ink – Aegean, Bubblegum, Fairway, Lemonade, Sweets
  • Stampin’ Up – Classic Ink Pad – Basic Grey, Gray Granite, Smoky Slate
  • Pigma – Mircon 01 Fine Tip Pen – Black

Adhesives

Tools

  • Gel Plate
  • Die Cutting Machine
  • Spellbinders – BetterPress Letter Press System
  • Spellbinders – Glimmer Hot Foil System
  • Paper Trimmer
  • Bone Folder
  • Stamping Blocks
  • Scissors
  • Craft Mat
  • Paper Masking Tape
  • Blending Brush
  • Detail Blending Brushes (Altenew & Kat Scrappiness)

Just Peachy

It is almost peach season where I live and there will be pop-up fruit stands on the side of the road with Georgia peaches for sale by the bushel.  To honor this up-coming season, I’ve made a peachy card using stamps and stencils by The Greetery from 2020.

If you have not used layered stencils before I highly recommend watching the demo video for the stencils and stamp set. There is a paper guide included in the set, but I would have missed learning about the etched markings on the stencils that helps to line-up the various layers.

I used three colors of ink to get the rosy glow on the peaches. Using a large blending brush, I inked blend first a layer of the Citrine yellow followed by a light brushing of Sunbeam orange and then for highlights, I brushed lightly Grapefruit Grove pink. I stamped the shading on with the Grapefruit Grove ink.

For the leaves, I used a base ink blending with a finger dauber of Pear Pizzazz light green and stamped the Emerald Green leaf highlights. The peach stems are stamped with a dark brown ink cube that was in my stash. I used the same brown ink to stamp the sentiments using the Just Peachy Sentiment stamps.

The stencils are designed for a 4 ¼ inch x 5 ½ inch card. I stenciled onto a scrape piece of white cardstock and trimmed down to 4 inches by 5 ½ inches, and then backed it with a 4 ½ inch by 6-inch green mat. These dimensions work well with the 5-inch x 6 ½ inch card base I used.

For the inside and back of the card, I stamped two tiny peaches which I fussy cut and glued in place. The sentiment words were fussy cut with the phrase “Hope you’re felling” edged with a green marker. Foam squares were used to adhere the words and add dimension to the card. A piece of gingham ribbon was glued to the back of the green mat before the entire card front was glued to the cardbase.

To hint at the envelope’s contents, I stamped in a small peach and a peach slice on the back flap and a tiny peach on the front of the envelope.

Thank you for reading this blog post. Please like and leave comments 😊

Materials Used:

Stamps

Inks

  • Crayola Signature Blending Markers

Papers

  • White and green card tock
  • A7 white card base and white envelope

Miscellaneous