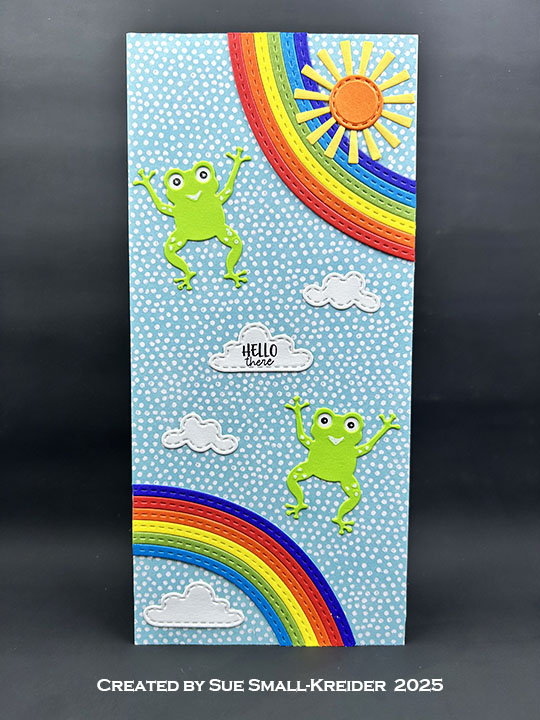
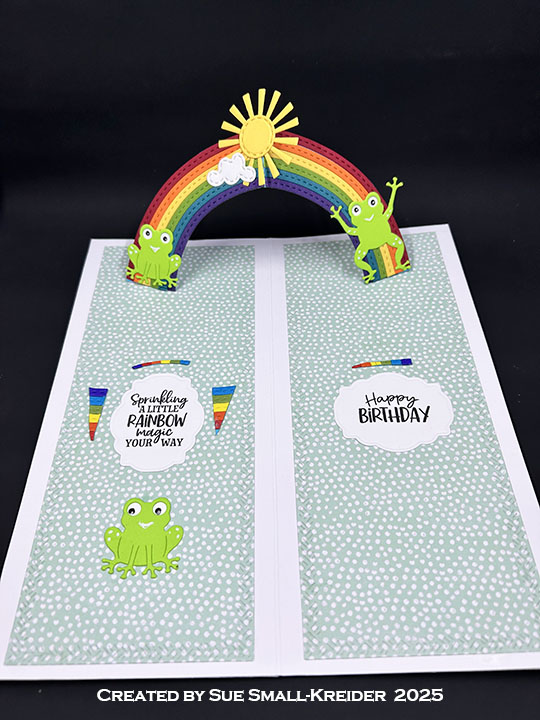
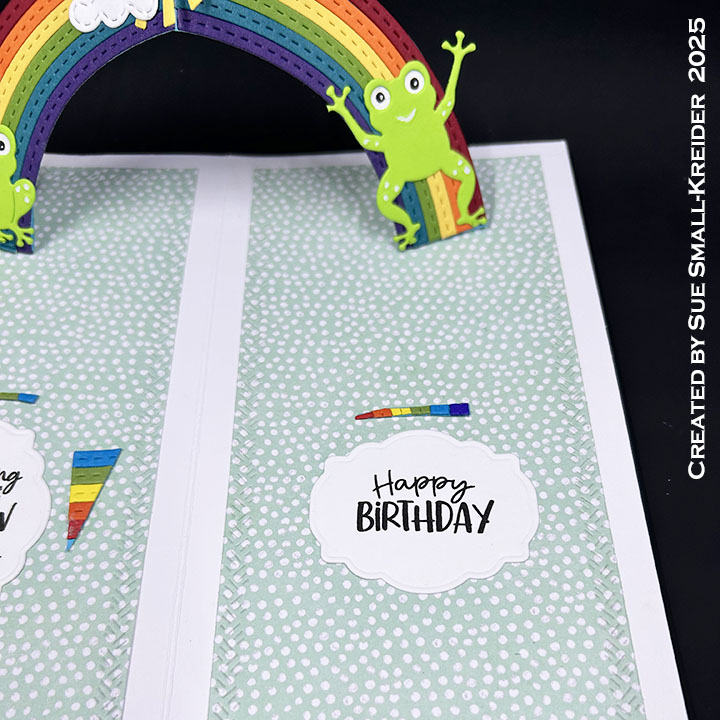
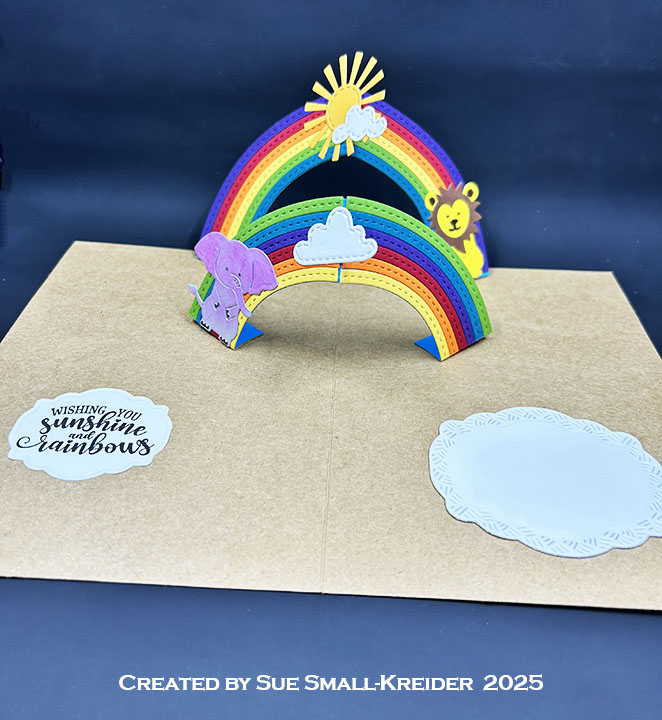
It’s the Karen Burniston design team challenge for July 2025 using the theme of Rainbow. I choose to make a sympathy card for a pet using the new Rainbow Add-Ons and the previously released Flip Frame Pop-Up, Cat and Dog, and Rectangles and Labels – Crosshatch die sets along with the Rainbow Greetings stamp set.

Watch the process video to see how I made this card.


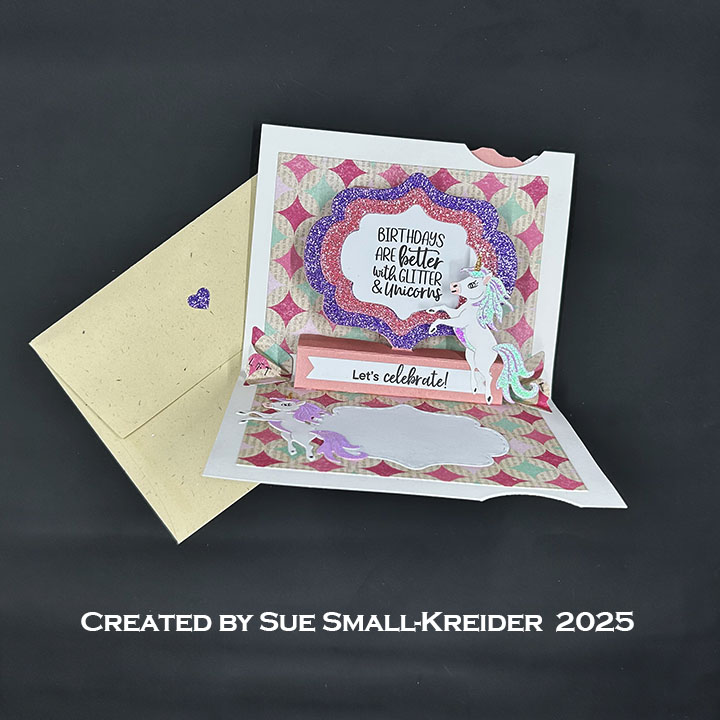
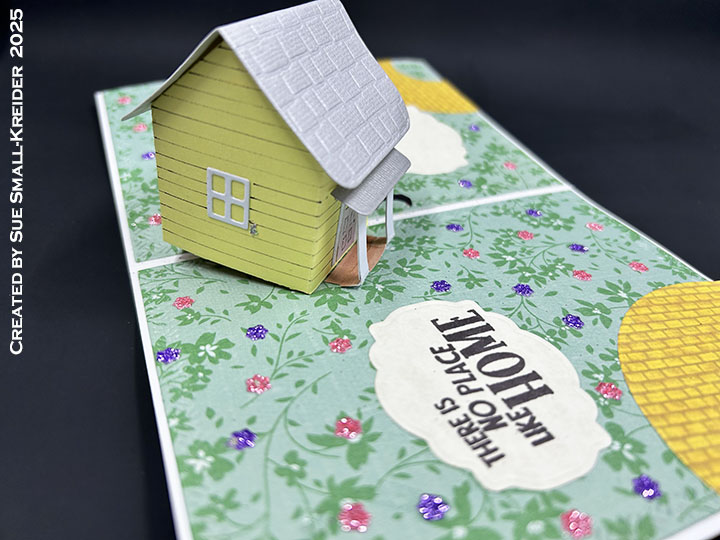
Cardbase: I started with a purchased side-fold 4×6-inch A6 cardbase. Cover the four panels with decorative papers cut using the scalloped edge die in the Rectangles and Labels – Crosshatch set. Use the large frame die in the Flip Frame Pop-Up set to cut the card front frame. The dog comes from the Cat and Dog die set. I inked the white dog slightly with gray ink and used a fine tipped black marker to stencil in his face and paw areas.

Rainbow Flip Pop-Up: Watch the assembly videos for the Flip Frame Pop-Up and Rainbow Add-Ons located at the bottom of each linked die set.

Sentiments: All the sentiments used on the card come from the Rainbow Greetings stamp set and are stamped in brown ink. They are cut out using the two smallest label dies in the Rectangles and Labels – Crosshatch set.
Envelope: The card fits into an A6 (4×6-inches) size envelope.
___________________________________
Thank you for experiencing this blog post.
I hope this inspires you and makes you smile.
Please like and leave comments 😊
___________________________________
Disclaimer: Karen Burniston products are provided free of charge by the manufacturer for review and use. All other items were personally purchased. Compensated affiliate links used where or when possible, meaning I will receive a small percentage commission from these manufacturers at no cost to you. This will allow me to add more content to my YouTube channel and help out a lot. Thank you.
Materials Used:
Dies
- Karen Burniston in cahoots with Riley and Company – Rainbow Add-Ons – 1309
- Karen Burniston in cahoots with Riley and Company – Rectangles and Labels – Crosshatch – 1233
- Karen Burniston in cahoots with Riley and Company – Flip Frame Pop-Up – 1134
- Karen Burniston in cahoots with Riley and Company – Cat and Dog – 1024
Stamps
Papers
- Darice – 8.5×11-inch Single-Sided Paper – Green Prints
- Concord & 9th – 8.5×11-inch Solid 80 lb Cardstock – Poppy, Marmalade, Buttercup, Clover, Peacock, Eggplant, Spout, Oceanside
- Green and White Cardstock
- Park Lane Paperie – A6 Cardbase & Envelope – Cream
Ink
- Memento – Fade Resistant Dye ink – Espresso Truffle
- Pigma – Mircon 01 Fine Tip Pen – Black
- Ranger – Tim Holtz Distress Ink – Lost Shadow
Adhesives
Tools
- Die Cutting Machine
- Paper Trimmer
- Bone Folder
- Score Board
- Stamping Platform
- LDRS – Stampendable Stamping Tool
- Stamping Blocks
- Scissors
- Paper Masking Tape
Miscellaneous
- Green Gem
- Green Satin Bow