
It’s Sneak Peek Week for Karen Burniston’s June 2023 Release.
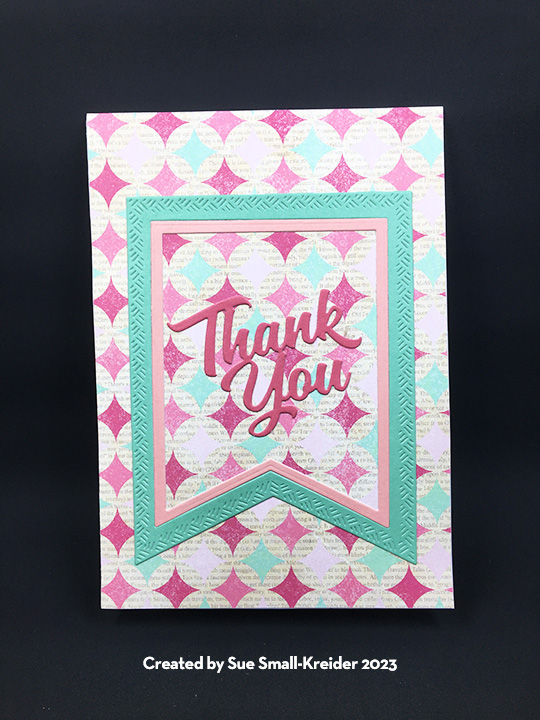
Sometimes you need a little help. Saying “Thank You” for a kindness given is what this card is all about. It uses Karen Burniston’s new House of Cards Pop-Up die set along with some previously released dies including: Banners – Crosshatch, Thank You, Princess and Mermaid, and last, but not least Knight and Dragon.

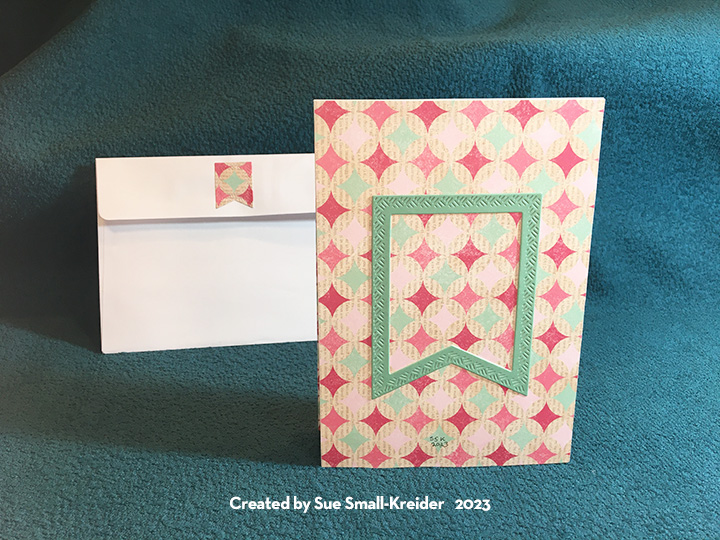
Cardbase: I started with a purchased 5×7 cardbase and cut it on its scored fold-line to make two panels that I reattached with paper tape at the short edge sides to make a top fold card. I used tape on both sides of the cardbase. Next, I covered all four panels with decorative papers.

Banners: Three colors of solid cardstock came in the paper collection, and I cut a nested set of banner shapes using the five largest dies in the Banners – Crosshatch set from each color. After playing with mixing and matching the various color combinations, I settled on my choices and glued the frames onto the cardbase allowing some of the patterned papers to show through.


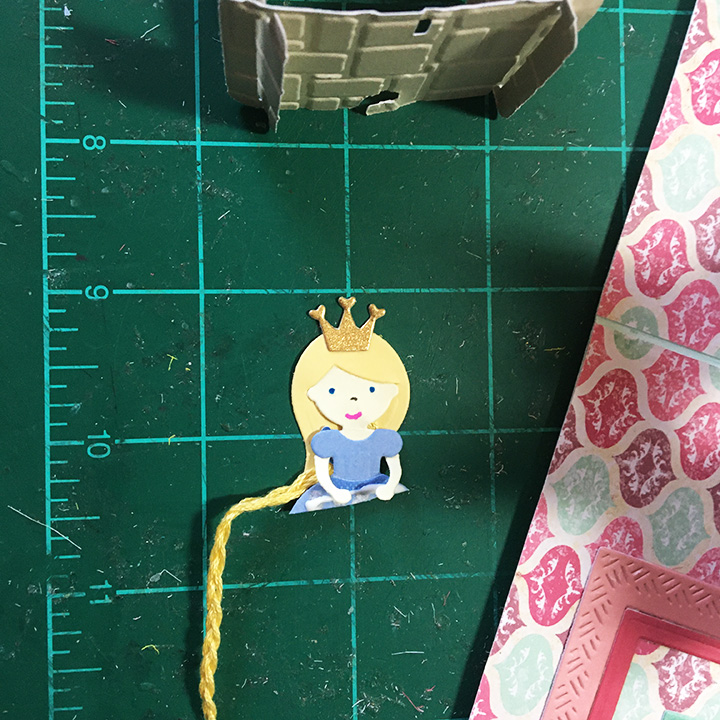
Princess and Knight: The princess, I had made some time ago, from scraps using the Princess and Mermaid die set. I braided three strands of yellow embroidery floss that matched the princess’ hair color and glued it between her hair and the back of her dress. The knight was cut from two types of silver foil cardstock and some blue scraps using the Knight and Dragon die set. (You can watch the assembly video for these dies by clicking on their dies and looking for video on the link page towards the bottom of the website page.)

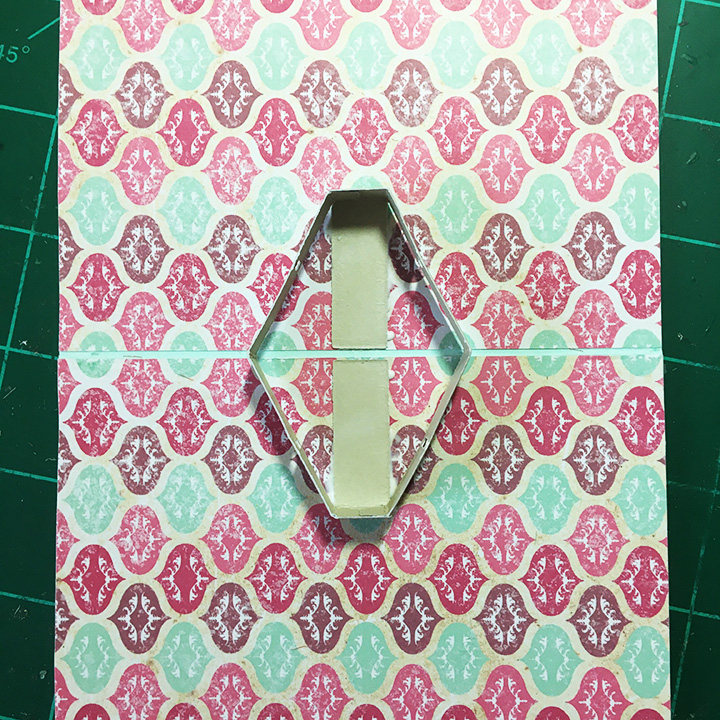
Tower: For the four-story tower, I cut each of the card panel dies twice from heavy gray cardstock using the House of Cards Pop-Up die set. Next, I embossed each card using a cobble stone embossing folder. I cut the two base pieces and glued the small tabs to the other piece to for a six-sided polygon. The long tabs I glued inside the card along the fold. (This base is much like Karen Burniston’s palm tree or Christmas tree bases and the attachment of what goes on top of them involves tabs poked through holes. For an assembly video check the bottom of the page linked.)
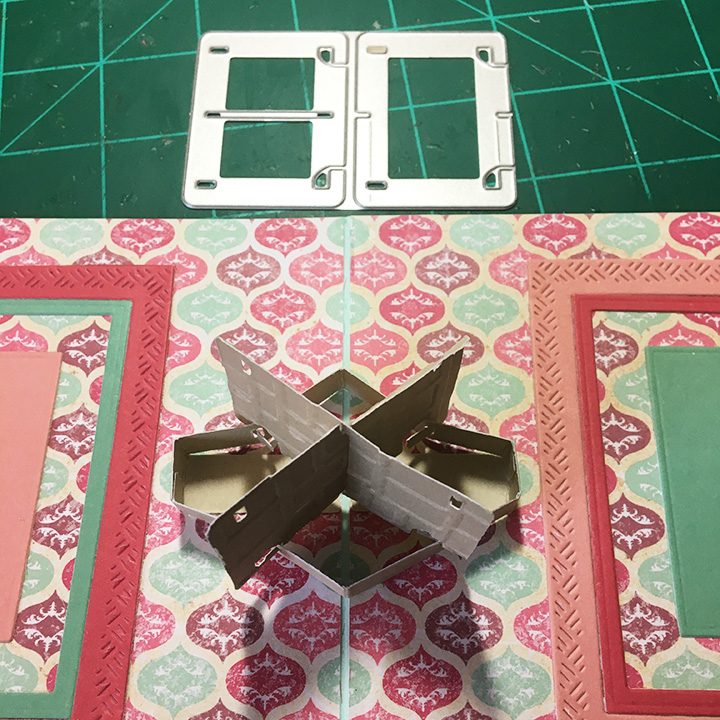
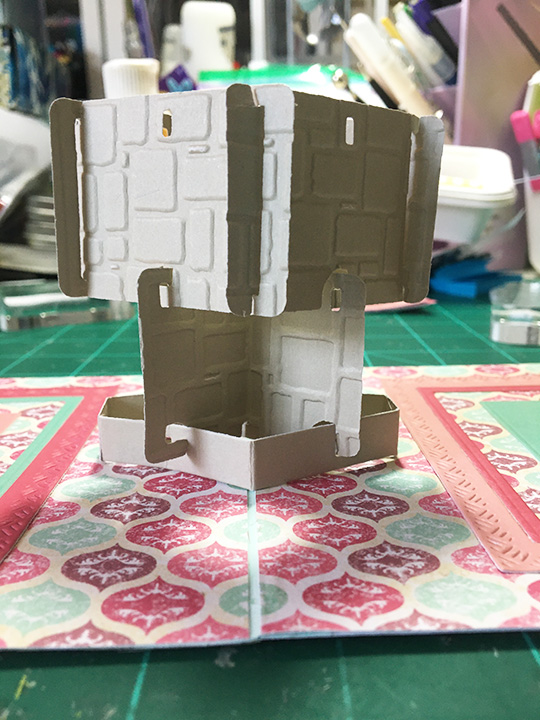
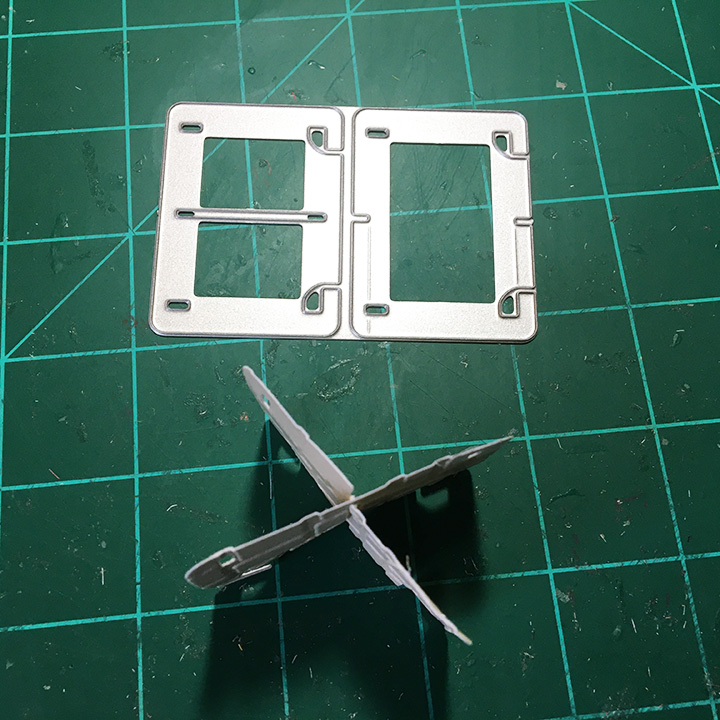

To build the tower assemble two “Xs” and two squares. Attach one “X” to the base, then attach a square followed by an “X.” Loosely attach the last square and place the princess in it with temporary tape. Close card and if the princess sticks-out of the card, you will need to cut a window in one panel of the top square. (I cut a lip/tab that folded over and was glued to give strength to the card.) You will have to trim off the lower half of the princess to fit in the window and the card. Glue her onto the window lip making sure her gown does not cover the notch used to attach the square to the tower. Make sure her long braid does not hamper the opening and closing of the tower.

Glue the knight to the small side of the tower base making sure he is not attached to any of the playing card panels. Test opening and closing the card to look for catch-points before the glue dries.

Sentiments: “Thank You” is die-cut using a die set of the same name. The inside sentiment “For coming to my aid” was computer generated, printed on thin printer paper and then die cut with a banner die. A blank banner was also cut from printer paper for a personal message.

Envelope: The smallest banner in the die set was used to cut the printed paper banner glued to the back envelope flap. It hints at the heraldry to come inside.
Thank you for reading this blog post. I hope this inspires you and makes you smile. Please like and leave comments 😊
Materials Used:
Dies
- Karen Burniston in cahoots with Riley and Company – House of Cards Pop-Up – 1242
- Karen Burniston in cahoots with Riley and Company – Banners – Crosshatch – 1224
- Karen Burniston in cahoots with Riley and Company – Thank You – 1066
- Karen Burniston in cahoots with Riley and Company – Princess and Mermaid – 1036
- Karen Burniston in cahoots with Riley and Company – Knight and Dragon – 1035
Embossing Folders
- Darice – A2 Size – Cobble Stones
Papers
- Craftwork Cards – 8×8 Solid Colors and Printed Papers – Flying High Collection
- Colored Cardstock Scraps
- Silver Foil Cardstock
- Printer Paper
- A7 Cardbase and Envelope – White
- Pink and Blue Fine Tipped Markers
- Pigma – Mircon 01 Fine Tip Pen – Black
- Computer Printer
Adhesives
- Neutral PH Adhesive by LINECO
- Fine-Tip Glue Bottle
- Paper Tape
- Clear Removable Tape
Tools
- Die Cutting Machine
- Scissors
- Stamping Blocks or Other Flat Weights
- Computer
Miscellaneous
- Yellow Embroidery Floss


