It’s Sneak Peek week for Karen Burniston’s February 2023 release!

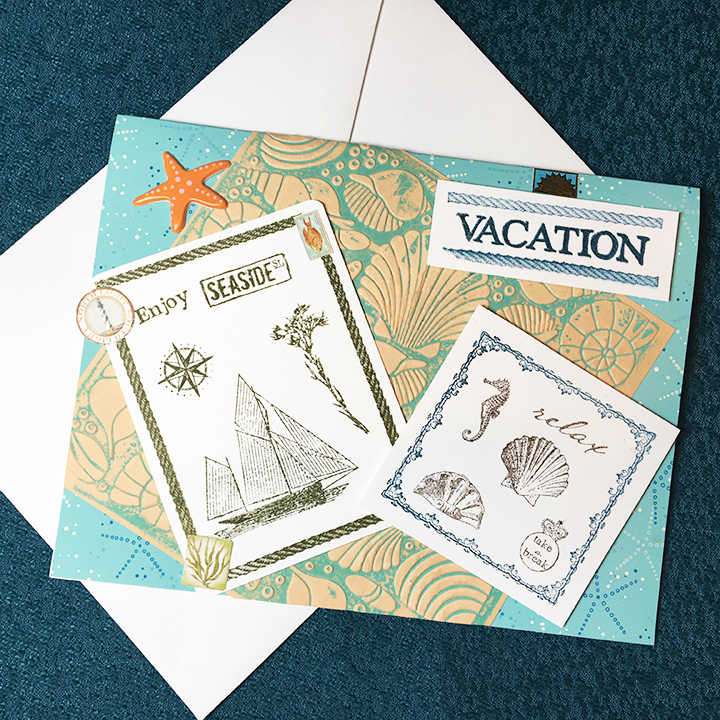
Needing a card for a couple going on an oceanic ecological tour, I decided to create a luggage tag card with an underwater scene.

The card uses a variety of Karen Burniston dies including ones from her February 2023 release of beach themed dies.


For the card base I had some faux leather mermaid scales 8-inch wide ribbon that I die-cut two large tags from using the tag book pop-up die set. I next die-cut from some underwater background papers two more of the large tags. Having watched the assembly video for the tag book, I knew I needed to die-cut the hinge piece and attach it to the cardstock tags before I adhered them to the faux leather outer tags. (Because I wasn’t sure if the faux leather would adhere well with glue, I also used doubled-sided tape to attach the paper and fabric backed tag pieces.)


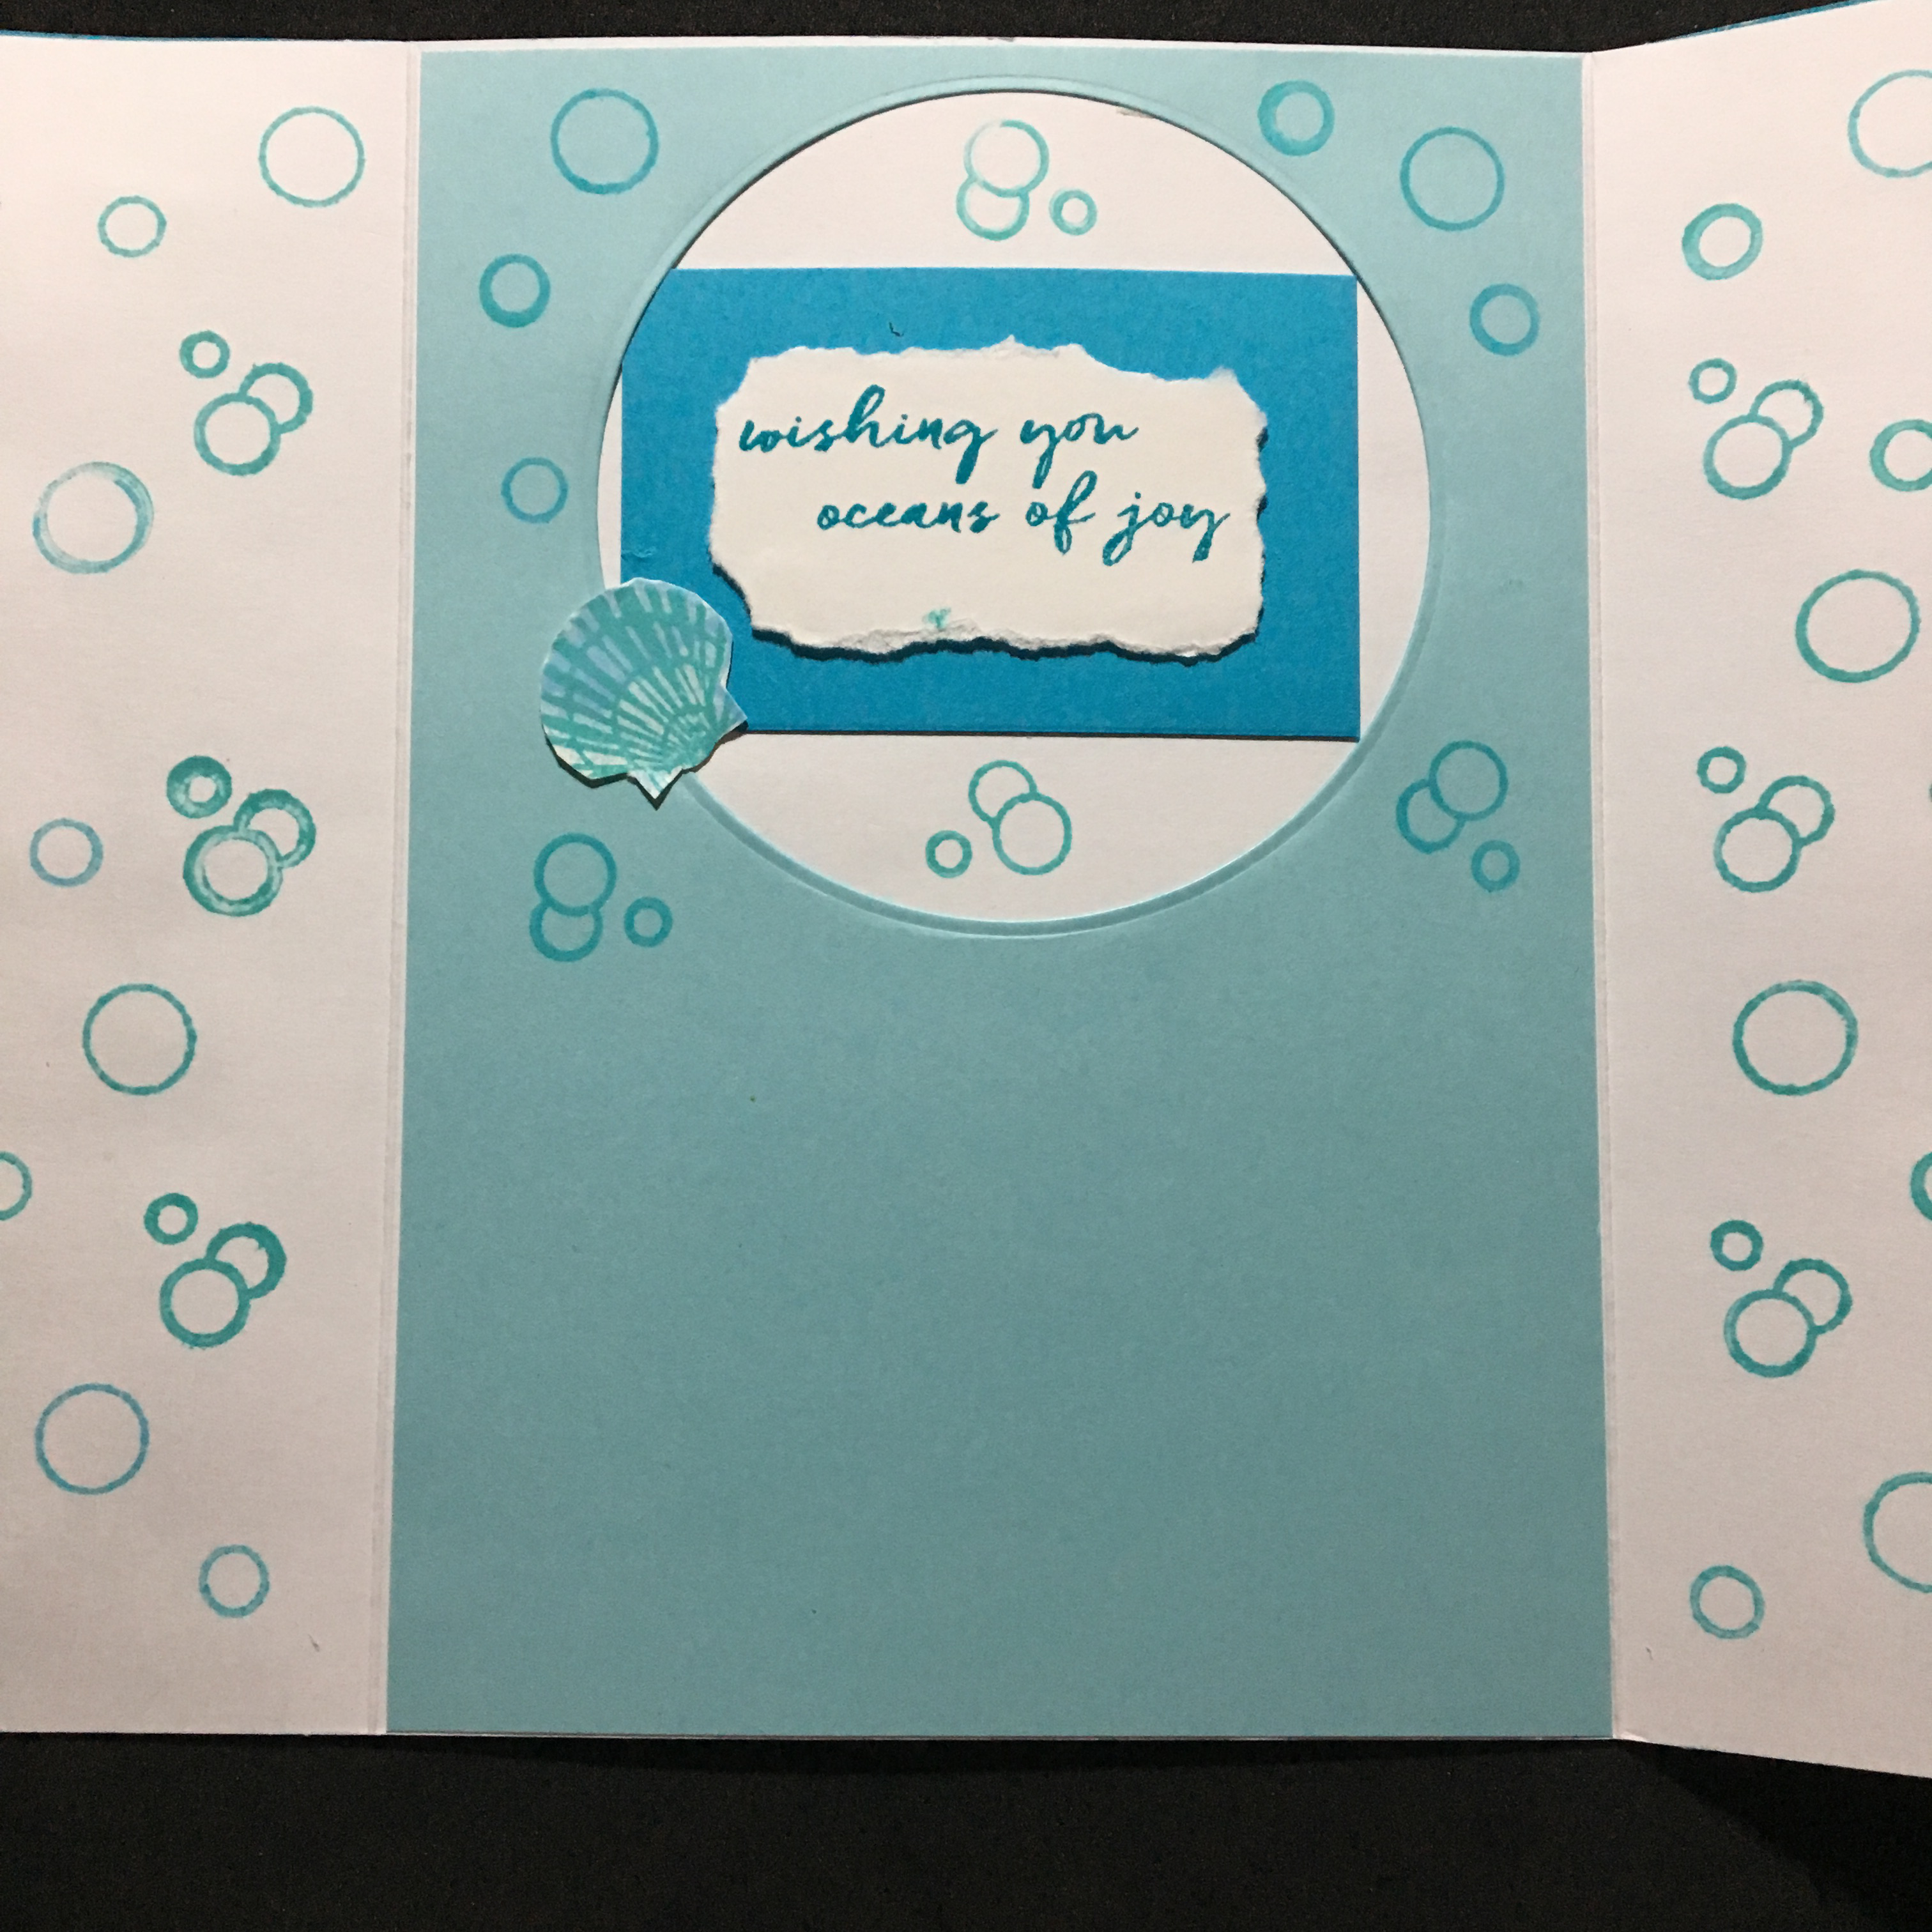
Wanting the jellyfish from the new sea charms set to look as if they were floating in the water, I cut the inside pivot mechanism from some medium weight clear plastic packaging. Because of its thickness the dies embossed the plastic but did not cut through the plastic. I used my surgical scissors to cut the mechanism out. Because of the see-thru quality of the plastic, I had to used double-sided tape to attach the inside panels together. To adhere the plastic to the paper lined inside of the card base, I used glue dots which look a little like air bubbles. (I adhered only one side of the mechanism until I was finished decorating the background with creatures and shells. Once satisfied that the background was complete, I adhered the remaining side of the mechanism.)

To decorate the card, I used the sea turtle from the sea animals set, the jellyfish, clam shell, crab and seahorse from the sea charms set, and the anchor, chain and “bon voyage” from the cruise charms set. The chain and jellyfish help hide the tabs the connect the pivot mechanism. (Because I used double-sided tape to adhere the decorations to the plastic, I had to push and prod the adhesives to hide behind the shapes, but some still sticks out. To made those bits of adhesive not interfere with the mechanism, I brushed anti-static powder over the areas to absorb the stickiness.)

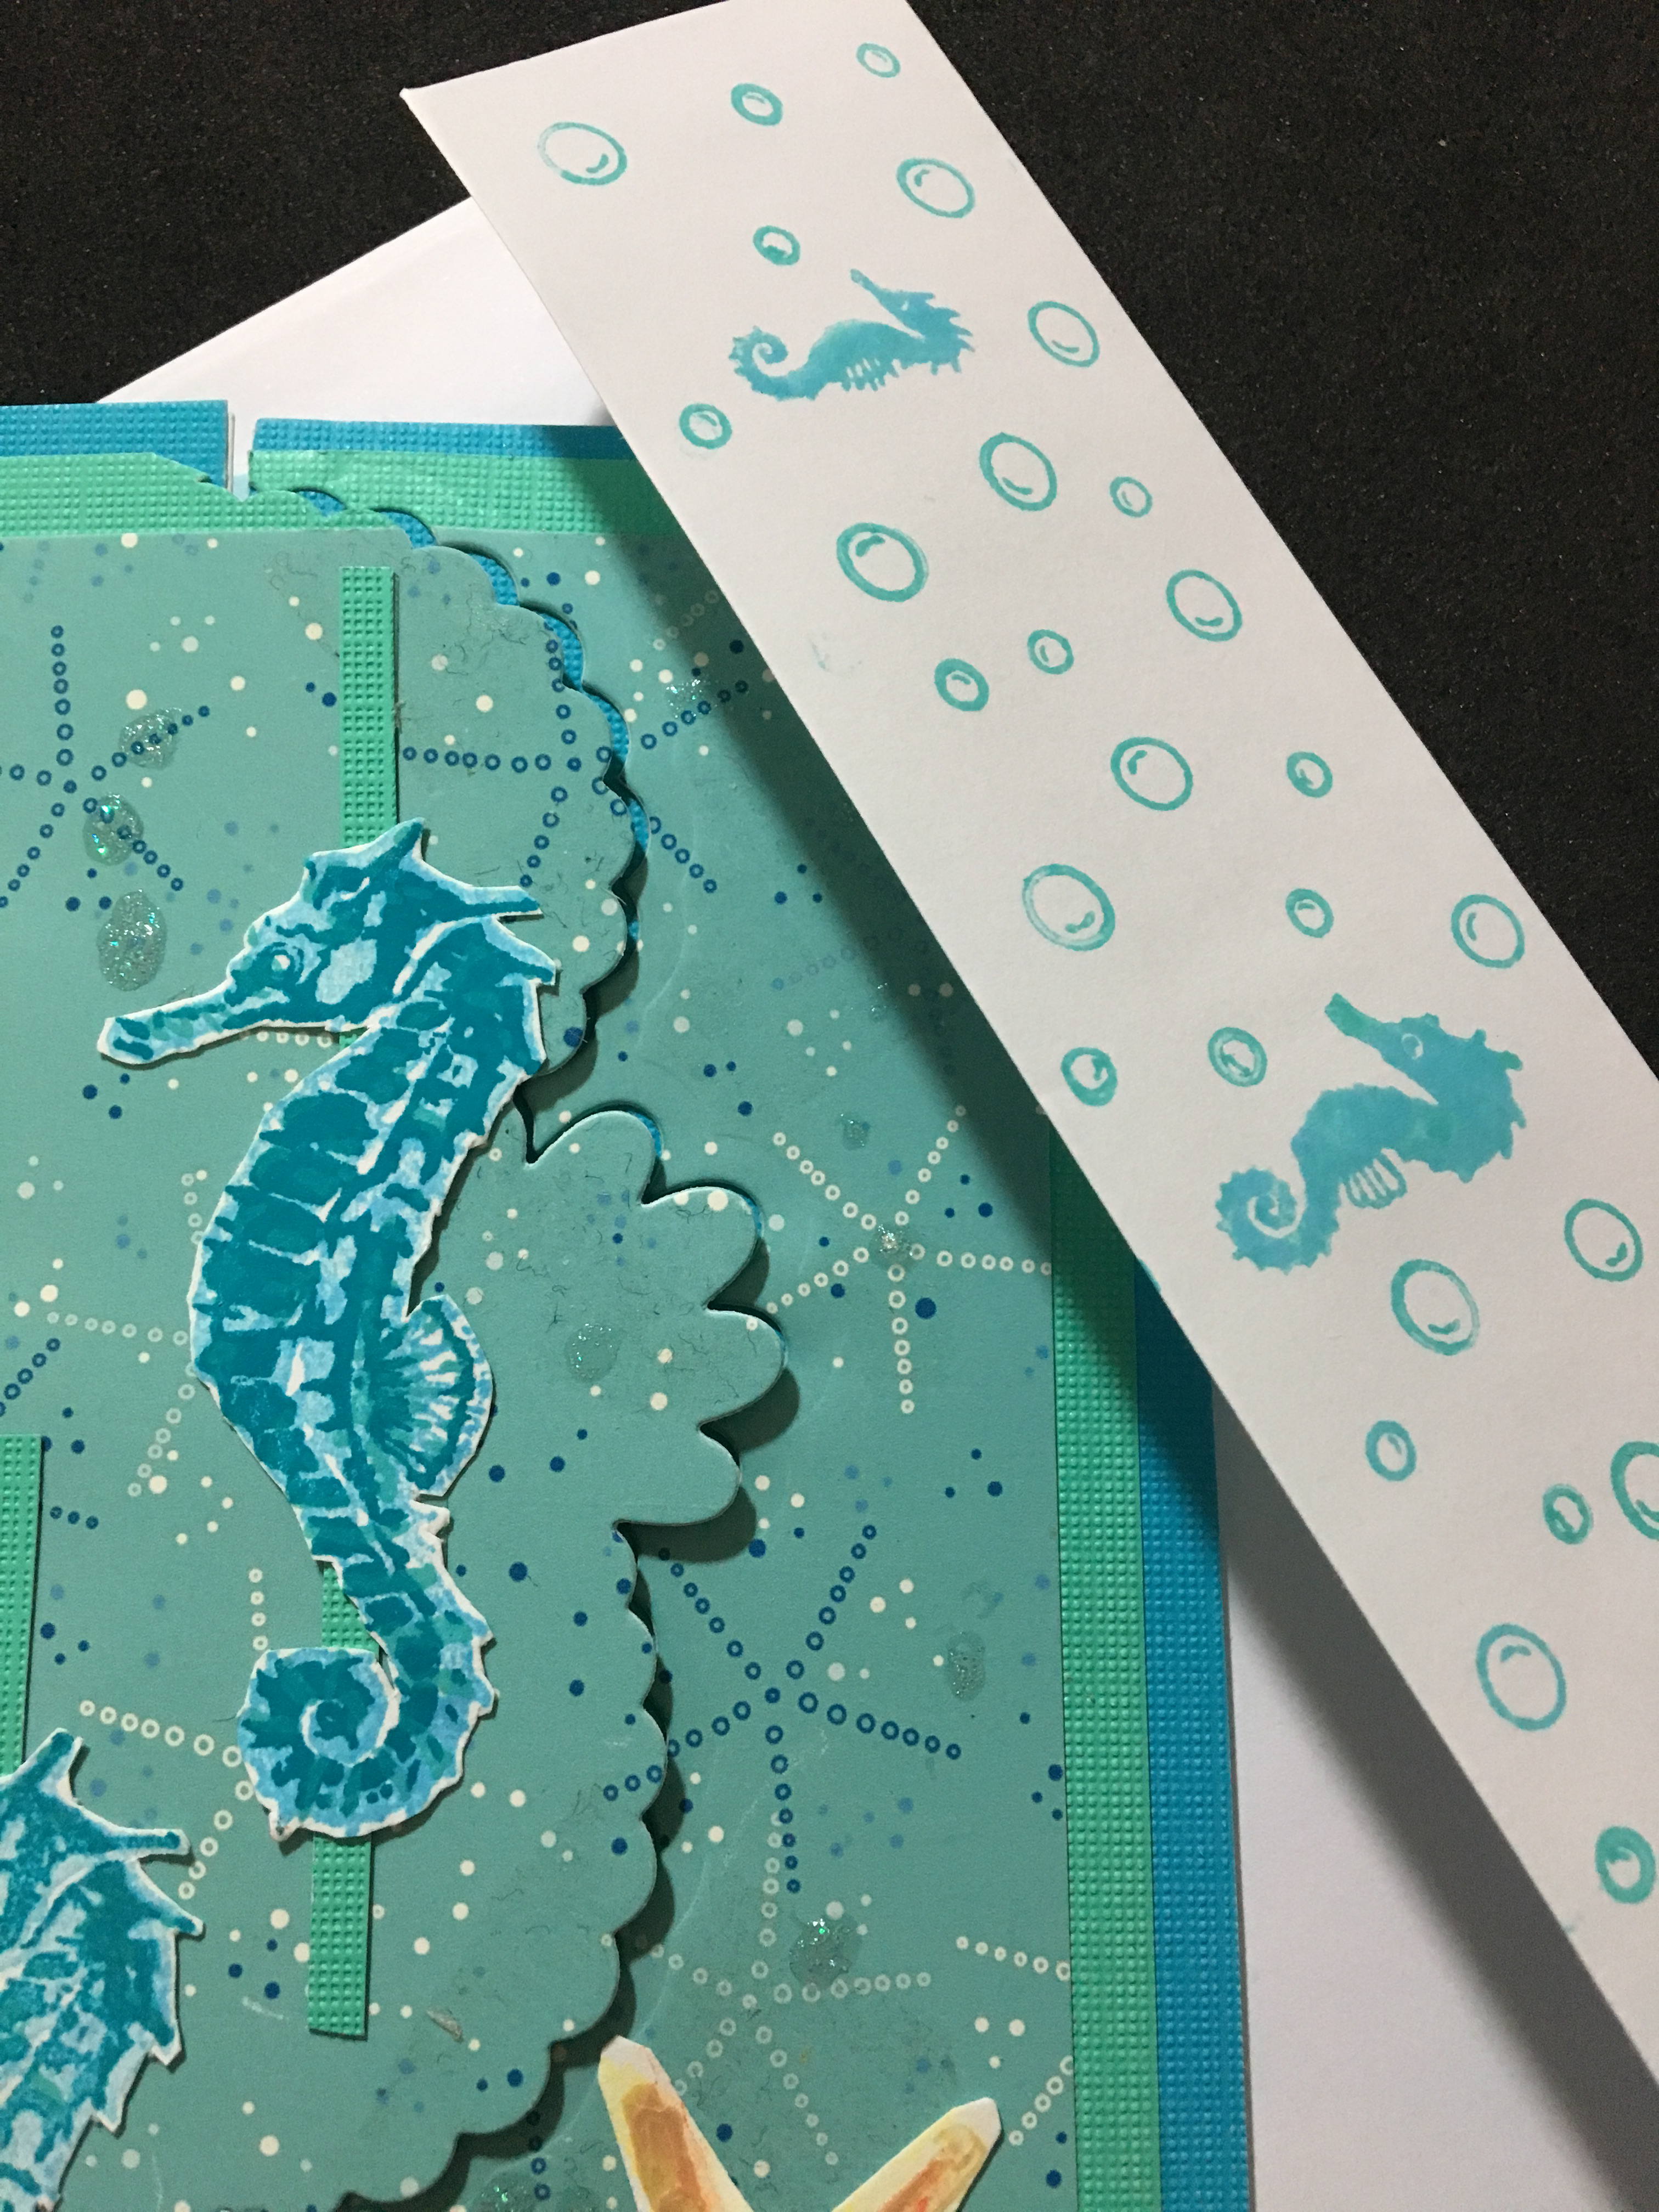
On the front of the card, I used a spiral shell and jellyfish from the sea charms set along with the octopus from the ocean animals set and little sharks cut from the new beach borders die set. On the back of the card I cut a crosshatch rectangle panel using the first crosshatch rectangles set from leftover back ground paper and used the tiny sharks border again to edge it.

Because I hadn’t planned to add ribbon to the inside panel tags (the plastic was too thick to easily cut), used two ribbons -a narrow and a wide – on each of the card base’s two tags.

This card is to be hand delivered, so no envelope.
Thank you for reading this blog post. I hope it provides inspiration and joy. Please like and leave comments 😊
Materials Used:
Dies
- Karen Burniston in cahoots with Riley and Company – Beach Borders – 1230
- Karen Burniston in cahoots with Riley and Company – Sea Charms – 1228
- Karen Burniston in cahoots with Riley and Company – Cruise Charms – 1119
- Karen Burniston in cahoots with Riley and Company – Ocean Animals- 1068
- Karen Burniston in cahoots with Riley and Company – Rectangles – Crosshatch – 1054
- Karen Burniston in cahoots with Riley and Company – Sea Animals- 1037
- Karen Burniston in cahoots with Riley and Company – Tag Book Pop-Up – 1023
Papers
- Papercraft Society – Sam Calcott’s Underwater & Nautical Box – Background and Specialty Papers
- Colored Cardstock Scraps
- The Paper Studio – Clear Vellum For Printers
- The Ribbon Boutique – Faux Leather 8-inches Wide Ribbon – Green/Blue
- Clear Packaging – Medium Weight
- Ranger – Tim Holtz – Distress Inks – Abandon Coral
Pens & inks
- Sakura – Gelly Roll Pen – Medium – White
- Pigma Micron 01 – Black
- Ranger – Tim Holtz – Distress Inks – Abandon Coral
Adhesives
- Neutral PH Adhesive by LINECO
- Fine-Tip Glue Bottle
- Scrapebook.com – Double-Sided Permanent Tape ¼-Inch Wide
- Fun Stampers Journey – Journey Dots
Miscellaneous
- Die Cutting Machine
- Piercing Tool
- Scissors
- Tweezers
- Sponge Dauber
- Kat Scrappiness – Telescopic Embossing Powder Tool with Retractable Brush
- 3/4-Inch Wide Pale Blue Organza Ribbon
- 1/4-Inch Wide Dark Blue Organza Ribbon