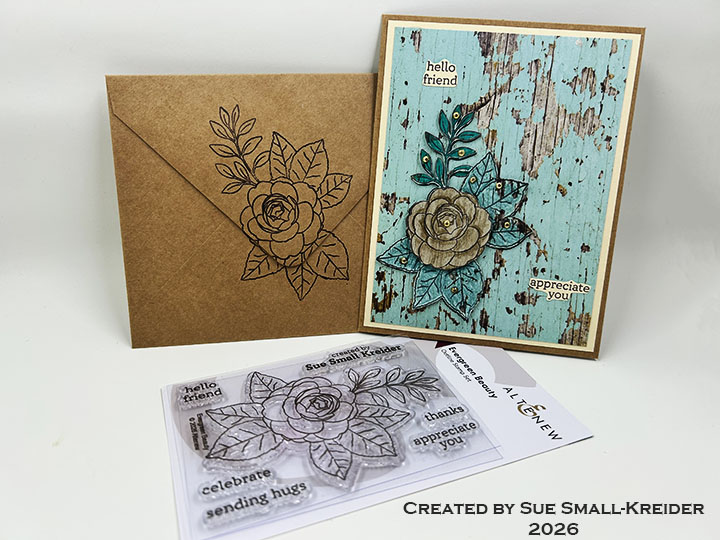
After receiving this personalized stamp set from Altenew, I had to make something with it. Card Chaos with Irene Smith! had a Bingo Challenge on with colors. I picked ivory, brown and teal colors and found a Stampin’ Up designer series paper pack called Country Woods that had those colors.
Cardbase: I used a brown kraft paper purchased A2 (4.25×5.5-inch) cardbase. Cut an ivory piece of cardstock 4×5.25-inches and glue to the front card panel.
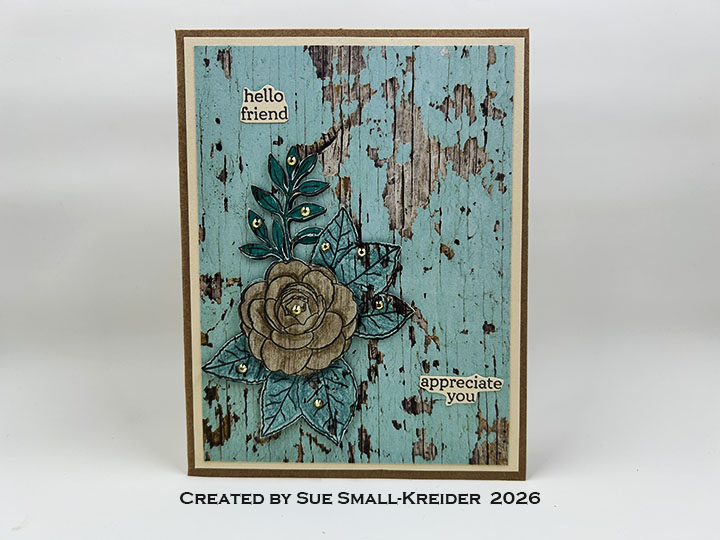
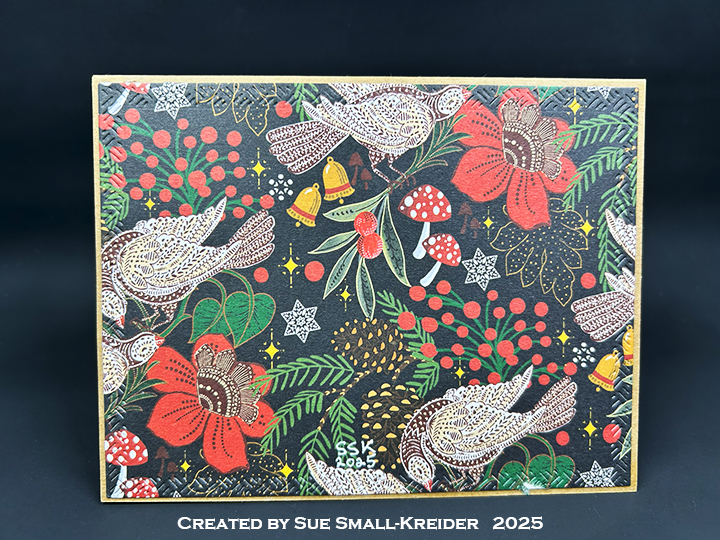
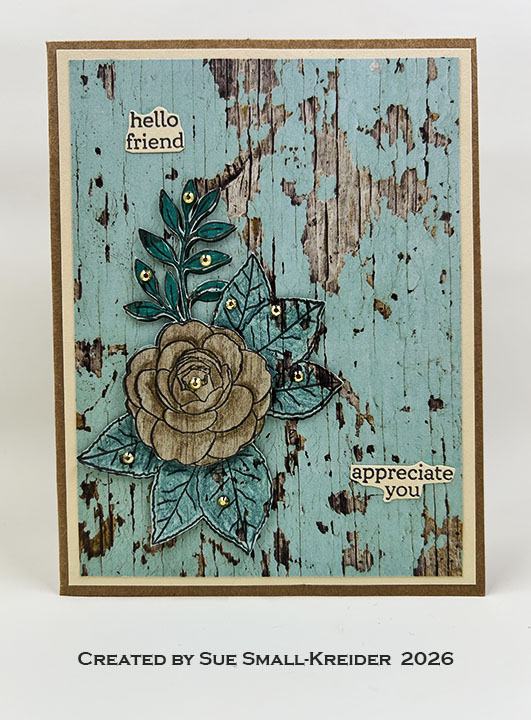
Flower Image: Using brown ink and the Altenew Evergreen Beauty set, stamp the image on left bottom corner of a teal wood patterned paper 3.75×5-inches rectangle (Stampin’ Up – Country Woods). Stamp it again on a scrap of the same paper and color with teal watercolor pencil and teal marker. Fussy cut around the entire colored image. On a scrap piece of ivory colored woodgrain paper, stamp the flower and color with a brown watercolor pencil. Fussy cut around the colored flower.
Using 1mm thick foam tape, pop-up the entire colored image onto the rectangle stamped image.Next pop-up the brown colored flower on top of the colored image. Add nine gold gems to the image. Glue rectangle onto cardbase.
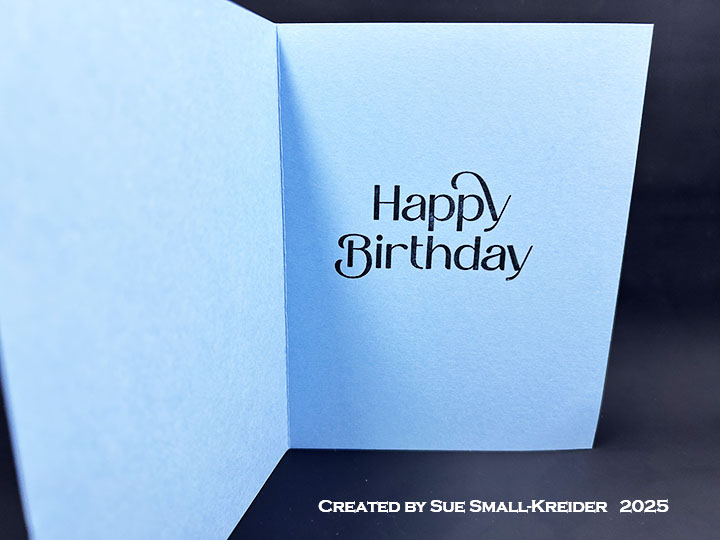
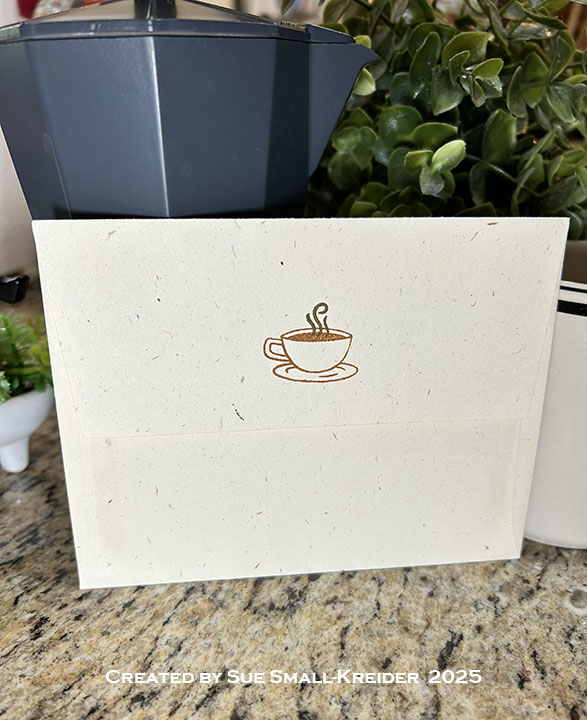
Sentiments: From the Altenew stamp set, “Hello friend” and “appreciate you” are stamped in brown ink onto ivory cardstock and fussy cut out. Glue directly to the card front. I used my custom stamp on the card back.
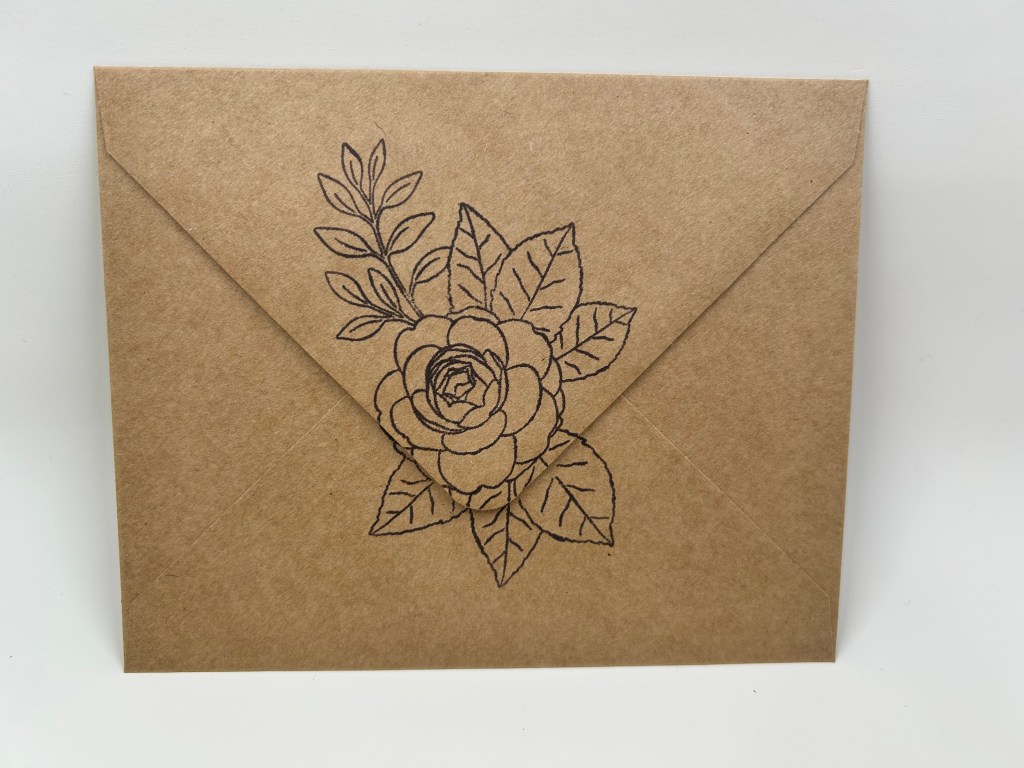
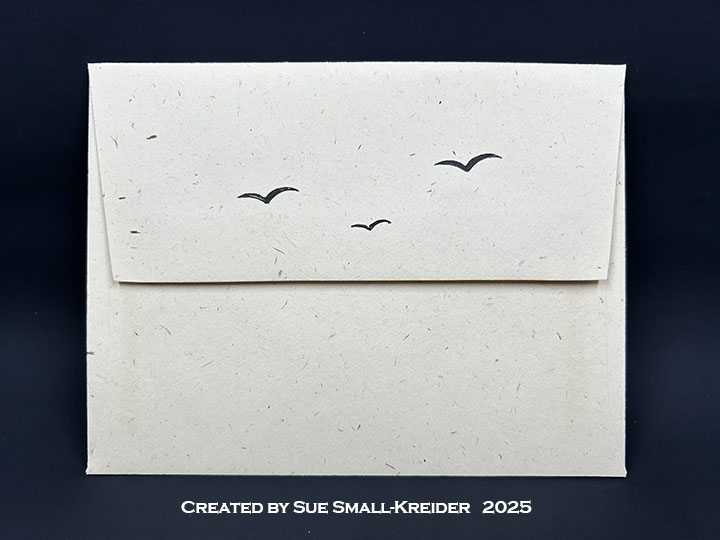
Envelope: Using a purchased A2 matching kraft paper envelope stamp the flower image on the back in brown ink.
___________________________________
Thank you for experiencing this blog post.
I hope this inspires you and makes you smile.
Please subscribe, like and leave comments 😊
Follow my YouTube channel, Instagram and Pinterest as well.
___________________________________
Disclaimer: Karen Burniston products are provided free of charge by the manufacturer for review and use. All other items were personally purchased. Compensated affiliate links used where or when possible, meaning I will receive a small percentage commission from these manufacturers at no cost to you. This will allow me to add more content to my YouTube channel and help out a lot. Thank you.
Materials Used:
Stamps
- Altenew – Clear Stamps – Evergreen Beauty
Papers
- Stampin’ Up – 12×12 inch Double-Sided Papers – Country Woods
- Ivory Cardstock
- Recollections – A2 Cardbase and Envelope – Brown Kraft
Ink
- Memento – Fade Resistant Dye ink – Espresso Truffle
- Pigma – Mircon 01 Fine Tip Pen – Brown
- Sharpie – Permanent Marker – Ultra Fine Tip – Teal
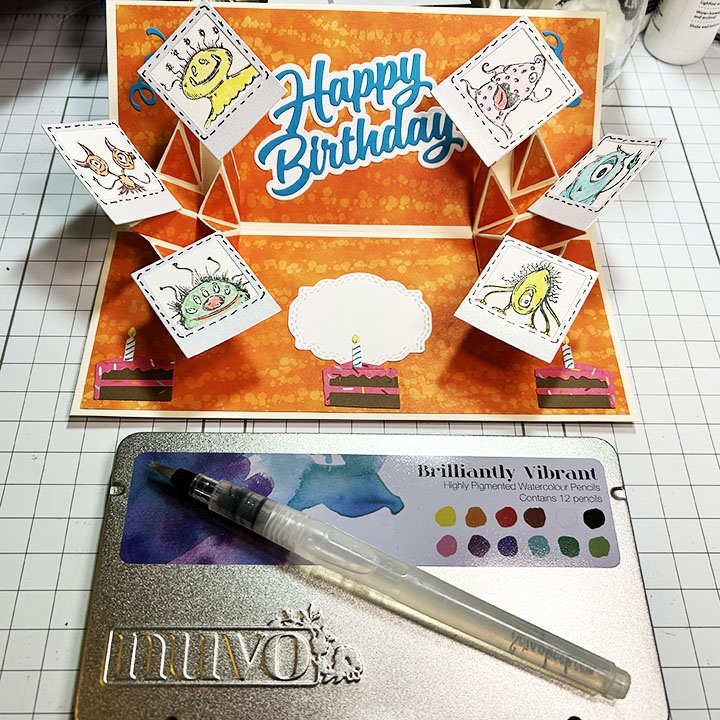
- Nuvo – Highly Pigmented Watercolour Pencils – Potato Skin & Deep Viridian
Adhesives
- Neutral PH Adhesive by LINECO
- Fine-Tip Glue Bottle
- Scrapbook.com – Foam Tape – 1mm thick
Tools
- Paper Trimmer
- Stamping Platform
- Scissors
- Paper Masking Tape
- We R Memories – QuickStick
Miscellaneous
- Craftstash – Gold Half Gems