Welcome to Day 7 of my Nutcracker series using a variety of stamps and die sets to make some nutcracker themed cards. My card today uses products by Scrapbook.com – Nutcracker paper collection and Nutcracker and Ballerina die set as well as and Spellbinders’ 3D embossing folder – Waffle Cone, Simon Hurley’s Better Press press plates & dies set Nutcracker Trio and Art Impressions Nutcracker stamp.

Watch the process video below to learn how this card was made.
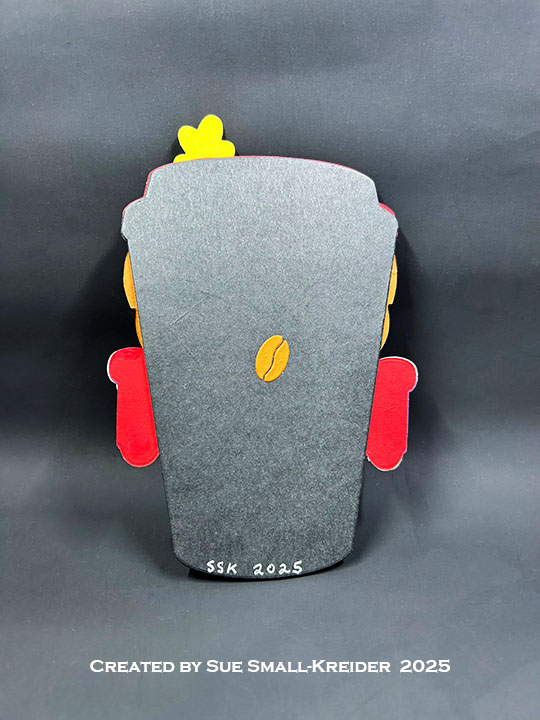
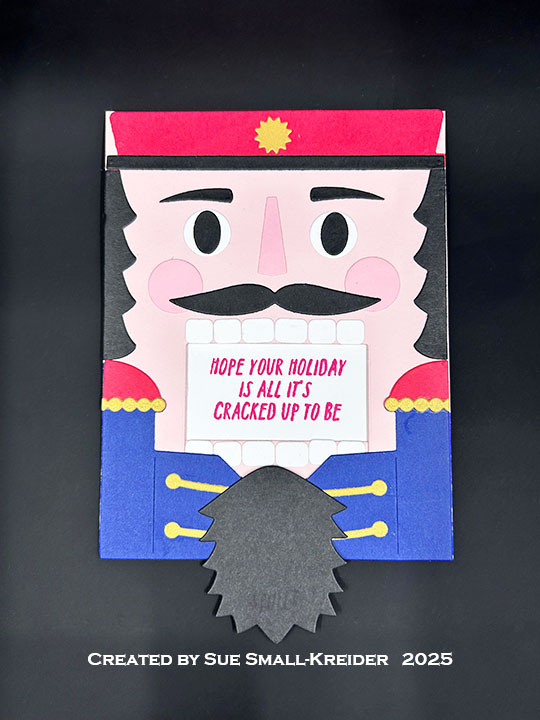
Cardbase: I turned a top-folding A2 (4.25×5.5-inches) cardbase in white on its side to make a short side-fold horizontal card. Start with an 8.5×4.25-inch rectangle and fold in half. Cover the front and back with panels of patterned paper embossed with the Spellbinders’ 3D embossing folder – Waffle Cone.

Nutcracker & Ballerina: Using Scrapbook.com’s Nutcracker and Ballerina die set, create your nutcracker and ballerina as shown on packaging or in the video above.. (There are many teenie tiny pieces, so I found it easiest to glue pieces together as I cut them so I wouldn’t loose them.)

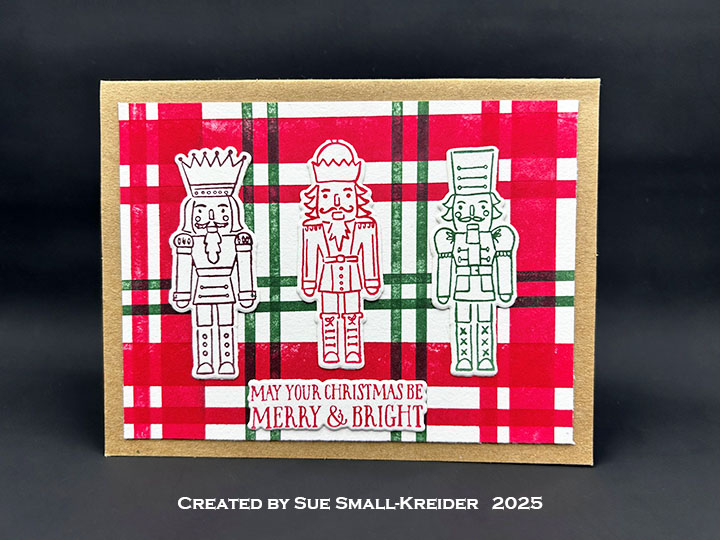
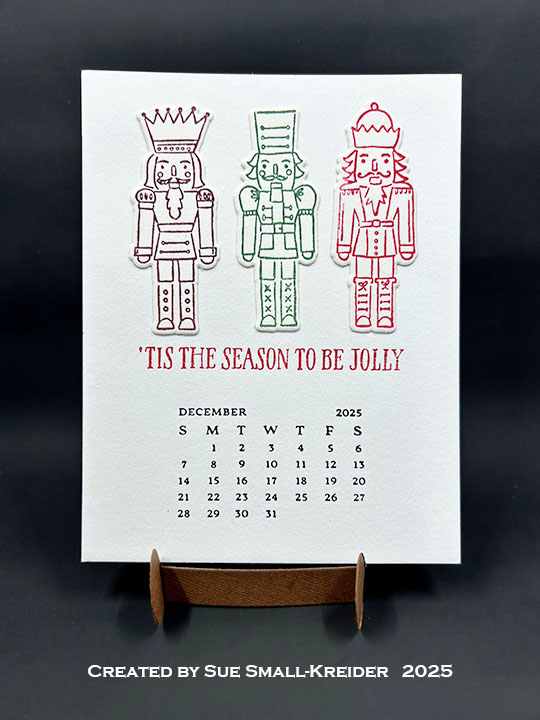
Sentiments: The sentiments are from Simon Hurley’s Better Press press plates & dies set Nutcracker Trio printed in red BetterPress ink and cut out using the matching dies in the set.

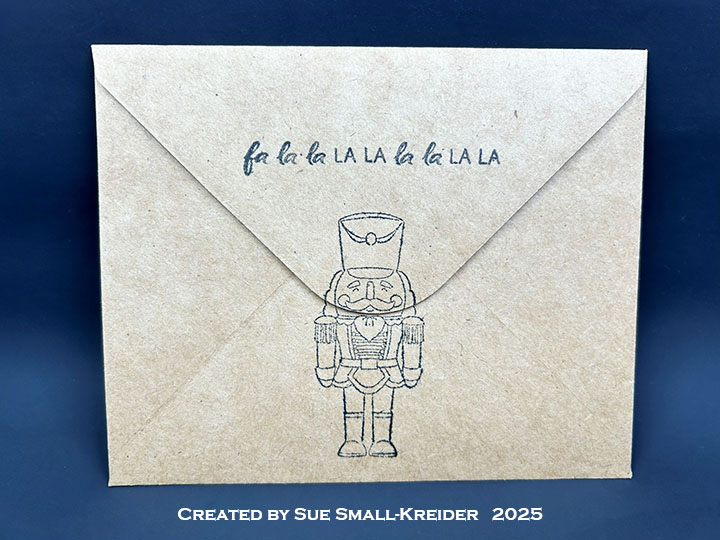
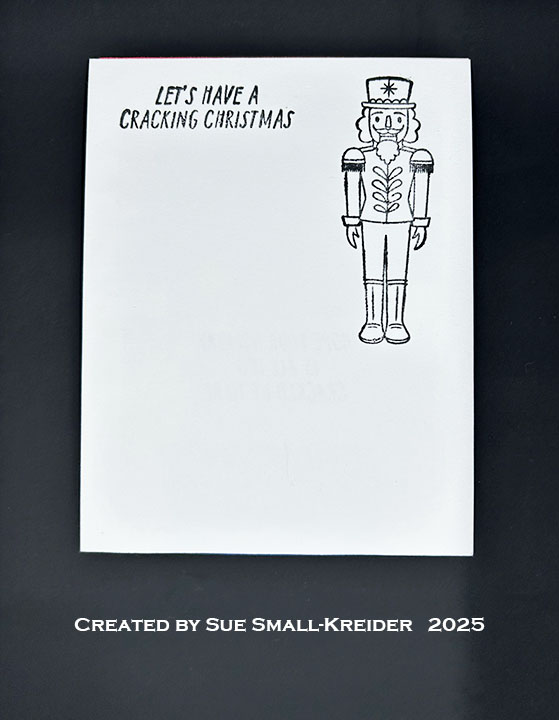
Envelope: The panel card fits into an A2 size envelope with a nutcracker on the envelope back using Hero Art’s Nutcracker stamp stamped in red ink.
___________________________________
Thank you for experiencing this blog post.
I hope this inspires you and makes you smile.
Please subscribe, like and leave comments 😊
___________________________________
Disclaimer: Karen Burniston products are provided free of charge by the manufacturer for review and use. All other items were personally purchased. Compensated affiliate links used where or when possible, meaning I will receive a small percentage commission from these manufacturers at no cost to you. This will allow me to add more content to my YouTube channel and help out a lot. Thank you.
Materials Used:
Press Plates & Dies
- Scrapbook.com – Shape Dies – Nutcracker and Ballerina
- Spellbinders – Simon Hurley’s BetterPress Press Plates & Dies – Nutcracker Trio
Embossing Folders
- Spellbinders – 3D embossing folder – Waffle Cone
Stamps
- Art Impressions – Unmounted Rubber Stamp – Nutcracker – 6139
Ink
- Gel Pens – Pink & Red
- Memento – Fade Resistant Dye ink – Rose Bud
- OLO – Marker – Cotton Candy
- Pigma – Mircon 005 Fine Tip Pen – Black
- Spellbinders – Dina Wakley Media’s BetterPress Ink – Ruby
Papers
- Scrapbook.com – BetterPress – 6×8-inch Double-Sided Cardstock – Nutcracker
- Spellbinders – BetterPress – 5.5 x 4.25” (A2) Cotton Card Panels – Porcelain & Pebble
- Black, Pinks, Red, White and Yellow Cardstock
- Fraser Papers for William House – A2 Envelope – Genesis Text Milkweed Smooth
Adhesives
Tools
- Die Cutting Machine
- Paper Trimmer
- Bone Folder
- Stamping Platform
- Stamping Block
- Tweezers
- Stamping Blocks used as paperweights
- We R Memories – QuickStick