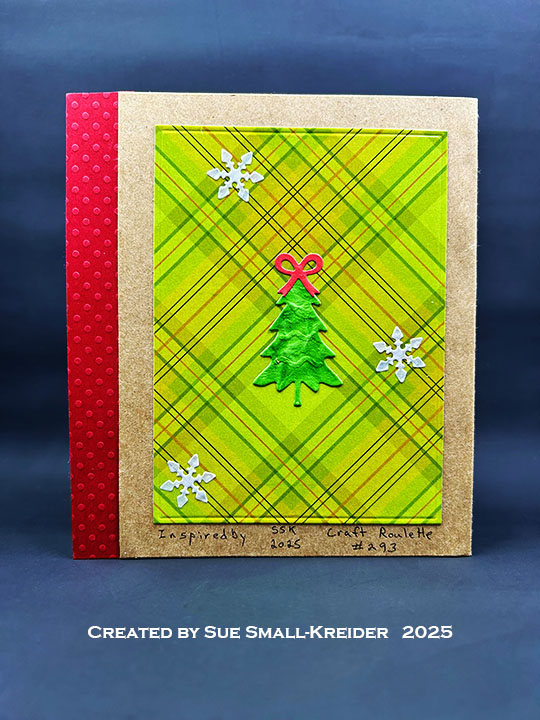
This card was made for CRAFT ROULETTE #293 whose parameters included a book binding card, sandwich shop colors, music element, and wrap(s)(ing). I used stamps and dies by Karen Burniston to make this card.
Watch the video below to learn how this card was made.
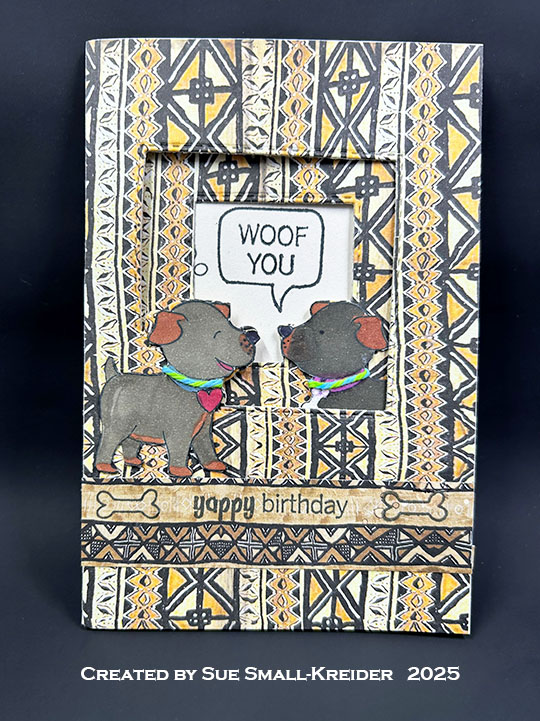
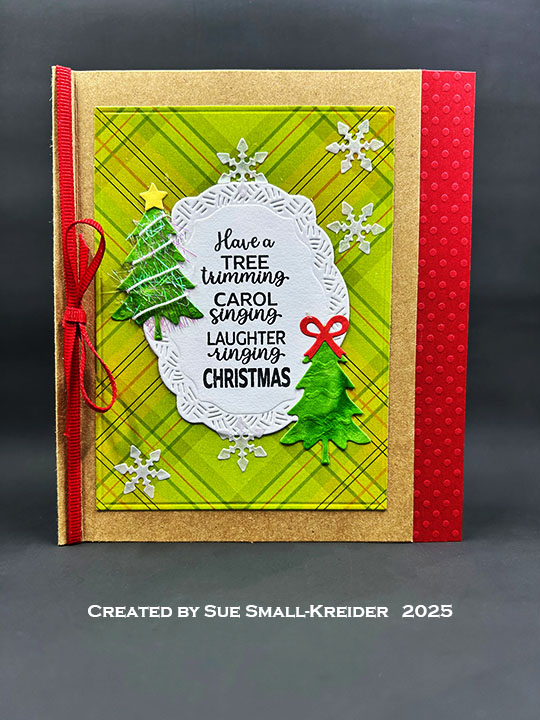
Cardbase: I started with a purchase A2 (4.25×5.5-inch) cardbase in kraft brown cardstock. Score 1/4 -inch to the right of the card fold. This will become the book binding. Tie a red ribbon around the card at the book binding section. Glue ribbon into the binding section and glue section shut. Cut four panels from plaid cardstock using the second largest die from the Rectangles – Crosshatch set. Two 1×5.5-inch red strips were added to the cardbase edges to cover over the pivot panels that stuck out of the closed card.
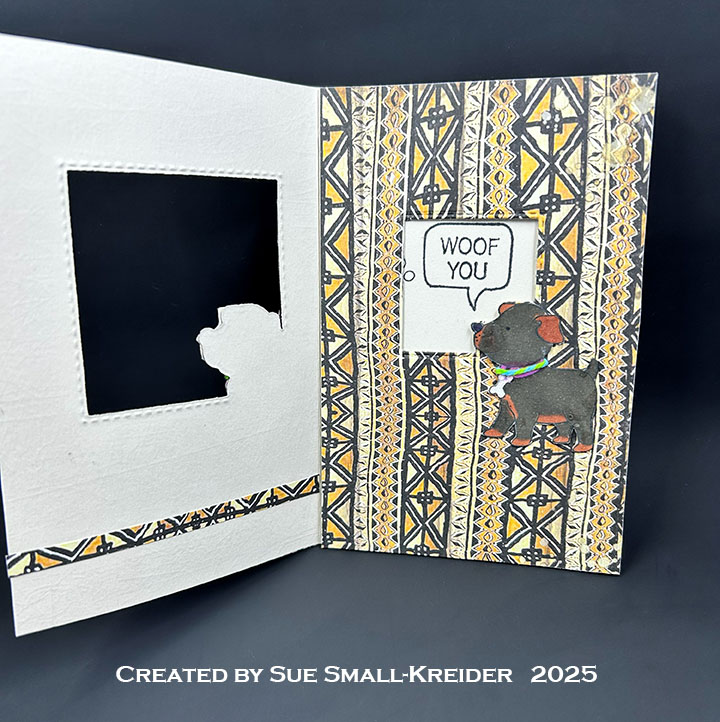
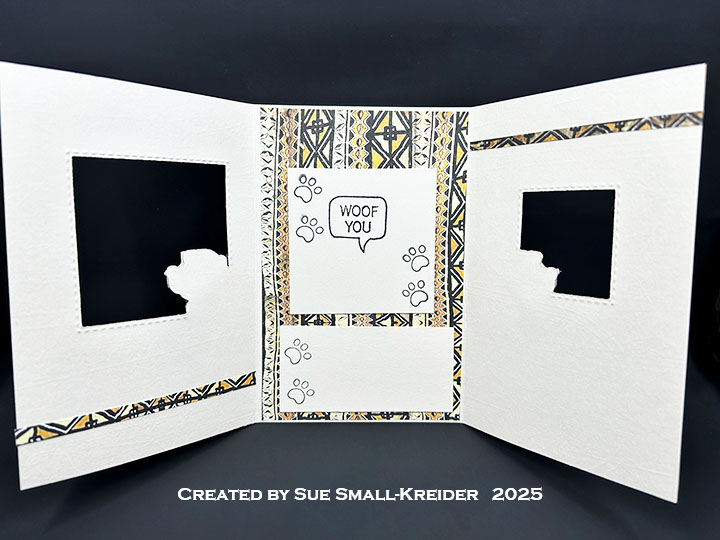
Pivot Pop-Up: Watch the assembly video for the Evergreen Pivot Panels located at the bottom of the linked page. decorate the panels flat before installing into card. Install as directed in video.

Trees and Snowflakes: Cut at least ten trees from the Evergreen Pivot Panels set. Wrap five trees with twine and tinsel as shown in video above. Cut from thin red and yellow papers the stars and bows in the same die set. Cut eight snowflakes from pearlescent vellum. Six trees will be used on pivot panels, two trees on card front and one tree on card back. The final tree goes on the envelope back flap.
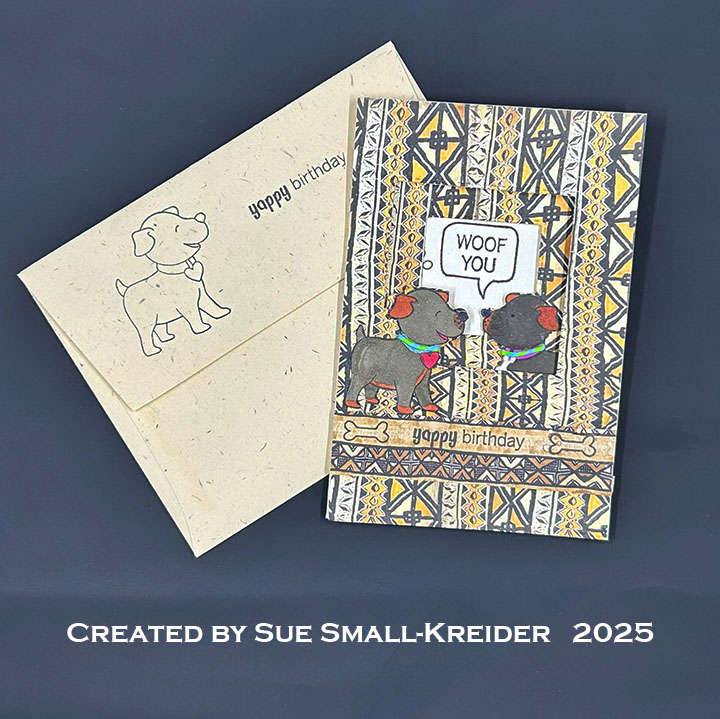
Sentiments: The “Have a tree trimming, carol singing, laughter ringing Christmas” and “Fa la la la la la” sentiments were stamped in black ink using the Season of Cheer stamp set and cut out using the smallest fancy label die in the Rectangles and Labels – Crosshatch and the banner label in the Lorna Label Pop-Up sets. Two small fancy labels were cut from white using the Rectangles and Labels – Crosshatch set for writing a personal message.
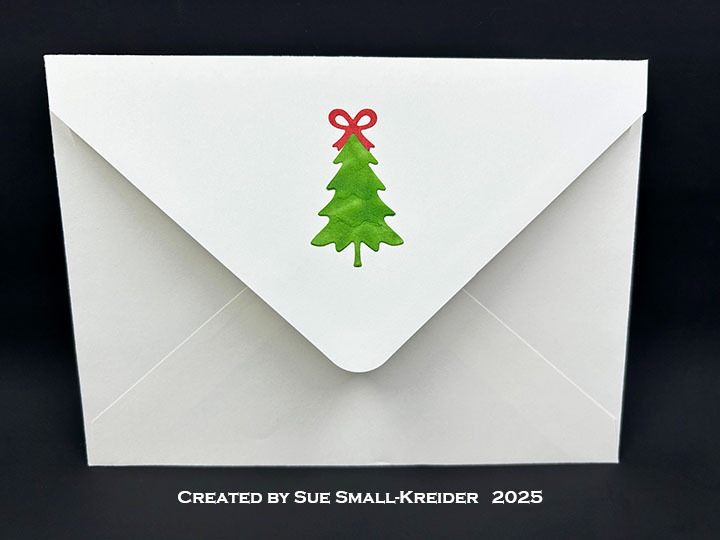
Envelope: The card fits into an A7 (5x 7-inch) size envelope with a tree glued to the back flap.
___________________________________
Thank you for experiencing this blog post.
I hope this inspires you and makes you smile.
Please subscribe, like and leave comments 😊
___________________________________
Disclaimer: Karen Burniston products are provided free of charge by the manufacturer for review and use. All other items were personally purchased. Compensated affiliate links used where or when possible, meaning I will receive a small percentage commission from these manufacturers at no cost to you. This will allow me to add more content to my YouTube channel and help out a lot. Thank you.
Materials Used:
Dies
- Karen Burniston in cahoots with Riley and Company – Lorna Label Pop-Up – 1266
- Karen Burniston in cahoots with Riley and Company – Rectangles and Labels – Crosshatch – 1233
- Karen Burniston in cahoots with Riley and Company – Evergreen Pivot Panels – 1062
- Karen Burniston in cahoots with Riley and Company – Rectangles – Crosshatch – 1054
Stamps
Papers
- Keep It Simple – 12×12 inch Double-Sided, Coated Cardstock – Lucky Day Collection
- Lawn Fawn – 8.5×11 Pearlescent Vellum
- The Paper Studio – 12×12 Crinkle Paper – Green
- Red and Yellow Upcycled Paper Envelopes
- White Cardstock
- Target – A2 Cardbase – Kraft Brown
- A7 Envelope – Ivory
Ink
- Memento – Fade Resistant Dye ink – Tuxedo Black
- Pigma – Mircon 01 Fine Tip Pen – Black
Adhesives
Tools
- Die Cutting Machine
- Paper Trimmer
- Bone Folder
- Score Board
- We R – Precision Press Mini – Stamping Platform
- Stamping Blocks used as paperweights
- Scissors
- Paper Masking Tape
- Tweezers
- We R Memories – QuickStick
Miscellaneous
- Red Gross-Grain Ribbon 1/8-inch wide
- Target – Holiday Trim – Tinsel Tree
- Red and White Baker’s Twine