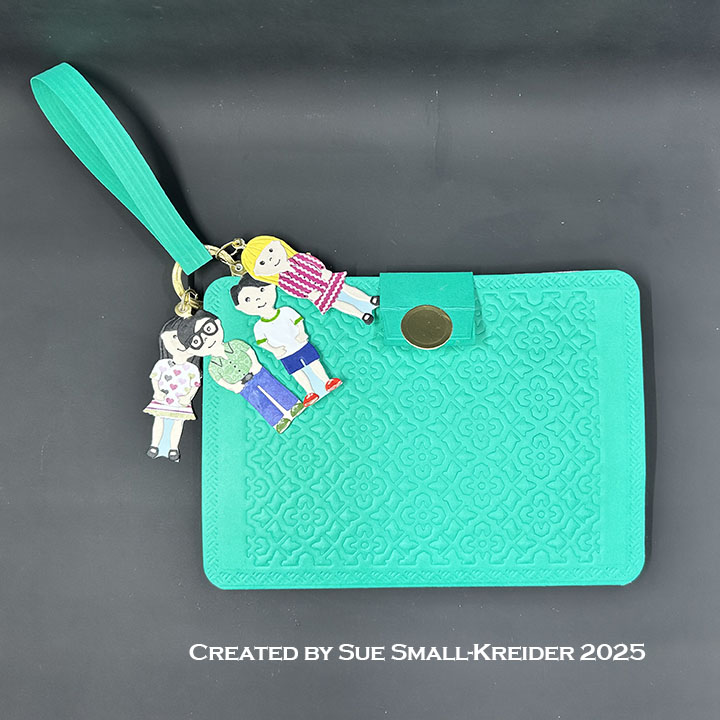
It’s the Karen Burniston design team challenge for April 2025 using the theme of Designer’s Choice. I made a Mother’s Day Waterfall Wallet card to showcase photos and gift cards as well as Paper People charms.
Watch the following video for specifics on how I made this waterfall wallet.
Read more below on specific customizations I made to this wallet.

Cardbase: Cut a 7×10-inch rectangle of heavy 110 lb. cardstock. Score in the middle at 5-inches and fold in half. Emboss the card front using the Pattern Plate – Tiles and largest crosshatch rectangle in the Rectangles and Labels – Crosshatch die sets. (Check your die-cutting machine’s instructions for an embossing sandwich of plates for embossing with a die. If you don’t have an embossing sandwich, die cut the elements with the dies and glue on the panels in a faux embossing method.) Emboss a 5.5×8.5-inch panel of the same cardstock using the same dies. Wait to glue on the second embossed panel until after the waterfall mechanism and the handle loop have been attached.

Handle Loop: Cut a strip of wallet colored cardstock a half-inch x 8.5-inches. (I scored an 1×8.5-inch stripe every 1/8” on my scoreboard and then trimmed it down to a half inch so it would have subtle stripes on it.) Die cut two 1-inch circle frame/ring from gold cardstock and another four out of heavy cardstock. Keep the center circle to use as decoration on the wallet clasp. Glue rings back to back for a sturdier ring with the gold rings as the outside layers. (I used the eyeball circles from the Animal Add-ons 4 die set to create the ring.) Loop the strip through the ring and glue closed. Press a fold into the loop near the glued end to form a tear drop shaped loop. Glue the loop together just above the ring. Glue the lower section of ring to wallet back, top left corner making sure there is room to attach charms to the ring.


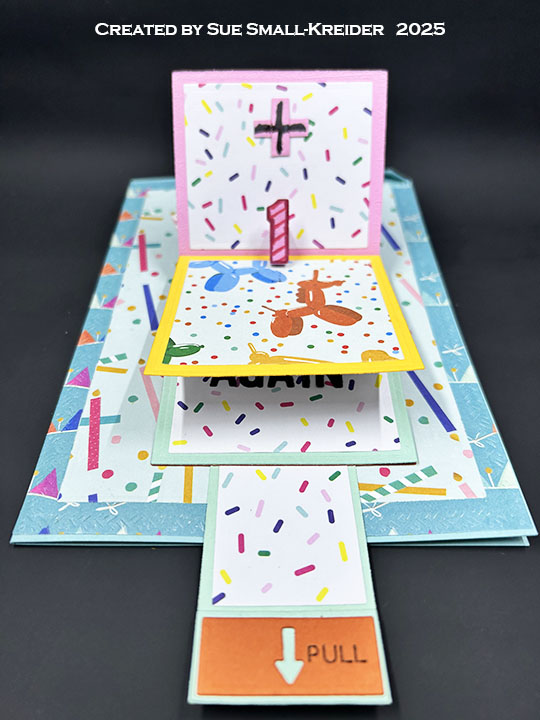
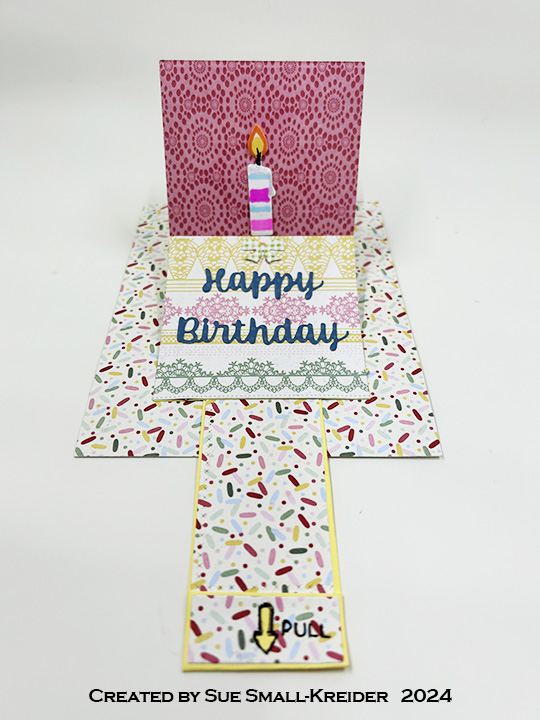
Waterfall Card/Photo Holder: Create the waterfall wallet as shown in the video above. Cut the card holder rectangles, but before folding the rectangle around the card, die cut a window out of the center of the rectangle. (I used the second smallest rectangle in the set.) Back the window with a 2×3-inch piece of clear acetate or plastic packaging. (Adhere with double-sided tape.) Fold rectangle around gift card and seal the end using double-sided tape instead of glue. Attach into wallet as shown in video.
Paper People Charms: Using the Paper People and Charm Rings die sets, create people that look like the mother’s children. Once a figure is completely created, glue a charm base to the back of its head. Glue the entire figure to a backing paper and cut out with scissors. Thread the largest of the paper jump rings through the charm ring and wallet handle loop ring. Glue jump ring closed. Repeat for other people charms.
Watch the video for basic instructions on the construction of the card’s prototype.


Sentiments: For the prototype card, the outside letters spelling “MOM” came from the Alphabet die set while the small letters that are on the card/photo holder pockets are from the Mini Alphabet and Numbers set. For the customized card, the Happy Mother’s Day die set was used for the main sentiment.
Envelope: This card will be hand delivered or mailed in a large 9.5×12.5-inch cardboard envelope.
___________________________________
Thank you for experiencing this blog post.
I hope this inspires you and makes you smile.
Please subscribe, like and leave comments 😊
Follow my YouTube channel, Instagram and Pinterest as well.
___________________________________
Disclaimer: Karen Burniston products are provided free of charge by the manufacturer for review and use. All other items were personally purchased. Compensated affiliate links used where or when possible, meaning I will receive a small percentage commission from these manufacturers at no cost to you. This will allow me to add more content to my YouTube channel and help out a lot. Thank you.
Materials Used:
Dies
- Karen Burniston in cahoots with Riley and Company – Paper People – 1299
- Karen Burniston in cahoots with Riley and Company – Charm Rings – 1284
- Karen Burniston in cahoots with Riley and Company – Rectangles and Labels – Crosshatch – 1233
- Karen Burniston in cahoots with Riley and Company – Mini Alphabet and Numbers – 1197
- Karen Burniston in cahoots with Riley and Company – Animal Add-ons 4 – 1185
- Karen Burniston in cahoots with Riley and Company – Happy Mother’s Day – 1163
- Karen Burniston in cahoots with Riley and Company – Waterfall Card – 1161
- Karen Burniston in cahoots with Riley and Company – Pattern Plate – Tiles – 1125
- Karen Burniston in cahoots with Riley and Company – Rectangles – Crosshatch – 1054
- Karen Burniston in cahoots with Riley and Company – Alphabet – 1053
Papers
- Recollections – 8.5×11-inch 110lb Cardstock – Oceans
- Stampin’Up – 12×12-inch Designer Series Paper – Masterfully Made
- Clear Plastic Packaging (2×3-inch rectangles)
Ink
- Ranger – Tim Holtz – Distress Ink – Stormy Sky
- Pigma – Mircon 005 Fine Tip Pen – Black
- Sakura – Gelly Roll Pen – Medium – White
- Scrapbook.com – Glitter Brush Marker – Mint Green
- Sharpie – Permanet marker -Ulta Fine – Green
Adhesives
Tools
- Die Cutting Machine
- Paper Trimmer
- Bone Folder
- Stapler
- Scissors
- Paper Masking Tape
- We R Memories – QuickStick
- Reverse Tweezers
- Corner Rounder Punch
- 1/8-inch Hole Punch
- Blending Brush