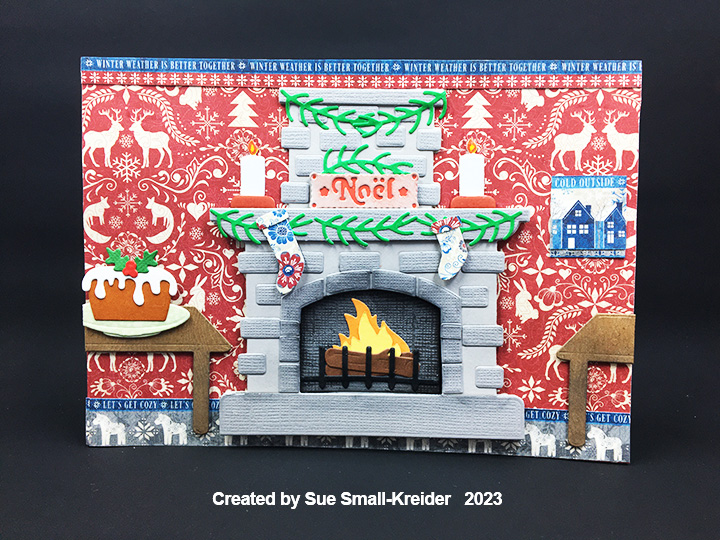
It’s Day 5 of my 12 Days of Christmas Ovens.
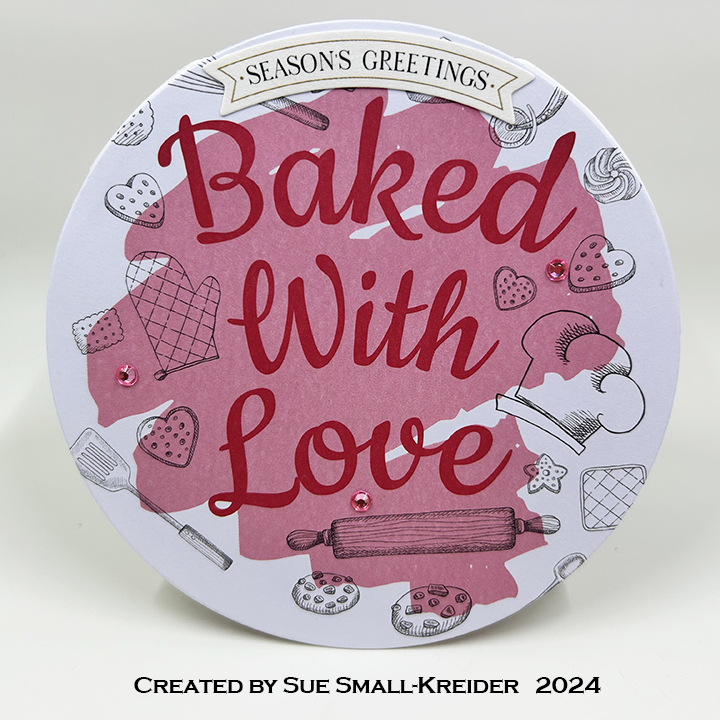
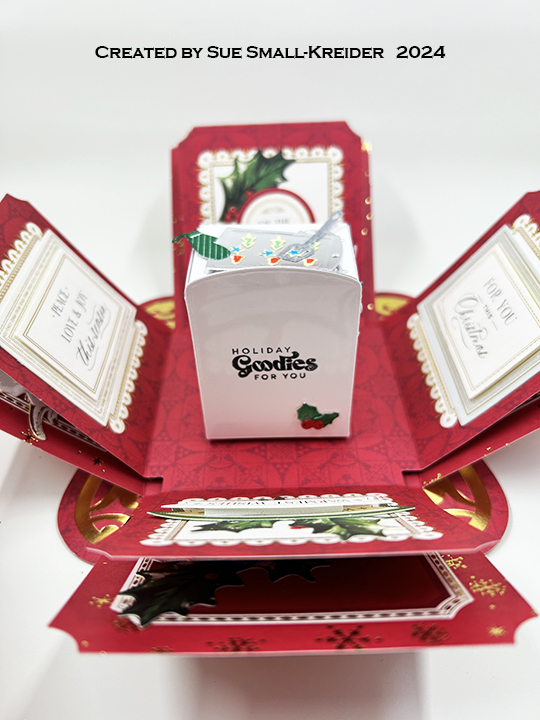
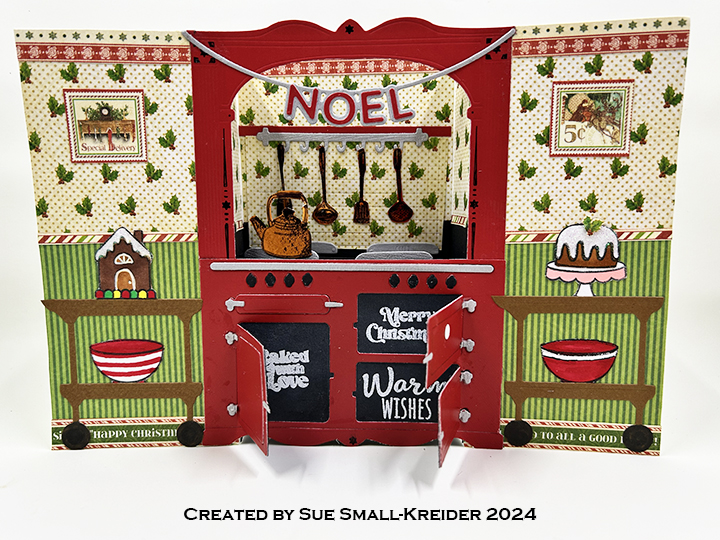
I’m using Tim Holtz’s Retro Oven to create this tri-fold shaker card.
Watch video above for a tutorial on how to make the card.

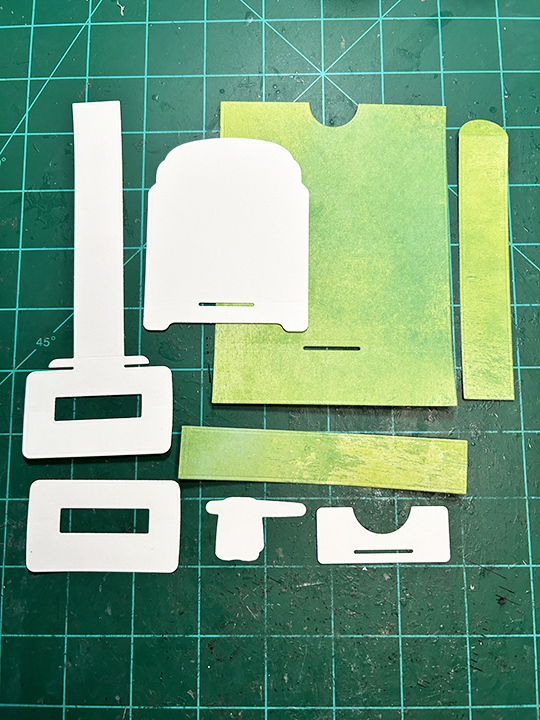
Cardbase: Start with a 9 x 5-inches rectangle of white 65lb. cardstock. Score and fold at 3-inches and 6-inches.

Oven: Cut out two oven base piece from red cardstock covered with clear packing tape. Cut decorative oven pieces for each stove from silver, white and black. (I used cardboard packaging from some Tim Holtz protucts for the white and black pieces.)

Sentiments: Stamp the Paper Discovery “Eat Drink & be merry” inside the last oven window panel. Use other sentiment stamps on other middle panels. (I used “Fill your heart with joy” from Scrapbook and Cards Today’s Jolly Holiday workshop kit.)

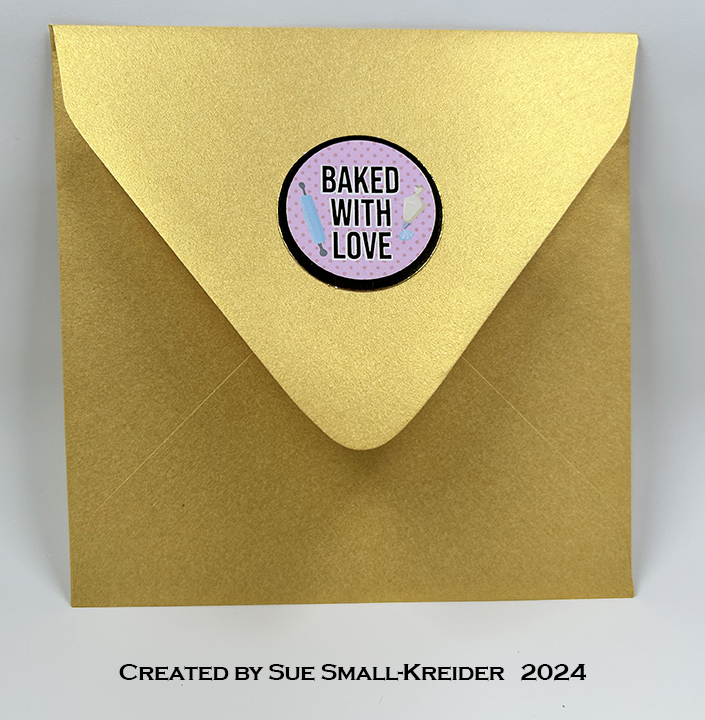
Envelope: The card fits into an A2 envelope.
___________________________________
Thank you for experiencing this blog post.
I hope this inspires you and makes you smile.
Please like and leave comments 😊
___________________________________
Disclaimer: Karen Burniston products are provided free of charge by the manufacturer for review and use. All other items were personally purchased. Compensated affiliate links used where or when possible, meaning I will receive a small percentage commission from these manufacturers at no cost to you. This will allow me to add more content to my YouTube channel and help out a lot. Thank you.
Materials Used:
Dies
- Sizzix – Thinlits by Tim Holtz – Retro Oven
Stamps
- Paper Discovery – A5 Stamp Set – Cosy Kitchen – Simple Food
- Scrapbook and Cards Today’s Jolly Holiday workshop kit – Clear Stamps
Papers
- Bazzill – 8.5×11 Cardstock – Tiara -18-1002
- Silver Foil Cardstock
- Coated Spackled Black & White Cardboard Packaging
- Acetate 3×3 inches
- Black, BrownsRed and White Cardstock
- Fraser Papers for William House – A2 Envelope – Genesis Text Milkweed Smooth
Ink
- Hero Arts – Alcohol-Marker Friendly Ink Pad – Intense Black
- American Crafts – Metallic Marker – Silver
- Pigma – Mircon 01 Fine Tip Pen – Black
- Sakura – Gelly Roll Pen – Medium – White
Adhesives
- Neutral PH Adhesive by LINECO
- Fine-Tip Glue Bottle
- Double-Sided Tape – 1/8-inch wide
- Foam Tape – 1/2-inch wide
- Clear Packing Tape
Tools
- Die Cutting Machine
- Bone Folder
- Stamping Platform
- LDRS – Stampendable Stamping Tool
- This Calls For Confetti – It’s No Secret Anti-Static Powder Tool
- Stamping Blocks used as paperweights
- Scissors
- We R Memories – QuickStick
- Tweezers
- Glue Eraser
- Paper Masking Tape