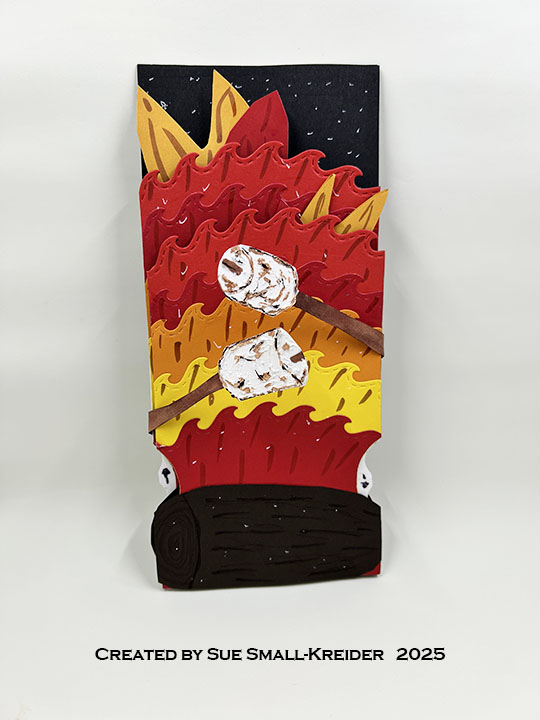
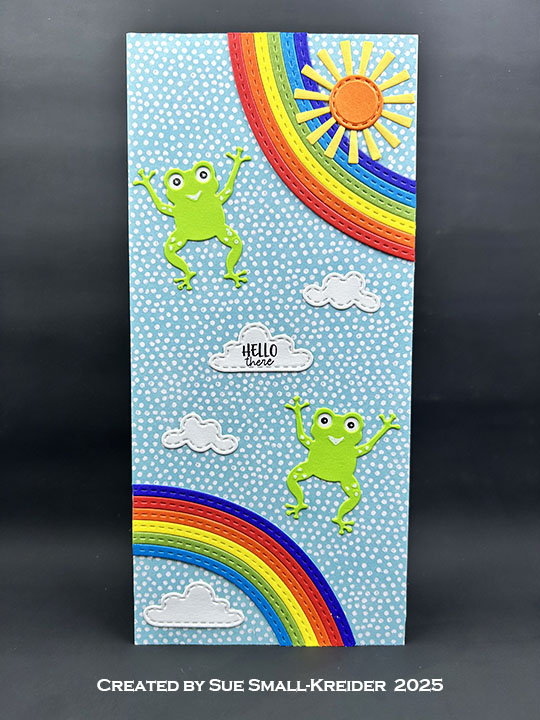
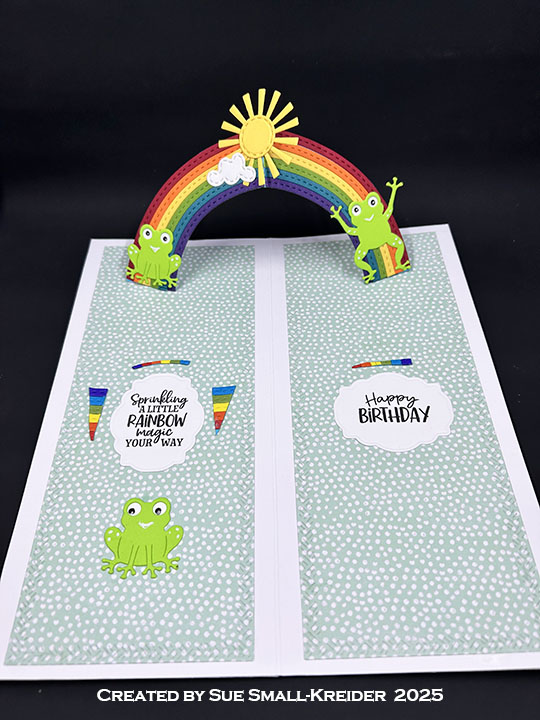
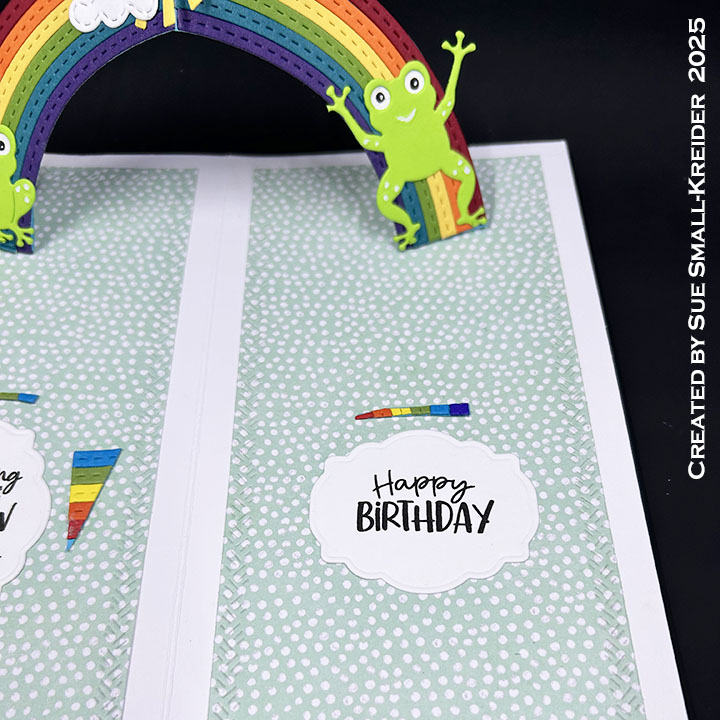
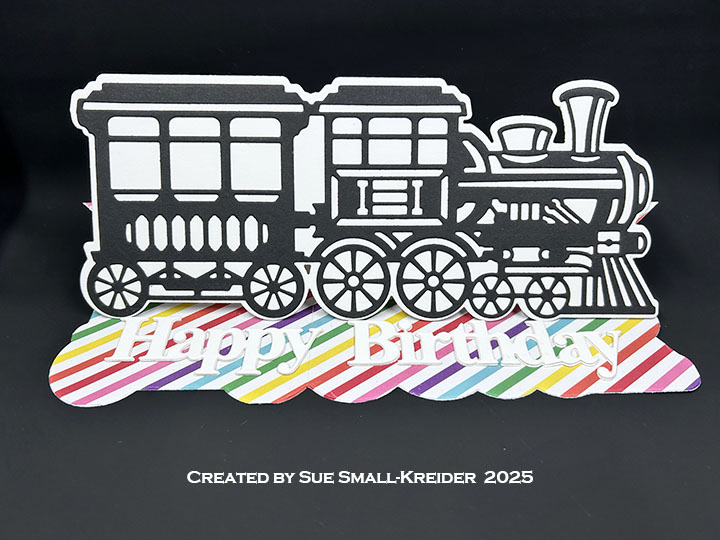
This card was made for CRAFT ROULETTE #276 whose parameters included an easel card, rainbow colors, western element, and black and white image. I chose to make a shaped, slimline easel card using dies by Anna Griffin and Sue Wilson.
Watch the process video to see how I made this card.
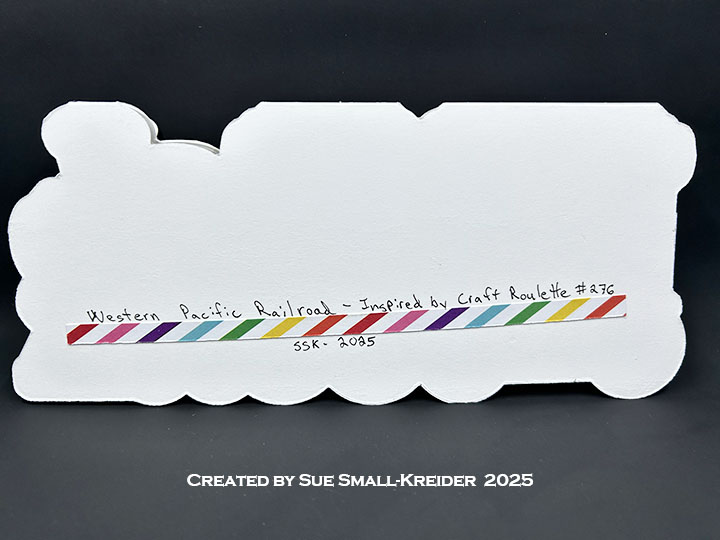
Cardbase: The cardbase is cut from 110 lb. white cardstock using Anna Griffin’s Antique Train Slimline Easel dies to cut out the two cardbase pieces. Rainbow striped paper was added to the card base and the excess was fussy cut off. (You could die cut the piece again if you don’t like to fussy cut.)
Train: The detailed train image is cut in black and glued to the shaped outline of the train before it is attached to the card base.
Sentiment: Cut three sets of Sue Wilson’s “Happy Birthday” from the scraps of white cardstock used for the cardbase. Glue the layers together. Let dry under a paperweight to have the dry flat. Adhere to cardbase to be used as the easel stop.

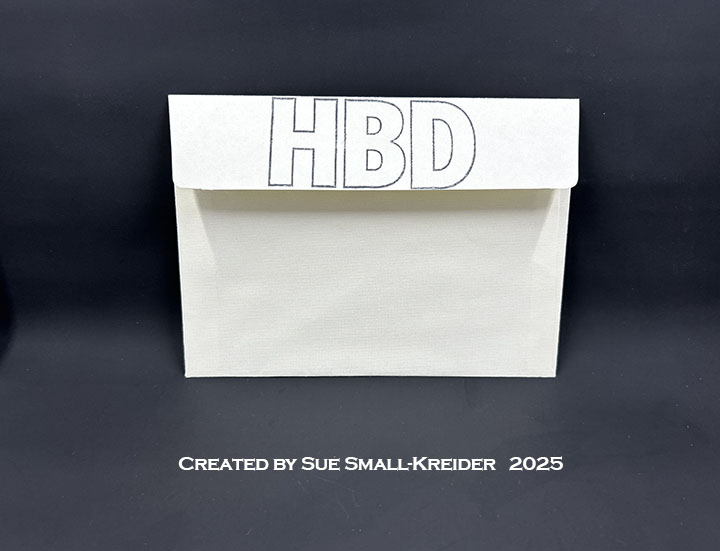
Envelope: The card fits into #10 business envelope (4.125x 9.5-inches) which was stamped with “HBD” on its back in red ink using the Craft Roulette Funn Sentiments #01 stamp set.
___________________________________
Thank you for experiencing this blog post.
I hope this inspires you and makes you smile.
Please like and leave comments 😊
___________________________________
Disclaimer: Karen Burniston products are provided free of charge by the manufacturer for review and use. All other items were personally purchased. Compensated affiliate links used where or when possible, meaning I will receive a small percentage commission from these manufacturers at no cost to you. This will allow me to add more content to my YouTube channel and help out a lot. Thank you.
Materials Used:
Dies
- Anna Griffin – Metal Dies – Antique Train Slimline Easel
- Creative Expressions – Craft Dies by Sue Wilson – Noble Expressions – Happy Birthday
Stamps
- Craft Roulette – Clear Stamps – Funn Sentiments #01
Papers
- Mrs. Sparkle & Co. Paperie – 5.5×7.5-inches Paper Pad – Rainbow
- Scrapbook.com -8.5×11-inch 110lb Cardstock – White
- The Paper Studio – 8.5×11-inch 80lb Cardstock – Black
- #10 Business Envelope – Kraft
Ink
- Memento – Fade Resistant Dye ink – Rose Bud
- Pigma – Mircon 005 Fine Tip Pen – Black
Adhesives
- Neutral PH Adhesive by LINECO
- Fine-Tip Glue Bottle
- Double-Sided Tape – 1/8-inch
Tools
- Die Cutting Machine
- Paper Trimmer
- Bone Folder
- Scissors
- Paper Masking Tape
- We R Memories – QuickStick
- Stamping Platform
- LDRS – Stampendable Stamping Tool
- Stamping Blocks used as paperweights
- This Calls For Confetti – It’s No Secret Anti-Static Powder Wand