I recently attended a virtual cardmaking workshop organized by Scrapbook and Cards Today. It was a delightful day of making Christmas cards using a kit which included 45 cutting dies, 6×8 set of stamps, cardstock, specialty papers and a packet of sequins. The instructors included: Cathy Zielske, Meghann Andrew, Carissa Wiley and a special appearance by Jennifer McGuire who all designed cards using the kit. Below are my nine cards that I made during the day.
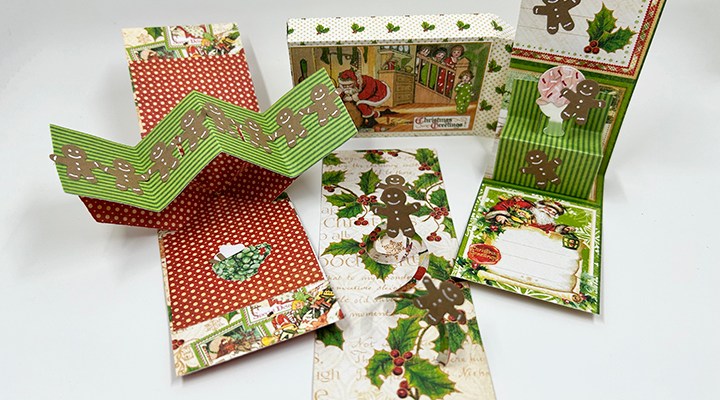
This card was made for Craft Roulette #224 whose parameters included mini cards, “a pretty day” colors, scent(s)/nose(s) and packaging.
I chose to make a gift card box with three mini pop-up cards to celebrate Christmas. Karen Burniston Dies were used to create the box and pop-up mechanisms.
Cardbases: Mini cards are 2 x 7-inch rectangles of double-sided papers folded in half and trimmed to fit inside the box.
Box: Using Karen Burniston’s Candy Hearts Box die set, cut one of the box die. Assemble as shown in the video at the bottom of the linked page. Glue journaling cards to decorate the box.
Cardbase: The cardbase is an A9 side fold (5 1/2 x 8 1/2-inch) with two floor flaps. I took an 8 1/2 x 11-inch sheet of 65 lb. cardstock and folded it in half. The floor flaps are 2 5/8 x 4 1/4-inch that are scored and folded at 1/4-inch to form a tab for 4-inch-long flaps.
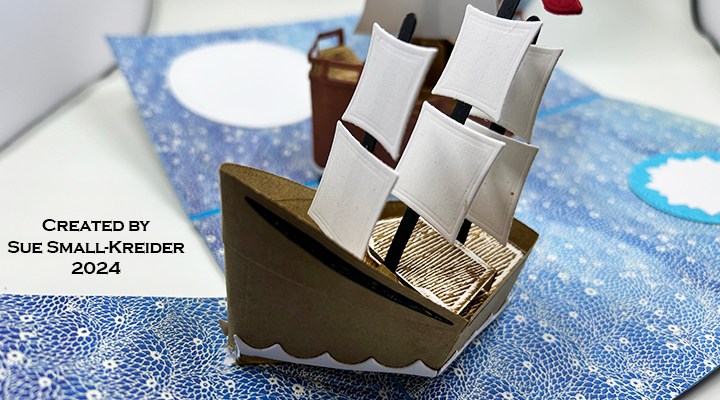
Cake Pop-Up Ship: This ship was designed by John Watterson using four Karen Burniston dies that were released before June 2024. It utilizes a vertical fold and is placed in the center of the card.
Boat Pop-Up Ships: The two smaller ships were designed by Karen Burniston and in this card utilize the horizontal folds of the floor flaps. They use only two die sets. Watch Karen’s assembly video located at the bottom of the Boat Pop-Up’s page.
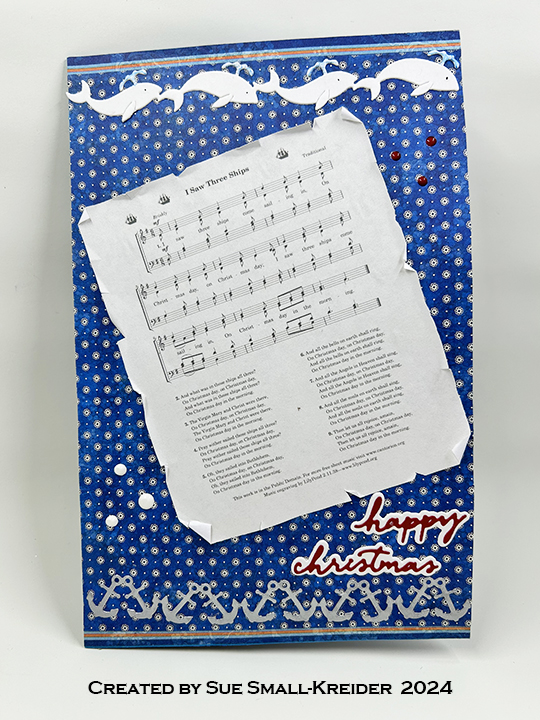
Card Front: The copyright free sheet music was computer generated and the edges distressed. The white whale and silver anchor borders are from the Set Sail Borders. I added white and red enamel drops along with the “Happy Christmas” sentiment made using the Small Script -Halloween and Small Script – Christmas die sets.
Inside: The water is created with a paper from the graphic45 Sun Kissed collection. I used the sun die in the Beach Elementsset and several sizes of theCrosshatch Circles for the labels for personal messages.
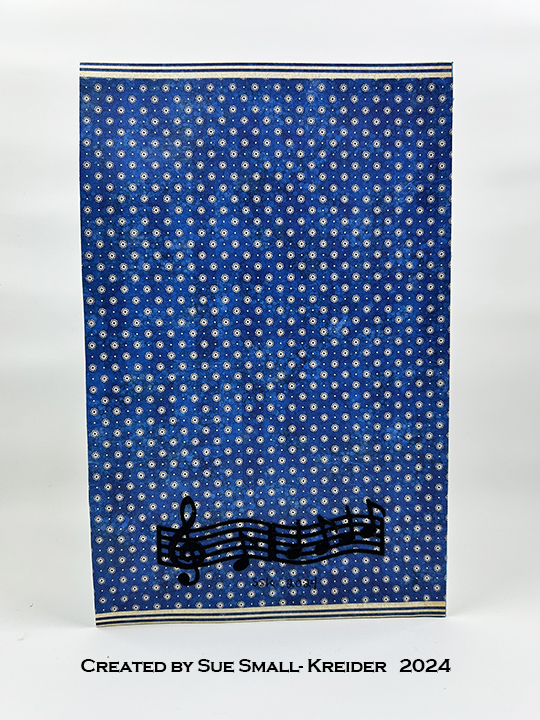
Card Back: The music decorating the card back are the first two bars of the carol. It is made with dies from the Music Charms set.
Envelope: The card fits into a 6×9-inch catalog envelope. I decorated the back flap with die-cut musical notes.
It’s time for the Karen Burniston June 2024 Design Team Challenge with the theme of using border dies.
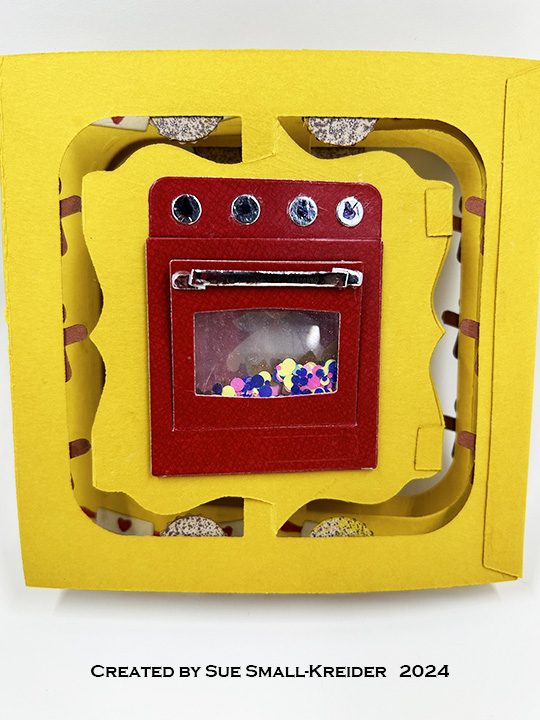
I wanted to get a jump on my end-of-the-year holiday cards by making a baking themed card with pies and gingerbread men from the Baking Borders and Christmas Borders 1 set. The rolling pin and chef’s hat are also in the Baking Borders set. Additional die sets used were: Oven Pop-Up, Tiny Gnomes, and the Fancy Label Accordion. (A 1 3/4-inch square die was used from the Frame Pull Pop-Up set, but any 1 3/4-inch square die could be used. This was the one I had handy.)
Watch my tutorial YouTube video to see how the card was made.
(TIP:Access the assembly videos for any of the dies used by clicking on the die link and scrolling towards the bottom of the linked pagefor the video.)
Cardbase: Cut three of the largest die in the Fancy Label Accordion set from a butterscotch-colored heavy cardstock. Work the scored fold-lines. Wait to until after making and attaching the oven shaker to glue the frames together.
Shaker Oven: Cut ten ovens from red cardstock and two additional ovens from coated red cardstock using the oven die from the Oven Pop-Up set. Trim off stove top section on all 12 pieces. From the two coated cardstock stove top pieces, trim off the back where knobs go and save. Layout oven with stove back on one panel of the cardbase. Mark the outside edges of oven lightly with pencil. Center 1 3/4-inch square die within the oven square and die cut. (You may want to use a ruler to find the center of the fancy label and center the die left to right with the center line. The die will be below the true center up and down because of the stove back piece.)
Glue five of the plain cardstock oven pieces to either side of the cardbase over the square opening. This will form the shaker base. Cut two 2-inch square pieces of clear acetate/plastic. Attach one piece of acetate/plastic with double-sided tape to the top of stacked oven pieces. Turn over and fill shaker with confetti and tiny cookie shapes from the Oven Pop-Up set. Attach the second piece of acetate/plastic with double-sided tape to seal up the oven shaker.
Cut two 1 1/2-inch square pieces of clear acetate/plastic. Adhere to the back of oven doors on the remaining two coated oven pieces using double-sided tape. With more double-sided tape added to the outer edges of the oven pieces, attach them over the shaker acetate/plastic. Glue the stove back with knobs attached to the cardbase above the ovens on both sides.
Pies, Gingerbread Men and Rolling Pins: Cut two strips of pie bases from the Baking Borders set. Color one strip all red .(I used a red glitter brush.) Color four orange and four baked apple yellow on the other strip. Cut out four of each of the pie tops. Ink the pie top to look like browned crusts with maybe some burnt tips of the crusts. Glue lattice pie crust to apple yellow pies, the open ring crust onto the pumpkin orange pies and the flower shaped crusts onto the red pies. Cut all the pies into separate circular pieces. Glue pies to the top and bottom of the front and back panel frames of the card base.
Cut two strips of gingerbread men using the die in the Christmas Borders 1 set. Using a white gel pen with a fine tip, trace the icing onto the men using the stencil feature of the die. Cut men apart and glue to sides of the front and back panel frames of the card base.
Cut two strips of the rolling pins from a kraft colored cardstock using the die from the Baking Borders set. With a red fine-tipped marker stencil on the hearts and color all the handles. Trim the strips to fit the top and bottom of the middle panel frame. Save one of the leftover rolling pins for the chef to hold.
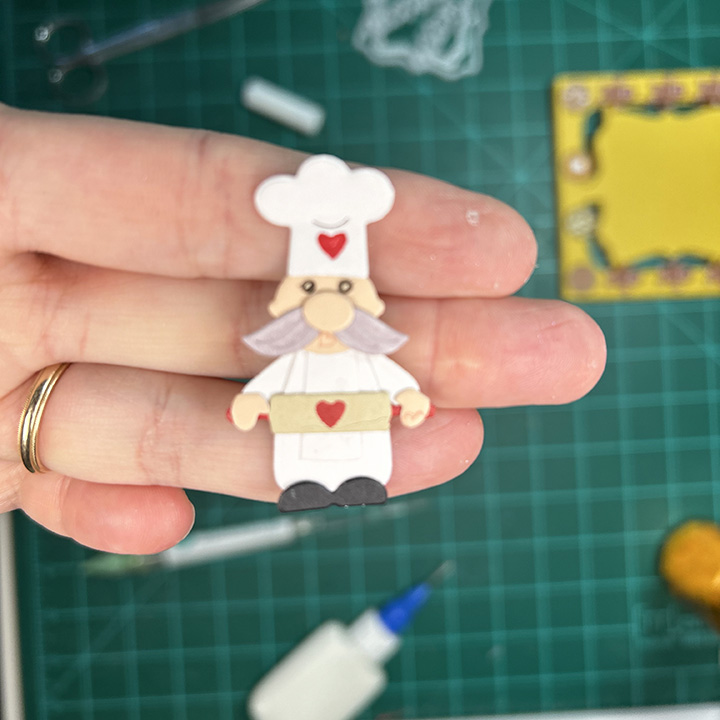
Chef: From the Tiny Gnomes set, cut two of the body piece and one mustache from white cardstock. From flesh colored cardstock cut the head, nose and hands. From black cardstock cut the shoes. With a fine tipped pen, trace the eyes using the stencil feature of the head die. Color the mustache brown or gray. Cut one chef’s hat from white using the die in the Baking Borders set. Using the rolling pin die to stencil a red heart onto the chef’s hat.
To assemble, cut one body piece to have an apron in the center and an arm on either side. (See video for visuals of this.) Glue apron onto other body piece and then head. Added mustache then nose to head. Glue arms onto back of body wide enough to hold a rolling pin. Glue rolling pin to end of arms and then add hands on top of rolling pin handles. Attach shoes and hat.
Sentiments: “Happy Holidays” comes from Word Set 3-Holidays. The labels behind it and the chef are from the decorator dies in the Fancy Label Accordion set. Personal messages can be written on the back of the panels.
Envelope: The card fits into an A7 size envelope decorated with leftover pies and rolling pins on the back flap.
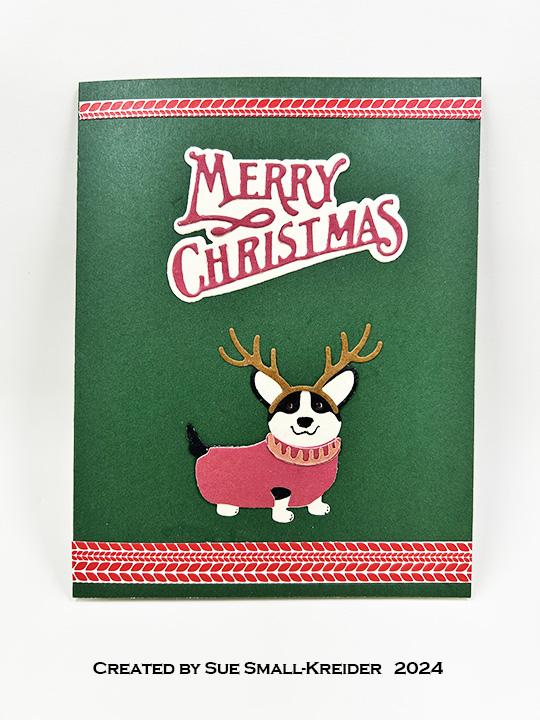
I have a neighbor who has the happiest small dog that when I saw this PoppyStamps die set, I thought of this dog in his winter vest.
I cut all the pieces from cardstock in my scrap bin. I think the patterned papers are from Photoplay while the other solids are a mixture of weights and textures.
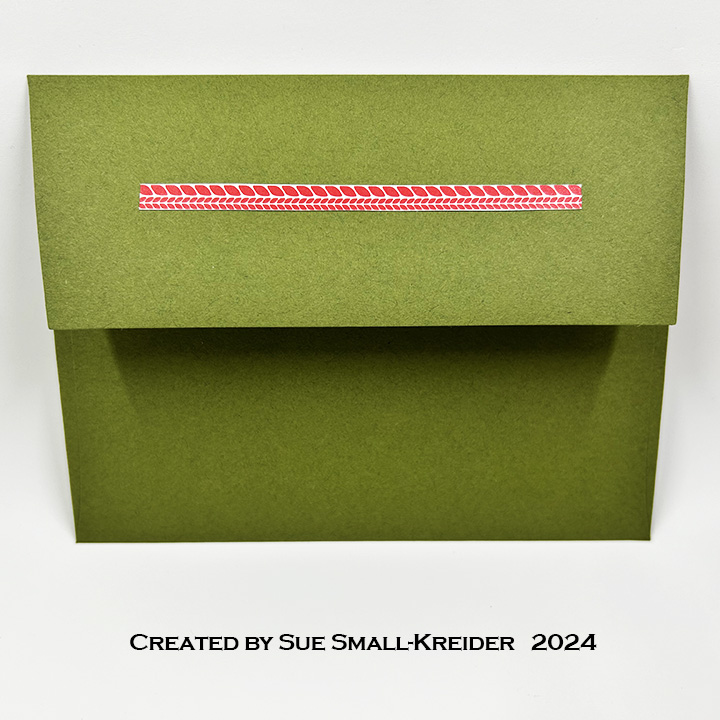
Using a prescored A2 card base in my stash that is green outside and white inside, the die cuts were glued in place including all the sentiments. Strips were added to the front and back of the card and envelope flap for decoration.
Thank you for reading this blog post. I hope this inspires you and makes you smile. Please like and leave comments 😊
Materials Used:
Dies
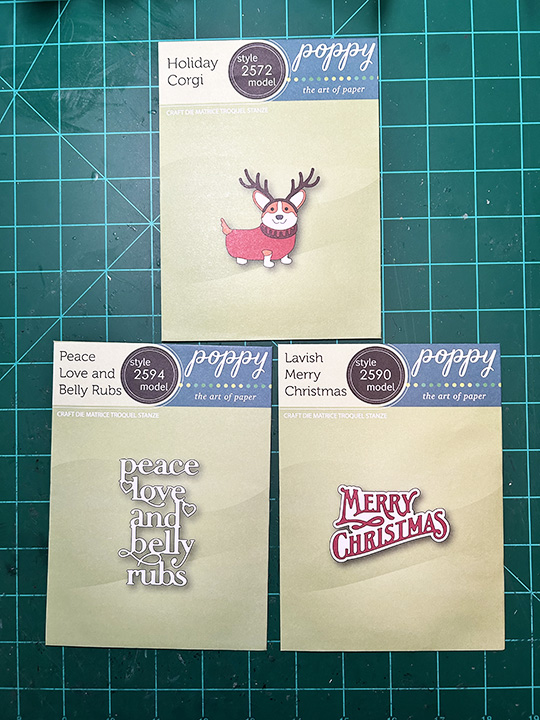
PoppyStamps – Craft Die – Peace Love and Belly Rubs -2594
PoppyStamps – Craft Die – Lavish Merry Christmas -2590
PoppyStamps – Craft Die – Holiday Corgi -2572
Paper
Photoplay – Tulla & Norbert’s Christmas Party 6×6 paper Pad
Craft Consortium – A4 Solids Double-Sided Paper Pad – Candy Christmas – Reds
Needing something cute to put a gift card in with a winter theme, I quickly created this mini gift bag with a polar bear holding a heart.
Karen Burniston’s December 2023 release includes the Mini Gift Bag die set that makes a collapsing bag that will hold a gift card and fit in the palm of your hand.
If you use a patterned paper that doesn’t have a design with a distinct up and down to it, you can cut the entire bag from a 6×6 piece of paper.
I use red vellum to cut a heart with the heart die in the set. The bear is from the Winter Animals set and the tiny heart he holds comes from the Safari Animals sets.
For the bag handles, I used 1/4-inch wide organza ribbon tied as a loop for each side with the knots hidden inside the bag.
Thank you for reading this blog post. I hope this inspires you and makes you smile. Please like and leave comments 😊
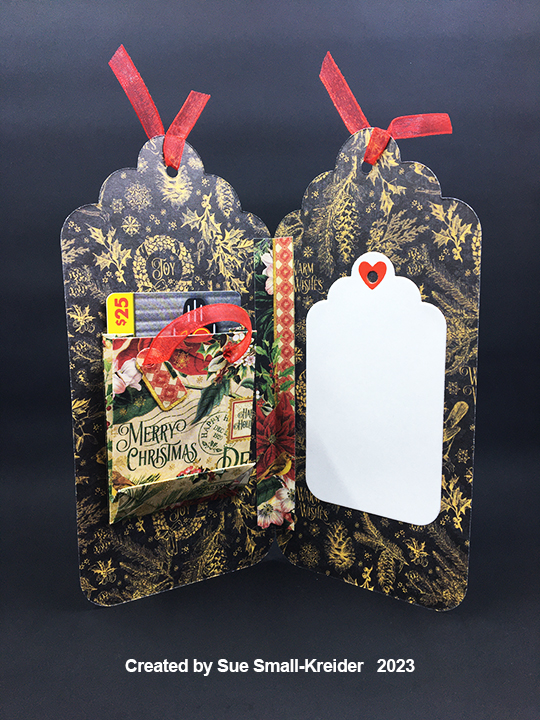
Cardbase: Cut two tags using the largest die in the topper tags set from decorative paper. From the same double-sided paper cut a strip 5×1/2-inch and fold lengthwise in half for the card hinge. Glue the hinge to the tag edges to form the inside of the card. Tie ribbon through the tag hole on each side of the card.
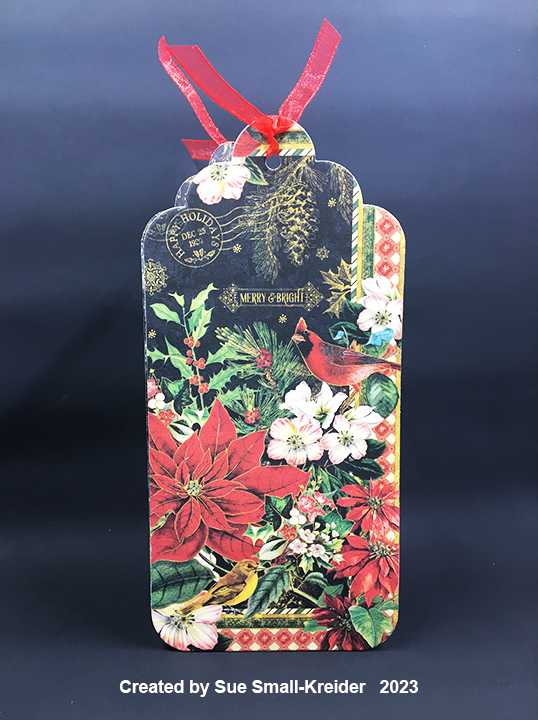
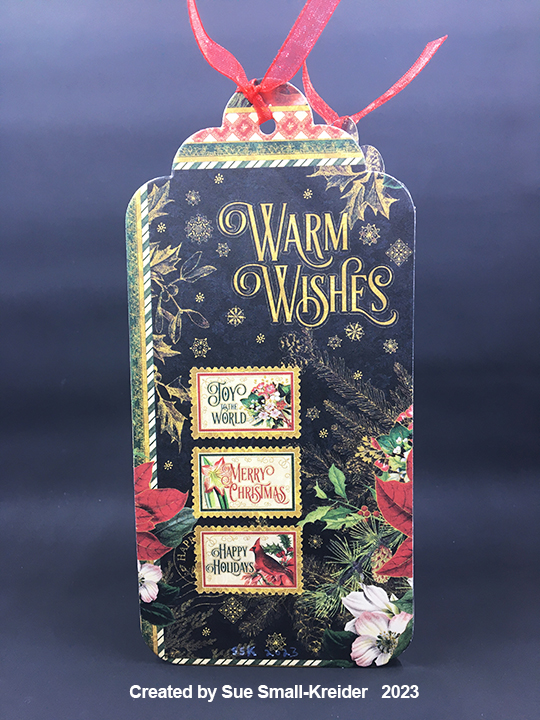
Card FrontCard Back
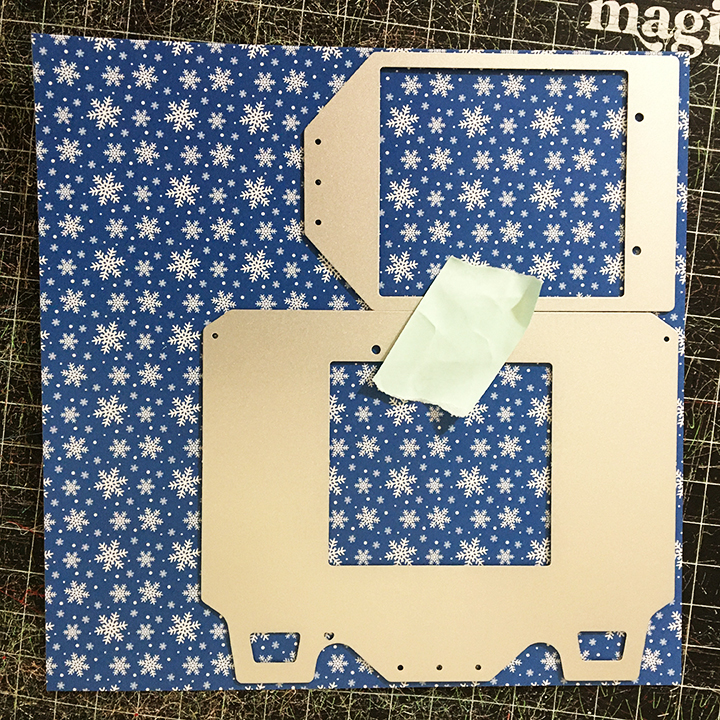
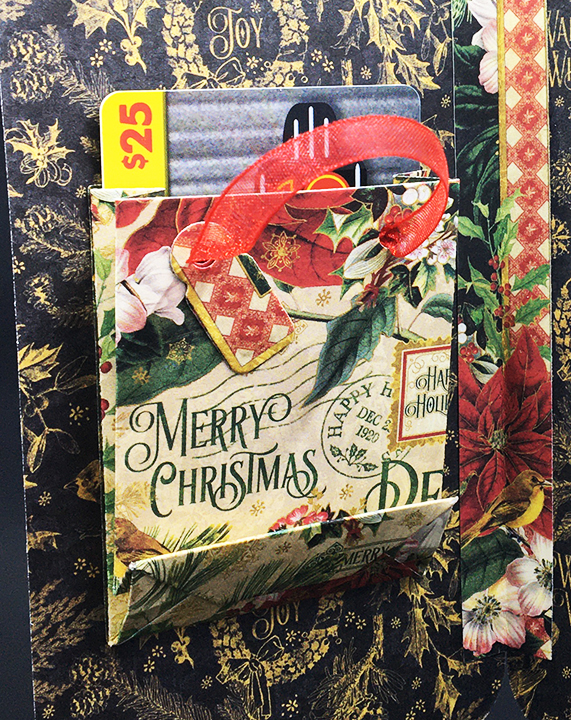
Gift Bag: Plan out what images you want to see on the mini giftbag when it is attached. Center the larger of the two bag dies using the square opening over your desired image making sure the top flat die edge with holes is at the top of your image. (I have a few upside-down paper bags in my stash.) Assemble bag as shown on the packaging. Glue the flat side of the bag to the inside of the card. Add the ribbon handle by threading ribbon through the holes and knotting it inside the bag.
Sentiments: The main sentiments of “Merry & Bright,” “Merry Christmas,” and “Warm Wishes” are all on the decorative cardstock. The white tag label inside for a personal message is cut from smallest tag in the tag set and uses the heart hole protector also in the set.
Envelope: The tag card easily fits into a #10 business envelope.
Thank you for reading this blog post. I hope this inspires you and makes you smile. Please like and leave comments 😊
Need a fun way to give gift cards? Make a gift bag tree.
I used the new Mini Gift Bagdieset by Karen Burniston to make 12 bags using patterned papers from a 12 Days of Christmas collection. You could use a jewelry tree or any other style of tree that would hold a number of bags. I made my own tree from foam core board and clear glitter. I plan to add gift cards, candy, crafting supplies and jewelry to my mini gift bags.
Bags: Cut out the bag pieces using the two bag dies for each bag. (If you use pattern paper with a design that has a top and bottom make sure the flat top of the die with the holes is at the top of your paper’s design top too.) Train the folds of the pieces. (I start with the tabs and fold that goes across near the bottom of the bag and then do the diagonal folds on the side that make the bag bottom fold up.) Fold the large back piece as directed on packaging and then add glue to the long side tabs. Glue front onto tabs. Fold in the tabs on bag bottom and glue shut. (You could use narrow double-sided tape instead of glue.) Let glue dry before adding ribbon or cording for handles. (I threaded the cording through the holes and tied knots to hold the cording inside the bag.) Using the Mini Alphabet and Numbers set, I glued gold numbers onto the front and backs of the bags.
Tree: Trace two of the trees from the downloadable pattern below onto foam core. (Pattern was cut from an 8.5×11-inch sheet of paper.) On one tree I made the slit go from the middle up and the other tree the slit go from the middle down. Using a craft knife cut out the trees. Fit the two trees together and adjust the fit by trimming off bits of the slits as needed. Use white paint (I used gesso) to cover any pen or pencil marks. Place the tree on a large sheet of paper to catch extra glitter. Cover a section of the tree with glue and sprinkle clear glitter over the tree to cover. Use the large sheet of paper to put extra glitter back into its container. Repeat gluing and glittering a new section until tree is covered with glitter.