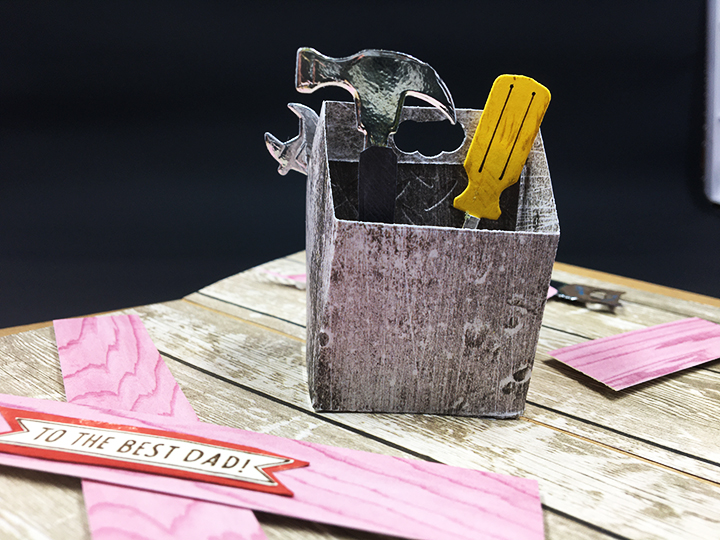
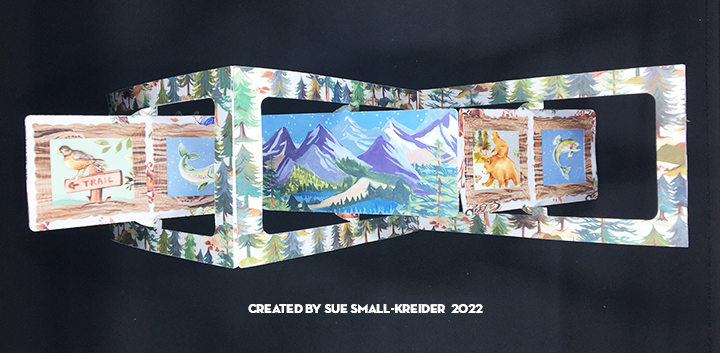
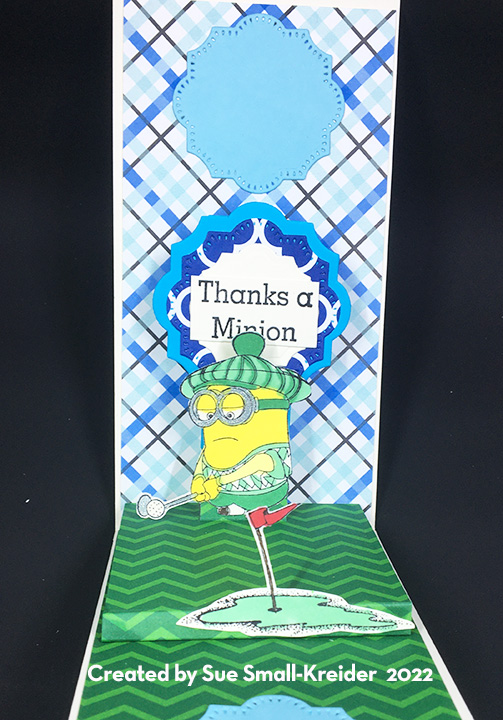
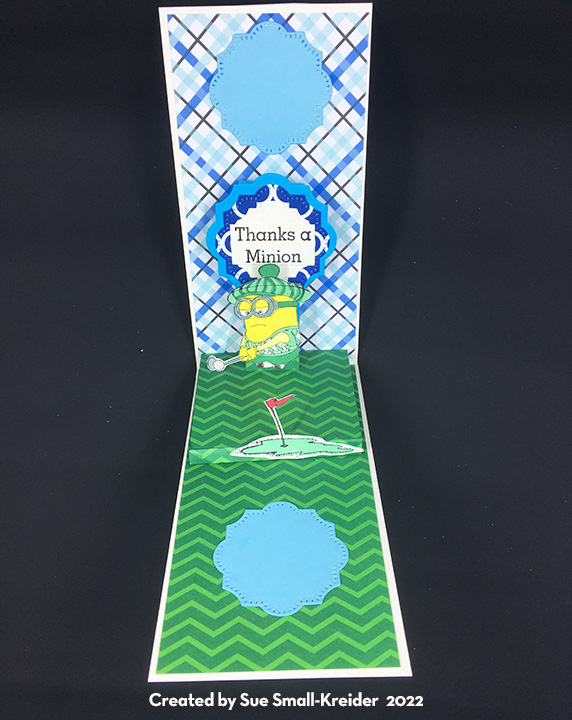
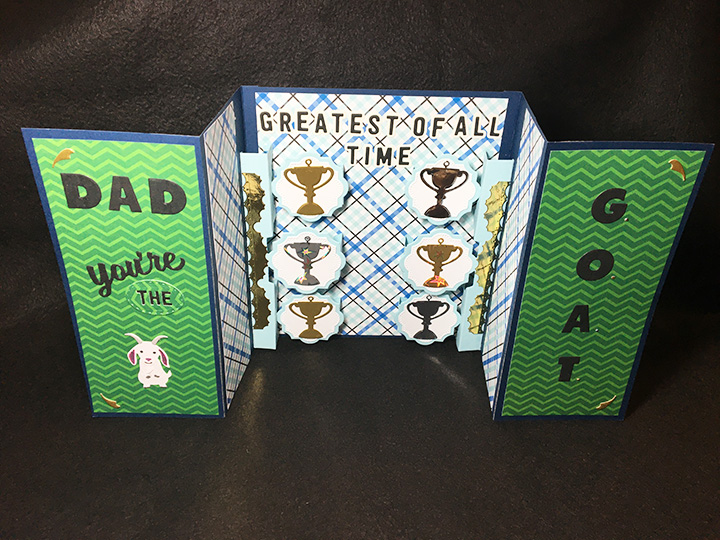
It’s no joke that I’ve created a video tutorial for a fancy fold card. (Warning it is a long video. more like a live video than a short teaching reel.) Click here for video.

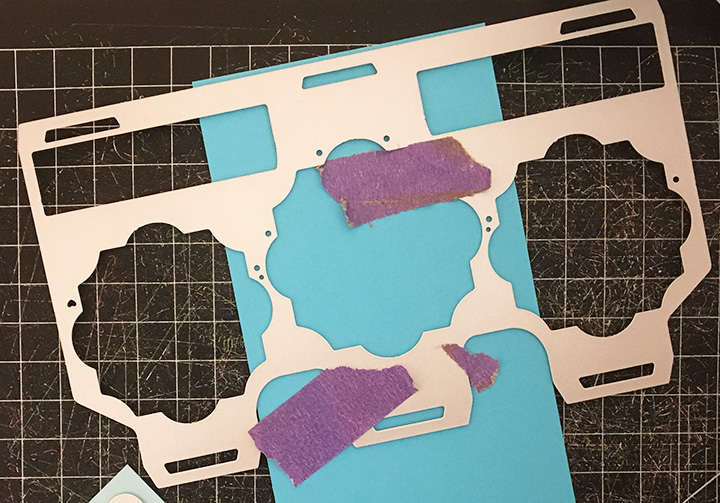
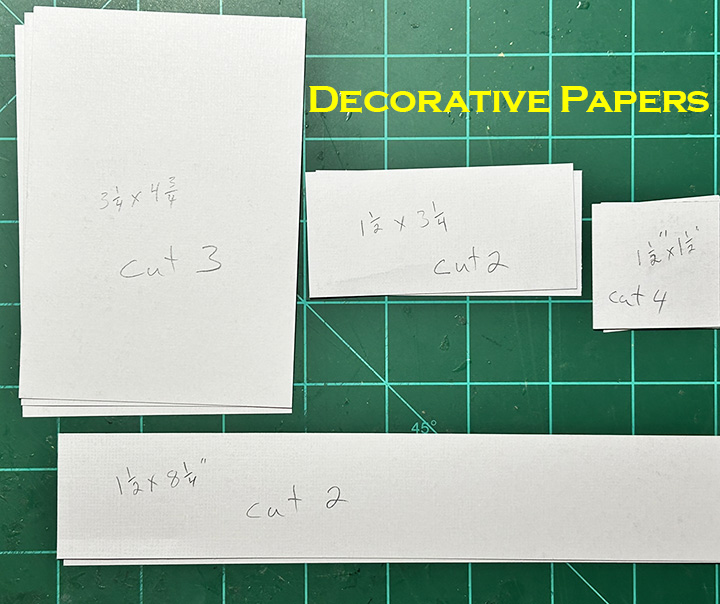
Below are photos of the cardbase measurements and the decorative paper layers measurements.

Thank you for reading this blog post. I hope this inspires you and makes you smile. Please like and leave comments 😊
Materials Used:
Dies
- Karen Burniston in cahoots with Riley and Company – Stocking Pop-Up – 1248
- Karen Burniston in cahoots with Riley and Company – Banners – Crosshatch – 1224
- Karen Burniston in cahoots with Riley and Company – Mini Alphabet and Numbers – 1197
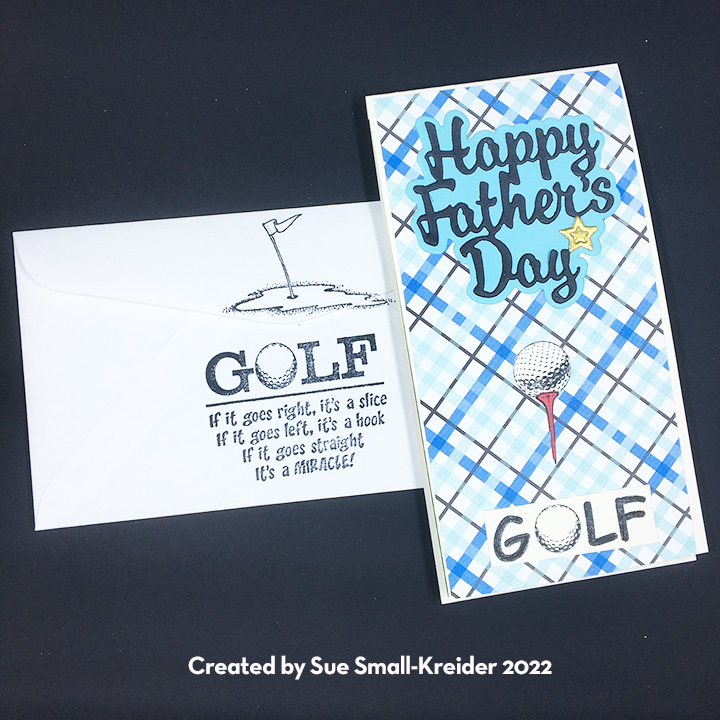
- Karen Burniston in cahoots with Riley and Company – Happy Father’s Day – 1164
- Karen Burniston in cahoots with Riley and Company – Farm Edges – 1097
- Karen Burniston in cahoots with Riley and Company – Cow and Goat – 1093
- Karen Burniston in cahoots with Riley and Company – Knight and Dragon – 1035
- Karen Burniston in cahoots with Riley and Company – Castle Pop-Up – 1033
Stamps
- Riley & Company – Funny Bones – Rubber Stamp – Sir Loin – RWD-1162
Papers
- Core’Dinations – 12×12 inch Single-Sided Papers – Light Green Crosshatch 377870
- Core’Dinations – 12×12 inch Single-Sided Papers – Light Green Plaid 377868
- Core’Dinations – 12×12 inch Single-Sided Papers – Antiqua 378261
- Fun Stampers Journey – 8.5×11-Inch 100lb Cardstock – Pumpkin Bread
- Recollections – 8.5×11-Inch 110lb Cardstock – Apple Green
- Recollections – 8.5×11-Inch 65lb Cardstock – Green
- Black, Cream, Gray and White Cardstock
- Gold Foil Cardboard Packaging
- Ivory Scrap Paper from an envelope
- #10 Business Envelope – Ivory
Ink & Embossing Powder
- Hero Arts -Alcohol-Marker Friendly Ink – Intense Black
- Sharpie – Permanent Marker – Fine Tip – Black
- Sharpie – Permanent Marker – Ultra Fine Tip – Black
- Pigma – Mircon 01 Fine Tip Pen – Black
- Recollections – Detail Embossing Powder – Clear
- Ranger – Tim Holtz Distress Crayon – Brushed Pewter
- Pencil
Adhesives
- Neutral PH Adhesive by LINECO
- Fine-Tip Glue Bottle
- Scor-Tape – Double-Sided Tape -1/8-inch wide
Tools
- Die Cutting Machine
- Bone Folder
- Stamping Platform
- LDRS – Stampendable Stamping Tool
- Kat Scrappiness – Anti-Static Tool
- Heat Tool
- Craft Knife
- Scissors
- T-Ruler
- Metal Ruler/Straight-Edge
- Pencil
- Tombow – Mono – Sand Eraser -512A