Wild Puppy

It’s Sneak Peek Week for Karen Burniston’s November 2025 Release of new dies and stamps.

Today’s cards use the new dies of Playful Pop-Up, Dog and Cat Playful Add-Ons, Greeting Labels, Dog Borders and Woof! as well as Go Wild!, Rectangles – Crosshatch and Waterfall Card. A new stamp set, Dog Sayings, was also used. The dies and stamps will be available for pre-order starting November 24, 2025.

Watch the process video to see how I made this kind of interactive card.

(NOTE: Below are the specifics for the A2 right pull teal colored card.)

Cardbase: I used a purchased kraft side-fold A2 cardbase. Using the largest of the Rectangles – Crosshatch dies, cut two from patterned paper. Adhere the rectangles to the front of the card and to the inside right panel. (Cut a piece of pattern paper 4.5×5.75-inches and save to cover the back panel once the staples have been added to the card assembly.)

Dog Pop-Up: Using the Playful Pop-Up set, cut one of the largest die and the “Y” piece die from a dark brown cardstock. Cut the decorative notched square die from light brown cardstock. Follow the video above to assemble but do so in reverse for a right pull strip. Cut one rectangle .75×1-inch from the patterned paper. Cut one piece of clear thick plastic packaging .75×2.5-inches and another strip of lighter weight acetate .5×3-inches. Cut a cover strip also .5×3-inches from the same pattern paper as the inside panel. (The .5×3-inch pieces are the guide strip.) Once the guide strip over the pull piece has been installed and stapled in place, glue the 4.5×5.75-inch piece of pattern paper over the card back to hid the staples.

From the Dog and Cat Playful Add-Ons die set, cut from a light brown cardstock the paw arms and the dog ears. From dark brown cardstock, cut two of the paw backing die. From black, cut one nose-mouth piece and one set of the small eyeballs. From white, cut one set of large eyeballs. From pink cut one tongue. Watch the video above for how to assemble.

Bow: From the Dog and Cat Playful Add-Ons die set, cut from red cardstock – the largest eyeball, the largest cat ears and the paw arms. Trim off the paw end of the arms to make a fish tail ribbon ends and assemble as shown above.

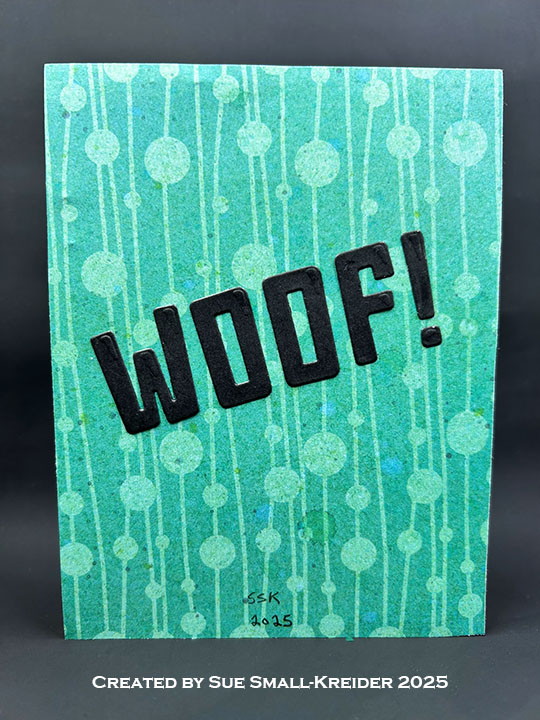
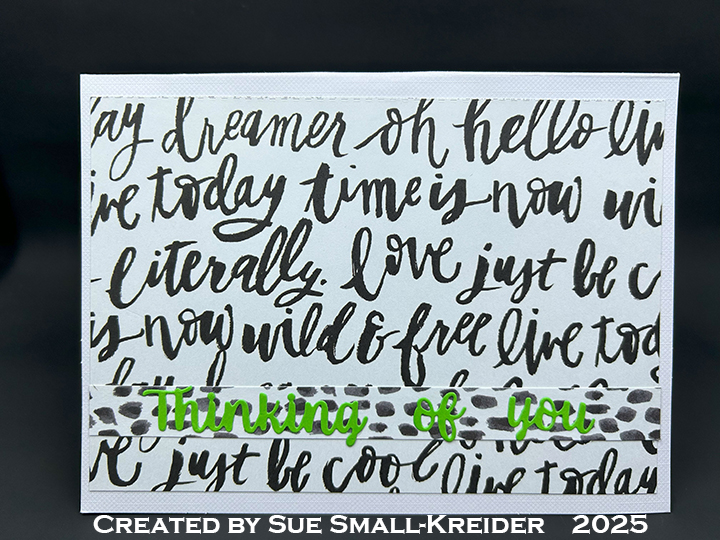
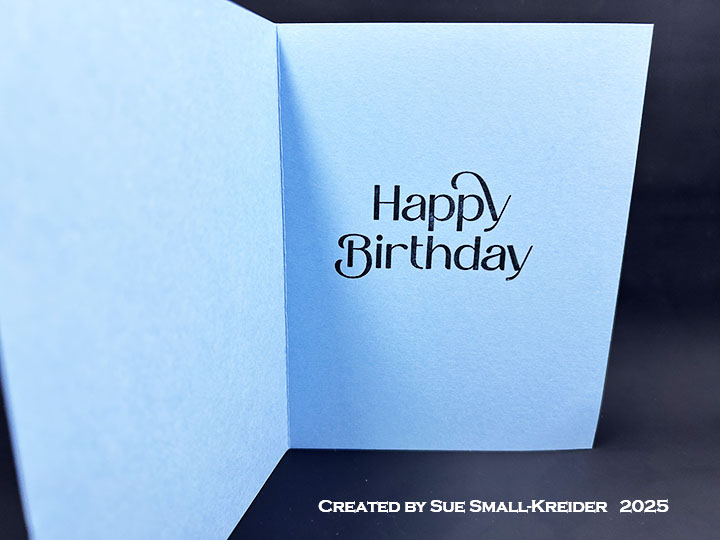
Sentiments: The card sentiments “Go Wild!and “Woof!” are die cut. “Woof! Is used twice inside the card and once on the card back. Inside there is a stamped sentiment of “Your dog thinks you’re cool (and I do too!)” was stamped in black using the Dog Sayings and cut out using the largest oval from the Greeting Labels die set. Paw print is from Dog Borders.

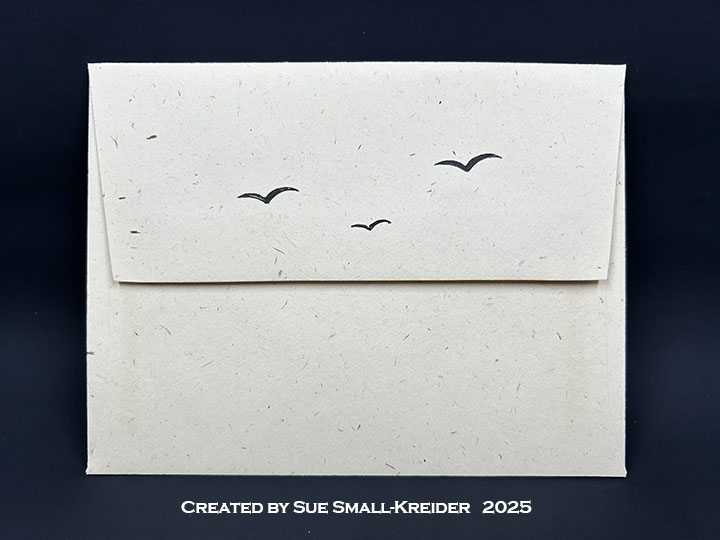
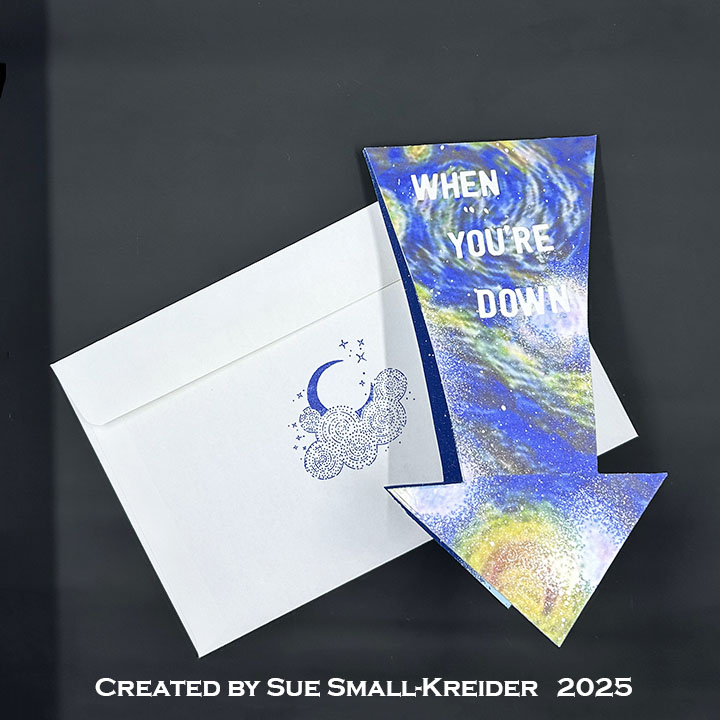
Envelope: The card fits into an A2 (4.25x 5.5-inches) size envelope.

___________________________________

Thank you for experiencing this blog post.

I hope this inspires you and makes you smile.

Please subscribe, like and leave comments 😊

Follow my YouTube channel, Instagram and Pinterest as well.

___________________________________

Disclaimer: Karen Burniston products are provided free of charge by the manufacturer for review and use. All other items were personally purchased. Compensated affiliate links used where or when possible, meaning I will receive a small percentage commission from these manufacturers at no cost to you. This will allow me to add more content to my YouTube channel and help out a lot. Thank you.

Materials Used:

Dies

Stamps

Papers

  • Carabelle Studio – 12×12 Double-Sided Cardstock – Sorbet designed by Azoline
  • Clear Thick Plastic Packaging
  • Grafix – 8.5×11 Dura-Lar Acetate .005 – Clear Film
  • Black, Browns, Cream, Pink, Red and White Cardstock
  • Target – A2 Cardbase and Envelope – Kraft

Ink

Adhesives

Tools

  • Die Cutting Machine
  • Paper Trimmer
  • Stamping Blocks used as paperweights
  • Scissors
  • Stapler
  • Pencil
  • Ruler
  • Craft Mat
  • We R Memories – QuickStick

Miscellaneous

  • Black Organza Ribbon 1/4-inch wide

Autumn Leaves Accordion Card

This card was made for CRAFT ROULETTE #287 whose parameters included “saying hi”, crisp colors, sun/sunny(ies) element, and pennants. Today’s card uses Karen Burniston dies and her new Fall Phrases stamps.

Watch the video below to see how this card was made.

Cardbase: (Watch the assembly video for this die set located at the bottom of the linked page.) Cut three of the Landscape Rectangle Accordion frames from brown cardstock. From one frame die cut two apertures in the pivot panel using the stitched rectangle die in the set. Decorate the panels first and then glue the frames together as shown in the assembly video.

Leaf Pennants: From the Tree Pop-Up die set cut two sets of oak leaves – once from yellow and one from brown. Daub the leaf edges with brown ink and then splatter with white paint and bronze ink to age them. Sandwich a piece 8-10-inches of black sewing thread between two leaves (of the same color) and glue in place. Repeat with remaining leaves. (Note: I lost one of my leave pairs, so I only added five dangling leaves to my card.) Using a thin sewing needle, piece a hole into the top of one of the window apertures panel and pull the thread through the hole, adjust length of leaf thread and tie off the thread. (Make sure to only wrap thread one the window frame below the hole as any thread above the hole will be seen and won’t be covered by the decorative frame.) Repeat with other leaves. Cut four picture frames from dark brown using the wood embossed picture frame die in the set. Glue picture frames over the openings to be centered on panel and cover the thread knots.

Gourds and Leaves: Cut two of each of the leaves and pumpkin dies in the Autumn Elements die set. Daub the edges with brown ink and then splatter with white and black paint to age them. (Note: I cut the yellow leaves from a scrap of paper I had inked with red to get that orange mottling effect.) Cut two tiny pumpkin gourds from orange or white with brown stem vines using the dies from the Haunted Tiny House Add-Ons set. Decorate the first and last panels on both sides using the leaves and pumpkins and gourds.

Sentiments: Using the new Karen Burniston Fall Phrases stamp set, stamp “Hello Gourd-geous!” “Warm Autumn Wishes” and “May your fall be crisp, cozy and colorful” onto white cardstock. Die cut using the last two phrases using the two smallest label dies in the Rectangles and Labels – Crosshatch set. Using a paper trimmer, cut the first phrase into a .8-inch wide stripe and cut a triangle from each end to make it into a fishtail banner. Using the Tropical Scene die set, cut the sun rays from orange and the circle from yellow and glue together to illustrate “Warm Autumn Wishes.”

Card Assembly: Line up the accordion frames in the order you desire after decorating the panels front and back. Train the folds on the frames and panels. Glue the large frames tabs first. Trim off the unused tab. Once the glue has set on the tabs, train the pivot panels movement. Decide which way the panels will move when open and closed. Glue the panels together having one connection behind the joining frames and the other connection going in front of the joining frames. Trim off unused panel tab.

Envelope: The card fits into a mini slimline envelope.

___________________________________

Thank you for experiencing this blog post.

I hope this inspires you and makes you smile.

Please subscribe for email notices, like and leave comments 😊

___________________________________

Disclaimer: Karen Burniston products are provided free of charge by the manufacturer for review and use. All other items were personally purchased. Compensated affiliate links used where or when possible, meaning I will receive a small percentage commission from these manufacturers at no cost to you. This will allow me to add more content to my YouTube channel and help out a lot. Thank you.

Materials Used:

Dies

Stamps

Papers

  • Fun Stampers Journey – 8.5×11 Cardstock – Pumpkin Bread
  • Brown, Oranges, Red, White and Yellows Cardstock Scraps

Ink

  • Memento – Fade Resistant Dye ink – Tuxedo Black
  • Hero Arts – Acrylic Spray – Opaque White
  • Hero Arts – Silk Ink – Bronze
  • Ranger – Tim Holtz – Distress Ink – Vintage Photo
  • Sakura – Gelly Roll Pen – Medium – White
  • Spellbinders – Splatter Effects – Black

Adhesives

Tools

  • Die Cutting Machine
  • Paper Trimmer
  • Riley and Company – Pick & Poke Tool
  • Stamping Blocks
  • Scissors
  • Paper Masking Tape
  • Sponge Dauber
  • Sewing Needle

Miscellaneous

  • Black Sewing Thread

Pumpkin Spice Coffee

There’s a new mini release of five new stamp sets from Karen Burniston. For this card I’ve used the new Fall Phrases and Coffee Chat sentiment stamps along with previously released die sets – Fancy Label Accordion, Haunted Tiny House Add-Ons, Tea and Coffee Pop-Up and Fancy Solid Frame.

Cardbase: Cut three of the accordion frames from a plaid cardstock and followed the the assembly video for the Fancy Label Accordion die set. (Assembly video is at the bottom of the linked page for the die set.) Glue the frames together using the long tabs. Cut three sets of the Fancy Solid Frame and adhere to the back side of the accordion frames to hide the connecting tabs.

Card Front: Using the decorator dies in the Fancy Label Accordion set, cut a large plaid label and a smaller white label. Stamp on the white label “Let’s give ’em pumpkin to talk about” from the Fall Phrases stamp set. Glue the labels together and them on to the back of the lead pivot panel. From orange and green cardstock, cut and emboss the small pumpkin from the Haunted Tiny House Add-On die set. Glue to the label.

Coffee Mugs: Cut three of the mugs from white cardstock and two from the plaid cardstock using the Tea and Coffee Pop-Up die set. Stamp coffee sentiments onto the white mugs using the Coffee Chat stamp set. Adhere the mugs to the front and back of the pivot panels.

___________________________________

Thank you for experiencing this blog post.

I hope this inspires you and makes you smile.

Please subscribe to the email notices, like and leave comments 😊

___________________________________

Disclaimer: Karen Burniston products are provided free of charge by the manufacturer for review and use. All other items were personally purchased. Compensated affiliate links used where or when possible, meaning I will receive a small percentage commission from these manufacturers at no cost to you. This will allow me to add more content to my YouTube channel and help out a lot. Thank you.

Materials Used:

Dies

Stamps

Papers

  • Dress My Craft – 12×12 in Single-Sided Cardstock – Baby Brown Gingham Checks
  • Green, Orange and White Cardstock

Ink

  • Memento – Fade Resistant Dye ink – Tuxedo Black
  • Pigma – Mircon 005 Fine Tip Pen – Black

Adhesives

Tools

  • Die Cutting Machine
  • Paper Trimmer
  • Stamping Platform
  • Stamping Blocks as Paper Weights
  • Scissors
  • Paper Masking Tape
  • We R Memories – QuickStick

Sweater Weather Pop-Up Card

There’s a new mini release of five new stamp sets from Karen Burniston. For this card I’ve used the new Fall Phrases sentiment stamps along with previously released die sets – Cupcake Pop-Up, Coffee Charms, Tiny Trees Pop-Up, Border Blends – Trims, Bam Box Pop-Up and Display Helpers.

Watch the video below to learn how I made this card.

Cardbase: Start with an 11×4.25-inch rectangle of cream colored cardstock. Score and fold at 5.5-inches to form an A2 (4.25×5.5-inch) side-fold card. Watch video above for how the four panels are covered.

Card Back

Card Front: Cut a 4.125×5.25-inch rectangle of cream cardstock. Cut .5-inch wide stripes of decorative paper to be used as a mat behind the rectangle above. Adhere strips as shown in video above to the front panel of the cardbase.

Watch the assembly videos at the bottom of each of the dies’ linked pages. Die cut from red and orange cardstock backed with double-sided tape (I had scraps from cutting rainbows) lots of the two types of leaves in the Tiny Trees Pop-Up set. Use brown ink to age the leaves.

From the Border Blends – Trims die set, cut six of the wave strands in die #1. Weave/braid two strands together as shown in the video above. Repeat with rest of strands to form the three cable sweater stripes that are on the front panel. Glue in the center of the cream panel. trim as needed.

Cut and assemble two coffee cups-to-go from the Coffee Charms set. (I used the package design to make mine.)

Once the leaves were added to the panel, I splattered some bronze ink onto the panel and then added some flat glitter spots. My leftover leaves were used to decorate the card back and the inside of the card.

Pop-Up Platform: Watch the assembly video at the bottom of the Cupcake Pop-Up linked page. Then follow the steps in the video above for how I glued the pop-up platform into the card. I added a display helper to keep the card open. Watch the assembly video for the Display Helpers to see how the “LIFT” piece is installed. (Circled in photo below.)

Card Front

Sentiments: All the sentiments were stamped in black ink using the Fall Phrases stamps set. They were cut and embossed using various dies in the Bam Box Pop-Up set. See the video above for how the labels were embossed.

___________________________________

Thank you for experiencing this blog post.

I hope this inspires you and makes you smile.

Please subscribe to the email notices, like and leave comments 😊

___________________________________

Disclaimer: Karen Burniston products are provided free of charge by the manufacturer for review and use. All other items were personally purchased. Compensated affiliate links used where or when possible, meaning I will receive a small percentage commission from these manufacturers at no cost to you. This will allow me to add more content to my YouTube channel and help out a lot. Thank you.

Materials Used:

Dies

Stamps

Papers

  • Stamperia – 12×12-inches Double-Sided Paper – Winter Botanic
  • Stampin’ Up – 8.5×11-inches Cardstock – Tea Room
  • Orange, Red and White Cardstock

Ink

  • Hero Arts – Silk Ink – Bronze
  • Memento – Fade Resistant Dye ink – Tuxedo Black
  • Ranger – Tim Holtz – Distress Ink – Rustic Wilderness, Vintage Photo
  • Sharpie – Permanent Marker – Ultra Fine Point – Black

Adhesives

Tools

  • Die Cutting Machine
  • Paper Trimmer
  • Stamping Platform
  • LDRS – Stampendable Stamping Tool
  • Stamping Blocks used as paperweights
  • Sponge Daubers
  • Scissors
  • Riley and Company – Pick & Poke Tool
  • Paper Masking Tape

Miscellaneous

  • Trinity Stamps – Flat Glitter Confetti Spots – Black, Orange

Getting Skinny

This card was made to celebrate Simon Says Stamp! Stamptember with Riley & Company’s The Dog Life stamp set and coordinating dies. It also uses pop-up dies by Karen Burniston.

Watch the video to see how this card was made.

Woven Basket: The base of this basket card that can fold flat, is Karen Burniston’s Woven Basket Box Card. The grass inside is also from the same set. For assemble see video above. A black alcohol marker was used on the coated gold cardstock to make the nail heads on the basket frame.

Sentiments: The main sentiment on the card was stamped in black ink and die cut using the coordinating dies in The Dog Life stamp set. It is on the round stem piece from the Bouquet Bits die set. The white fancy label on the basket back is for a personal message and is cut using the fancy label die in the Triple Platform Pop-Up set.

Tree: The tree was cut from some doubled-sided scrap patterned papers using the Tree Pop-Up die set.

___________________________________

Thank you for experiencing this blog post.

I hope this inspires you and makes you smile.

Please subscribe to the email notices, like and leave comments 😊

___________________________________

Disclaimer: Riley & Company and Karen Burniston products are provided free of charge by the manufacturer for review and use. All other items were personally purchased. Compensated affiliate links used where or when possible, meaning I will receive a small percentage commission from these manufacturers at no cost to you. This will allow me to add more content to my YouTube channel and help out a lot. Thank you.

Materials Used:

Dies

Stamps

  • Simon Says Stamp! – Riley and Company – Clear Stamps – The Dog Life -3319ssc

Papers

  • Brown and Green Patterned Cardstock Scraps
  • Green and White Cardstock
  • Park Lane – 8.5×11 Cardstock – Gold Shimmer Sheets
  • White 4×6-inch Catalog Envelope

Ink

  • American Crafts – Metallic Marker – Silver
  • Memento – Fade Resistant Dye ink – Tuxedo Black
  • Nuvo – Highly Pigmented Watercolour Pencils – Brilliantly Vibrant and Hair & Skin Tones
  • Pigma – Mircon 01Fine Tip Pen – Black
  • Sharpie – Permanent Marker – Ultra Fine Tip – Black

Adhesives

Tools

  • Die Cutting Machine
  • Stamping Platform
  • Brutus Monroe – Stick & Stamp Mat
  • LDRS – Stampendable Stamping Tool
  • Stamp Shammy
  • Scissors
  • Pencil
  • Paper Masking Tape
  • Waterbrush

Pop-Up Floral Bouquet Teacup Card

This card was made for CRAFT ROULETTE #280 whose parameters included a thinking of you project, hometown colors, cup or glass element, and add a doodle. Today’s card uses Karen Burniston dies and stamps along with a pop-up die set from Paper Discovery.

Watch the video below to see how this card was made.

Cardbase:  I started with a purchased A6 sized (4.625×6.25-inches) cardbase and matching envelope. I covered the four panels with decorative paper from a 6×8-inch paper pad from American Crafts.

Teacup Pop-Up:  Watch the video above to see how the teacup and saucer were assembled. They were die cut from white cardstock using Paper Discovery dies by Olga Direktorenko – Teacup Fairies Timeless Tea Set Pop-Up Die Set. (This die set came out in 2020.) The flowers are from the Flowers and Bee die set.

Sentiments:  “Thinking of you” on the card front is die cut in green using Word Set 1 – Greetings. The label for a personal message is the is from the Rectangles – Crosshatch die set. The smaller label cut using the label die in the Bouquet Bits die set and is stamped in black brown ink using the Bouquet Sayings stamp set.

Envelope:  The back flap is stamped with “Craft Roulette”.

___________________________________

Thank you for experiencing this blog post.

I hope this inspires you and makes you smile.

Please like and leave comments 😊

___________________________________

Disclaimer: Karen Burniston products are provided free of charge by the manufacturer for review and use. All other items were personally purchased. Compensated affiliate links used where or when possible, meaning I will receive a small percentage commission from these manufacturers at no cost to you. This will allow me to add more content to my YouTube channel and help out a lot. Thank you.

Materials Used:

Dies

Stamps

Papers

  • American Crafts – 6×8 in Paper Pad – Everdyday Papers
  • Park Lane Paperie – A6 (4.625×6.25-inches) Cardbases and Envelopes – Textured White
  • Silver Envelope Scrap
  • White Cardstock

Ink

  • Memento – Fade Resistant Dye ink – Tuxedo Black
  • Pigma – Mircon 03 Fine Tip Pen – Black
  • Sharpie – Permanent Marker – Fine Point – Black

Adhesives

Tools

  • Die Cutting Machine
  • Paper Trimmer
  • Stamping Blocks
  • Piecing/Pick-Up Tool
  • Scissors
  • Paper Masking Tape

Sandy Dunes Birthday Card

I just got the July 2025 Simon Says Stamp Card Kit with the theme of Windows on the World. Using the Landscapes stencil from the kit, made this sand dunes scene Birthday card.

Cardbase: Start with a 4.25 x 11-inch piece of cardstock and fold in half to form a side-fold A2 (4.25×5.5-inch) card.

Stenciled Scene: Using the stencil by sticking the 4.25×5.5-inch white cardstock panel through the water patterns slots, I worked my way from the bottom up to build water waves coming ashore, then the sand dunes and finally the cloudy sky. The water used the two darker shades of blue while the sky used the lightest blue. The stencil includes three birds in flight, which I stenciled on using a fine tipped black marker.

Sentiments:  All the sentiments come from the Through The Window stamp set.

Envelope:  The card fits into an A2 (4.25x 5.5-inches) size envelope stenciled with the three birds on the back flap.

___________________________________

Thank you for experiencing this blog post.

I hope this inspires you and makes you smile.

Please like and leave comments 😊

___________________________________

Disclaimer: Karen Burniston products are provided free of charge by the manufacturer for review and use. All other items were personally purchased. Compensated affiliate links used where or when possible, meaning I will receive a small percentage commission from these manufacturers at no cost to you. This will allow me to add more content to my YouTube channel and help out a lot. Thank you.

Materials Used:

Stencils

  • Simon Says Stamp! – 6×6-inch Plastic Stencil – Landscapes

Stamps

  • Craft Roulette – Clear Stamps – Through The Window

Papers

  • SpellBinders – 8.5×11-inch -100lb Cardstock – Raindrop
  • White Cardstock
  • Fraser Papers for William House – A2 Envelope – Genesis Text Husk Smooth

Ink

  • Memento – Fade Resistant Dye ink – Tuxedo Black
  • Pigma – Mircon 03 Fine Tip Pen – Black
  • Stampin’ Up – Classic Stampin’ Pad – Azure Afternoon, Balmy Blue, Crumb Cake, Pacific Point

Adhesives

Tools

  • Die Cutting Machine
  • Paper Trimmer
  • Stamping Platform
  • LDRS – Stampendable Stamping Tool
  • Stamping Blocks used as paperweights
  • Scissors
  • Paper Masking Tape
  • We R Memories – QuickStick

Arrow Shaped Card – Look At The Stars

This card was made for CRAFT ROULETTE #275 whose parameters were include an ATC, starry night colors, down element, and white dots. I chose to make a shaped card that includes an ATC (Artist Trading Card.)

Watch the process video to see how I made this card.

Cardbase:  I started with two pieces of 4.125×11-inch white cardstock. Traced around the arrow pattern I made from scrap paper and cut both of the arrows at the same time. I trimmed one arrow, at the wide end, off by .5-inch to let the other arrow have a tab to connect the the two pieces together. (After I completed the card, I found it was a little too long to fit in an 6×9-inch catalog size envelope, so I trimmed the arrow tip a little to made it fit.)

Sentiments: I used Karen Burniston’s Mini Alphabet to make the “When you’re down, Look up to the stars” sentiment. (I lined the letters up on my grid mat and used low tack tape the pick them up in line and then added glue, pressed in place on the card and finally lifted the tape off, pressing letters onto card.)

Envelope:  The card fits into an catalog size envelope (6x 9-inches).

___________________________________

Thank you for experiencing this blog post.

I hope this inspires you and makes you smile.

Please like and leave comments 😊

___________________________________

Disclaimer: Karen Burniston products are provided free of charge by the manufacturer for review and use. All other items were personally purchased. Compensated affiliate links used where or when possible, meaning I will receive a small percentage commission from these manufacturers at no cost to you. This will allow me to add more content to my YouTube channel and help out a lot. Thank you.

Materials Used:

Dies

Stamps

  • Penny Black – Clear Stamps – My Universe

Stencils

  • Stampers Anonymous – Tim Holtz – Hocus Pocus

Papers

  • Digital Printed Starry Starry Night Paper
  • Spellbinders – 8.5×11-inch 100lb Cardstock – Cosmic Sky
  • What Cardstock
  • White Catalog Envelope

Ink

  • Hero Arts – Acrylic Spray – Opaque White
  • Memento – Fade-Resistant Dyke Ink – Paris Dusk
  • Pigma – Mircon 05 Fine Tip Pen – Black
  • Ranger – Tim Holtz – Distress ink – Fossilized Amber
  • Sakura – Gelly Roll Pen – Medium – White
  • Spellbinders – Opaque Watercolor – Splatter White

Adhesives

Tools

Dress-Shaped Card

This card was made for Craft Roulette #268 whose parameters included a card for a student, modern colors, clothing element, and abstract blob(s). I made an A9  shaped-card of encouragement for a student of life.

Watch the process video to see how I made this card.

Cardbase:  Using a 5.5×8.5 sheet of paper fold in half- long ways and draw one side of a dress. Cut the dress out and use as a pattern to trace for two dresses on an 8.5×11 sheet of cardstock. Add tabs to shoulders of one dress as hinges to create the shaped card.   

Sentiments:  All the sentiments are stamped using rubber stamps from Riley & Company’s Funny Bones collection, except for the “Go Girl Go” which was die cut using Karen Burniston’s Mini Alphabet die set.

Envelope:  The card fits into a catalog envelope (6×9-inches).

___________________________________

Thank you for experiencing this blog post.

I hope this inspires you and makes you smile.

Please like and leave comments 😊

___________________________________

Disclaimer: Karen Burniston products are provided free of charge by the manufacturer for review and use. All other items were personally purchased. Compensated affiliate links used where or when possible, meaning I will receive a small percentage commission from these manufacturers at no cost to you. This will allow me to add more content to my YouTube channel and help out a lot. Thank you.

Materials Used:

Dies

Stamps

  • Riley & Co. – Funny Bones – Rubber Stamp – Whatever You Do – RWD-822
  • Riley & Co. – Funny Bones – Rubber Stamp – Life is Better – RWD-464

Stencils

  • Honey Bee Stamps – Stencil set – Winter Wonder Scene Builder – HBSL-11

Papers

  • White 80lb. Cardstock

Ink

  • Sunbird Spark – Velvety Dye Ink – Ochre, Olive Grove, Puya

Adhesives

Tools

  • Die Cutting Machine

Miscellaneous

  • Mint Green Ribbon