This is the third in a series of cards that have shelves as the main element of the card.

Today’s card is a tri-fold house card with a cozy room scene with a bookcase made using dies by My Favorite Things.
Watch the process video to see how I made this card.

Cardbase: The cardbase is a slimline size made from a 7 .75×8.5-inch rectangle folded in half and a 4.25×6.5-inch rectangle. Watch the tutorial video to see the details of the cardbase assembly.

Sentiment: The “hello” on the card front is a die in the Concord & 9th On Display Pop-Up die set. There is a third panel that a personal message can be added to the card.

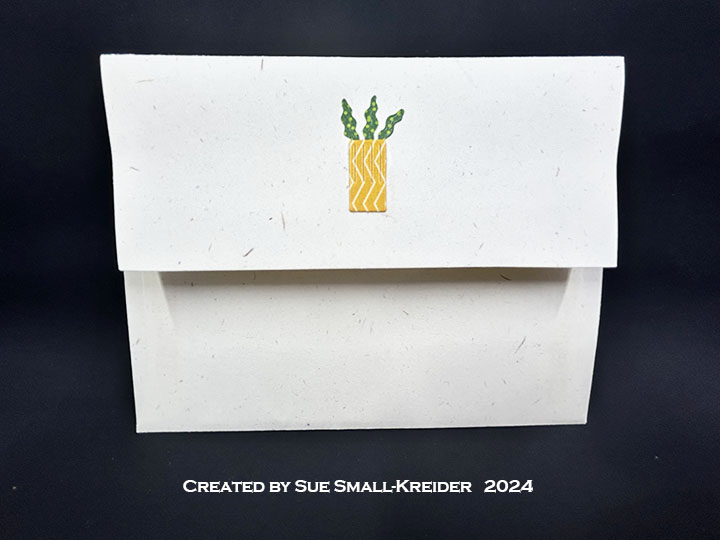
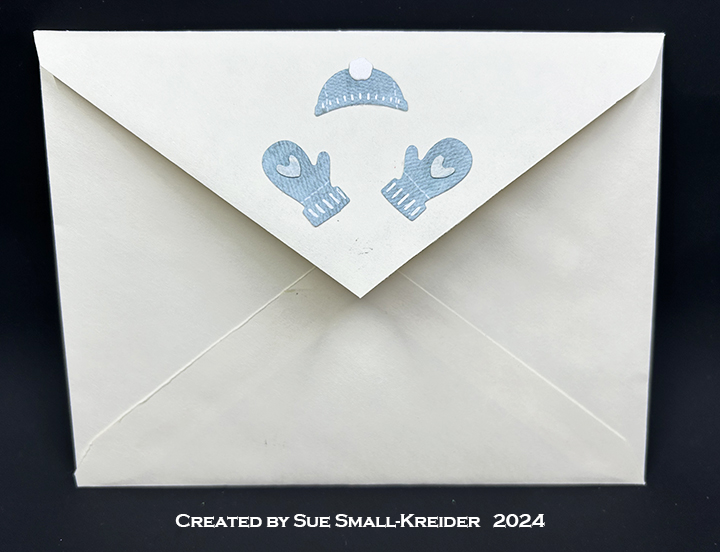
Envelope: The card fits into a #10 business envelope. The back flap is decorated with a coffee mug from the My Favorite Things Be Your Own Barista die set.


___________________________________
Thank you for experiencing this blog post.
I hope this inspires you and makes you smile.
Please like and leave comments 😊
___________________________________
Disclaimer: Karen Burniston products are provided free of charge by the manufacturer for review and use. All other items were personally purchased. Compensated affiliate links used where or when possible, meaning I will receive a small percentage commission from these manufacturers at no cost to you. This will allow me to add more content to my YouTube channel and help out a lot. Thank you.
Materials Used:
Dies
- Concord and 9th – Metal Dies – On Display Pop-Up
- My Favorite Things – Premium Steel Die – Be Your Own Barista
- My Favorite Things – Premium Steel Die – Décor and More
- My Favorite Things – Premium Steel Die – Fundamental Furnishings
- My Favorite Things – Premium Steel Die – Picture Window
- My Favorite Things – Premium Steel Die – Potted Plants
- My Favorite Things – Premium Steel Die – Room Decor
- My Favorite Things – Premium Steel Die – Take A Seat
Embossing Folders
- Honey Bee Stamps – 3D Embossing Folder – Rustic Brick Wall
Papers
- Bazzill – 8.5×11 Cardstock – Tiara -18-1002
- Stampin’ Up – 8.5×11 Thick Basic White Cardstock
- Patterned Paper Scraps
- Blue, Browns, Greens, Gray and Red Cardstock Scraps
- #10 Business Envelope – Kraft
Ink & Pigment
- Ranger – Tim Holtz – Distress Ink – Lumberjack Plaid
- Ranger – Tim Holtz – Distress Watercolor Pencil – Crushed Olive
- Pigma – Mircon 01 Fine Tip Pen – Black
- Sharpie – Permanent Marker – Ultra Fine Tip – Blue
- Stampin’ Up Stampin’ Write Marker – Chocolate Chip
Adhesives
- Neutral PH Adhesive by LINECO
- Fine-Tip Glue Bottle
- Double-Sided Tape – 1/4-inch wide
Tools
- Die Cutting Machine
- Paper Trimmer
- Bone Folder
- Score Board
- Stamping Blocks used as paperweights
- Scissors
- Pencil
- T-Ruler
- Sponge Daubers
- Paper Masking Tape
- Tweezers
- Waterbrush