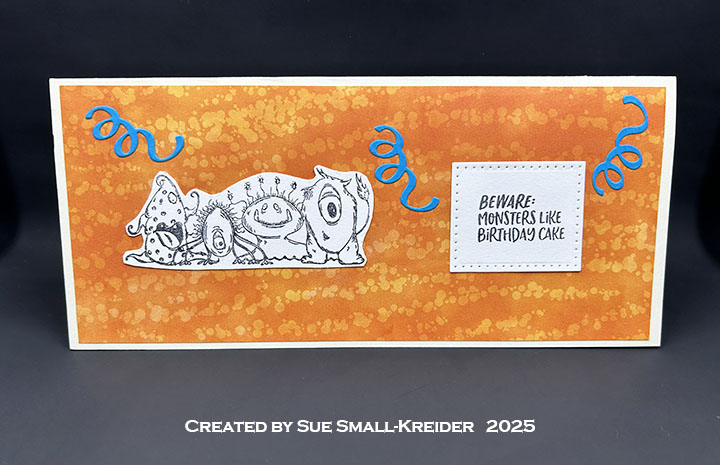
This card was made for CRAFT ROULETTE #280 whose parameters included a thinking of you project, hometown colors, cup or glass element, and add a doodle. Today’s card uses Karen Burniston dies and stamps along with a pop-up die set from Paper Discovery.

Watch the video below to see how this card was made.
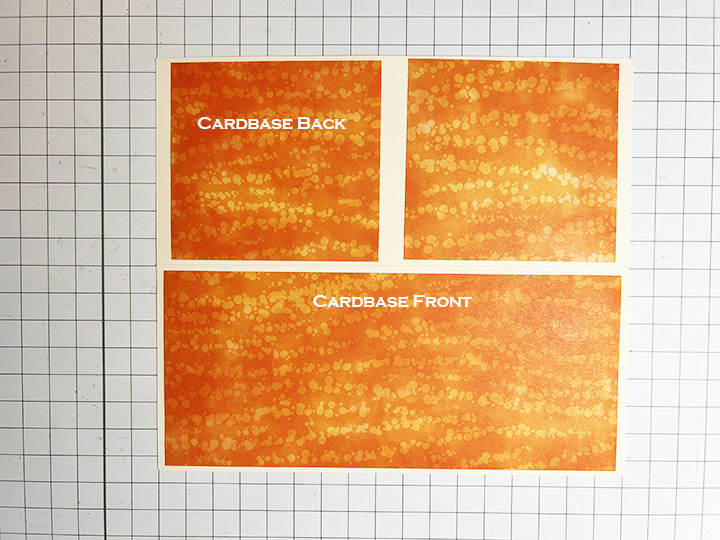
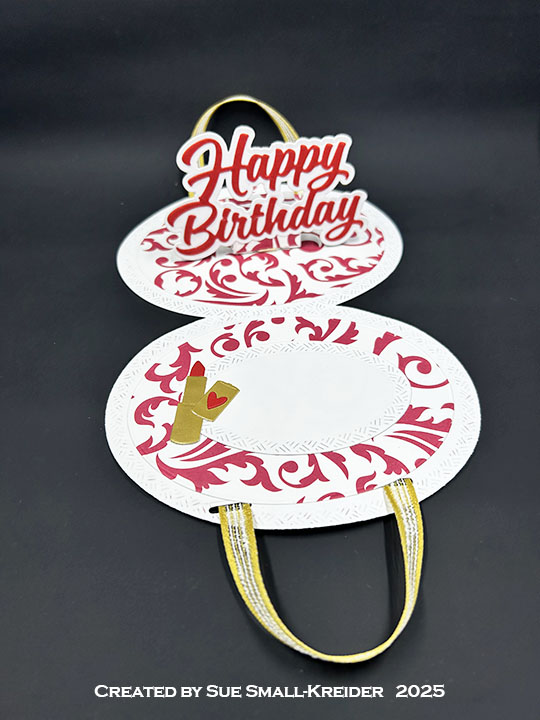
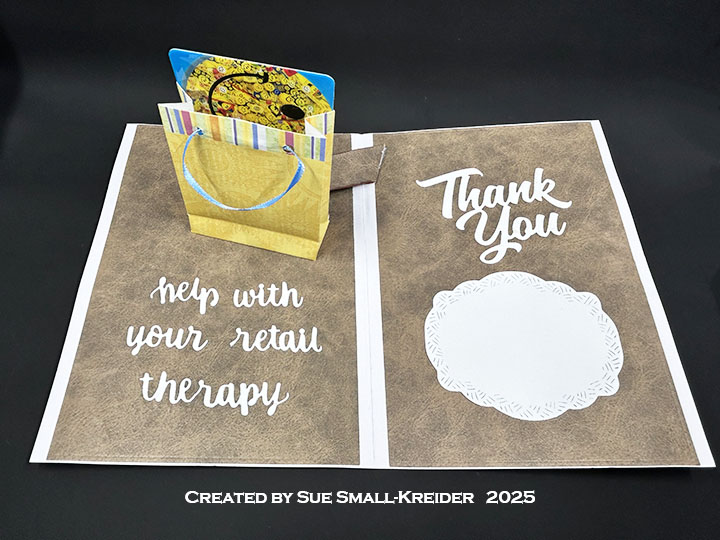
Cardbase: I started with a purchased A6 sized (4.625×6.25-inches) cardbase and matching envelope. I covered the four panels with decorative paper from a 6×8-inch paper pad from American Crafts.
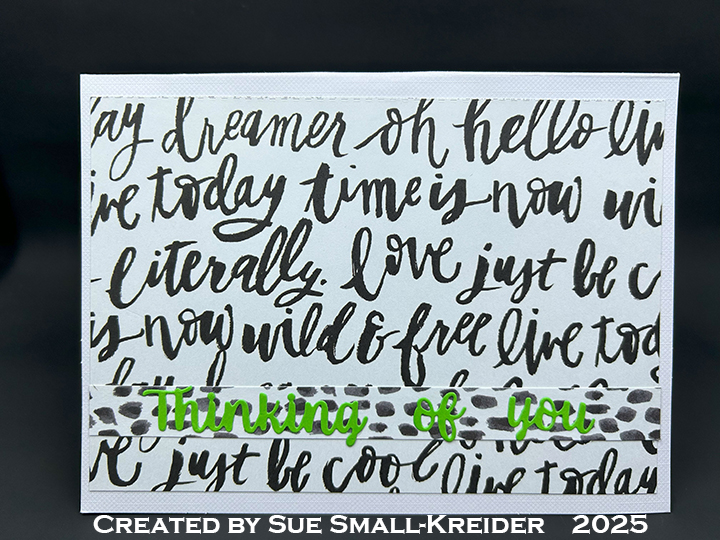

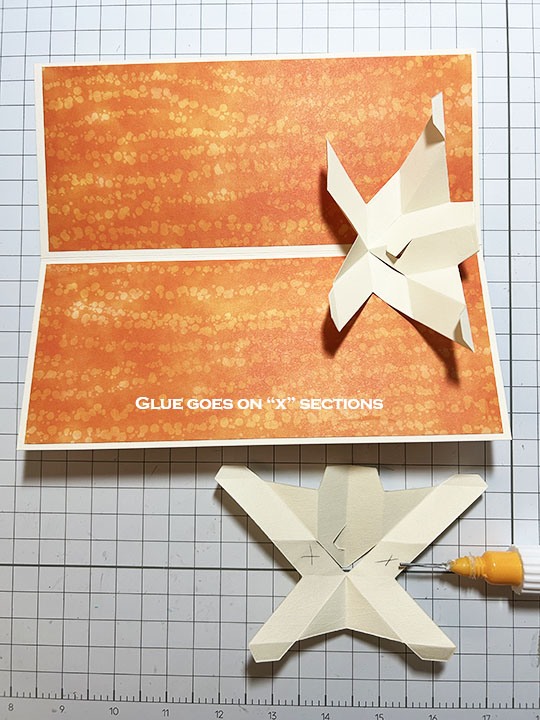
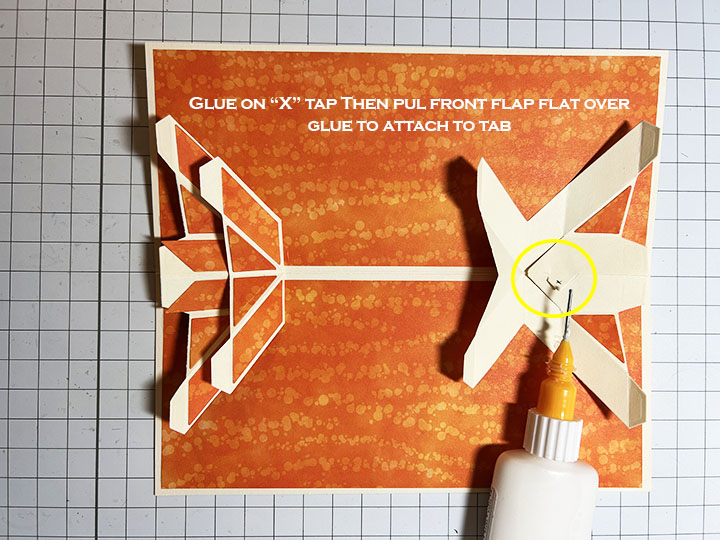
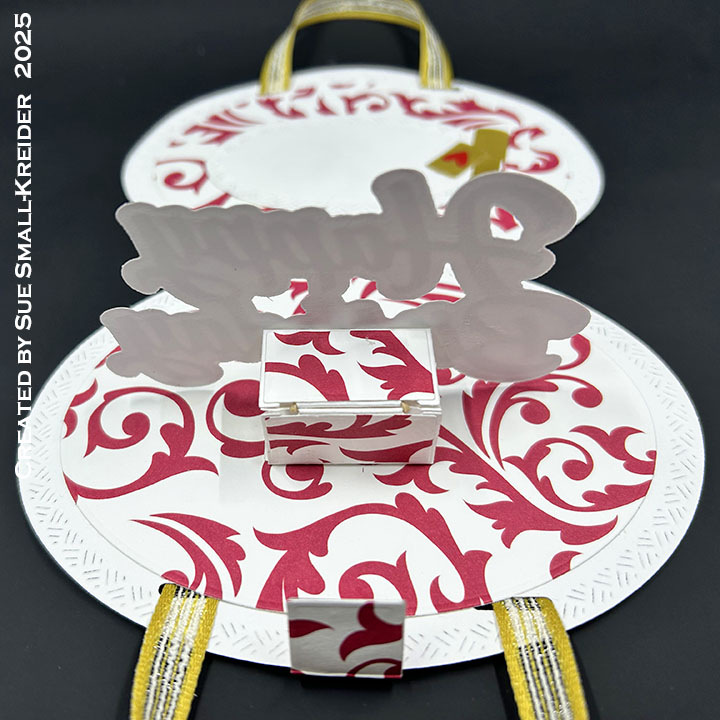
Teacup Pop-Up: Watch the video above to see how the teacup and saucer were assembled. They were die cut from white cardstock using Paper Discovery dies by Olga Direktorenko – Teacup Fairies Timeless Tea Set Pop-Up Die Set. (This die set came out in 2020.) The flowers are from the Flowers and Bee die set.

Sentiments: “Thinking of you” on the card front is die cut in green using Word Set 1 – Greetings. The label for a personal message is the is from the Rectangles – Crosshatch die set. The smaller label cut using the label die in the Bouquet Bits die set and is stamped in black brown ink using the Bouquet Sayings stamp set.

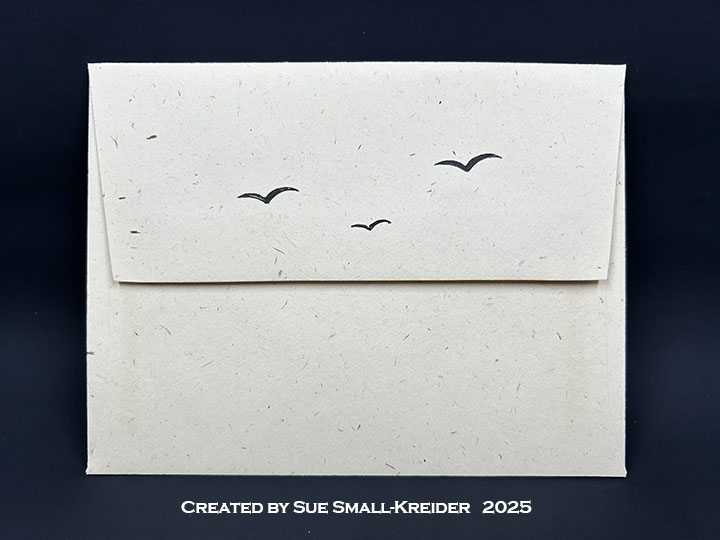
Envelope: The back flap is stamped with “Craft Roulette”.
___________________________________
Thank you for experiencing this blog post.
I hope this inspires you and makes you smile.
Please like and leave comments 😊
___________________________________
Disclaimer: Karen Burniston products are provided free of charge by the manufacturer for review and use. All other items were personally purchased. Compensated affiliate links used where or when possible, meaning I will receive a small percentage commission from these manufacturers at no cost to you. This will allow me to add more content to my YouTube channel and help out a lot. Thank you.
Materials Used:
Dies
- Karen Burniston in cahoots with Riley & Company – Bouquet Bits – 1293
- Karen Burniston in cahoots with Riley & Company – Rectangles-Crosshatch – 1054
- Karen Burniston in cahoots with Riley & Company – Flowers and Bee – 1026
- Karen Burniston in cahoots with Riley & Company – Word Set 1 – Greetings – 1002
- Paper Discovery by Olga Direktorenko – Teacup Fairies Timeless Tea Set Pop-Up Die Set
Stamps
- Craft Roulette – Clear Stamps – The Basics
- Karen Burniston in cahoots with Riley & Company – Clear Stamps – Bouquet Sayings
Papers
- American Crafts – 6×8 in Paper Pad – Everdyday Papers
- Park Lane Paperie – A6 (4.625×6.25-inches) Cardbases and Envelopes – Textured White
- Silver Envelope Scrap
Ink
- Memento – Fade Resistant Dye ink – Tuxedo Black
- Pigma – Mircon 03 Fine Tip Pen – Black
- Sharpie – Permanent Marker – Fine Point – Black
Adhesives
Tools
- Die Cutting Machine
- Paper Trimmer
- Stamping Blocks
- Piecing/Pick-Up Tool
- Scissors
- Paper Masking Tape