This card was made for Craft Roulette #201 whose parameters included an easel card, quiet colors, sweets element and bokeh.
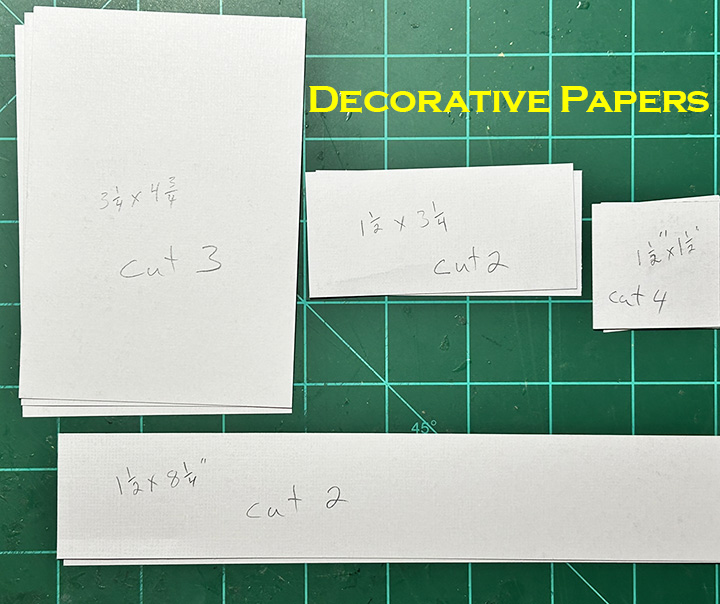
Cardbase: Cut one rectangle 3 3/4x 8 1/2-inches from heavy white cardstock. Cut a second white rectangle 3 3/4x 8 3/4-inches. On the largest rectangle score at 1/4 inch at one end and 3-inches at the opposite end. (The 1/4-inch is the tab folded under as the card hinge to card back. The 3-inch tab is the ease for the paper doll.)
Thank you for reading this blog post and watching the video. I hope this inspires you and makes you smile. Please like and leave comments 😊
Materials Used:
Dies
Karen Burniston in cahoots with Riley and Company – Hello – 1166
Karen Burniston in cahoots with Riley and Company – You’re Sweet – 1087
Karen Burniston in cahoots with Riley and Company – Ice Cream Sundae Pop-Up – 1082
Studio Light – Misses Dies & Stamps by Karin Joan – Betty
Studio Light – Misses Dies & Stamps by Karin Joan – Tasha
Stamps
Studio Light – Misses Dies & Stamps by Karin Joan – Betty
Studio Light – Misses Dies & Stamps by Karin Joan – Tasha
Papers
PhotoPlay – 12×12 Double-Sided Cardstock Collection Pack by Becky Moore – Snail Mail
I did an all day virtual workshop from Scrapbook and Cards Today with instructors Cathy Zielske, Mindy Eggen, Meghann Andrew and Jennifer McGuire. The dies and stamp set was designed by Lisa Hetrick.
Thankfully my family was kind to allow me to do this all day workshop.
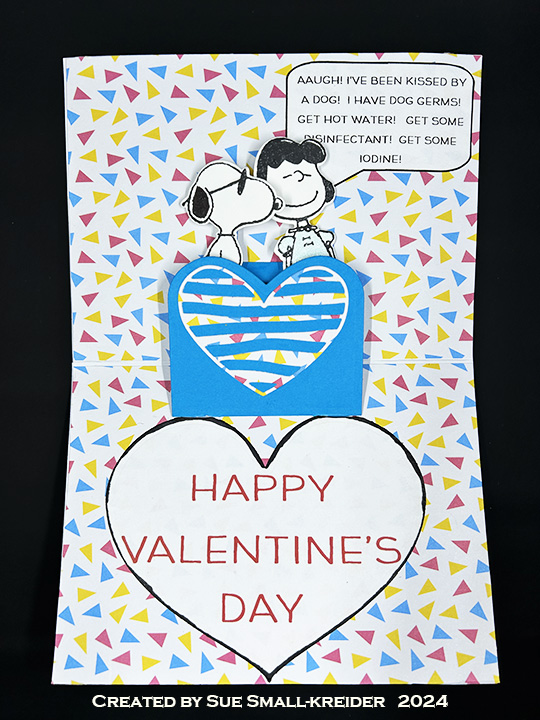
This Valentine was made for Craft Roulette #200 whose parameters included kid’s card, brrrr colors, comic or cartoon element and button(s).
I have had a Peanuts collection of stamps, coordinating dies along with papers and washi tape sheets from Craftstash for a few months and thought the comic parameter was a perfect use of them.
Snoopy has such a cute button nose and the papers have some icy blues. Because a kid’s card needs some interactivity, I used a wiper mechanism by i-crafter to make Snoopy smooch Lucy. The sentiments are all computer generated.
Thank you for reading this blog post. I hope this inspires you and makes you smile. Please like and leave comments 😊
It’s no joke that I’ve created a video tutorial for a fancy fold card. (Warning it is a long video. more like a live video than a short teaching reel.) Click here for video.
Below are photos of the cardbase measurements and the decorative paper layers measurements.
Thank you for reading this blog post. I hope this inspires you and makes you smile. Please like and leave comments 😊
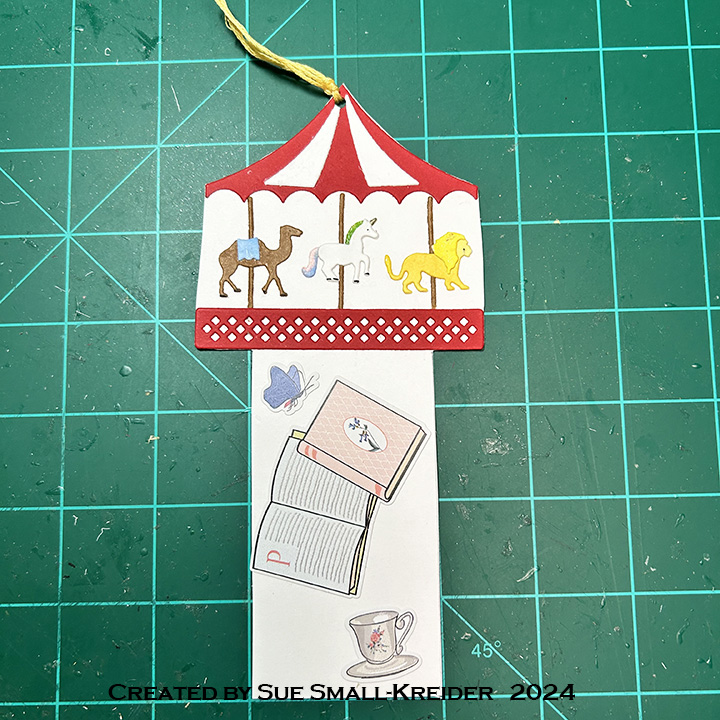
This birthday card was made for Craft Roulette #199 whose parameters included card with a bookmark, bakery colors, large animal element and horizontal lines.
For this card I used dies from two of my favorite crafting companies – Karen Burniston Pop-Ups and Rubbernecker Stamps (rebranded as Brass & Bliss). The front carousel, as well as the animals and lattice work used on the inside cake are from Rubbernecker’s retired Carousel set. The other dies used are Karen Burniston’s Happy Birthday Shadow, Happy Birthday, Cake Trims and Cake Pop-Up.
Cardbase: I used a purchased A7 (5×7-inch) cardbase and envelope. Cut four 5×7 panels of decorative paper. Glue two to the outside and two to the inside of the cardbase leaving the center fold uncovered. (I used two panels of a London park map paper inside the card, matching up the design at the fold.)
Card Front: The background paper, green border and journaling quote card are all from a Mary Poppins themed paper collection. The carousel is a bookmark tucks into the journaling card pocket. To create the pocket, I used thin strips of foam tape on three sides of the journaling card.
Bookmark: Because the carousel die is one piece, I cut it three times from white cardstock and once from red cardstock. For the animals I used markers to color them and glitter markers to add some magic to each critter. Once all the elements for the carousel were cut, colored and assembled, I glued them together at the top of a 4×8-inch rectangle of heavy white cardstock. Using a ruler, draw with a pencil the bookmark base as a 2-inch wide column centered at the bottom of the carousel. Fussy cut around the carousel and bookmark base. Punch a hole in the top point of the carousel. Thread two 6-strand pieces of yellow embroidery floss through hole for a bookmark pull. Decorate base and back with stickers from the paper collection.
Card Back: keeping with the bookmark theme, more of the collection paper was used to cover the card back featuring books and a sticker related to reading.
Pop-Up Cake: Watch the assembly video at the bottom of the link page for the Cake Pop-Up before die cutting. I wanted the cake to resemble the carousel, so the middle layer is white with the animals from the carousel die attached. The base layer is red and uses the carousel base cut in white trimmed to fit the sides of the cake. The top layer uses the Cake Trims set’s scalloped swag trim and the candle from the Cake Pop-Up set to suggest the roof and flag of the carousel.
Sentiments: Happy birthday uses two dies – the shadow cut in pink patterned paper and the words cut in matte gold.
Envelope: The back flap of the envelope has a carousel tent top.
Thank you for reading this blog post. I hope this inspires you and makes you smile. Please like and leave comments 😊
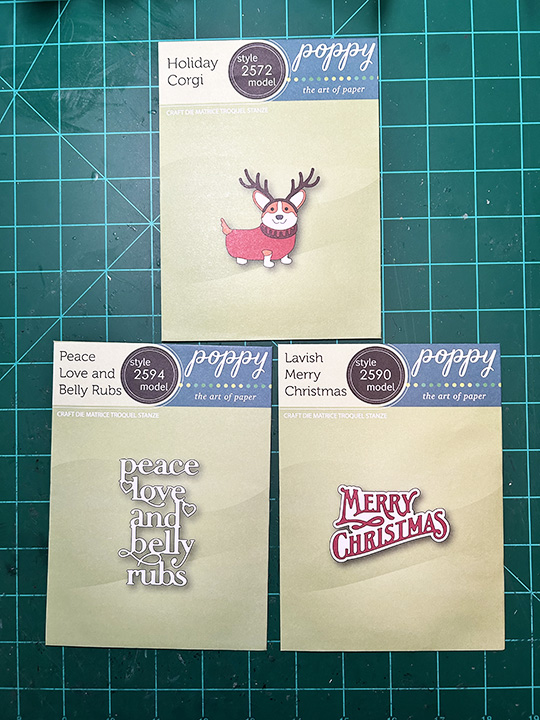
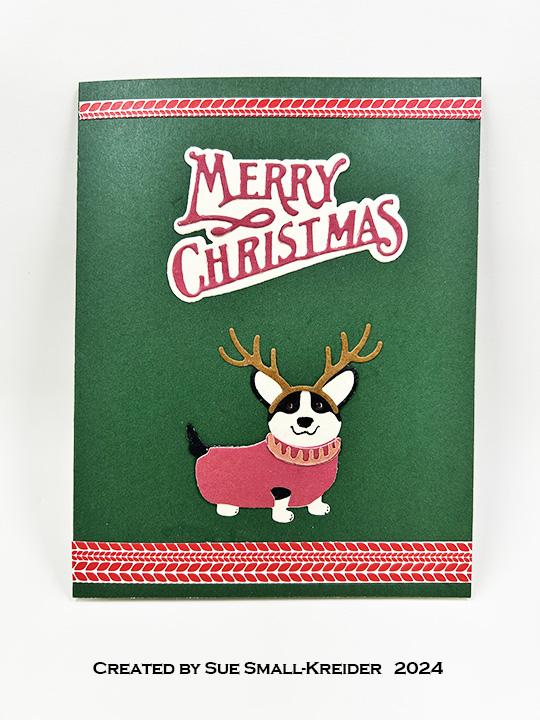
I have a neighbor who has the happiest small dog that when I saw this PoppyStamps die set, I thought of this dog in his winter vest.
I cut all the pieces from cardstock in my scrap bin. I think the patterned papers are from Photoplay while the other solids are a mixture of weights and textures.
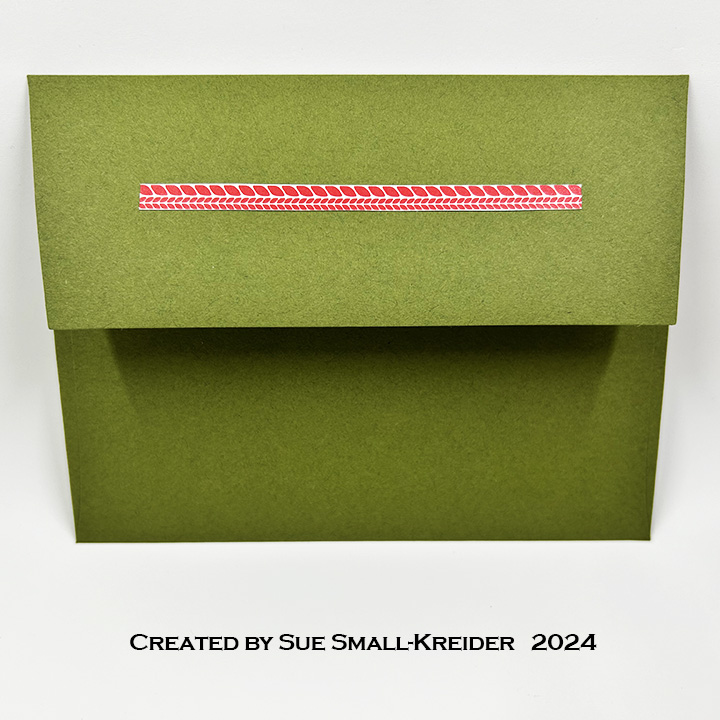
Using a prescored A2 card base in my stash that is green outside and white inside, the die cuts were glued in place including all the sentiments. Strips were added to the front and back of the card and envelope flap for decoration.
Thank you for reading this blog post. I hope this inspires you and makes you smile. Please like and leave comments 😊
Materials Used:
Dies
PoppyStamps – Craft Die – Peace Love and Belly Rubs -2594
PoppyStamps – Craft Die – Lavish Merry Christmas -2590
PoppyStamps – Craft Die – Holiday Corgi -2572
Paper
Photoplay – Tulla & Norbert’s Christmas Party 6×6 paper Pad
Craft Consortium – A4 Solids Double-Sided Paper Pad – Candy Christmas – Reds
The box is cut in one piece. (I used patterned paper which the striped paper had a white backside while the egg paper had stripes inside.) Before assembling, cut out the window with the square or hearts decorator dies in the set and back it with a scrap of clear acetate or plastic packaging. Then, adhere a contrasting frame cut with the same dies. Thin double-sided tape works well to adhere the plastic the inside of the box and for the long side tab, but glue will work as well.
I used stickers from the paper collection as well as “Happy” and the bunny from Word Set 2 and Spring Animals to decorate the boxes.
Thank you for reading this blog post. I hope this inspires you and makes you smile. Please like and leave comments 😊
This tag birthday card was made for Craft Roulette #197 whose parameters included a card with two tags, happy colors, nail(s) and “outside the line.”
I followed the directions on Karen Burniston’s assembly video for making this Circle Tag Book Pop-Up (which is on the bottom of the linked page for this die set.)
The Nuvo Dream Drops that I used were fairly easy to apply as finger nails on the hands that were die-cut using a set by Karin Joan’s Missees collection.
For sentiments, I used Karen Burniston’s Happy Birthday with its shadow cut from a holographic pink paper. I added heart hands cut from the same die set as the inside hands. The back white label is a place for a personal message. A gift card could be tucked inside for a manicure.
Thank you for reading this blog post. I hope this inspires you and makes you smile. Please like and leave comments 😊