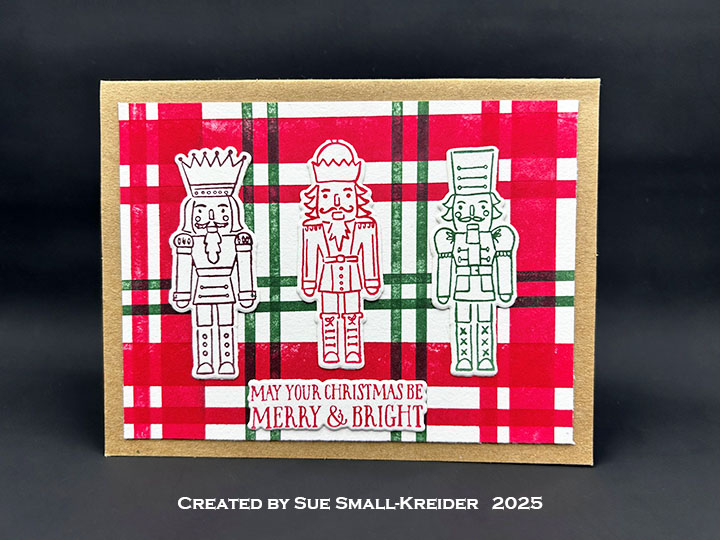
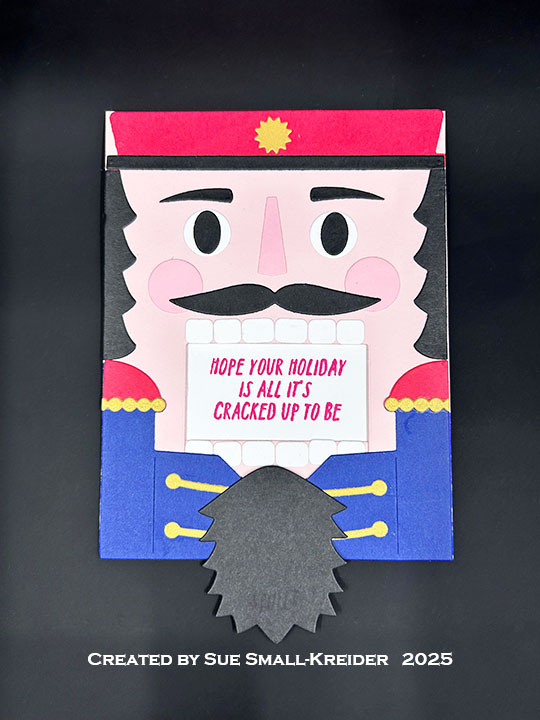
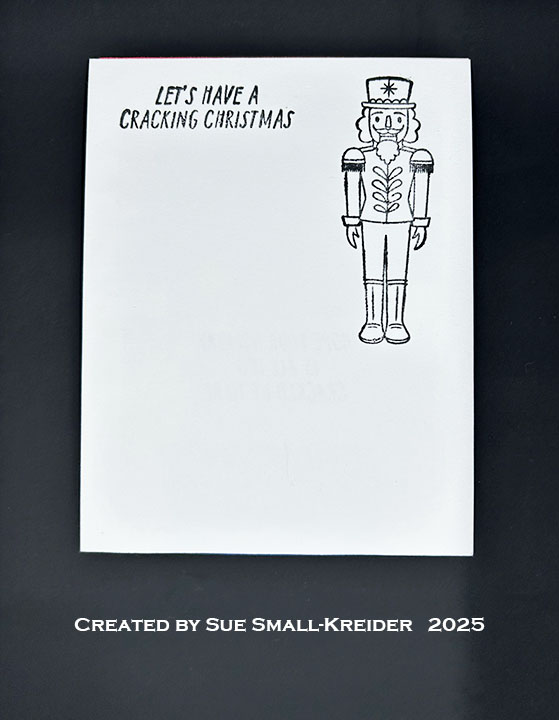
Welcome to Day 6 of my Nutcracker series using a variety of stamps and die sets to make some nutcracker themed cards. My card today uses a die set by PhotoPlay – Nutcrackers Layered and Karen Burniston’s Topper Tags die set.

Watch the process video below to learn how this card was made.
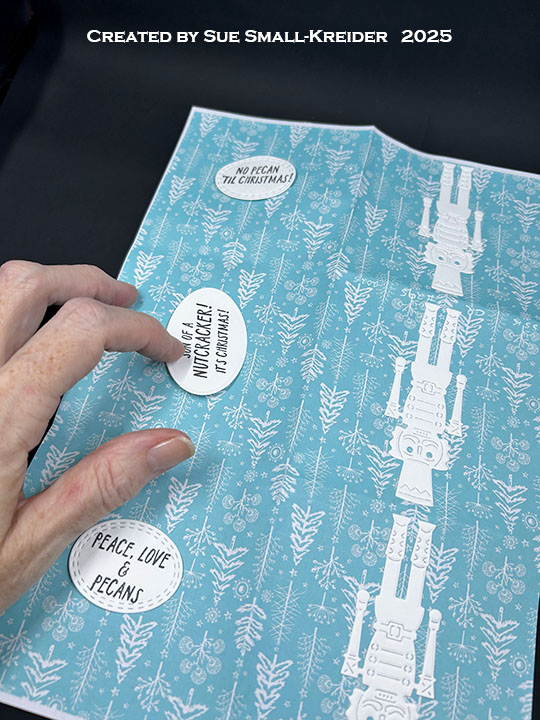
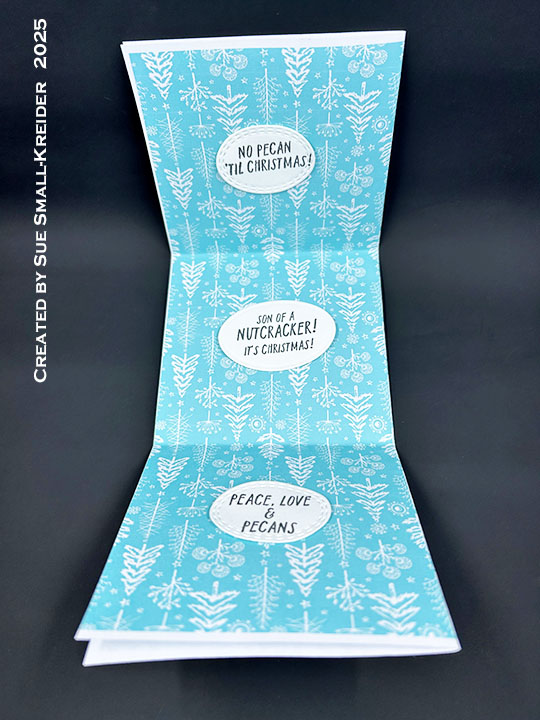
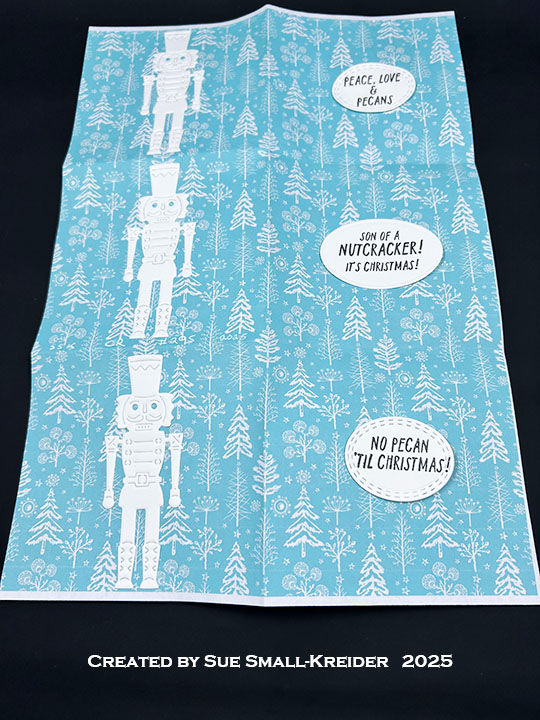
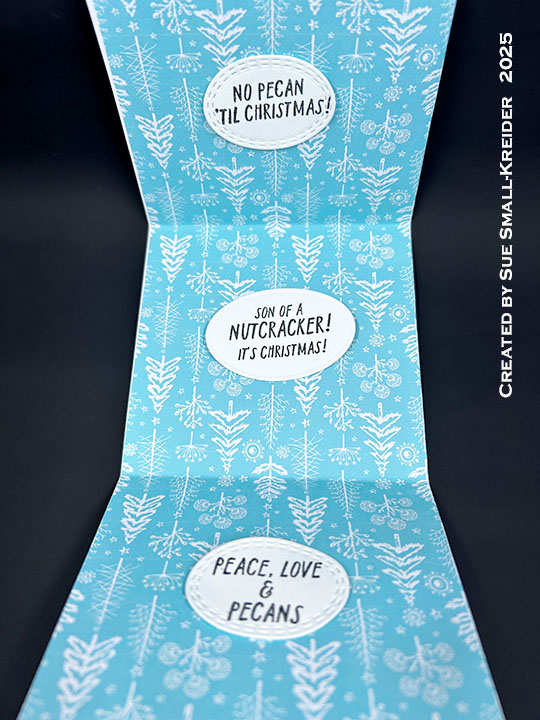
Cardbase: Cut tags that will allow for a 4-inch figure using Karen Burniston’s Topper Tags die set. cut the decorative hole reinforcers in a contrasting color and thread a piece of baker’s twine through the hole and tie off.

Nutcrackers: Using PhotoPlay’s Nutcrackers Layered die set, create your nutcrackers as shown on packaging or create your own uniforms and hair styles.
___________________________________
Thank you for experiencing this blog post.
I hope this inspires you and makes you smile.
Please subscribe, like and leave comments 😊
___________________________________
Disclaimer: Karen Burniston products are provided free of charge by the manufacturer for review and use. All other items were personally purchased. Compensated affiliate links used where or when possible, meaning I will receive a small percentage commission from these manufacturers at no cost to you. This will allow me to add more content to my YouTube channel and help out a lot. Thank you.
Materials Used:
Dies
- PhotoPlay – Etched Metal Dies – Nutcracker Layered
- Karen Burniston in cahoots with Riley and Company – Topper Tags – 1253
Papers
- Scrapbook.com – BetterPress – 6×8-inch Double-Sided Cardstock – Nutcracker
- Matte Gold Cardstock
- Black, Blue, Pinks Cardstock
Adhesives
Tools
- Die Cutting Machine
- Paper Trimmer
- Stamping Blocks used as paperweights
- Tweezers
- We R Memories – QuickStick