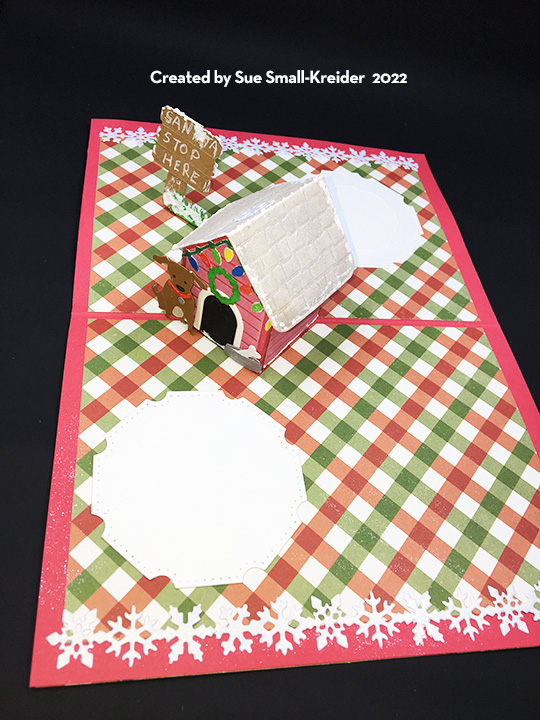
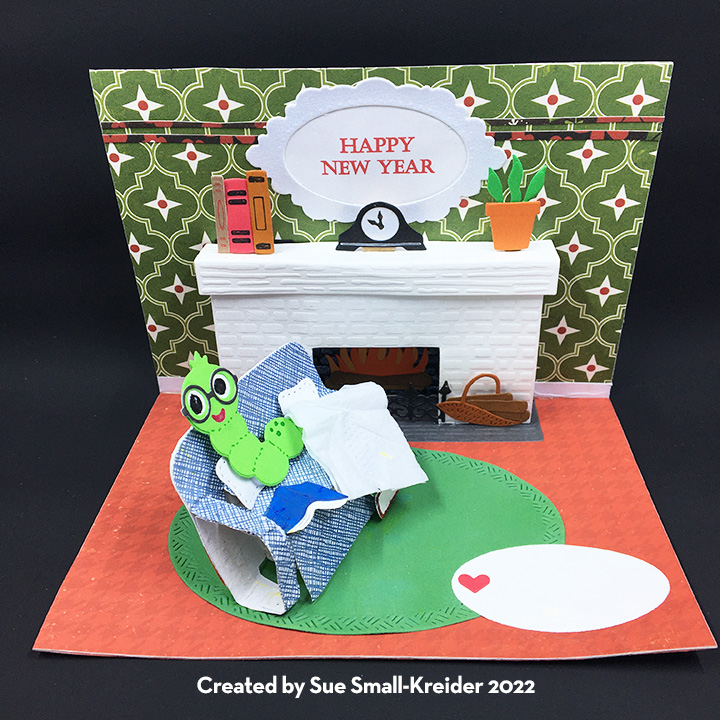
This is a holiday card for a booklover. It features the Bookworm and Bam Box dies from Karen Burniston’s December 2022 release. It also uses previously released die sets of the Fireplace Pop-up die set , Fireplace Extras 2 and Family Room die set.
Card Base: The card base is an A6 size (4.5 x 6.25 inches) with a top fold. Decorative papers as well as the fireplace pop-up mechanism are glued to the base.

Bookworm and books: The bookworm set comes with all the dies to create a bespeckled worm that fits on the sofa from the Karen Burniston Family Room die set. (See assembly video.) The book dies allow for creating books from most angles including open books. (I added book spines to the top of the fireplace and a stack of books to the base of the sofa hidden by the blanket.)
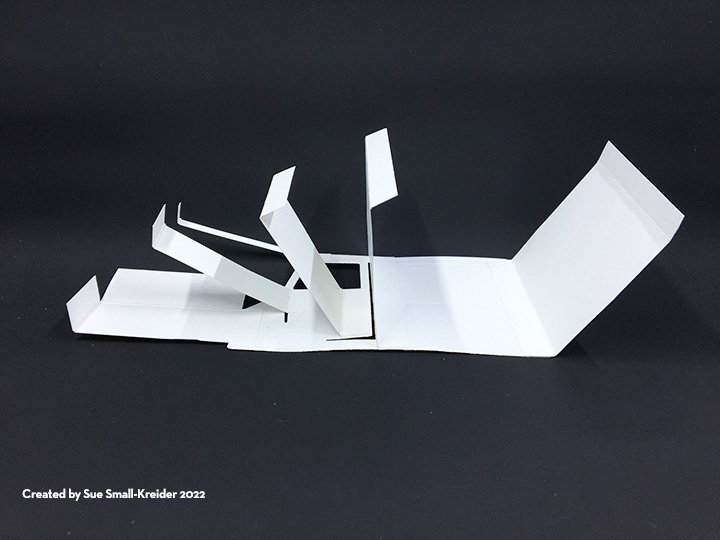
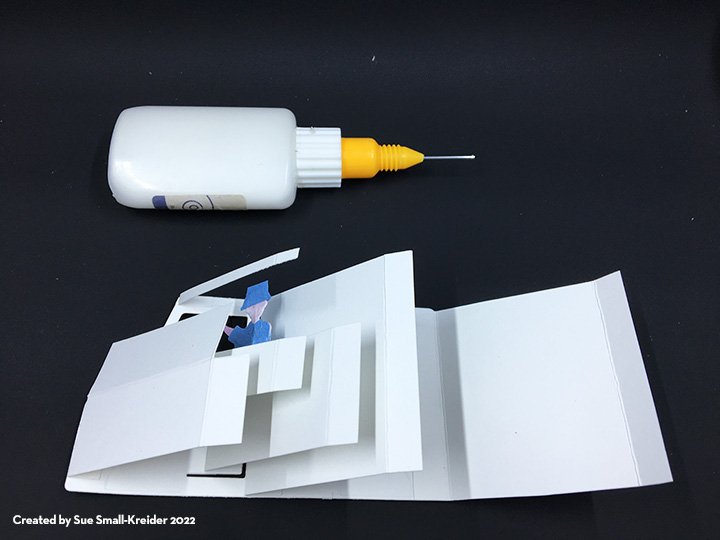
Bam Box: The bam box is a rubber band powered spring box that allows the sofa to pop-up. Watch the assembly video before making. Heavy weight cardstock is recommended and allowing glue to dry at each step will make for the best working bam box.
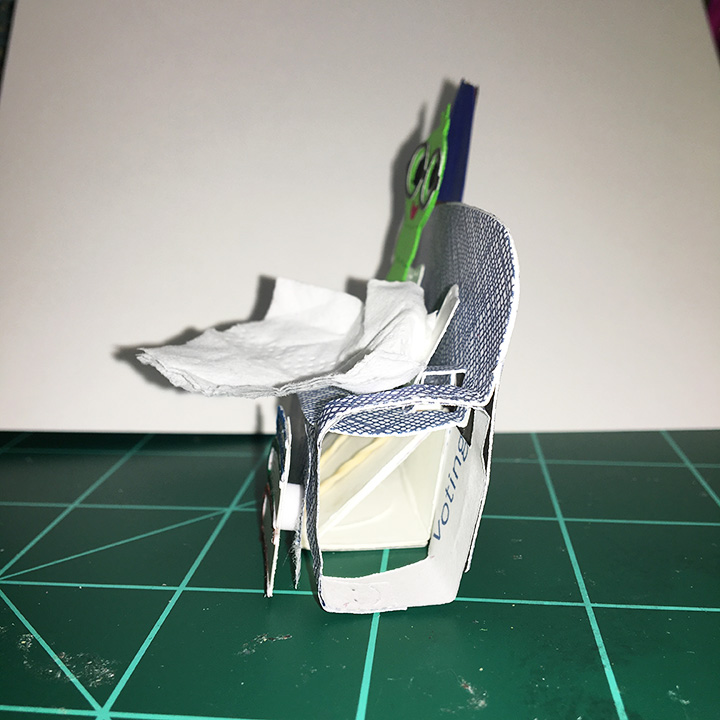
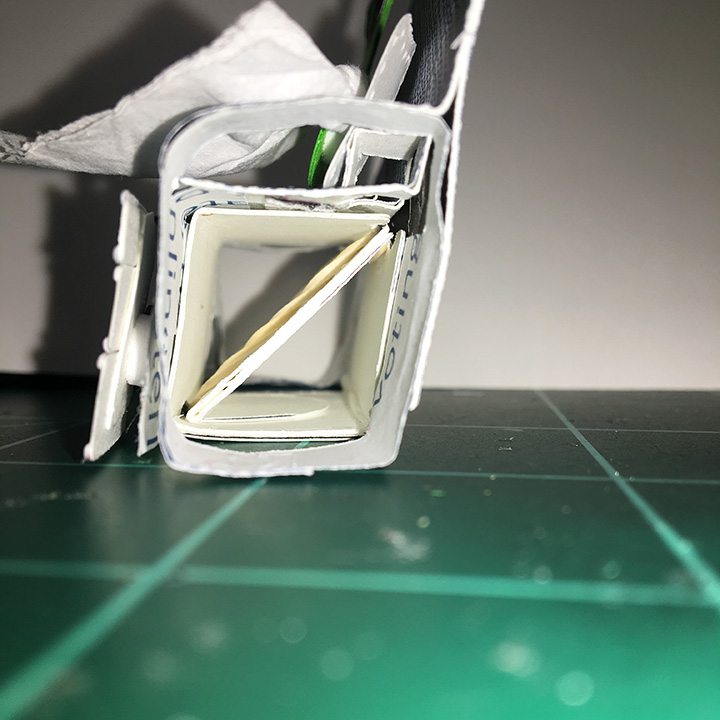
Sofa: A bam box is covered with the sofa from the Karen Burniston Family Room die set. The back of the sofa is just the seat portion left flat. I cut a rectangle to cover the front base of the sofa and hid the bam box. The pillows are attached as per assembly video directions. The bookworm is attached to the pillows with foam dots as is the stack of books to the base. The blanket is tucked around the worm’s body and attached under the foam square. (When laying out the position of the sofa in the card, I found that the lamp was too tall to be in the card when it was closed, so it was eliminated in the final card.)

Fireplace and accessories: For the fireplace cut two of the fireplace brick front – one in white and one in black as well as two of the lined mantle/hearth pieces – one white and one gray. The black brick is colored with a white crayon and the fire and logs are also cut twice.

To assemble the fireplace, watch the assembly video first. You will need to attach the gray hearth and black brick pieces to the card base before adding the mechanism. There are two fireplace extra sets. I used the one with the clock, plant and basket of logs. The tiny pop-up mechanisms for the objects on top of the mantel are from the fireplace die set. The basket of logs is on a foam dot. I also add strips of white cardstock to the wall on either side of the fireplace as floor moldings.

Rugs and Wall Decoration: Using patterned papers that suggest wallpaper or carpeting make this type of card pop. The picture molding strips above the fireplace are scraps trimmed off the patterned paper and the reverse side used. The large green oval rug is cut the second largest oval crosshatch die. The small white oval with a red heart is the cut out from the picture frame. It can be used to write a personal message.


Sentiments: On the front of the card Karen Burniston’s Merry Christmas and its shadow are cut from contracting colors of patterned papers used on the inside of the card. The Happy New Year framed inside the card over the fireplace is a computer-generated sentiment. The frame is from the slim frames die set.
I used leftovers from decorating the inside of the card to complete the outside panels of the card which are covered using the reverse sides of the decorative papers used on the inside.
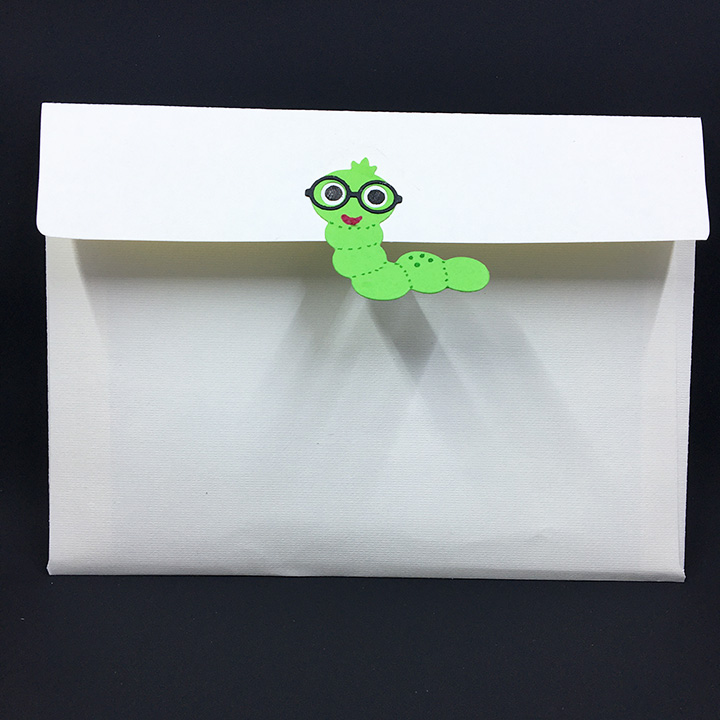
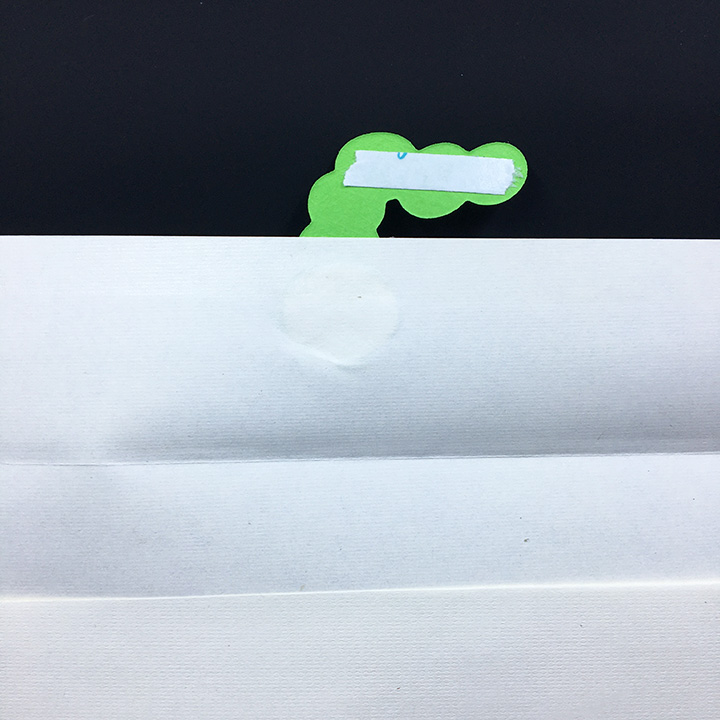
Envelope: The back flap of the envelope has a bookworm attached at the head to the flap and a stripe of double-sided tape on the back of its body for when the envelope is sealed.
Thank you for reading this blog post. Please like and leave comments 😊
Materials Used:
Dies
- Karen Burniston in cahoots with Riley and Company – Bam Box -1222
- Karen Burniston in cahoots with Riley and Company – Bookworm – 1217
- Karen Burniston in cahoots with Riley and Company – Fireplace Extras 2 – 1212
- Karen Burniston in cahoots with Riley and Company – Fireplace Pop-Up – 1210
- Karen Burniston in cahoots with Riley and Company – Merry Christmas Shadow – 1177
- Karen Burniston in cahoots with Riley and Company – Slim Frames – 1150
- Karen Burniston in cahoots with Riley and Company – Family Room Pop-Up – 1099
- Karen Burniston in cahoots with Riley and Company – Merry Christmas – 1065
- Karen Burniston in cahoots with Riley and Company – Oval – Crosshatch – 1055
Papers
- Echo Park Paper Co. – 12 x12 Double-sided coated cardstock – A Perfect Christmas by Lori Whitlock – Berry Merry Christmas – APC135003
- Echo Park Paper Co. – 12 x12 Double-sided coated cardstock – The Story of Christmas by Lori Whitlock – Flowers – TSC94003
- Colored scraps of cardstock
- Computer and color printer
- Park Lane Paperie – A6 Textured Card and Envelope – Ivory
Pens, Crayons & Inks
- Green, Red and Black Fine-Tipped Markers
- Gelly Roll 08 Pen – White
- Ranger – Tim Holtz – Distress Ink – Walnut Stain
- Ranger – Tim Holtz – Distress Crayon – White
Miscellaneous
- Neutral PH Adhesive by LINECO
- Fine-Tip Glue Bottle
- Die Cutting Machine
- Pokey Tool
- Sponge Dauber
- Craft Mat
- Foam Squares
- Square of White Tissue or Cloth