This card was made for Craft Roulette #246 whose parameters included for a holiday card, tree colors, drinking vessel(s), and something from the floor. (Watch the video to find out what was from my floor.)
Watch the process video to see how I made this card.
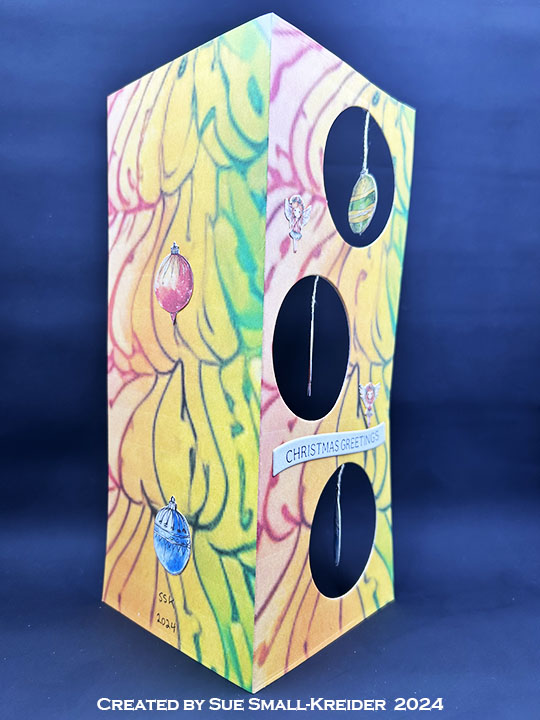
Cardbase: I used a purchased kraft paper cardbase that measures 4.25×11-inches when open and folded is an A2 side-fold card measuring 4.25-inches wide and 5.5-inches tall. The four panels were covered with decorative papers from my stash (Sorry, I don’t know the manufacturer of either paper.)


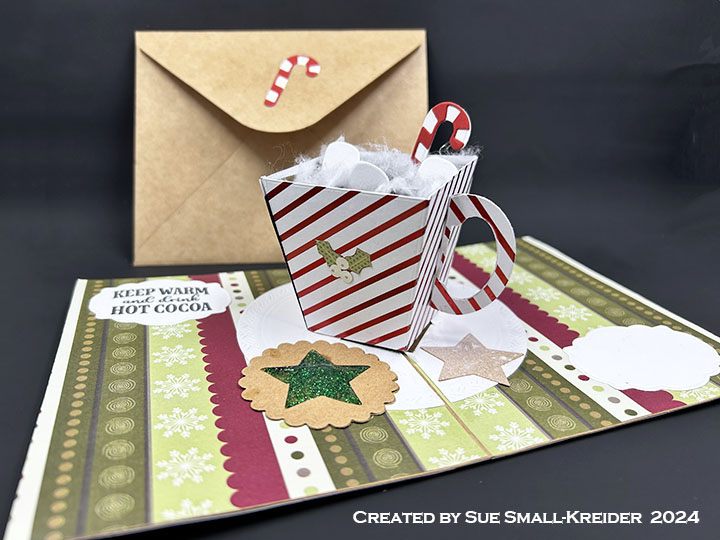
Pop-Up Mug: I modified the Flower Pot Pop-Up by cutting off the folder over flaps on the flower pot and added a handle cut from the mug die from the Tea and Coffee Pop-Up set. (See the video for how the mug was assembled.) Marshmallows are from the Camping Charms while the candy cane comes from the Stocking Pop-Up.

Cookies: The round, jam-filled two-layer Linzer cookie is cut using a scalloped circle die and small star die. The jam is made with Nuvo Glitter Drops and Glossy Accents. The star cookie was cut with an embossing die using an embossing sandwich on my die-cutting machine. The powdered sugar is white spray ink.

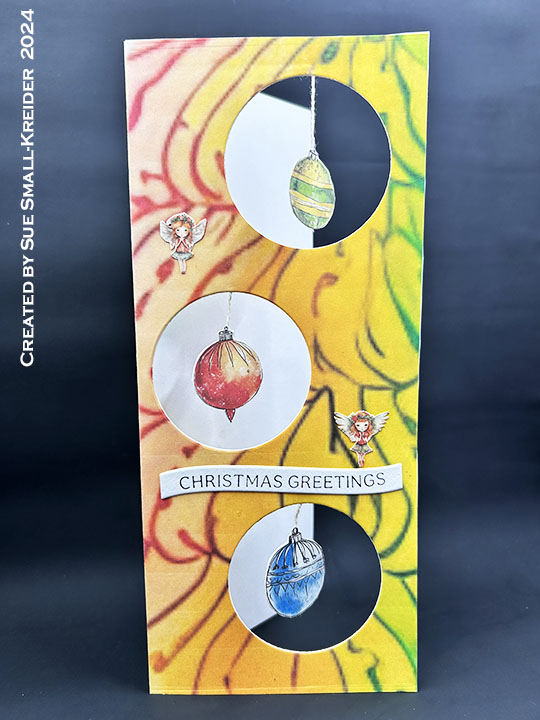
Sentiments: On the card front is a die-cut “Merry Christmas” made using just the word shadow and words from the Merry Christmas Lorna Add-Ons set. Inside the card two fancy labels were cut from white cardstock using the Rectangles and Labels – Crosshatch and one was stamped in black with “Keep Warm and drink Hot Cocoa” from the Winter Hugs stamp set.
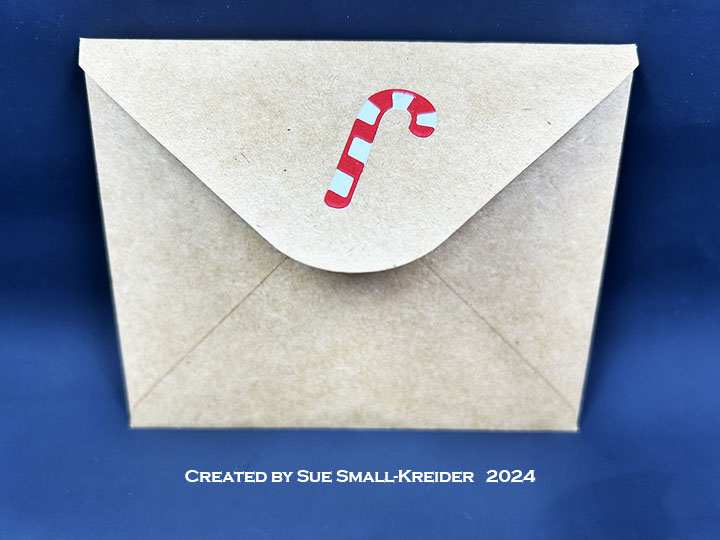
Envelope: The card fits into a purchased A2 (4.25x 5.5-inches) size kraft paper envelope. Another candycane was glued to the back flap of the envelope.
___________________________________
Thank you for experiencing this blog post.
I hope this inspires you and makes you smile.
Please like and leave comments 😊
___________________________________
Disclaimer: Karen Burniston products are provided free of charge by the manufacturer for review and use. All other items were personally purchased. Compensated affiliate links used where or when possible, meaning I will receive a small percentage commission from these manufacturers at no cost to you. This will allow me to add more content to my YouTube channel and help out a lot. Thank you.
Materials Used:
Dies
- Karen Burniston in cahoots with Riley and Company – Merry Christmas Lorna Label add-Ons – 1288
- Karen Burniston in cahoots with Riley and Company – Tea and Coffee Pop-Up – 1269
- Karen Burniston in cahoots with Riley and Company – Stocking Pop-Up – 1248
- Karen Burniston in cahoots with Riley and Company – Rectangles and Labels – Crosshatch – 1233
- Karen Burniston in cahoots with Riley and Company – Camping Charms – 1049
- Karen Burniston in cahoots with Riley and Company – Flower Pot pop-Up – 1010
- Momenta – Cutting Templates – Nested Christmas Star
- Spellbinders –Nestabilities – Classic Scalloped Circles Small
Stamps
Papers
- American Crafts – 12×12 inch Single-Sided Paper – 341347 Red Holly and Berries
- Unknown – 12×12 inch Single-Sided Paper – Snowflake Scalloped Borders
- Unknown – 12×12 inch Single-Sided Coated Embossed Cardstock– Christmas Trees
- Recollections – 8.5×11 65 lb. Cardstock – White
- The Paper Cut – 8.5×11 Glossy 10 PT Kromekote Cardstock – White
- Tonic Studios – Craft Perfect – A4 Sized 104 lb Foiled White Kraft Card – Candy Stripe
- Browns, Red and White Cardstock
- Horizon Group – A2 Cardbase and Envelope – Kraft
Ink
- Avery Elle – White Spray Ink
- Memento – Fade Resistant Dye ink – Tuxedo Black
- Sharpie – Permanent Marker – Ultra Fine Tip – Black
- Stampin’ Up – Stampin’ Write Marker – Chocolate Chip
Adhesives
Tools
- Spellbinders – Platinum Die Cutting Machine
- Paper Trimmer
- Bone Folder
- Stamping Blocks
- Scissors
- Pencil
- T-Ruler
- Glue Eraser
- Paper Masking Tape
Miscellaneous
- Cotton Ball
- Nuvo – Glitter Accents – Seasonal Pine
- Ranger – Glossy Accents