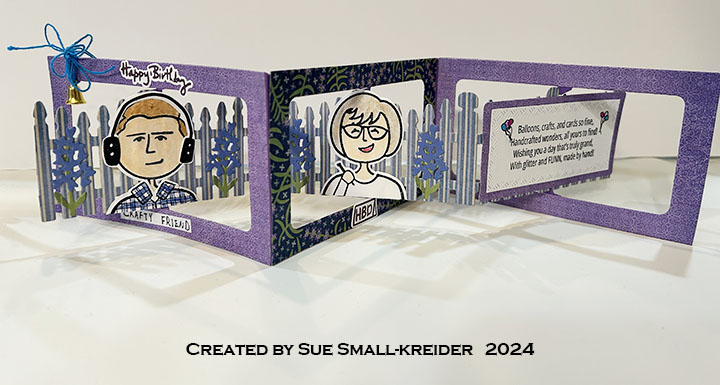
This card was made for Craft Roulette #247 whose parameters included a card for a crafty friend, pretty paper colors, bell(s) or belle(s) element, and something gold. I used Craft Roulette stamp sets and Karen Burniston dies.
Watch the process video to see how I made this card.
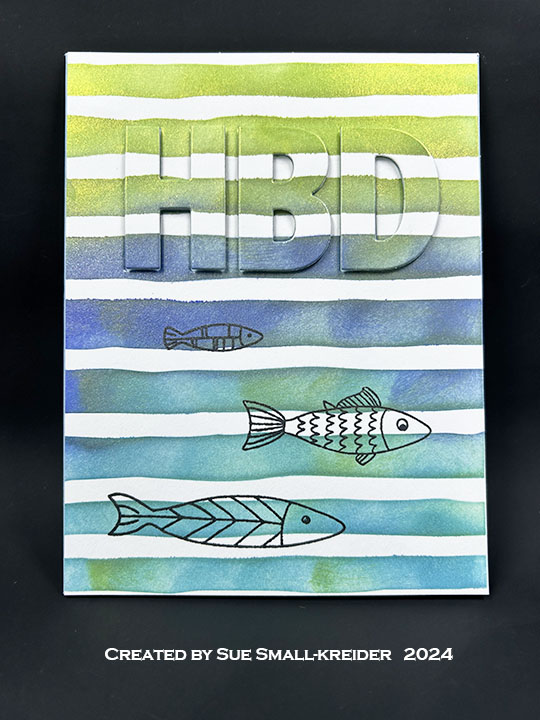
Cardbase: Cut three of the large die from the Landscape Rectangle Accordion die set from heavy weight cardstock. Cut three of the same die from thin decorative papers. Trim out the center pivot panel and side tab to form the decorative frames. Glue frames onto the larger panels. (I used a pretty patterned paper of blue, lavender and green for the center frame and coordinating lavender paper for the other two frames.)

Fence: Watch the assembly video at the bottom of this linked page Fence Add-Ons for a how-to on adding the fence into the accordion frame. (I used coordinating striped paper to cover gray cardstock fence pieces before i glued the fence in place.) The bluebell flowers are from the Fence Add-Ons die set.

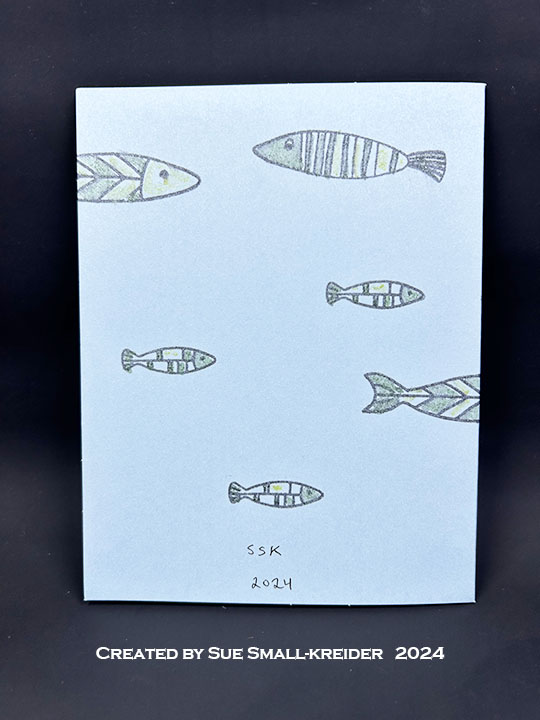
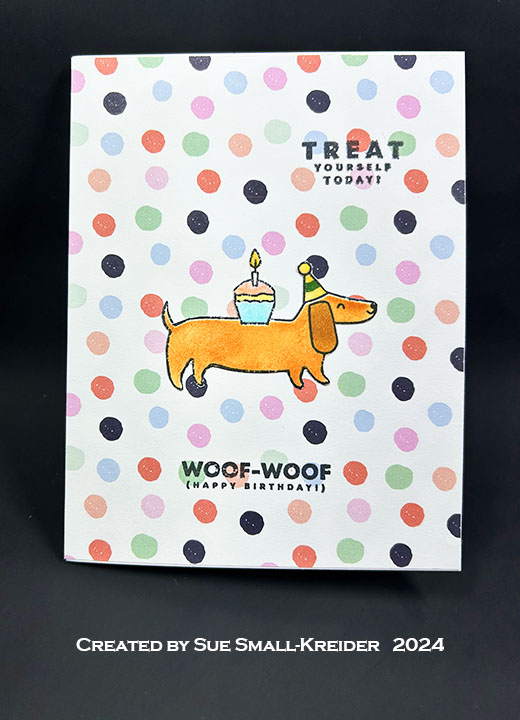
People: The people were stamped using Craft Roulette’s Funn Friend stamp sets #1 and #2. They are colored with blended watercolor pencils. Using some teal colored twine, I tied a multi-looped bow with a small gold bell onto the card frame.

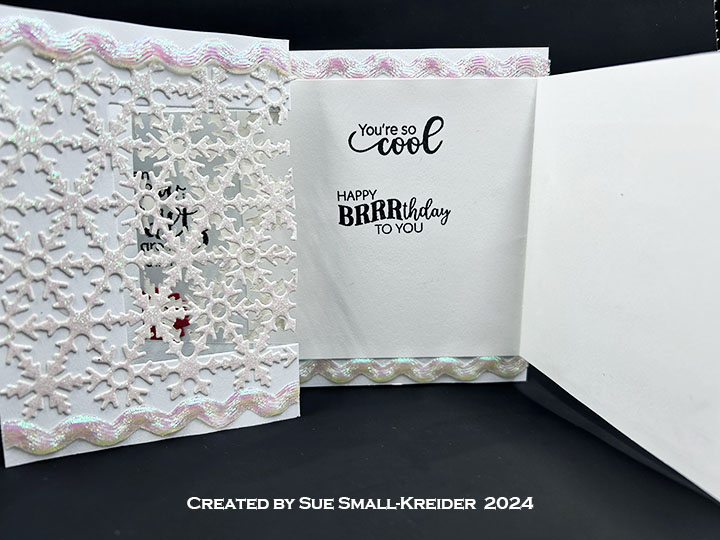
Sentiments: On the third panel is the poetic crafty birthday sentiment which was embellished with hand-drawn balloons and a hint of glitter gloss. The sentiment is from the Craft Roulette Funn Sentiments #1 stamp set. The “Happy Birthday” and HBD sign are stamps in the Funn Friend #1 stamp set. “Crafty Friend” was hand written.
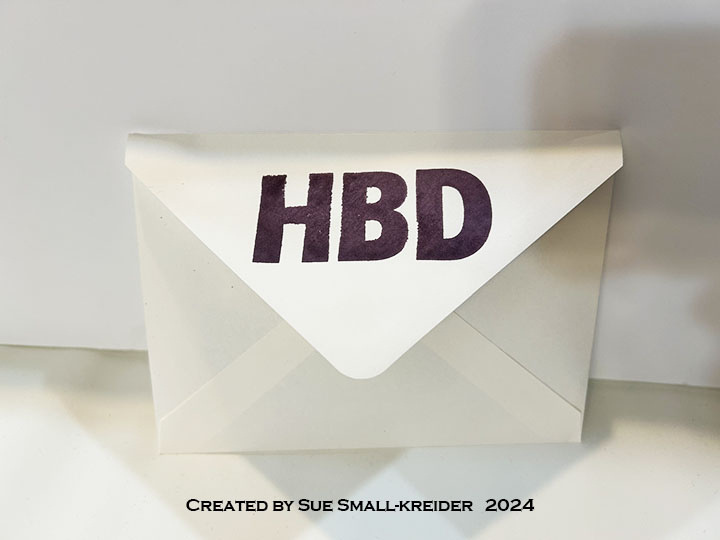
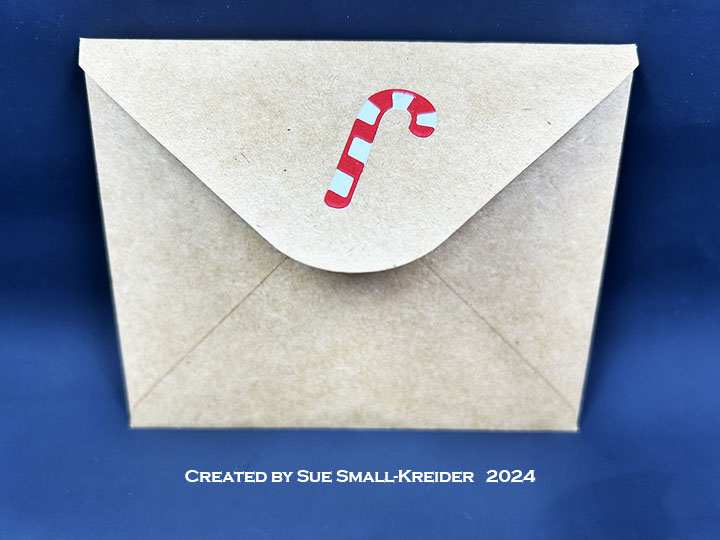
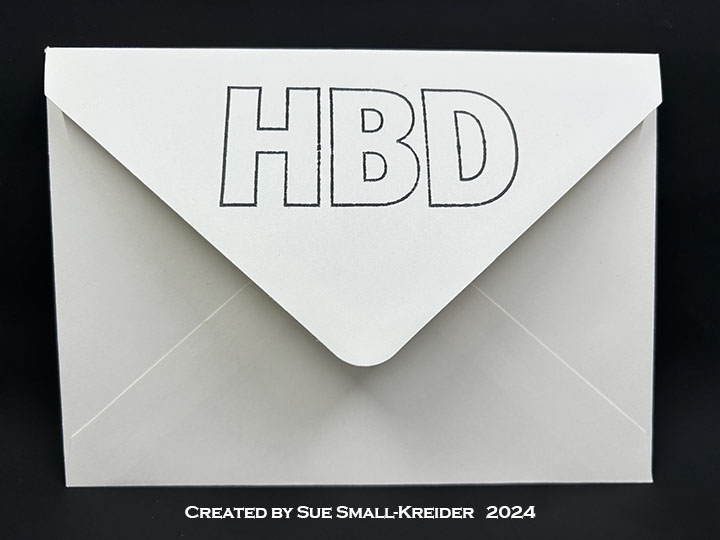
Envelope: The card fits into a purchased A7 (5x 7-inches) size cream envelope. The back flap of the envelope was stamped with “HBD” (Happy Birthday) in a plum colored ink.
___________________________________
Thank you for experiencing this blog post.
I hope this inspires you and makes you smile.
Please like and leave comments 😊
___________________________________
Disclaimer: Karen Burniston products are provided free of charge by the manufacturer for review and use. All other items were personally purchased. Compensated affiliate links used where or when possible, meaning I will receive a small percentage commission from these manufacturers at no cost to you. This will allow me to add more content to my YouTube channel and help out a lot. Thank you.
Materials Used:
Dies
- Karen Burniston in cahoots with Riley and Company – Fence Add-Ons – 1288
- Karen Burniston in cahoots with Riley and Company – Short Rectangles – Crosshatch – 1199
- Karen Burniston in cahoots with Riley and Company – Landscape Rectangle Accordion – 1198
- Craft Roulette – Funn Friends Coordinating Dies – #1 and #2
Stamps
- Craft Roulette – Funn Friends Clear Stamps – #1 and #2
- Craft Roulette – Funn Sentiments Clear Stamps – #1
Papers
- Bazzill – 8.5×11 Cardstock – Tiara -18-1002
- Bazzill – 8.5×11 Cardstock – Gummy Bear 6-6105
- BoBunny – 6×8 Single-Sided paper – Bee-utiful You Collection
- Recollections – 8.5×11 65 lb. Cardstock – White
- Light Lavender Cardstock
- Recollections – A7 Envelope – Cream
Ink and Watercolors
- Gel Pens – Blues and Purples
- Memento – Fade Resistant Dye ink – Tuxedo Black
- Pigma – Mircon 005 Fine Tip Pen – Black
- Ranger – Tim Holtz – Distress Watercolor Pencils – Carved Pumpkin, Chipped Sapphire, Festive Berries, Hickory Smoke, Mowed Lawn, Mustard Seed, Tattered Rose, Vintage Photo
- Stampin’ Up – Classic Ink Pad – Perfect Plum
Adhesives
Tools
- Spellbinders – Platinum Die Cutting Machine
- Paper Trimmer
- Bone Folder
- Stamping Platform
- LDRS – Stampendable Stamping Tool
- Stamping Blocks used as paperweights
- Scissors
- Paper Masking Tape
- Waterbrush
Miscellaneous
- Craft Consortium – Tis The Season – Gold Metal Bell Charm
- Fun Stampers Journey – Journey Thread – Beach Breeze