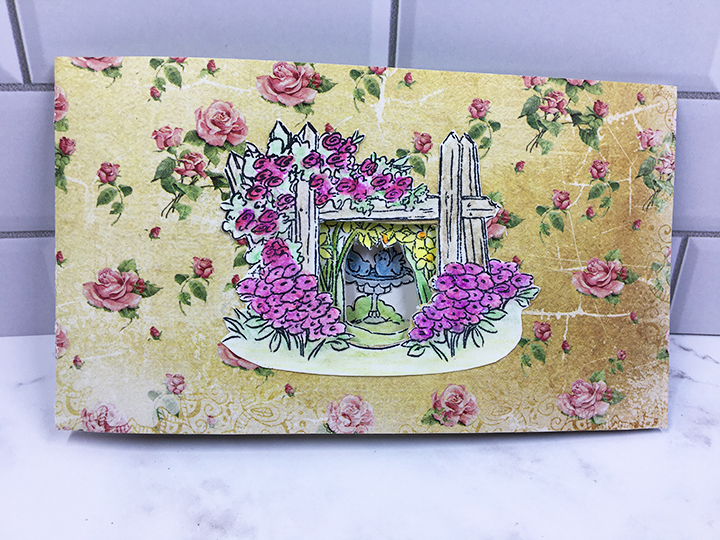
Shabby Chic is the theme of this card made with Karen Burniston’s June 2024 release of new dies. For this card, I used two of the new sets – Happy Birthday Lorna Add-Ons and Tree Add-Ons.
Cardbase: Use the Fancy Label Accordion die set for this step. Using a die cut frame with the inside pivot panel cut-out, trace the inside the frame onto the outside of the card base where you want the accordion frame to be. Cut out the opening and trace the opening onto the inside panel and cut that opening out too. Cover the inside of your cardbase with decorative papers. Cut out the openings out of the decorative papers. Cut the opening wider that the pencil marks as the decorative frames will cover it. Cover outside with decorative papers and cut the opening from the decorative papers.

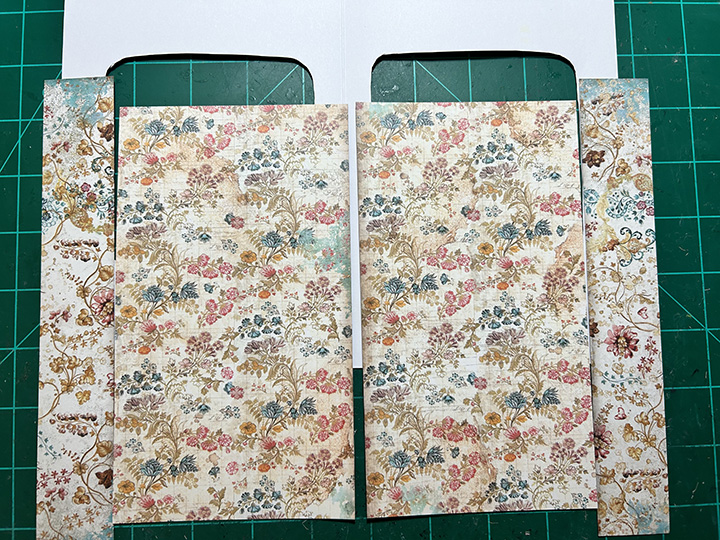
Accordion Frame: Die-cut two whole Fancy Label Accordion frames from a decorative print cardstock. Cut two more whole frames from decorative paper but cut out the pivot panels in them. (Save cut -out pivot panels for other projects.)


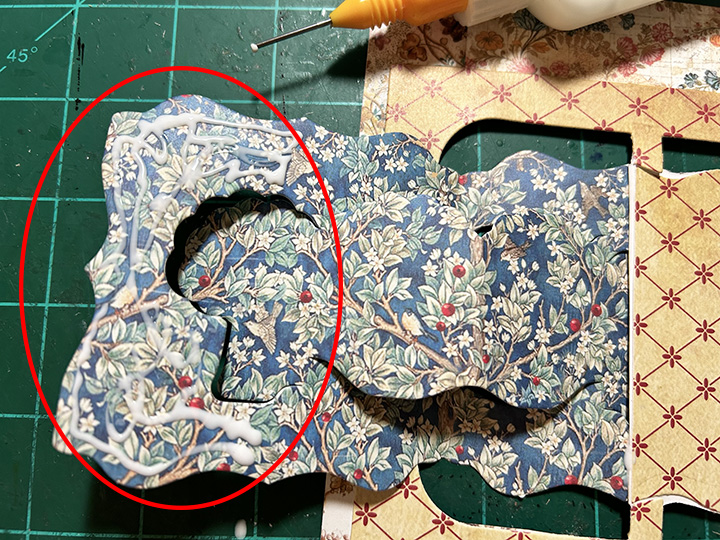
Tree-Add-On Panel: Watch the assembly video for the Hearts Add-Ons to see how to cut the pivot panels and how to adhere the tree panel to them. (I used the half pivot panels to decorate the back side of the pivot panels that stayed.)

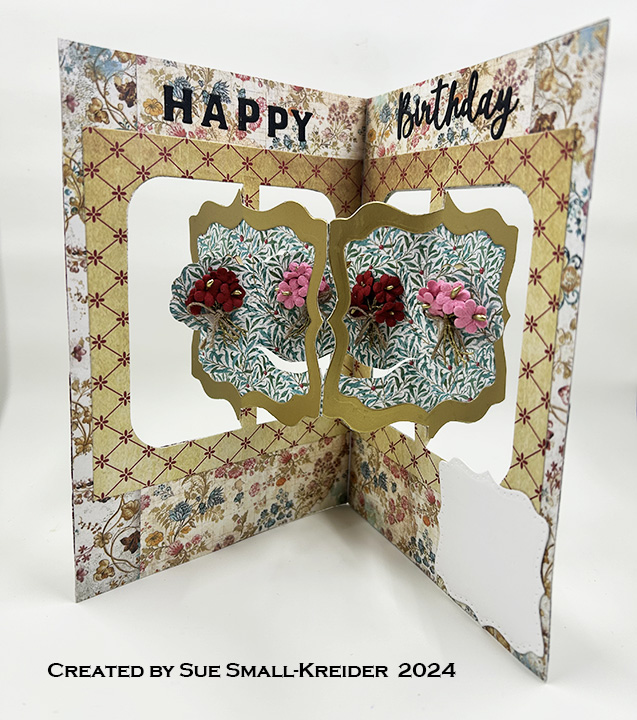
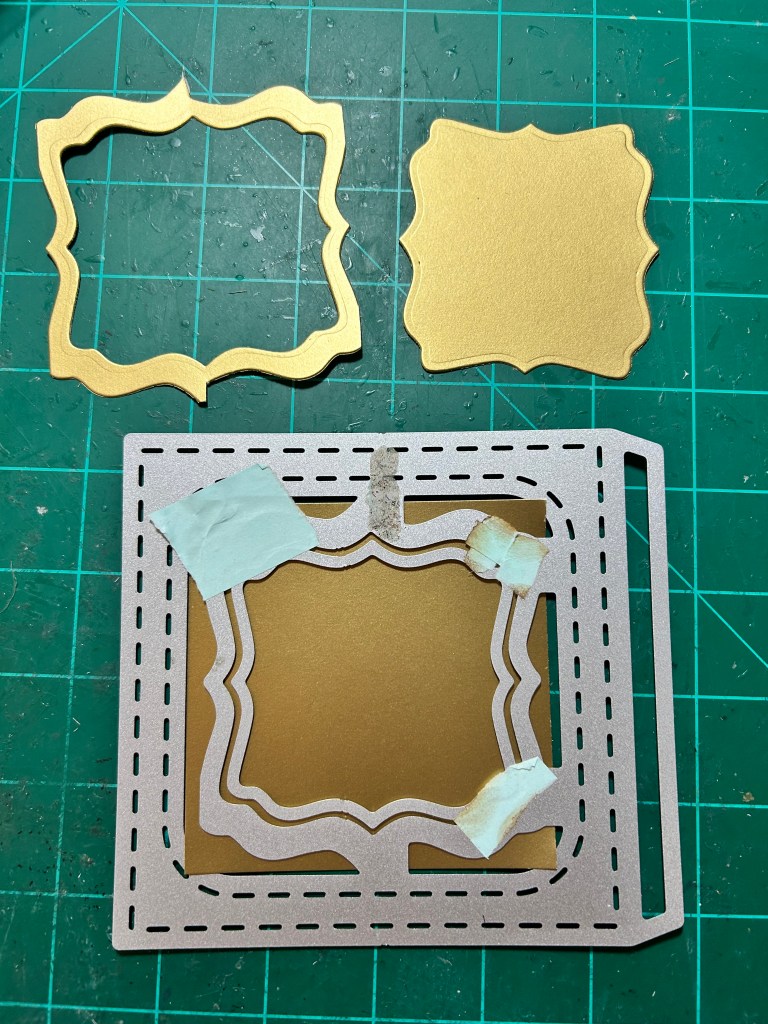
To finish the inside tree panels, I cut using a label die taped inside the pivot panel die to get a frame cut from gold matte cardstock. I cut two of these frames and glued the to the outside edges of the tree panel.

I decorated the tree shaped pop-out spaces with tiny handmade flower bouquets popped -up on foam squares.

Sentiments: I die cut the sentiments from black cardstock using the Celebrate and Happy Birthday Lorna Add-Ons. Cut a small white label using the small, dotted label die in Fancy Label Accordion die set for a personal message space. (I use double-side tape on the back of the label but wait to attach it after I have written my message.)

Envelope: Fits into an A7 envelope.
___________________________________
Thank you for reading this blog post.
I hope this inspires you and makes you smile.
Please like and leave comments 😊
___________________________________
Materials Used:
Dies
- Karen Burniston in cahoots with Riley and Company – Happy Birthday Lorna Add-Ons – 1276
- Karen Burniston in cahoots with Riley and Company – Tree Add-Ons – 1273
- Karen Burniston in cahoots with Riley and Company – Celebrate – 1067
- Karen Burniston in cahoots with Riley and Company – Fancy Label Accordion – 1043
Papers
- Stamperia – 8×8 Double-Sided Papers – Backgrounds – Christmas Greetings
- Dress My Craft – 12×12 inch Single-Sided Cardstock – Teenie Weenies
- Gold Matte Cardstock
- Black Cardstock
- Park Lane Paperie – A7 Cardbase and Envelope – White
Ink
- Pigma – Mircon 01 Fine Tip Pen – Black
Adhesives
- Neutral PH Adhesive by LINECO
- Fine-Tip Glue Bottle
- Foam Squares
Tools
- Die Cutting Machine
- Stamping Blocks used as paperweights
- Scissors
- Pencil
Miscellaneous
- Little Birdie – Handmade Flowers – Red and Pink