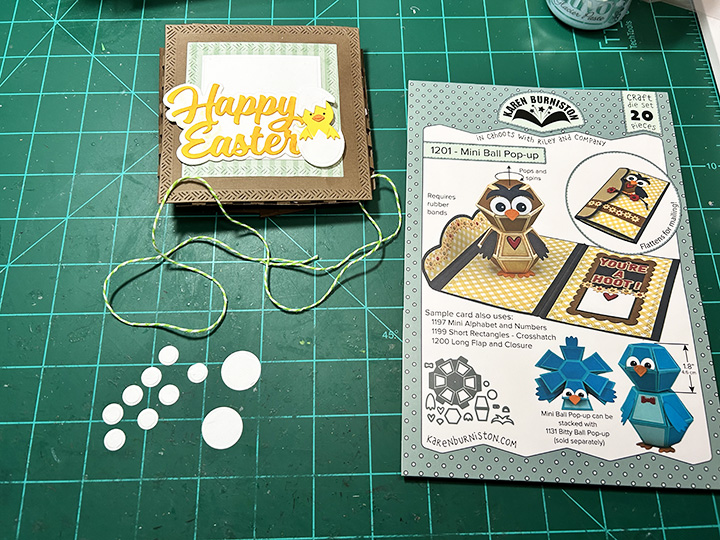
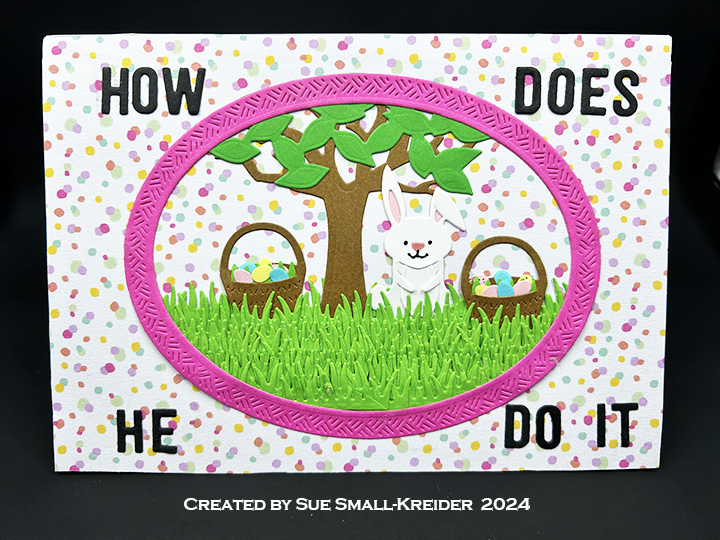
I saw a side-fold of like this card on social media and decided to make my own version using a top fold A6 (4 1/2 x 6 1/4-inches) purchased card base and the egg die from Karen Burniston’s Spring Animals die set.

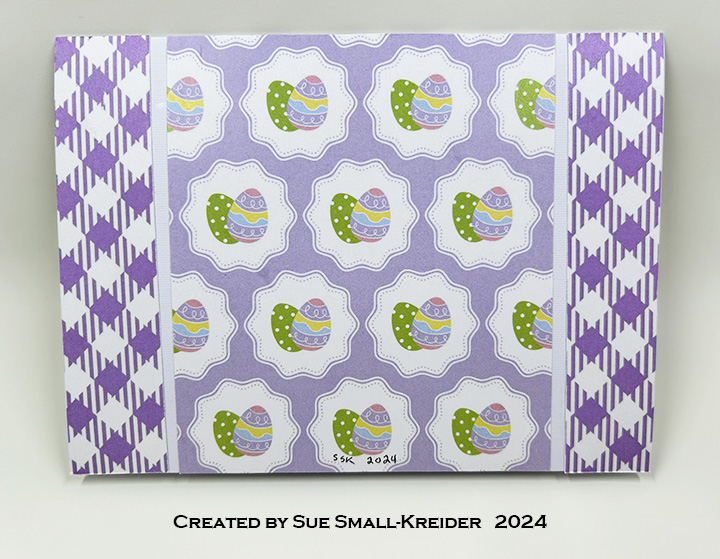
Cardbase: Using a purchased A6 card base, I used double sided patterned paper from Kat Scrappiness to make a mat frame on the front panel, piecing it together as the patterned paper was 1/2-inch smaller than the card height. Added a yellow 5 3/4 x 4 1/4-inches panel over mat frame. On the back panel, I used the leftover pieces to make an interesting symmetrical design utilizing both patterned sides of the paper.
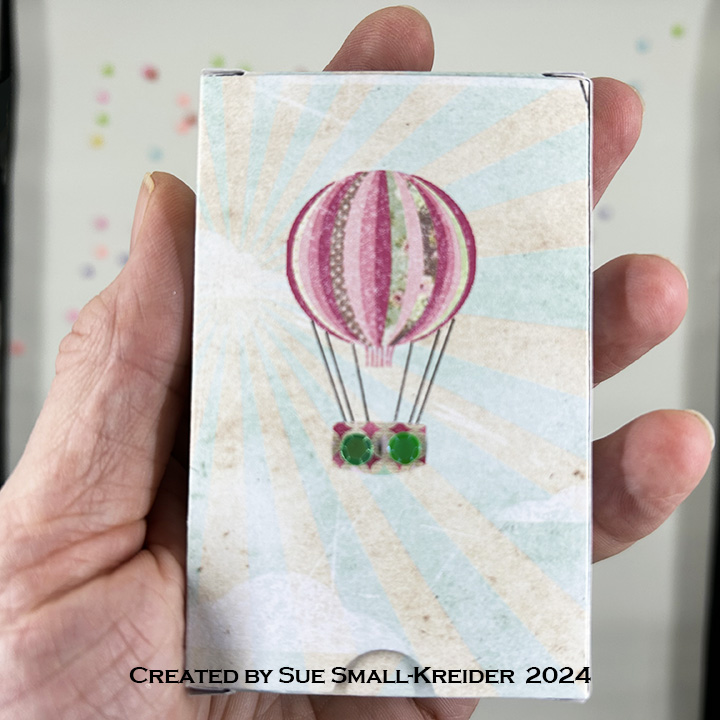
Egg Panel: A 4×5 1/2-inches rectangle cut from white cardstock, I lightly marked in pencil lines at 1 1/8-inches, 2 3/4-inches and 4 3/8-inches. Along the tops and bottoms of these lines I marked 5/16-inches from the edge. These “T” marks where to center the top or bottom of the egg die. I used the center crack in the egg die to center on the vertical lines. After die-cutting out the six eggs, I erased the pencil marks. (I found it easier to sketch out the egg placement on the back side of the card, tracing around the die to see if it looked right before die-cutting from the front of the panel.) (I added two clay flower shaker elements to the front of the card.)

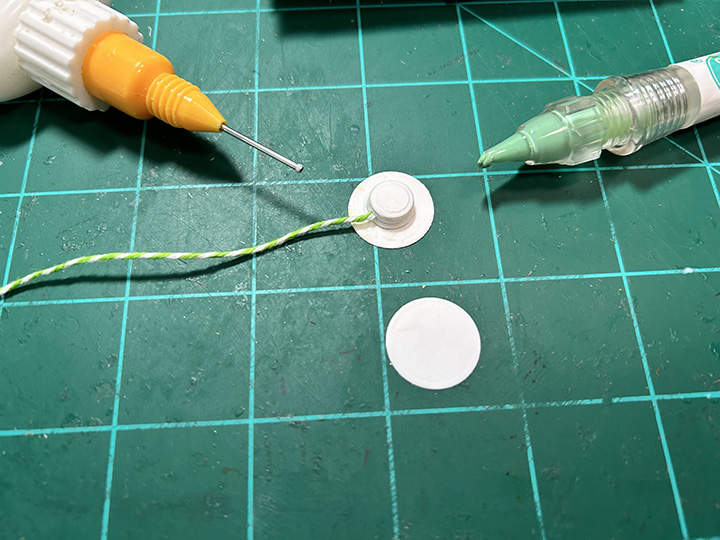
Shaker Assembly: Position the white panel over the yellow panel and mark the corners of the white panel on the yellow as well as tracing the egg cut-outs onto the yellow. Using double-sided tape, adhere a 4×5 1/2-inches rectangle of clear acetate/film to the back of the white panel. Add strips of narrow foam tape to create boxes around the traced eggs on yellow panel. Using an anti static tool to apply powder to the inside of each box (including the sides of the sides of the foam tape) and back side of acetate/film on white panel. Add confetti and clay sprinkles to each box, avoid putting too much in each box and level out any high points to below the foam tape level. Holding the card base, carefully peel off the backing paper on the foam tape. Remove any confetti from tape. Using the corner marks on the yellow panel line-up the white panel and adhere to foam tape, sandwiching the confetti inside the boxes. (I like to use the confetti sequins from This Calls For Confetti who have a variety of colors, sizes and finishes and have wonderfully quick customer service/delivery time. They also have the best anti-static tool for making shaker cards.)

Sentiment: I cut out the words only using Karen Burniston’s Happy Easter word die from purple cardstock for the inside of the card.

Envelope: I cut out a sticker from the decorative paper to embellish the back of the envelope flap.
__________________________________________________________
Thank you for reading this blog post. I hope this inspires you and makes you smile.
Please like and leave comments 😊
__________________________________________________________
Materials Used:
Dies
- Karen Burniston in cahoots with Riley and Company – Happy Easter – 1263
- Karen Burniston in cahoots with Riley and Company – Spring Animals – 1074
Papers
- Kat Scrappiness – Slimline Sized Patterned Paper (10.75×4 inches)– Easter on Parade
- White and Yellow Cardstock
- Dura-Lar .0005 Clear Film Acetate
- Park Lane Paperie – A6 Cardbase and Envelope – White
Shaker Elements
- This Calls For Confetti – Bokeh Bliss Teeny Tiny Mix
- This Calls For Confetti – Crystal Metallic Aqua Violet
- This Calls For Confetti – Opaque Iridescent Blue
- This Calls For Confetti – Opaque Iridescent Blush
- This Calls For Confetti – Opaque Iridescent Celadon
- This Calls For Confetti – Opaque Iridescent Scarlet
- This Calls For Confetti – Opaque Iridescent Vanilla
- This Calls For Confetti – Opaque Iridescent Blue
- This Calls For Confetti – Opaque Iridescent Blue
- Hobby Lobby – Inclusions – Flowers
- Spellbinders – Sweet Sprinkles
Adhesives
- Neutral PH Adhesive by LINECO
- Fine-Tip Glue Bottle
- Double-Sided Tape – 1/8-inch wide
- Foam Tape – 1/4-inch wide
Tools
- Die Cutting Machine
- We R Memories – QuickStick
- Tweezers
- This Calls For Confetti – It’s No Secret Anti Static Powder
- Stamping Blocks used as paperweights
- Scissors
- T-Ruler
- Pencil
- Tombow – Mono – Sand Eraser -512A