It’s the Karen Burniston design team challenge for December 2023 with the theme of “Naughty or Nice” using Christmas stockings and the idea that naughty persons get coal in their stockings while people who have been good/nice will get presents and sweet treats in their stockings.
While I used Karen’s Fireplace Pop-Up and Fireplace Extras 1 dies I did not make it a pop-up, but I did have Santa’s boots swing in the fireplace. Inside, two greenery wreaths pop-up using the Twist Flower Pop-up and Crosshatch Circles, Christmas Borders 2, Holiday Charms, Big Birthday Charms, Adirondack Chair Pop-Up and Small Script – Christmas were used for decorations and sentiments.
Before starting, I recommend watching the assembly videos of the pop-ups which are usually near the bottom of the linked pages for the various dies used.

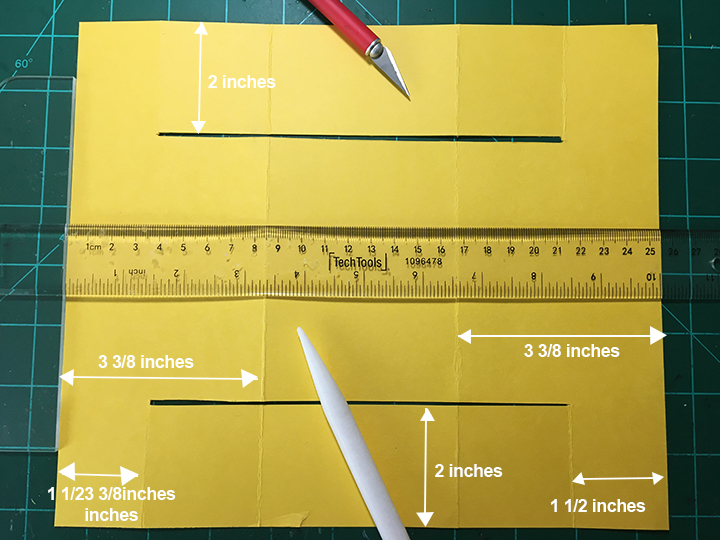
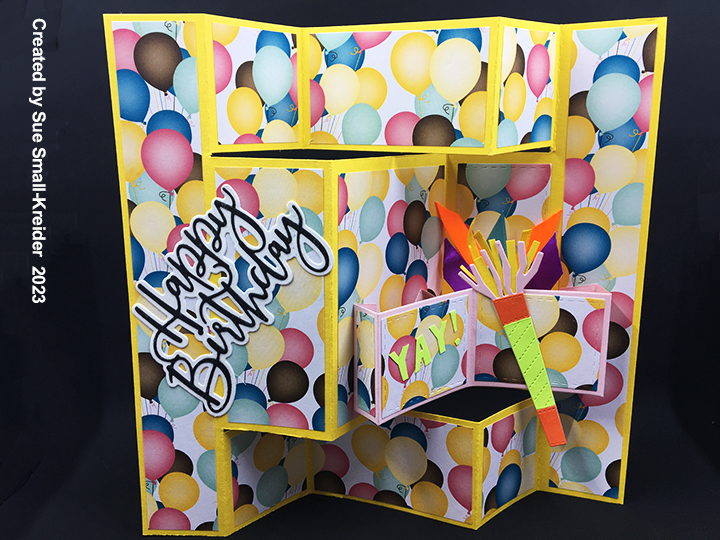
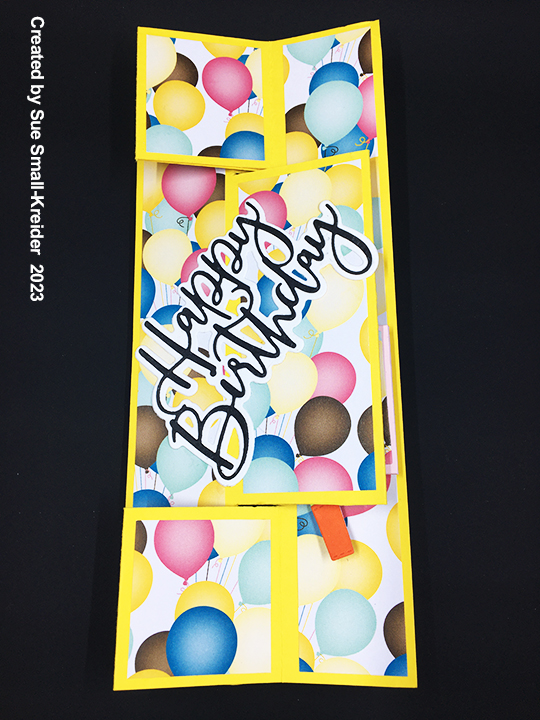
Cardbase: I folded a 7 3/4-inch by 8 3/4-inch rectangle of white cardstock long-wise in half for the cardbase. Because my decorative papers were 4 1/2-inch by 6 1/2-inch, I centered the papers on each of the four panels.

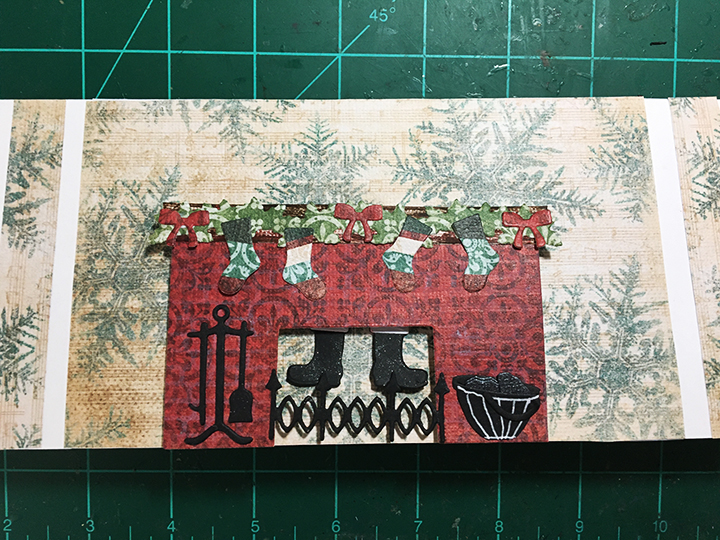
Fireplace: The fireplace main piece was cut using white ink rubbed on the die before cutting. The mantel piece was die cut and folded in half and glued together to add dimension. Christmas decorations – candles, stockings, greenery, bows, fireplace guard and tools are all in the Fireplace Extras 1 set. I cut down the pail from the Adirondack Chair Pop-Up set to be a coal shuttle next to the fireplace. For the picture of Father Christmas, I fussy cut it from the decorative paper collection I used.


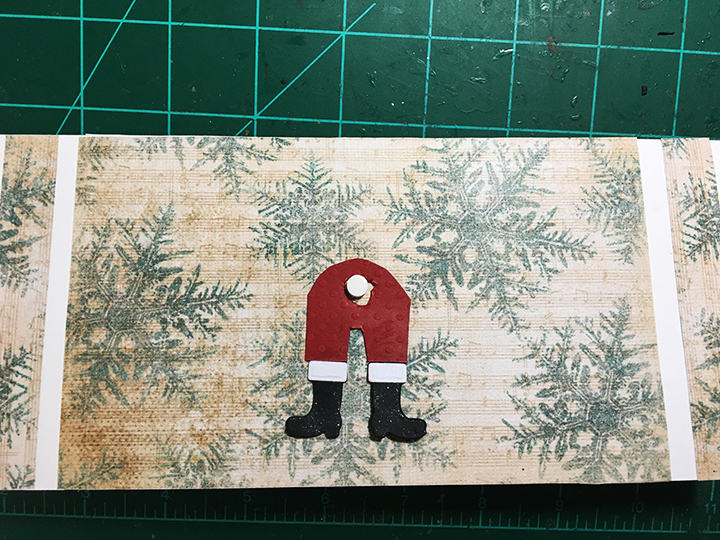
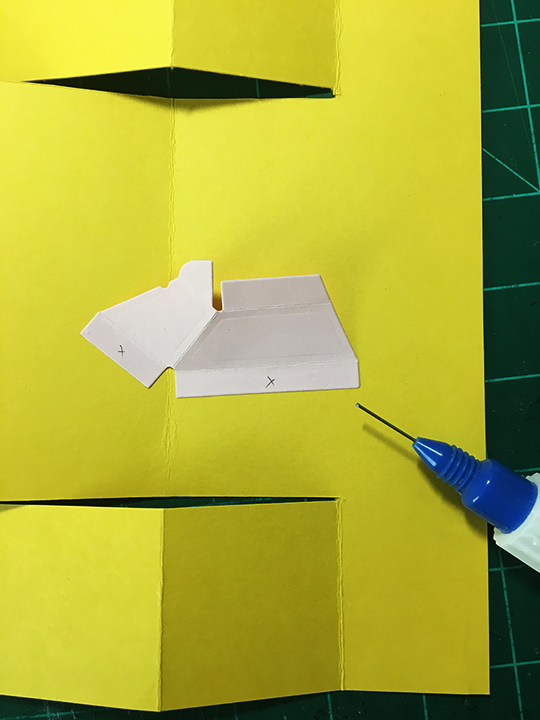
Santa’s Boots: The boots are cut from black and white cardstock using the dies in the Fireplace Pop-Up set. Use the tab atop the boots to attach red pants that were cut free-handed with a holed punched and widened to accommodate a small foam dot. The boots were coated with glitter gloss before attaching to the card. Follow the pictures above for order of assembly of fireplace and Santa’s pants and boots. The fireplace was attached with two layers of foam tape to be slightly taller than the foam dot so that the boots would swing freely.
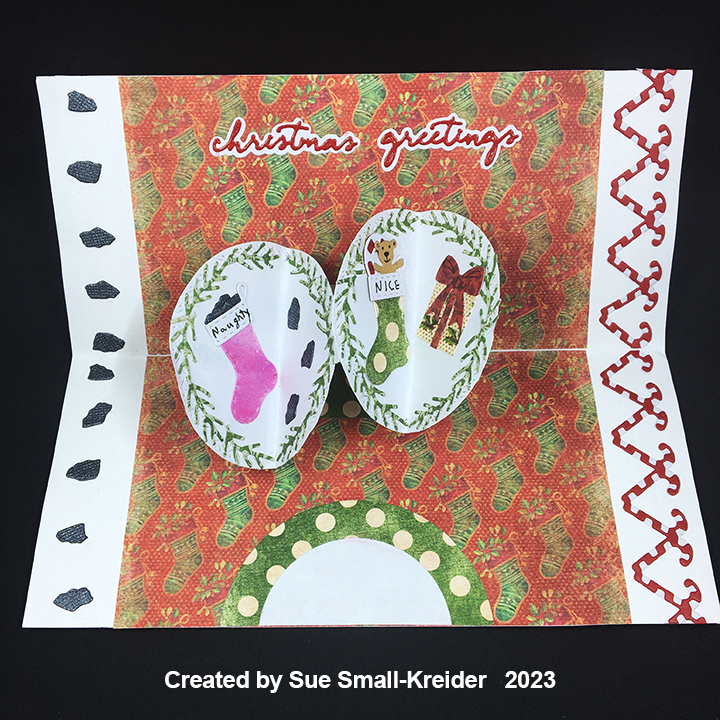
Wreaths: Using the second largest crosshatch circle, I cut two from heavy white paper. The greenery was made by cutting off the fir needles from the branch piece in the Holiday Charms set. Stockings and their coal, teddy bear and candy cane come from the same charms set. The wrapped gift is from the Big Birthday Charms set.
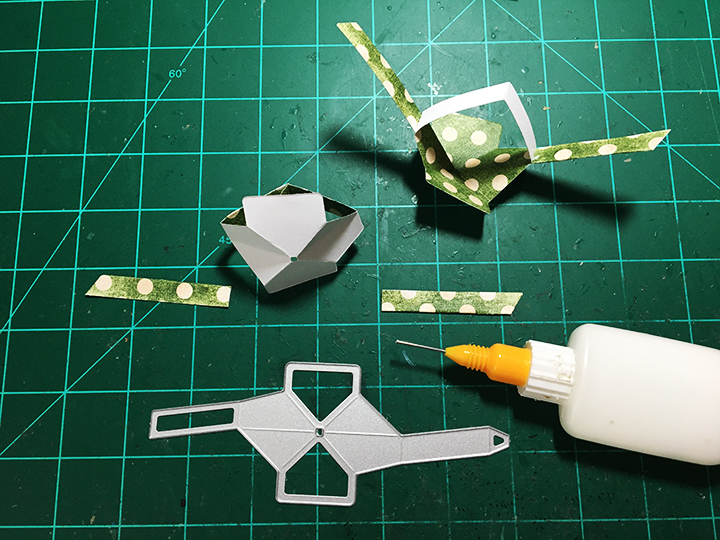
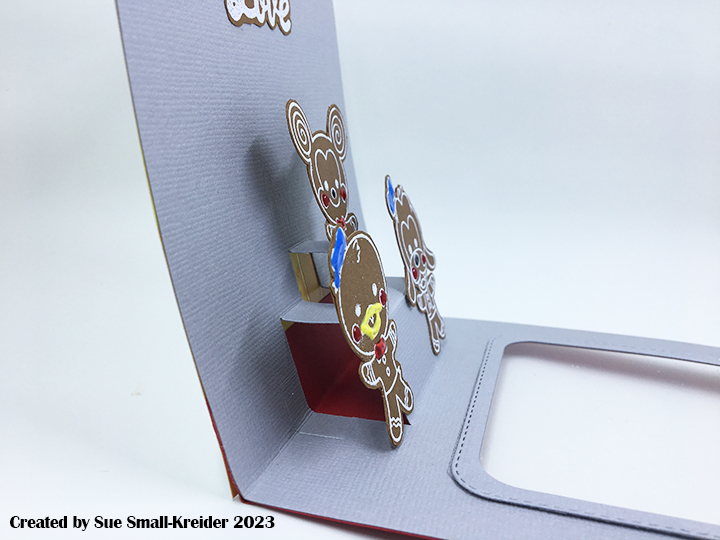
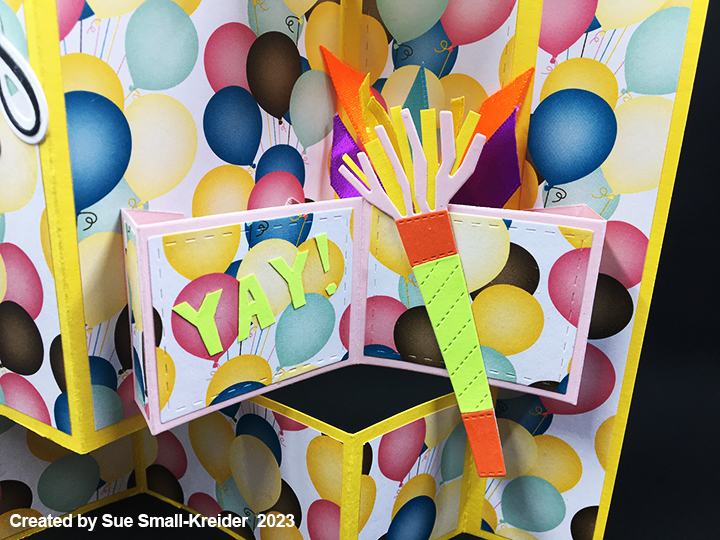
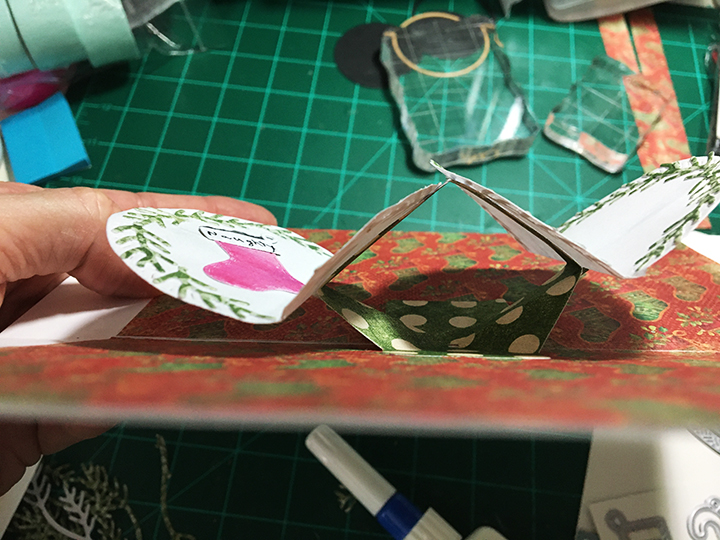
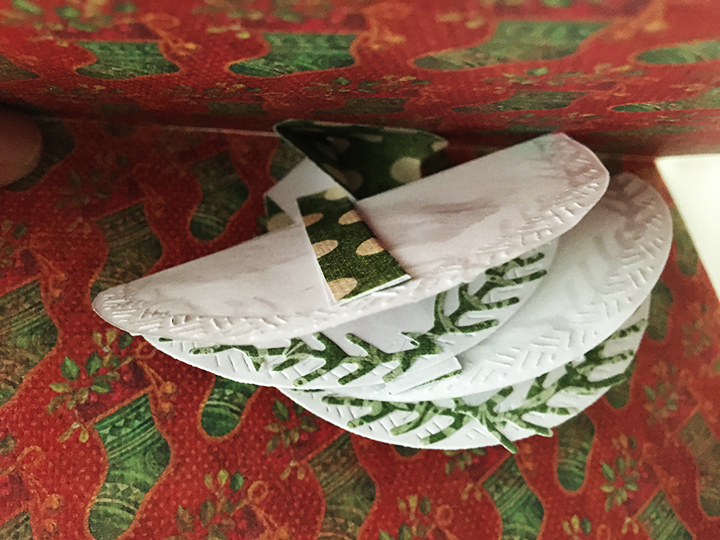
Inside Pop-Up Mechanism: I added extension arms onto the Twist Flower Pop-up mechanism to form a “W” shape. (Watch this Halloween card video to see how to make the mechanism.) The circle wreaths were folded in half and glued to the two “V” arms, playing with the positioning of the circles so there are no catchpoints.

Borders: The inside border of candy canes comes from the Christmas Borders 2 die set while the coal comes from the Holiday Charms. For the back borders, the branch die from the Holiday Charms set was used. Leftover strips of decorative papers were added to the card front as borders.

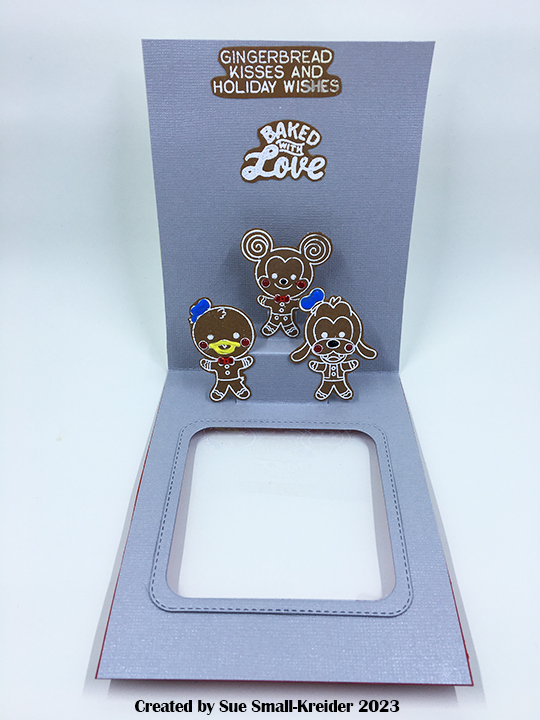
Sentiments: Clear tape over red cardstock is the secret to the glossy script letters with plain white cardstock shadows. The sentiments all come from the Small Script – Christmas die set. On the front is “ho ho ho” with “Christmas greetings” inside the card.

Envelope: The stocking border from the Christmas Borders 2 set was cut from the same striped paper that was used on the fireplace stockings and glued to the back envelope flap to hint at what’s to come.
Thank you for reading this blog post. I hope this inspires you and makes you smile. Please like and leave comments 😊
Materials Used:
Dies
- Karen Burniston in cahoots with Riley and Company – Christmas Borders 2 – 1246
- Karen Burniston in cahoots with Riley and Company – Small Script – Christmas – 1244
- Karen Burniston in cahoots with Riley and Company – Twist Flower Pop-Up – 1239
- Karen Burniston in cahoots with Riley and Company – Fireplace Extras 1 – 1211
- Karen Burniston in cahoots with Riley and Company – Fireplace Pop-Up – 1210
- Karen Burniston in cahoots with Riley and Company – Big Birthday Charms – 1180
- Karen Burniston in cahoots with Riley and Company – Holiday Charms – 1143
- Karen Burniston in cahoots with Riley and Company – Adirondack Chair Pop-Up – 1071
- Karen Burniston in cahoots with Riley and Company – Circles- Crosshatch – 1057
Papers
- The Paper Studio – 4.5in x 6.5in Single-Sided Textured Paper Pad – Old World Winter
- Bazzill – 8.5×11 Embossed Polka Dots – Phoenix
- My Colors – 12×12 Textured Metallic Cardstock – Black Bear
- White and Black Cardstock
- #10 Business Envelope
Ink
- Craft Smart – White Ink Mini Cube
- Sharpie – Permanent Marker – Ultra Fine Tip – Red, Orange and Yellow
- Pigma – Mircon 01 Fine Tip Pen – Black
- Sakura – Gelly Roll Pen – Medium – White
- Nuvo – Aqua Shimmer – Glitter Gloss
Adhesives
- Neutral PH Adhesive by LINECO
- Fine-Tip Glue Bottle
- Foam Tape
- Foam Dots
- Clear Tape
Tools
- Die Cutting Machine
- We R Memories – QuickStick
- We R Memories – Scoring Board and Trimmer
- Craft Mat
- Scissors
- Hole Punch – 1/4-inch
- Clamping Reverse Tweezers