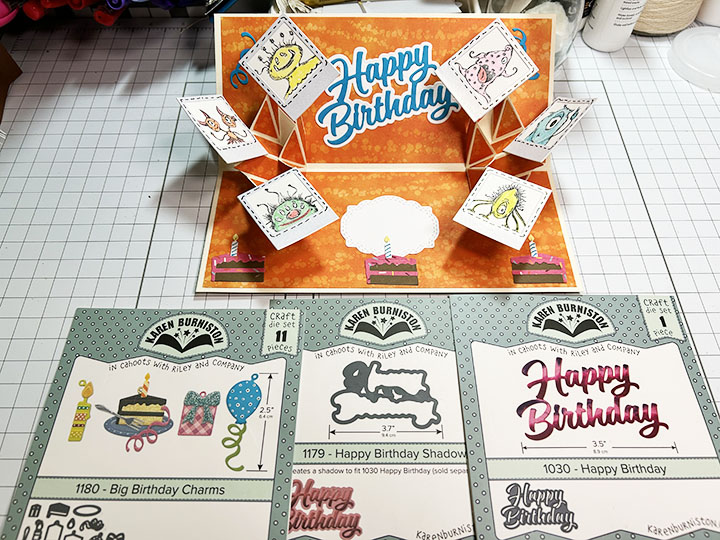
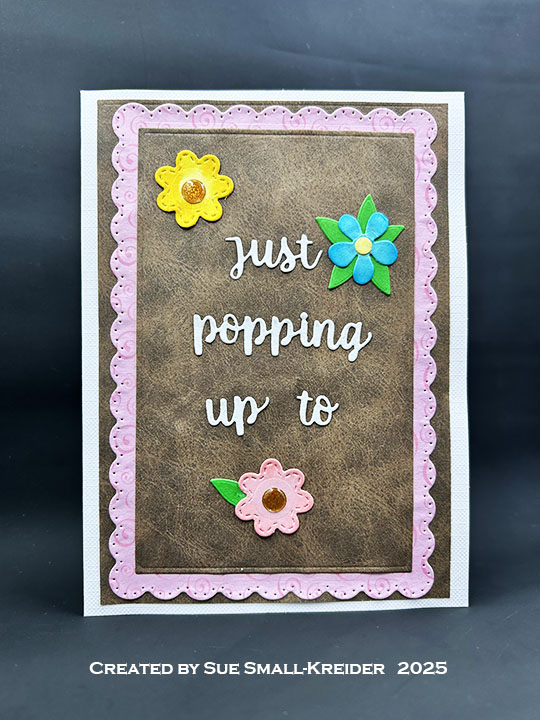
This card was made for CRAFT ROULETTE #284 whose parameters included a Funn fold card, birthday party colors, Maggie Smith element, and spiral (s) (ing). Today’s card uses The Greetery dies and stamps.

Watch the video below to see how this card was made.
Cardbase: I started with a 4.25×11-inch rectangle of 100lb white cardstock that was scored and folded at 5.5-inches and 9-inches to form an A2 (4.25×5.5-inch) easel card.
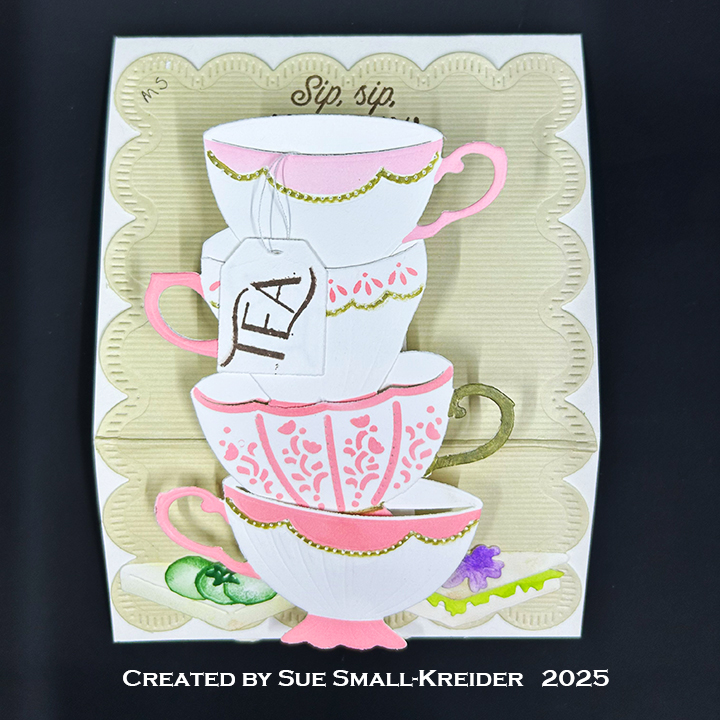

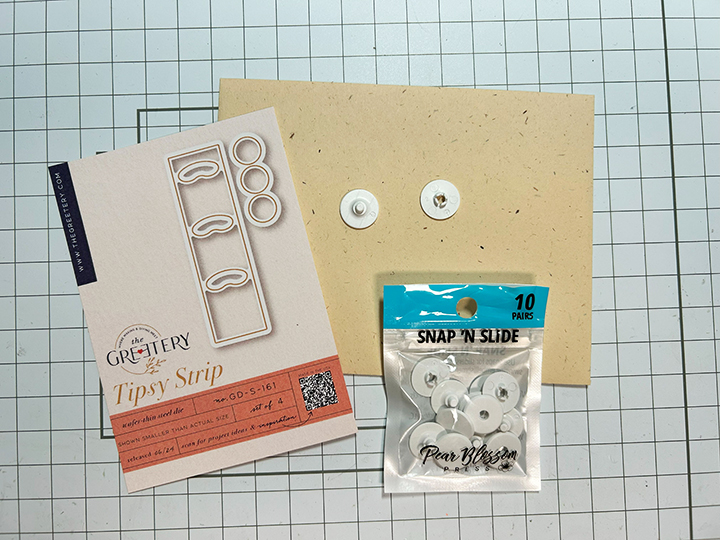
Tipsy Teacups: Watch the video above to see how the cups were created with stencils using pink ink and a gold marker. The tipsy mechanism is a strip with tracks cut into it for penny slider mechanism. I used Pear Blossom Press’s new Snap N’ Slide penny slider plastic pieces which are like snaps that you can use a glue dot to adhere to the back of the teacups.
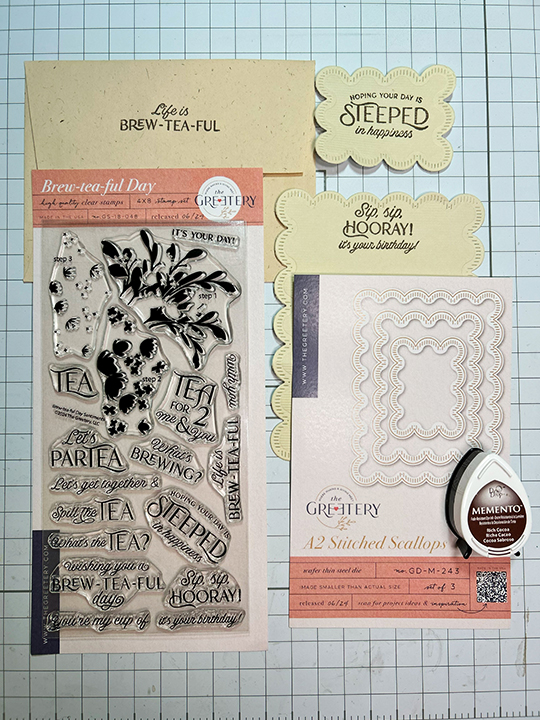
Sentiments: “Sip, Sip HOORAY! It’s your birthday” and Hopping your day is steeped in happiness” are both in the Brew-Tea-Ful Day stamp set. They are stamped onto striped, textured, thin cardstock cut with the larges and smallest of the A2 Stitched Scallops die set.

Envelope: The back flap is stamped with “Life is Brew-TEA-ful” in brown ink.
___________________________________
Thank you for experiencing this blog post.
I hope this inspires you and makes you smile.
Please like and leave comments 😊
___________________________________
Disclaimer: Karen Burniston products are provided free of charge by the manufacturer for review and use. All other items were personally purchased. Compensated affiliate links used where or when possible, meaning I will receive a small percentage commission from these manufacturers at no cost to you. This will allow me to add more content to my YouTube channel and help out a lot. Thank you.
Materials Used:
Dies
- The Greetery – Waffer-Thin Steel Dies – Tipsy Strip
- The Greetery – Waffer-Thin Steel Dies – Sips Tea
- The Greetery – Waffer-Thin Steel Dies – Fancy Finger Foods
- The Greetery – Waffer-Thin Steel Dies – A2 Stitched Scallops
Stamps
- The Greetery – Clear Stamps – Brew-tea-ful Day
Stencils
- The Greetery – Stencil – Sips Tea
Papers
- Momenta – 12×12 in Textured Cardstock – Earthtones
- Fraser Papers for William House – A2 Envelope – Genesis Text Husk Smooth
Ink
- Cricut – Medium Tip 1.0 – Gold
- Memento – Fade Resistant Dye ink – Rich Cocoa
- Pigma – Mircon 005 Fine Tip Pen – Black
- Ranger – Tim Holtz – Distress Ink – Dried marigold, Rustic Wilderness, Saltwater Taffy, Twisted Citron, Vintage Photo, Wilted Violet
- Sharpie – Permanent Marker – Fine Point – Black
Adhesives
- Neutral PH Adhesive by LINECO
- Fine-Tip Glue Bottle
- Foam Squares
- Pear Blossom Press – Sticky Spots
Tools
- Die Cutting Machine
- Paper Trimmer
- Stamping Platform
- Stamping Block
- Altenew – Mini Blending Brush Set (Flat Bristles)
- Kat Scrappiness – Mini Blending Brushes
- Needle
- Scissors
- Paper Masking Tape
Miscellaneous
- White Thread
- Pear Blossom Press – Snap N’ Slide