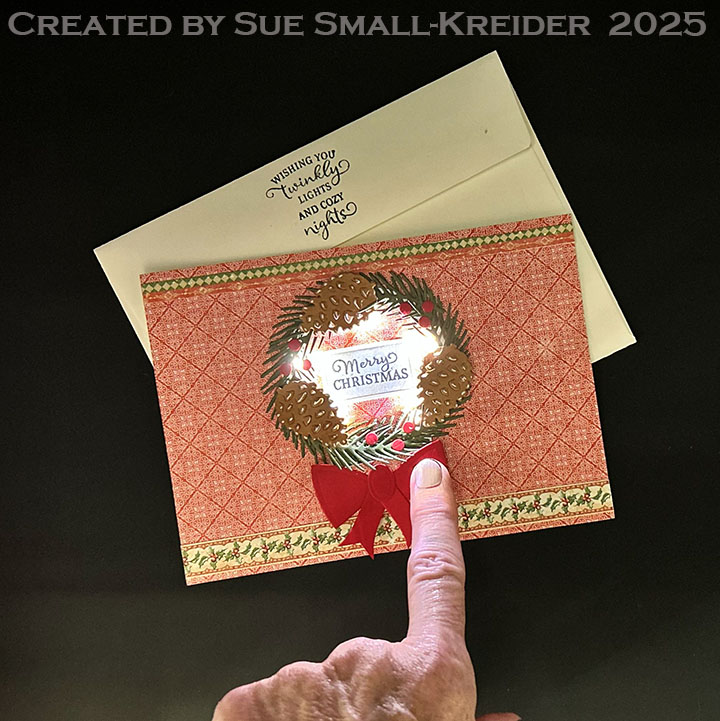
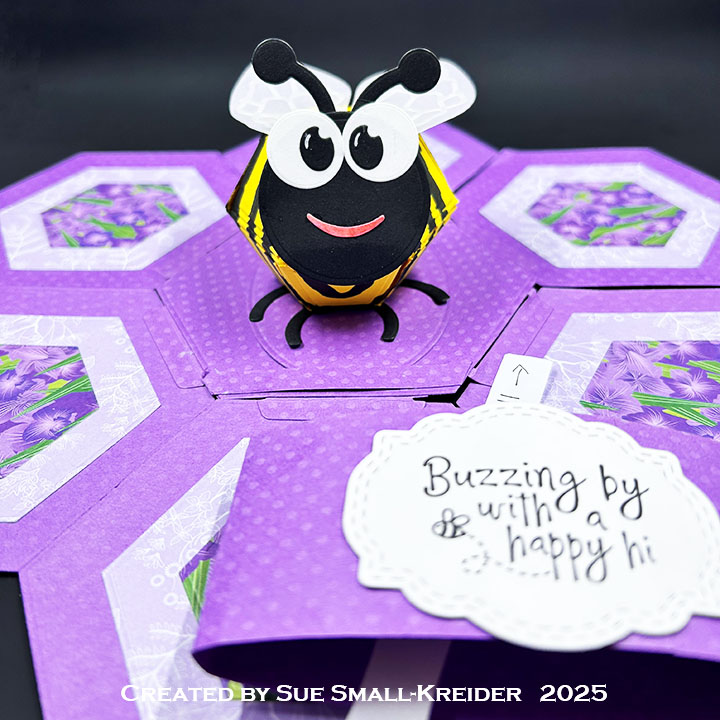
This card was made for CRAFT ROULETTE #295 whose parameters included a map fold, planter colors, from the sky element, and three in a row. I used stamps and dies by Hero Arts and Karen Burniston to make this card.
Watch the process video to see how I made this card.
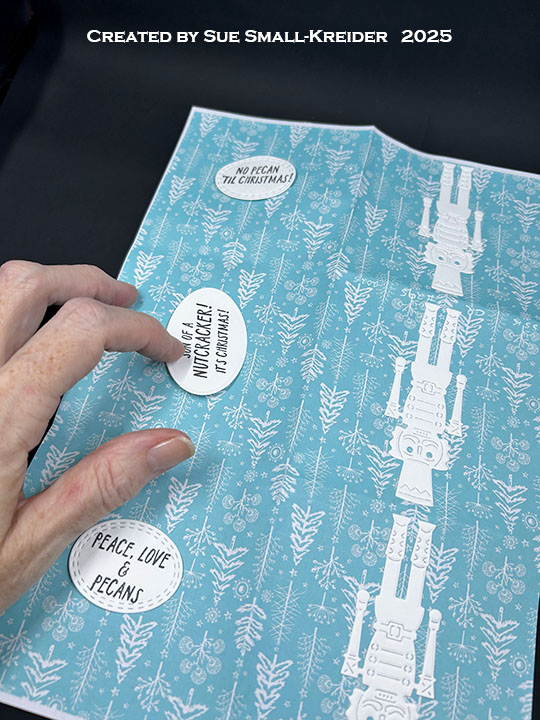
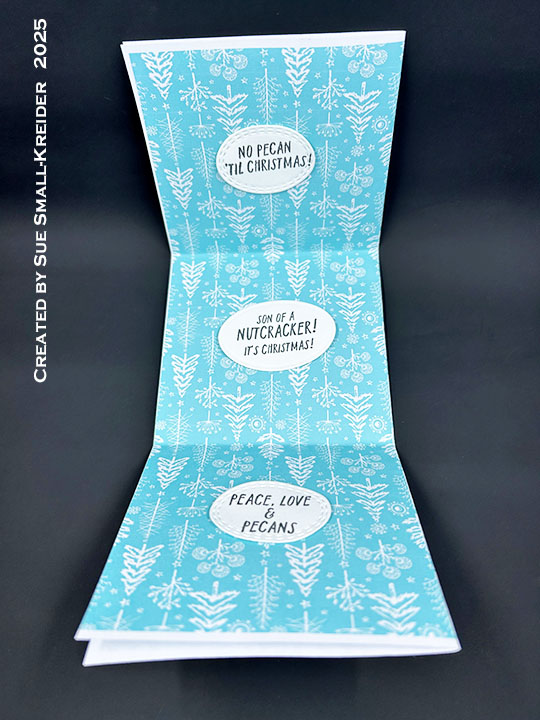
Cardbase: Watch the video to see how the card base was made using digital paper by Carnation Crafts into a map fold card.


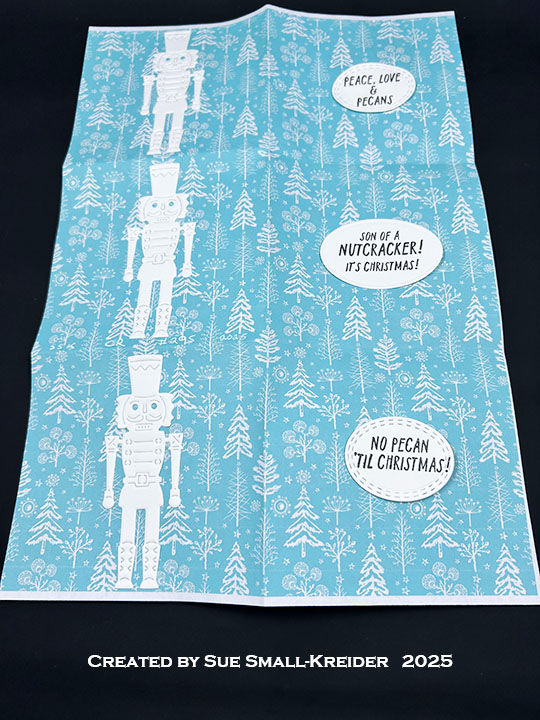
Nutcrackers were die cut using Hero Arts’ Fancy Dies Toys.
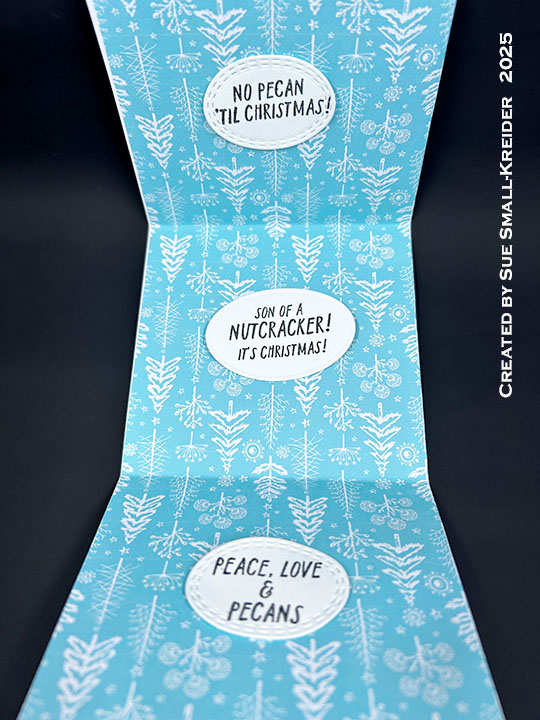

Sentiments were stamped on white cardstock using Hero Arts’ Stamp & Cut A Little Nuts set and cut out using Karen Burniston’s Greeting Labels die set. Three 1-inch circles were cut and marked with an “X” and a center circle to show where to stop when cutting the tabs. The tabs were folded to be inserted through a 3/4-inch hole in each of the card’s panels that will have sentiments. The oval sentiment labels are then glued onto the unfolded tabs and swiveled to make sure they are not glued to the card base.
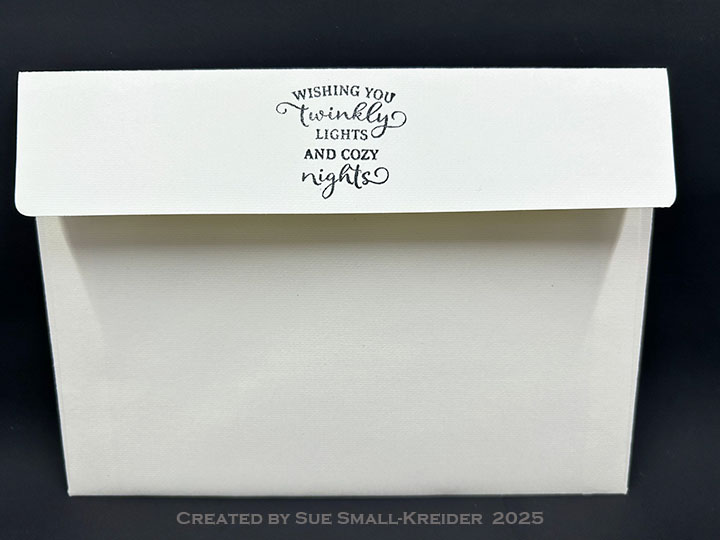
Envelope: The card fits into an A2 (4.25x 5.5-inches) size envelope.
___________________________________
Thank you for experiencing this blog post.
I hope this inspires you and makes you smile.
Please subscribe, like and leave comments on this site and my YouTube channel. 😊
___________________________________
Disclaimer: Karen Burniston products are provided free of charge by the manufacturer for review and use. All other items were personally purchased. Compensated affiliate links used where or when possible, meaning I will receive a small percentage commission from these manufacturers at no cost to you. This will allow me to add more content to my YouTube channel and help out a lot. Thank you.
Materials Used:
Dies
- Hero Arts – Fancy Dies- Toys
- Karen Burniston in cahoots with Riley and Company – Greeting Labels – 1312
Stamps
- Hero Arts – Clear Stamps & Dies- A Little Nuts
Papers
- Carnation Crafts – Digital Paper – (printed on copier paper)
- White Cardstock
Ink
- Memento – Fade Resistant Dye ink – Tuxedo Black
- Sakura – Gelly Roll Pen – Medium – White
Adhesives
Tools
- Die Cutting Machine
- Paper Trimmer
- Bone Folder
- Stamping Platform
- Stamping Blocks used as paperweights
- Scissors
- Pencil
- Paper Masking Tape